What will your crafty adventure be today?


Just Shared & New
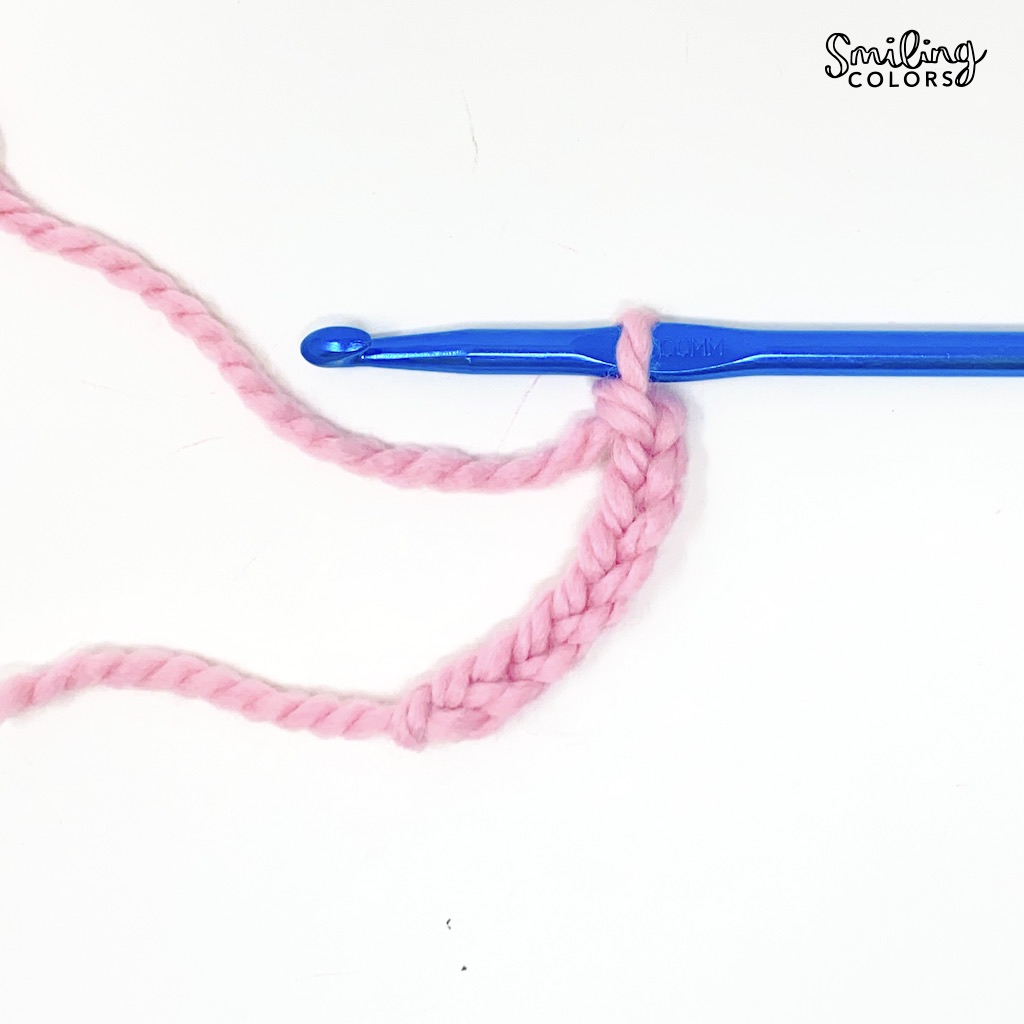
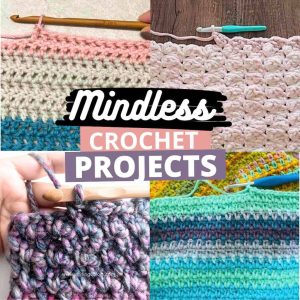
- Mindless Crochet Projects to Help You Unwind

- How To Half Double Crochet (hdc) Beginners Video
- Free Diwali Coloring Pages To Print At Home
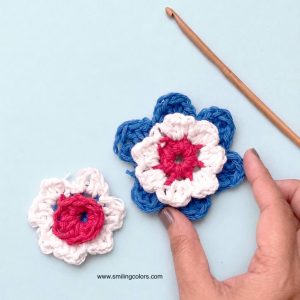
- Easy Flowers To Crochet Step by Step

Beginner Friendly


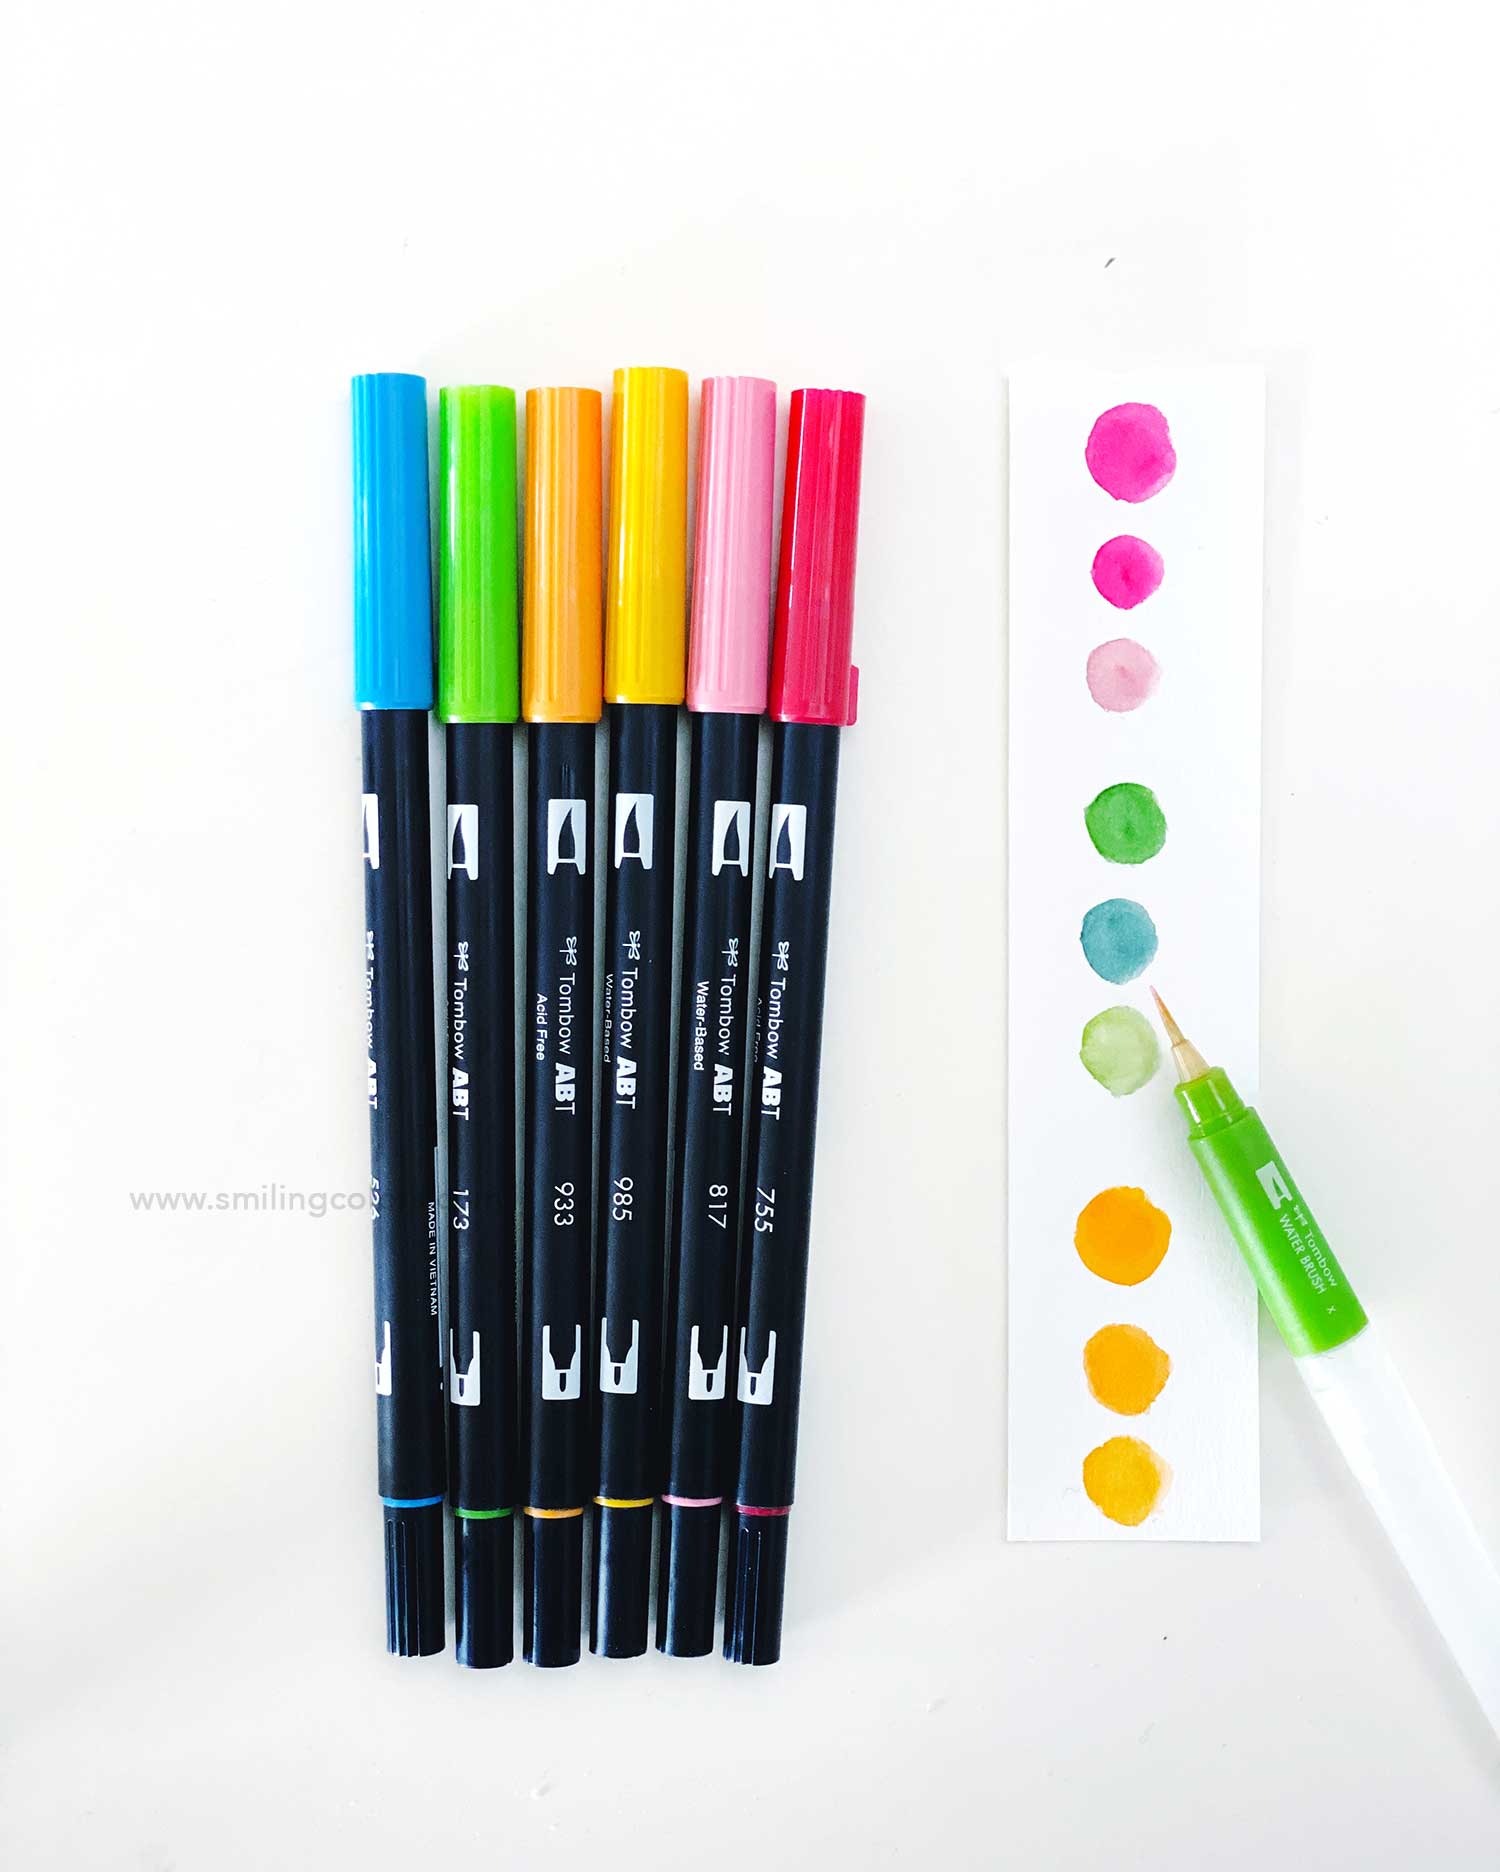
Drawing
- Posca Pens Unboxing & Sketchbook Test
- How To Draw A Valentine Gnome Step by Step
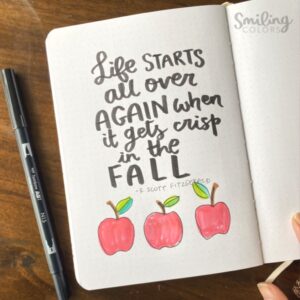
- Apple Drawing Easy Step By Step Using Markers
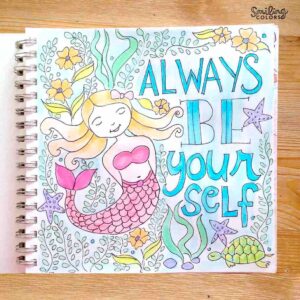
- How To Draw A Mermaid Simple Step By Step


Free Printables
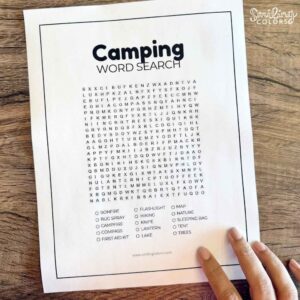
- Fun Printable Camping Word Search Free PDF
- 15 Free Printable Coloring Pages
- Valentine Hearts Printable Pdf
- 3 Free Printable Reading Trackers For 2026


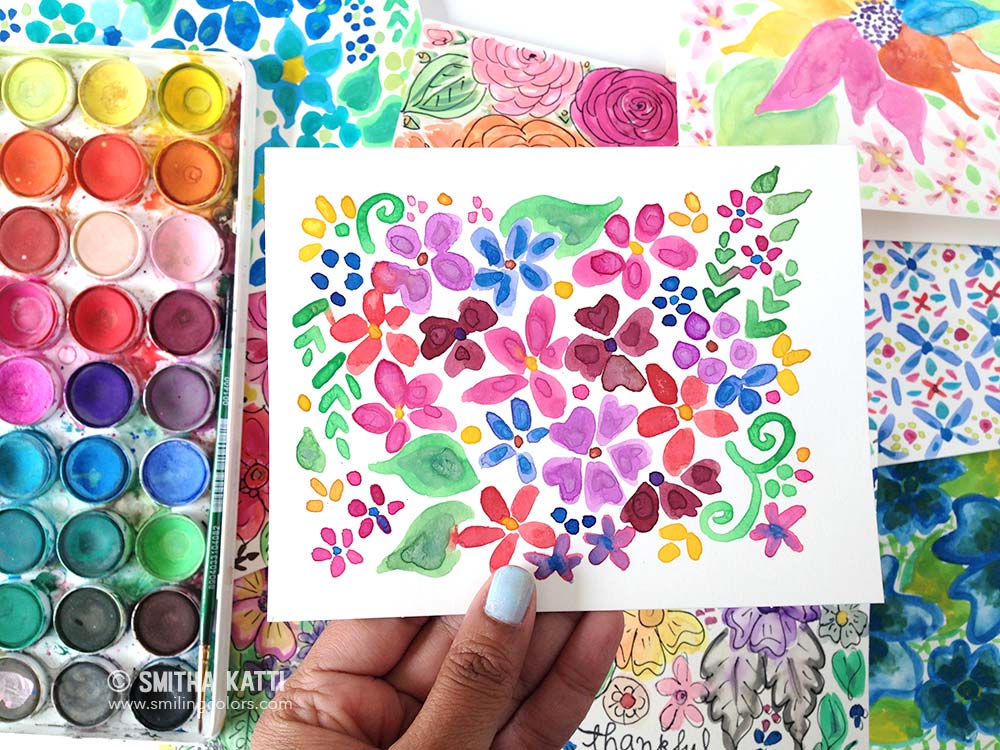
Welcome to Smiling Colors! Carving out creative time can be difficult with our busy lives, but making art should be easy!

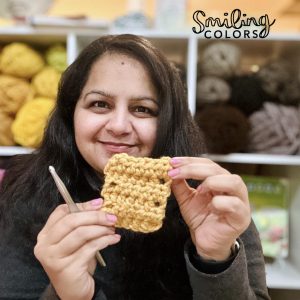
Hi, I’m Smitha! Here on my blog/website, I share easy-to-follow Art Craft Tutorials that will encourage you to pull out your art supplies, get messy, and find your creativity. 12 years ago, as a new mom, I started this blog to document all of my crafty endeavors. I’m a self taught artist, and enjoy creating art that is colorful with a positive vibe. Art is my therapy, and crafting is my happy place. Read more about me