Get ready for Diwali with a special printable Happy Diwali Card – simply download, print, trim to send heartfelt wishes to loved ones. Perfect for family craft time or last – minute Diwali greetings!
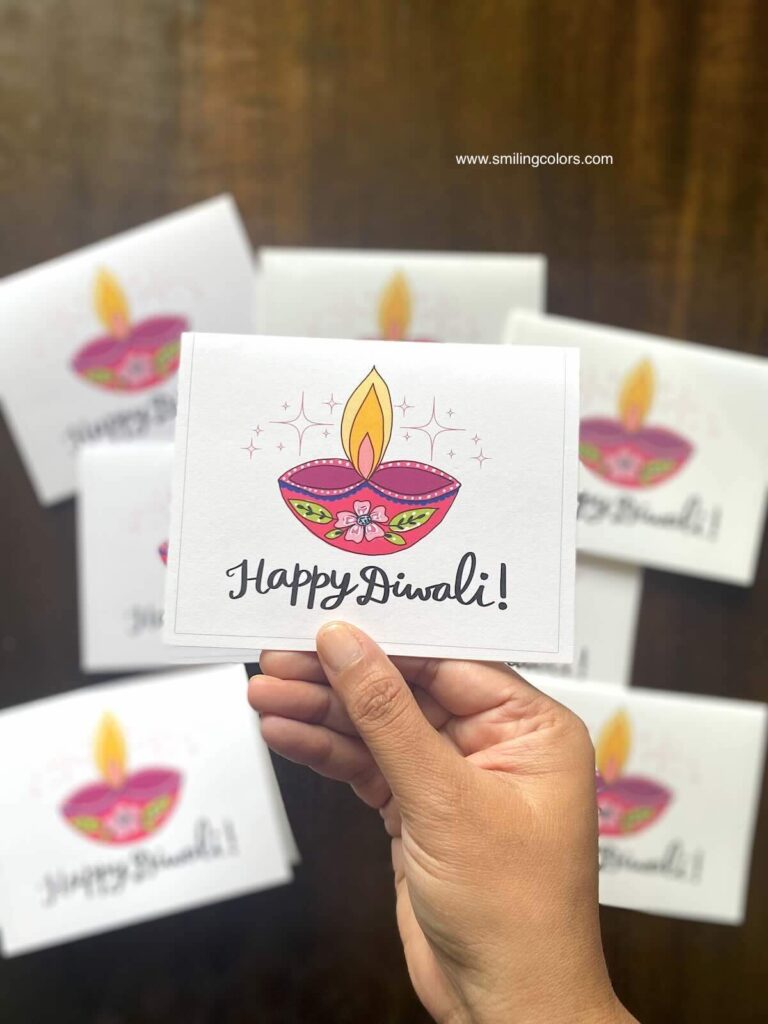
Diwali, the Festival of lights is just around the corner! This is the biggest gift and sweet giving time around here and so I wanted to quickly share a free Diwali printable cards with you all.
🎉 Why This Printable Diwali Card Is Perfect
With Diwali just around the corner, handmade touches bring extra warmth and meaning to your celebrations. This free printable Diwali card printable is designed to be kid-friendly and fun, letting you and your family add personal color and creativity.
- Easy to use- just download, print, cut and fold.
- Versatile printing options- use cardstock, matte photo paper, handmade paper or speciality papers.
- Customizable- color it yourself, let kids decorate or jazz it up with glitter

🖨 How to Use This Printable Happy Diwali Card
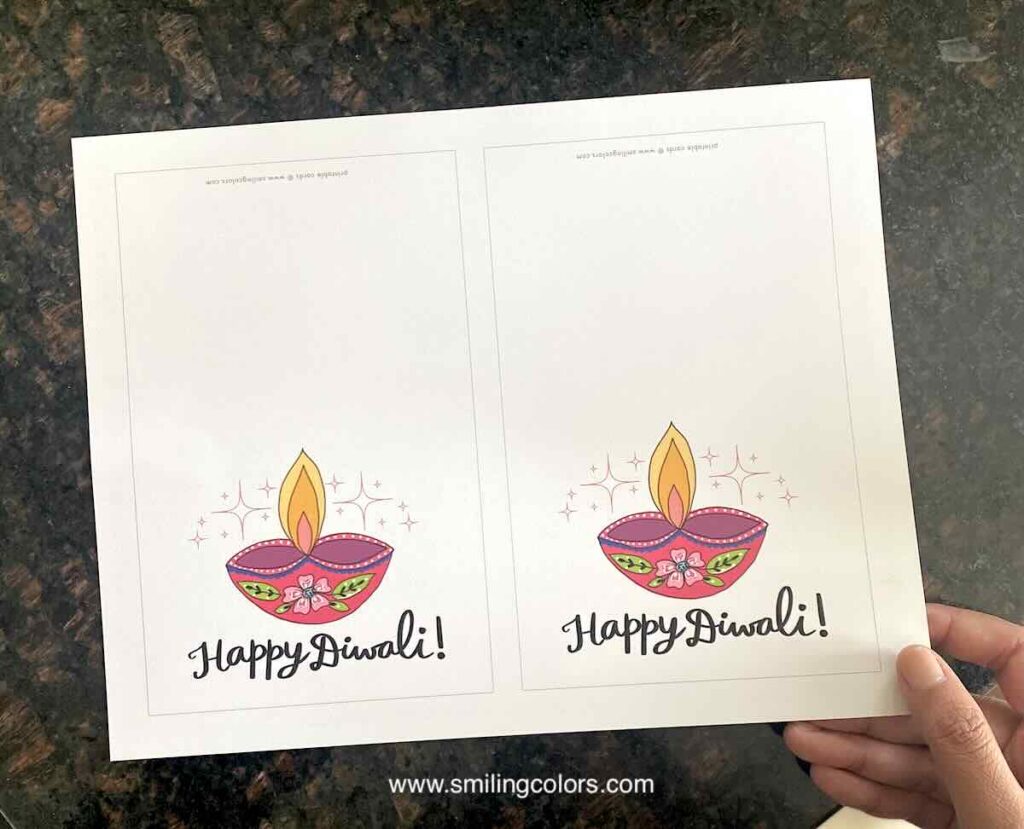
- Click the Download button to open the high resolution card image in a new tab. There are two versions, a blank version to decorate yourselves or a pre-colored version.
- Save it to your computer using “Saving image as”
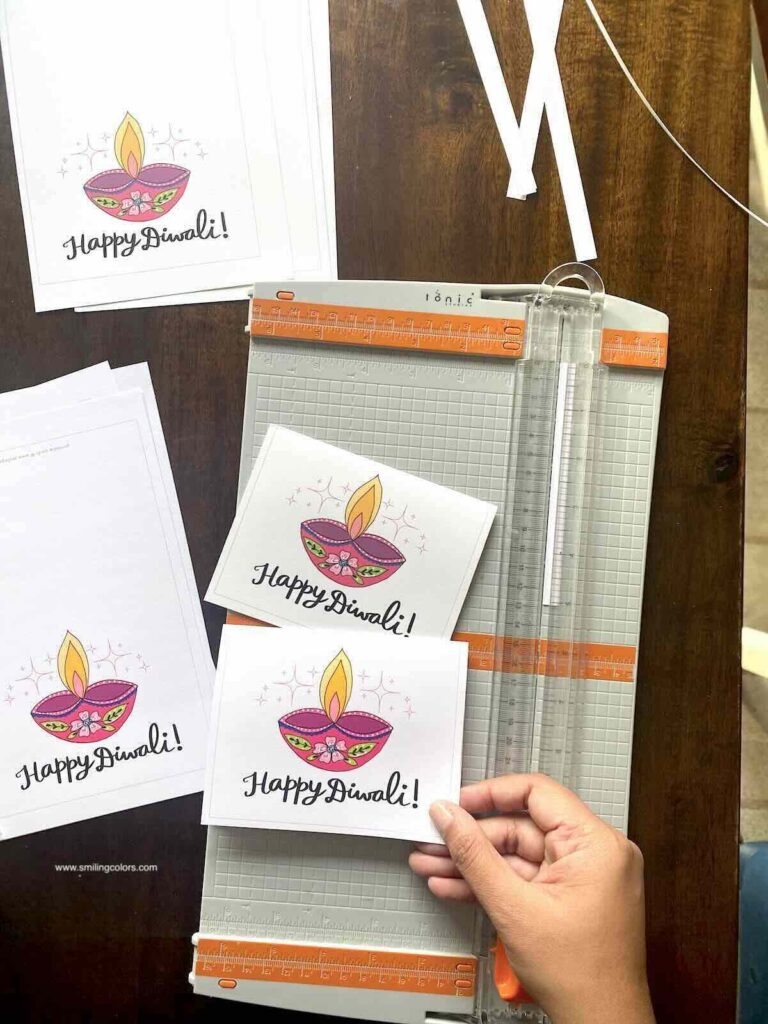
- Print it on white cardstock or thicker paper.
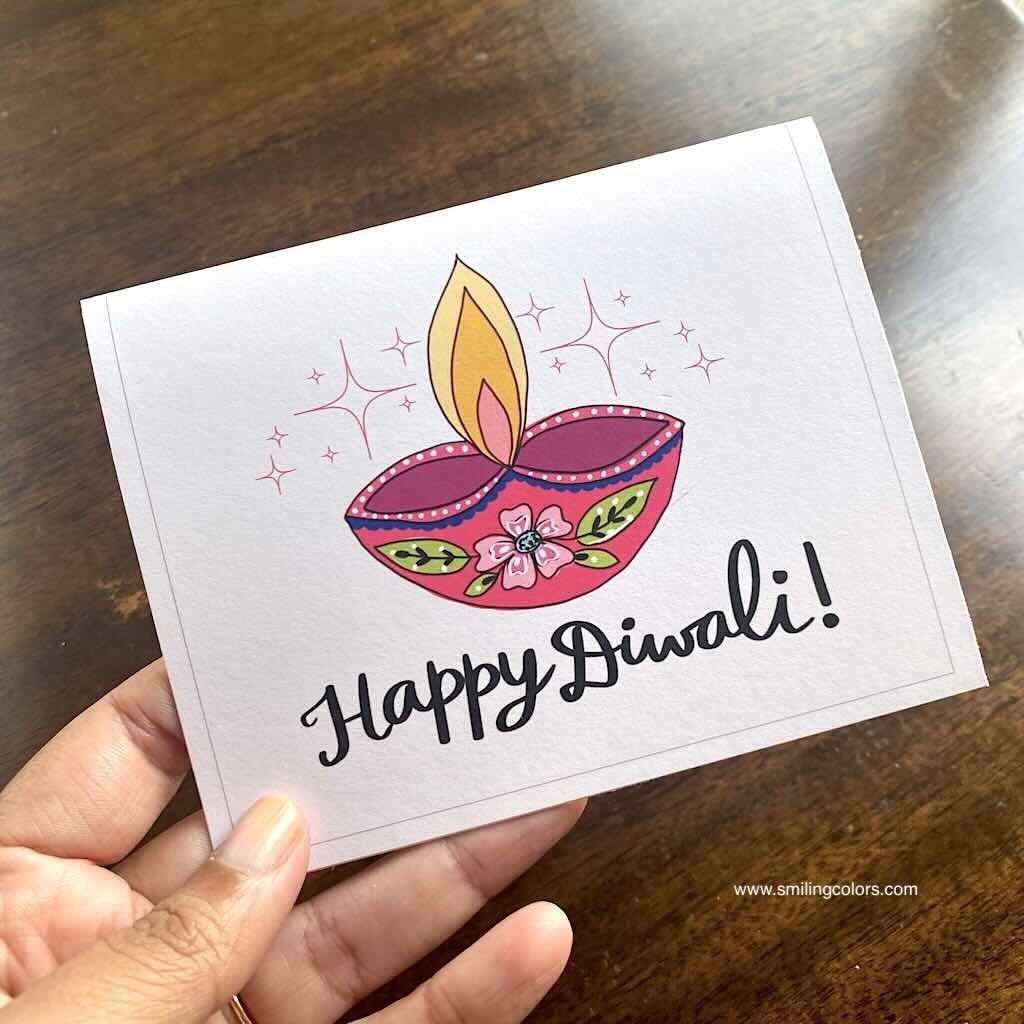
- Trim along the lines and fold it.
- Write your Diwali message inside and insert into an A2 envelope.
✨ Tips to Make Your Card Shine
- For sturdier cards, use heavier cardstock. My preference is this matte photo paper that gives bright colored images.
- Try layering the printable on handmade paper for a textured effect
- Add dimensional accents like glitter or metallic pens for extra flair.
- Pair this card with other Diwali crafts like clay diyas, paper rangoli designs or handmade diwali cookies to create a themed gift set.
free diwali printable cards Download
Download here: Blank version | Color Version
All designs are for your personal use one and remain the copyright of Smitha Katti. Please do not resell or redistribute.
Wishing your family a joyful, colorful Shubh Diwali filled with light, love, and creativity! May your home glow brightly with handmade charm.


That is a such a cute card and so sweet of you to share a free printable. 🙂