I’m sharing all of my Tips for Stenciling, starting with how to use a stencil brush to get crisp lines with your stenciling!
In my previous posts, I’ve talked about How to stencil on fabric with acrylic paints, Easy Stencil Art Ideas for your Sketchbook and How to make an easy stencil with just hot glue.

This post contains affiliate links. When you purchase an item via these links, I receive a small commission at no extra cost to you.
ALSO READ: WRAPPING A GIFT WITH FABRIC? It’s Easy and Needs no Tape!
What is a stencil brush used for?
A stencil brush is a short length brush with lots of tough bristles. The length of the stencil brush (also called stipple brush) is considerably shorter compared to a regular paint brush. That is because you are meant to tap your stencil brush onto the paper vs holding a paint brush in your hand like a pencil.

how to Use a Stencil Brush:
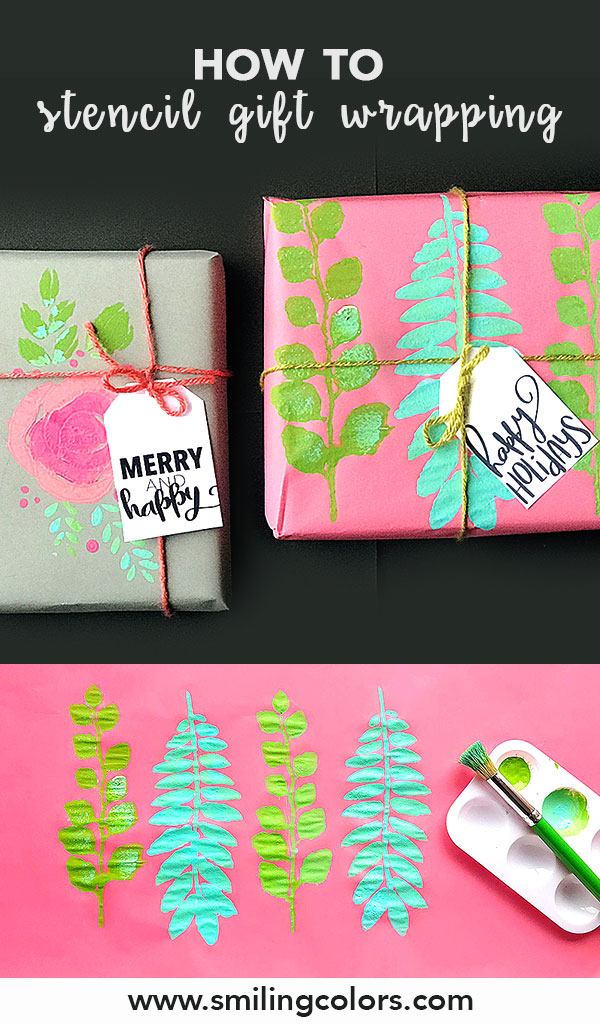
- Place your stencil onto the paper.
- Pick up a little paint onto your Stencil Brush
- Apply paints onto stencil carefully using an up down tapping motion.
- Work quickly, because you will need to lift the stencil off while ALL of the paint is still wet.
- Lift the stencil off carefully to reveal the design!
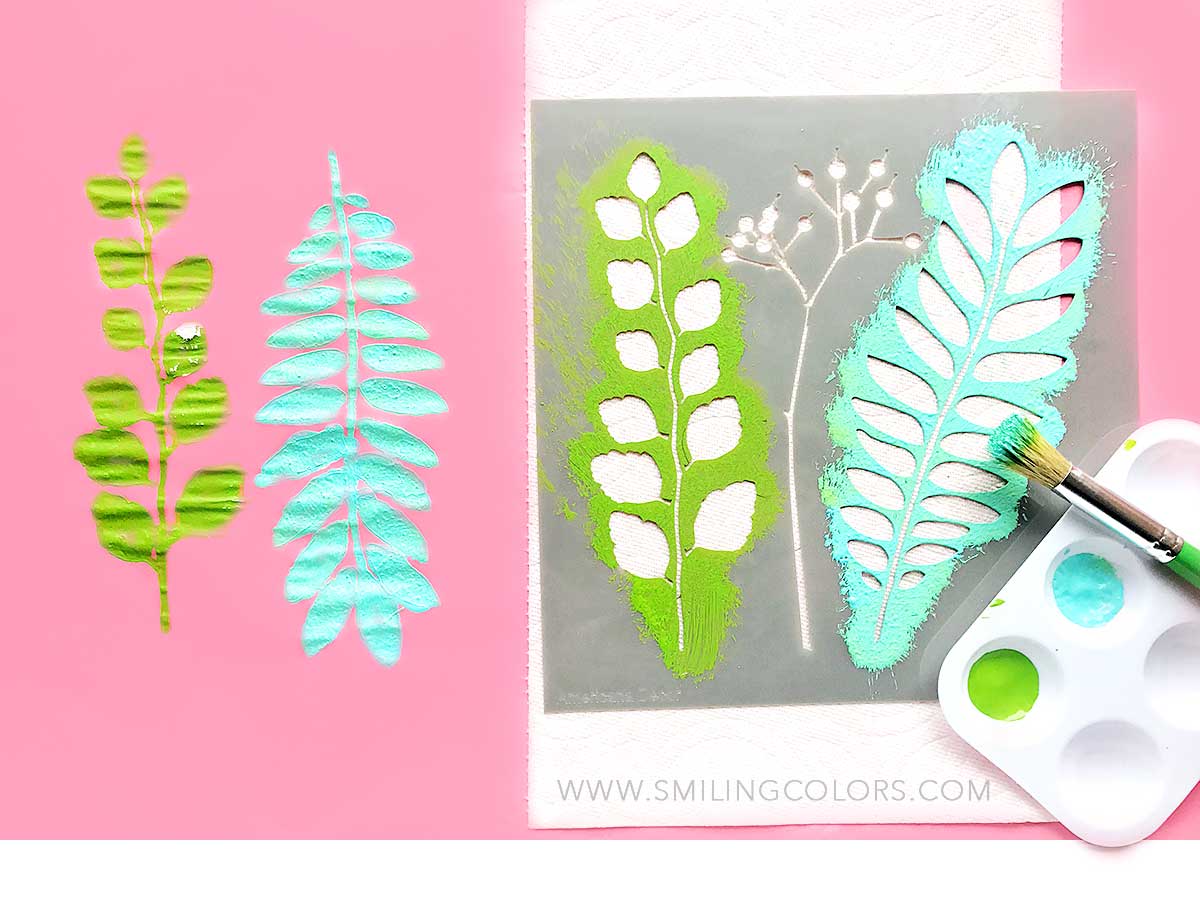
It is a great idea to have a few different sized Stencil Brushes- you can then paint even the smallest areas perfectly!
tips for stenciling


- Use a Stencil Brush (also known as stipple brush) to use over the stencils. These kind of brushes make it easy to apply pressure over the stencil. You will need smaller brushes while working on detailed stencils so having a set of brushes like these is a good idea.
- If you don’t have a stencil brush, try cutting up inexpensive make up sponges as use those to dab the paint. A regular paint brush is just not as effective to use with stencils.
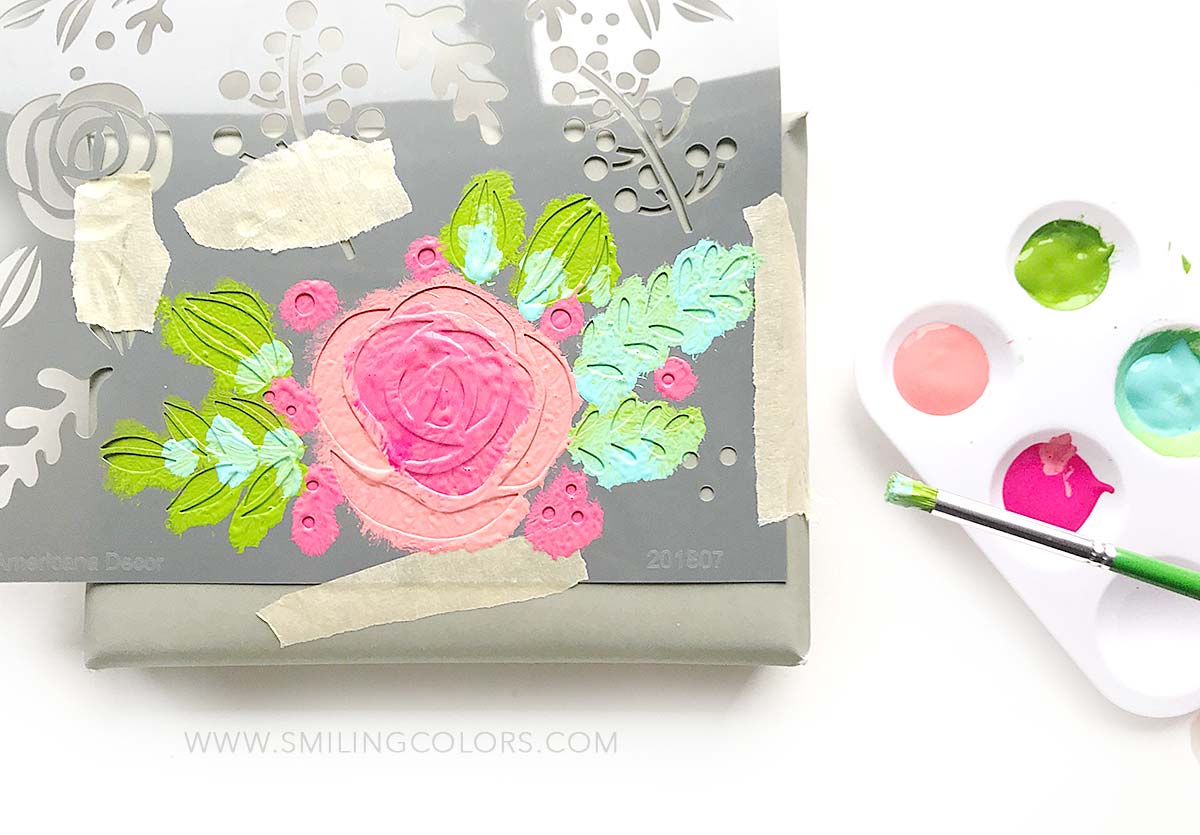
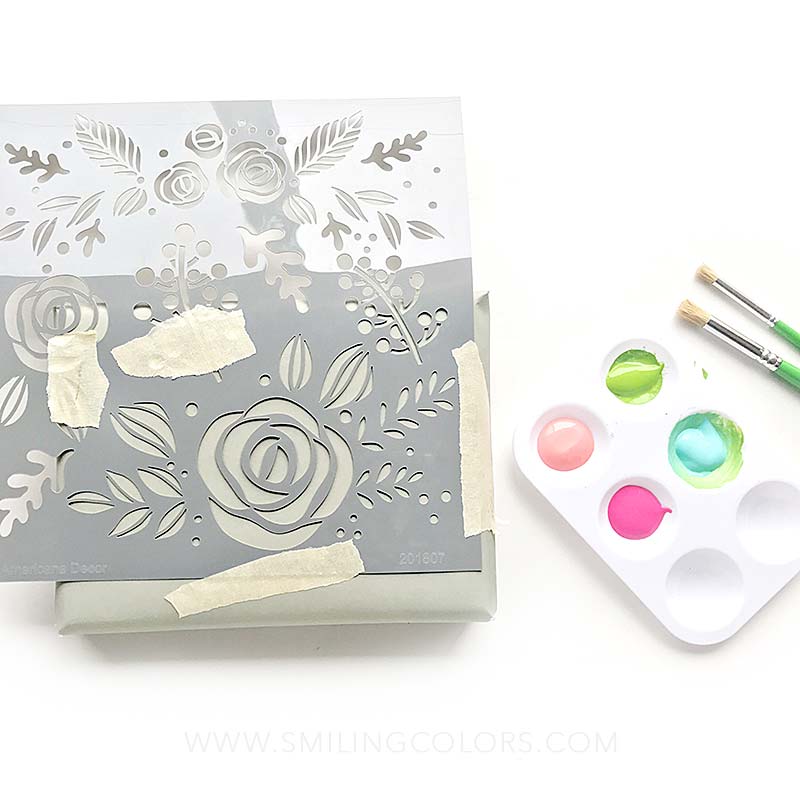
- A masking tape is great to hold the stencils in place. If you are beginner, I would suggest taping the stencil in place ALWAYS, but once you have done this once or twice you might get away by just holding the stencil in place firmly with your left hand instead.
- Never bring a wet brush to a stencil. Always apply paint with a DRY stipple brush.
- In fact, I never wash my brushes in between colors, I just wipe them off on a dry clean kitchen towel or paper.
- To prevent paint from seeping under the stencil, pick up just a little paint onto your brush each time. Too much paint on the brush will apply a thick layer of paint which can ooze beneath the stencil.
- Cleaning your stencils while the paint is still wet is very important. You can use a wet wipe or the run stencil under a tap.
- If you are mid project and don’t have time to clean the stencils right away, fill up your sink with water and place the stencil in it till you are done with the project. Once I am done I just use a bit of soap to clean the paint off of the stencils. Works like a charm!
This post was created in partnership with DecoArt. The tutorial, ideas, thoughts and everything else is my own! DecoArts has a great line of stencils. The ones I used here were of high quality, with such beautiful detailing. I used non holiday stencils (and colors) here today to create a fun vibe to my holiday gift wrapping, what can I say, this girl likes pink a little too much these days! But you can easily create the same with holiday themed stencils like these
I hope this post was helpful for you to learn how to use a stencil brush and the extra tips for stenciling. The hardest part of this craft is really waiting for the paint dry!

Hi I’m Smitha! I live in Minnesota with my husband and two daughters. You’ll always find me painting florals in my sketchbook. And I love the sheer joy of making something with just my hands! But my bigger love is capturing it all on camera Read more.
Thanks for stopping by today! If you learnt something from this tutorial, do share this post with a friend or on social media! Tag me @smithakatti #smithakatti I’d love to see what you create!

