Hello friends!!! Come and take a peek inside my travel scrapbook with me today. I’ll also share 10 tips to document your family’s vacation memories.
To preserve our recent summer trip experience I chose to create a fun travel scrapbook that is the perfect size for my kids to look through. Traveler’s notebooks are very popular these days and you will definitely enjoy the process of filling it up with golden memories.
FOLLOW ME: INSTAGRAM, TWITTER, FACEBOOK, PINTEREST
Affiliate links have been used at no extra cost to the reader. You can read my full disclosure here.
How to Make a Travel Scrapbook:
Lets start with my some tips on how you can easily put together your own travel scrapbook in a weekend.
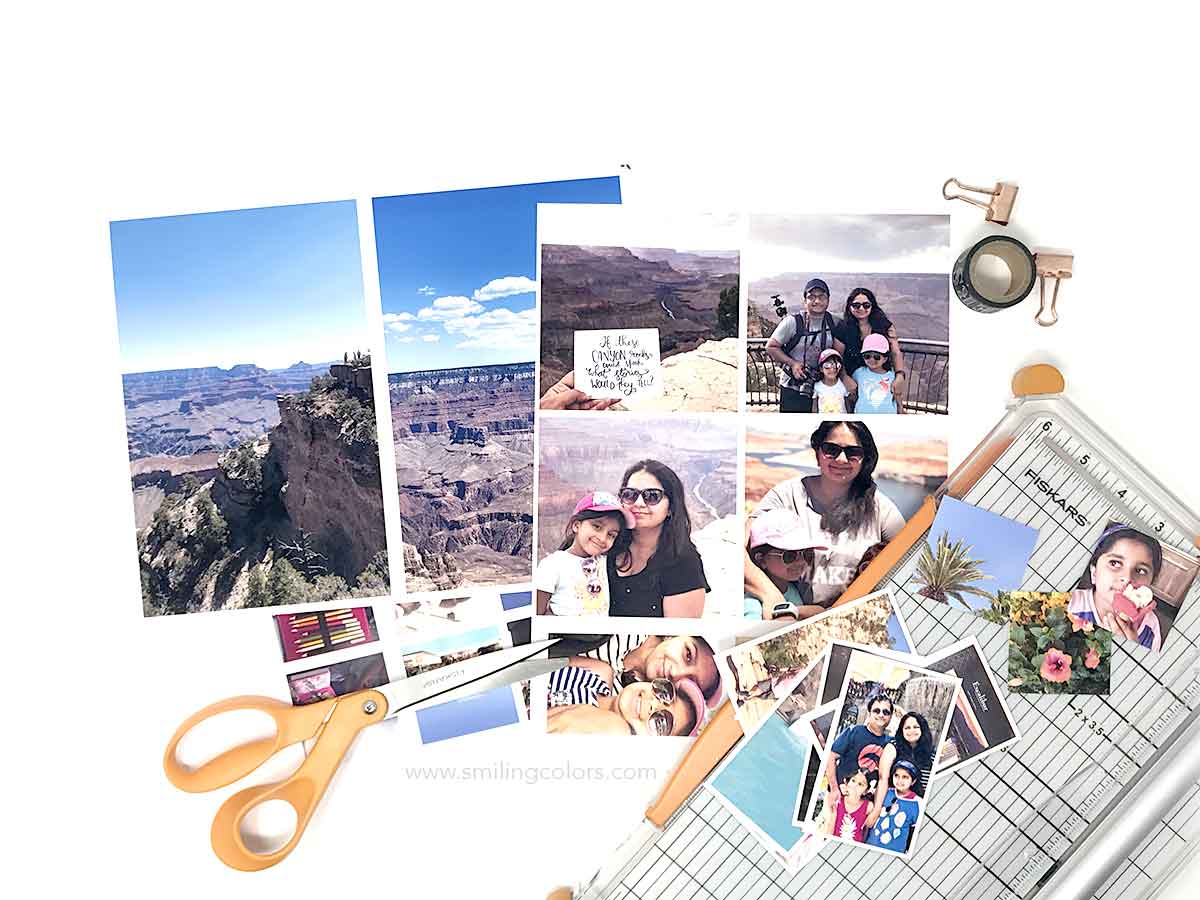
1. Organize Your Memories
This is where my travel scrapbook idea begins. I need to choose my photos, note down dates and then have a story to tell. Proofing photographs is a gigantic task these days. We tend to take so many photographs that sorting through them becomes a chore.
TIP 1: I like to favorite (or star/heart) photos I love and want to print during our vacation itself! Every night, while I am going through the photos and choosing some to share on social media I favorite ones that I really love and know that I want to add in my album. This saves a great amount of time later.
Social media is also a great place to go to when you are in need of some journaling. Often your Facebook status or Instagram post will tell you details of your trip and how you felt that day.
2. Print Those Photos
Printing photos is a personal preference. I like to print my photos at home (I have no patience to wait for them in the store or mail) and I always use matte photo paper. I use this canon printer (I have the mark ii version) and this matte paper and have been happy with them for years now.
TIP 2: While planning a scrapbook, vary your photo sizes to bring more interest to your story. Add some vertical photos and some horizontal photos. Add some large enlargements and some small 2 by 2-inch photos. This way you will be able to create a focal point and then also add more details with the smaller photos.
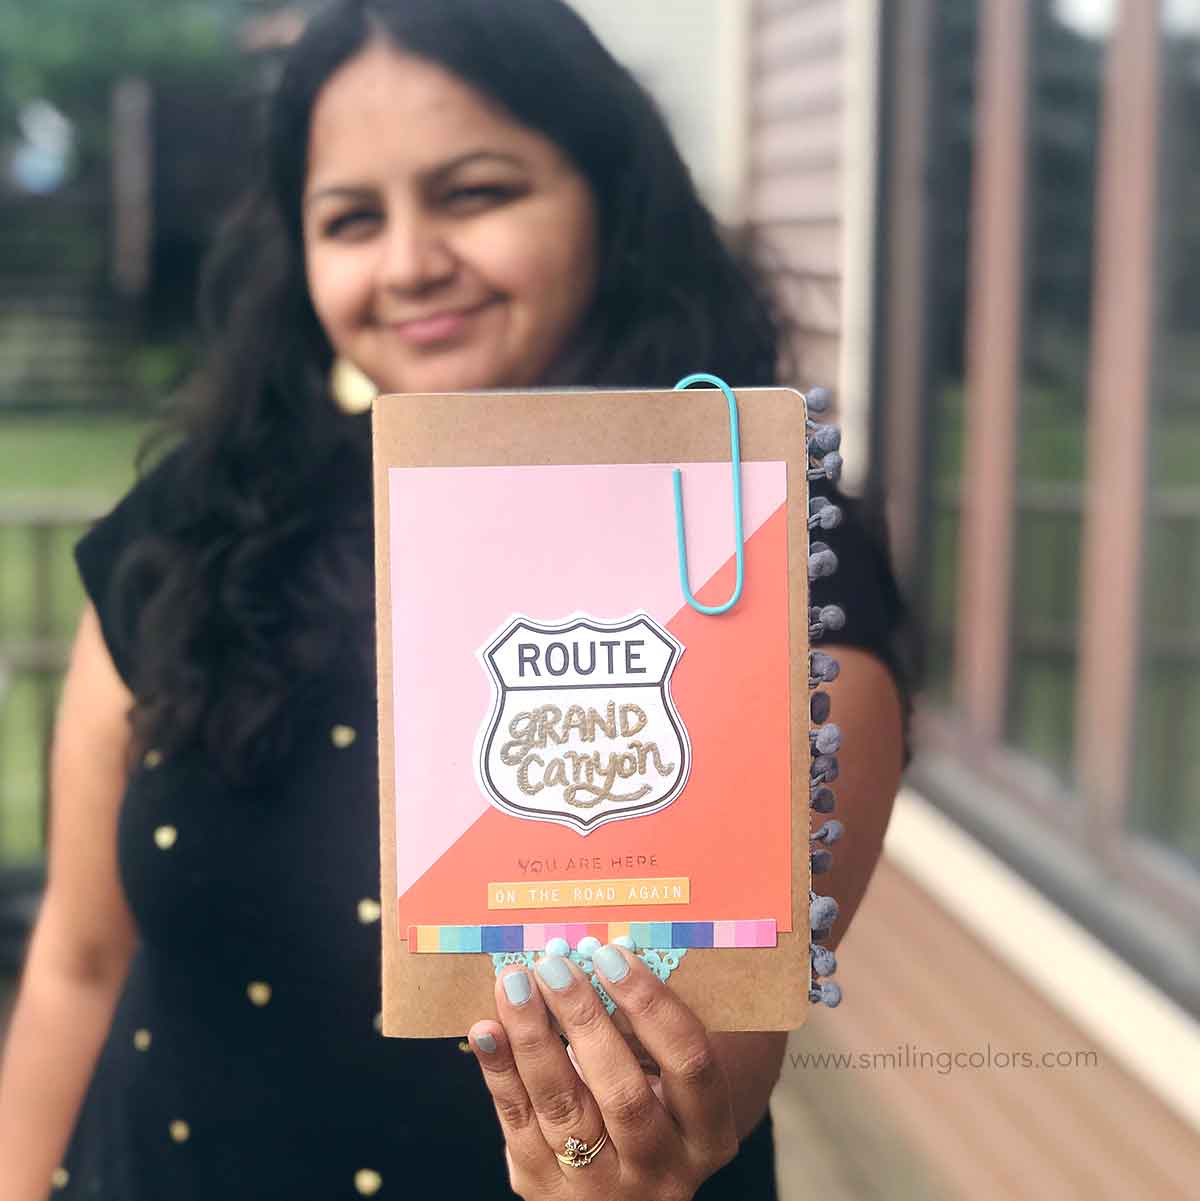
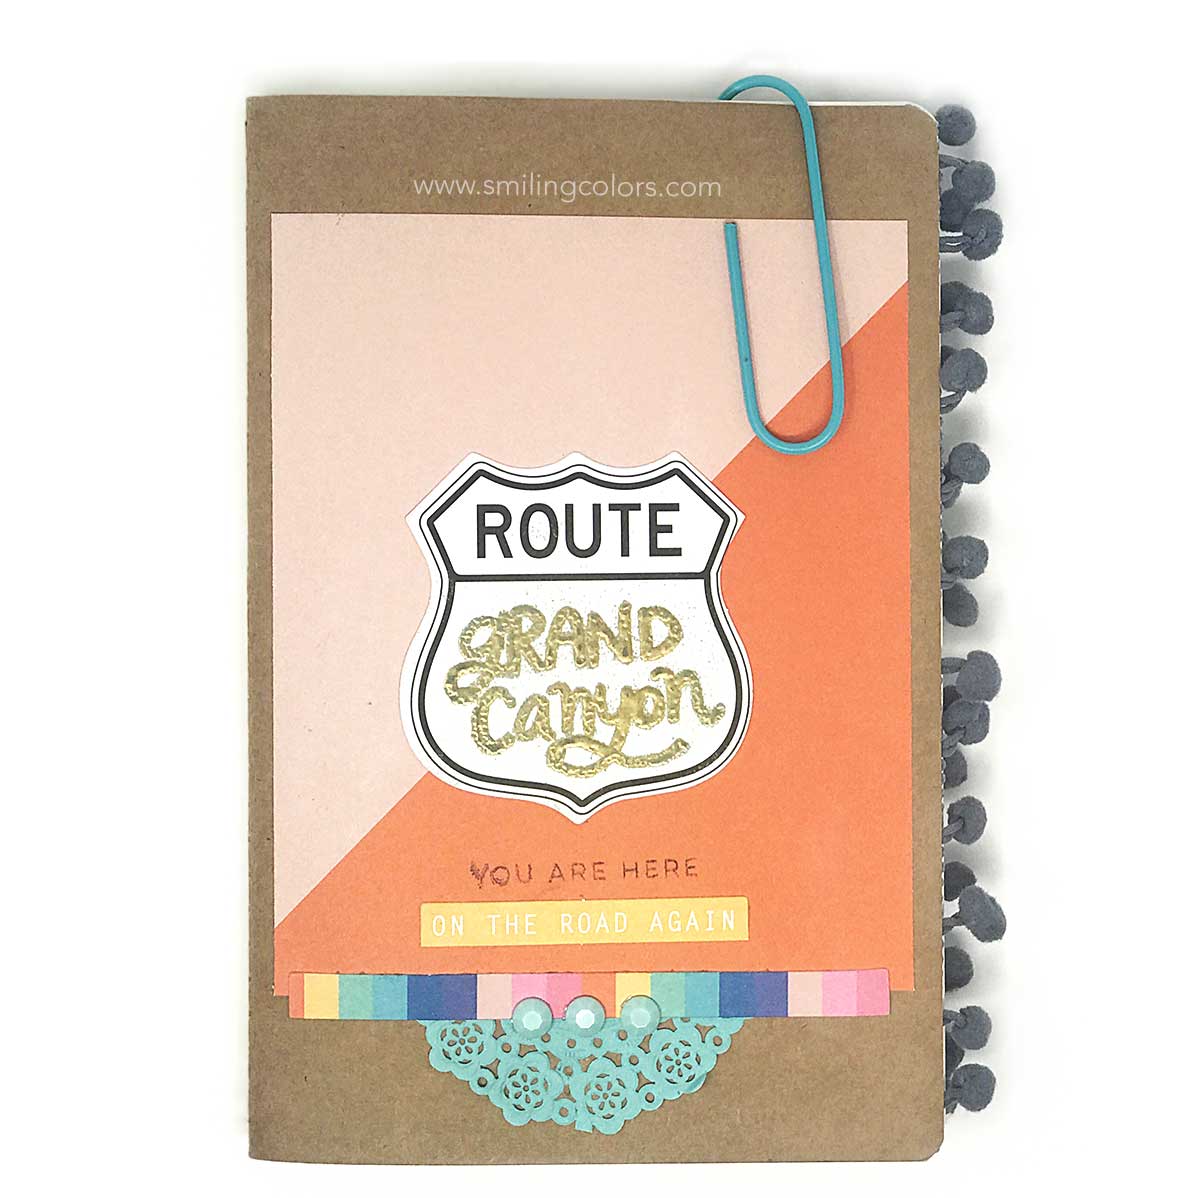
3. Spend time on the cover
Once you have the photos ready it’s like you have already won half the battle. At this point you will get super excited to GET STARTED.
Spend extra time on your album cover and make it look special. This is always my favorite part. I added some pom pom ribbon, did some gold embossing of my hand lettering and used this large jumbo clip on my cover. I LOVE how it turned out!!
TIP 3: I like to use a scrapbooking kit to speed up the memory keeping process. Kits are a great way to get trendy items that are all unique and well co ordinated together.
For my travel scrapbook today I used a Make a pretty life Kit and enjoyed how well all the supplies are co ordinated.
4. Start adhering things into place
I can spend hours just moving photos and paper embellishments around the page trying to choose the best layout. And oftentimes I go back to my first instinct itself.
TIP 4: So my advice to you is to stop overthinking, start with one photo you like, and stick it into place and go from there.
Once you have a photo in place and like it, start adding more elements around it to tell your story. Don’t overthink it, just go with the flow.

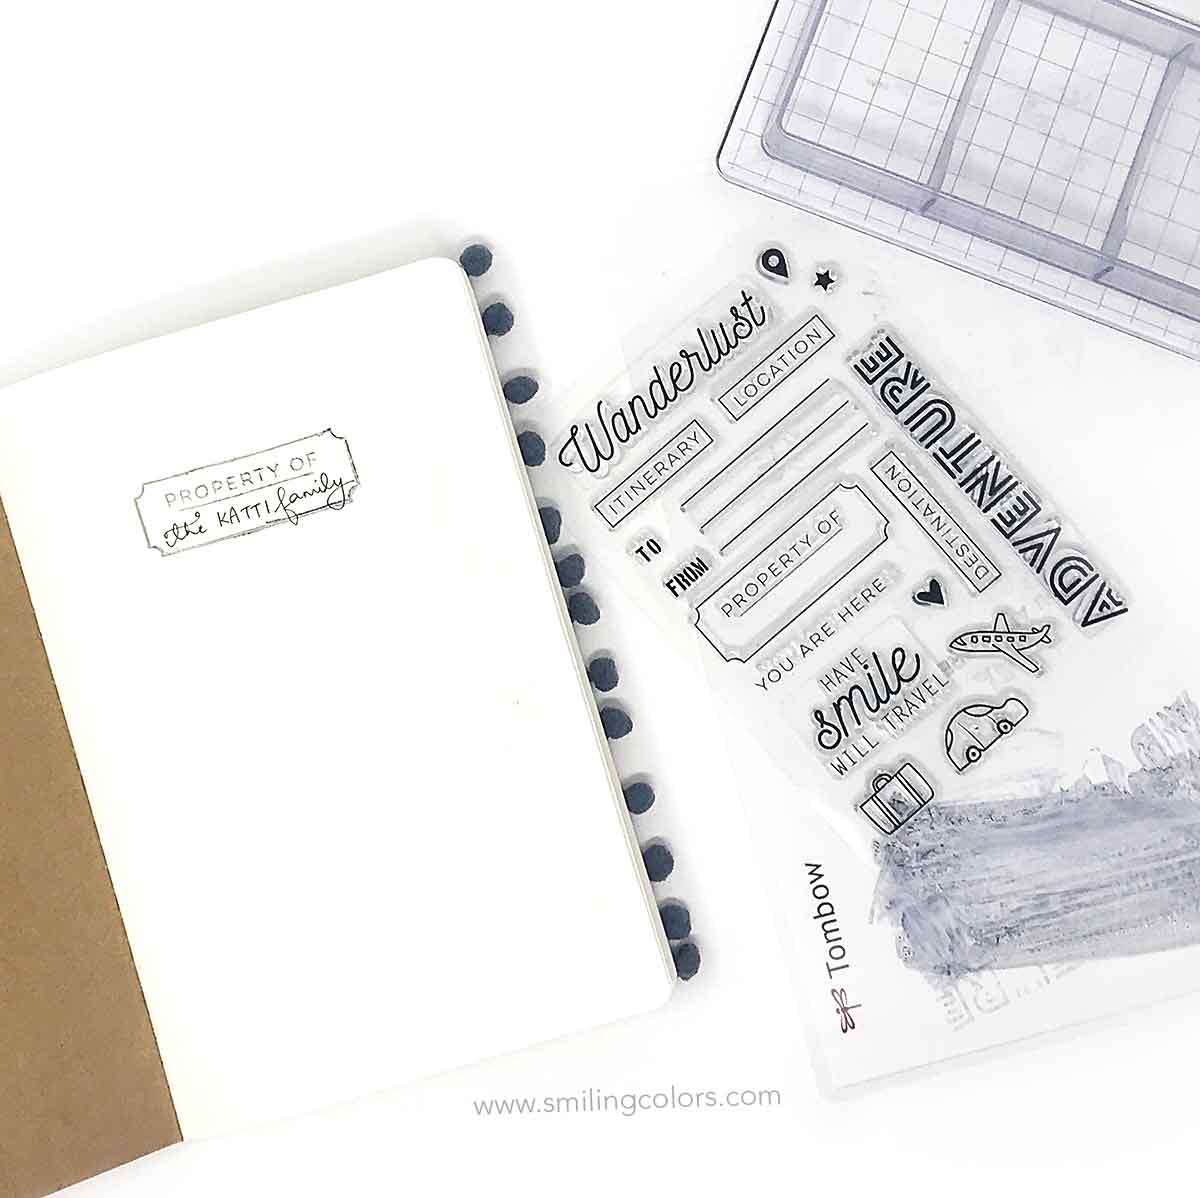
5. When in doubt, keep it simple
Some pages will fall in place easily, some not so much. For my first page, I really wasn’t sure what I wanted.
TIP 5: When in doubt, I always tend to keep it simpler than over the top. If it’s a simple layout and you aren’t too happy with it, you can always go back later and add some stickers and make it elaborate.
Here I used the stamp that came with the kit to stamp “Property of ” and then I added in the words “the Katti family”. Simple and just the right intro to the book.
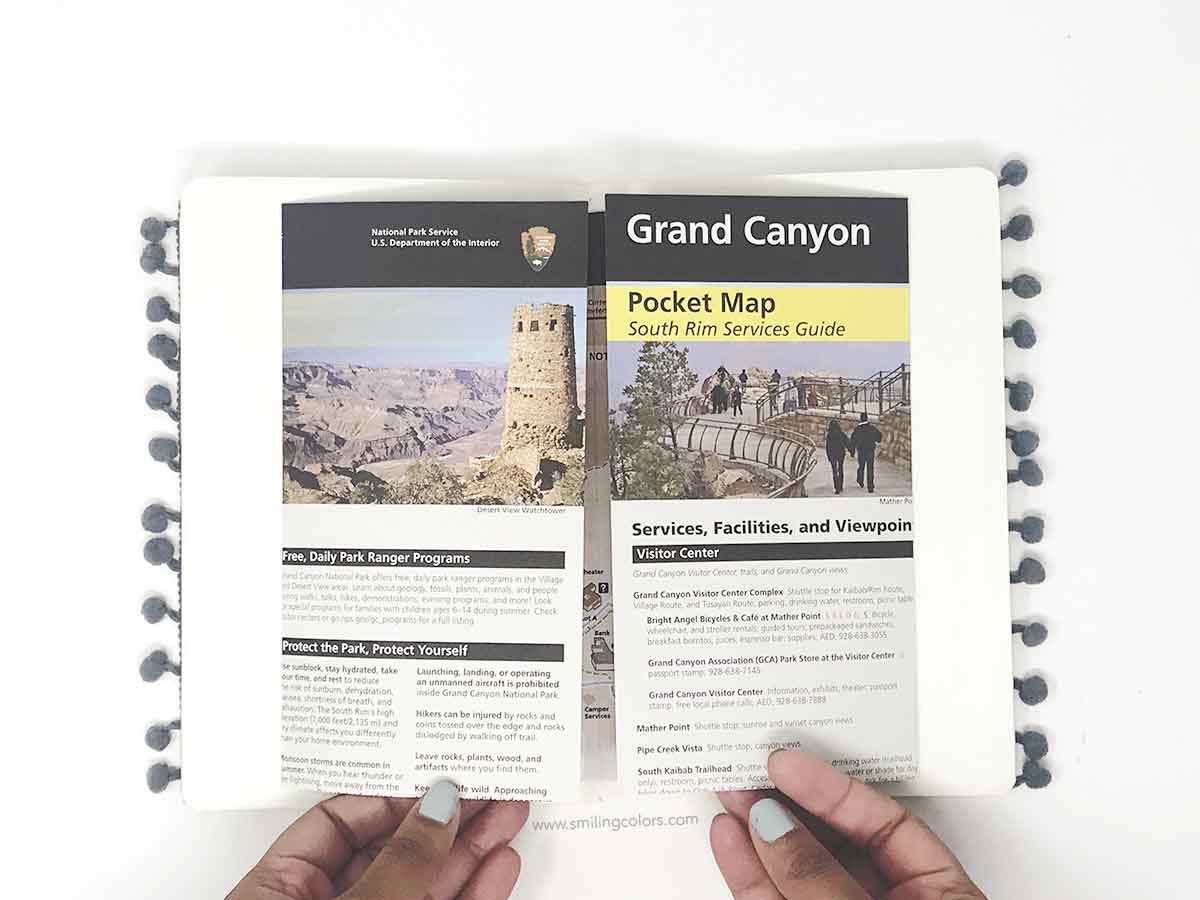
6. Use maps and pretty brochures
I like to add maps and pretty typography things. Not only that- you can adhere to ticket stubs, guide booklets, and other informational brochures and pamphlets as well. This not only adds interest to your travel scrapbook but also helps fill all those pages quickly.
TIP 6: A scrapbook is a great place to collect all of those tiny mementos we collect while traveling.

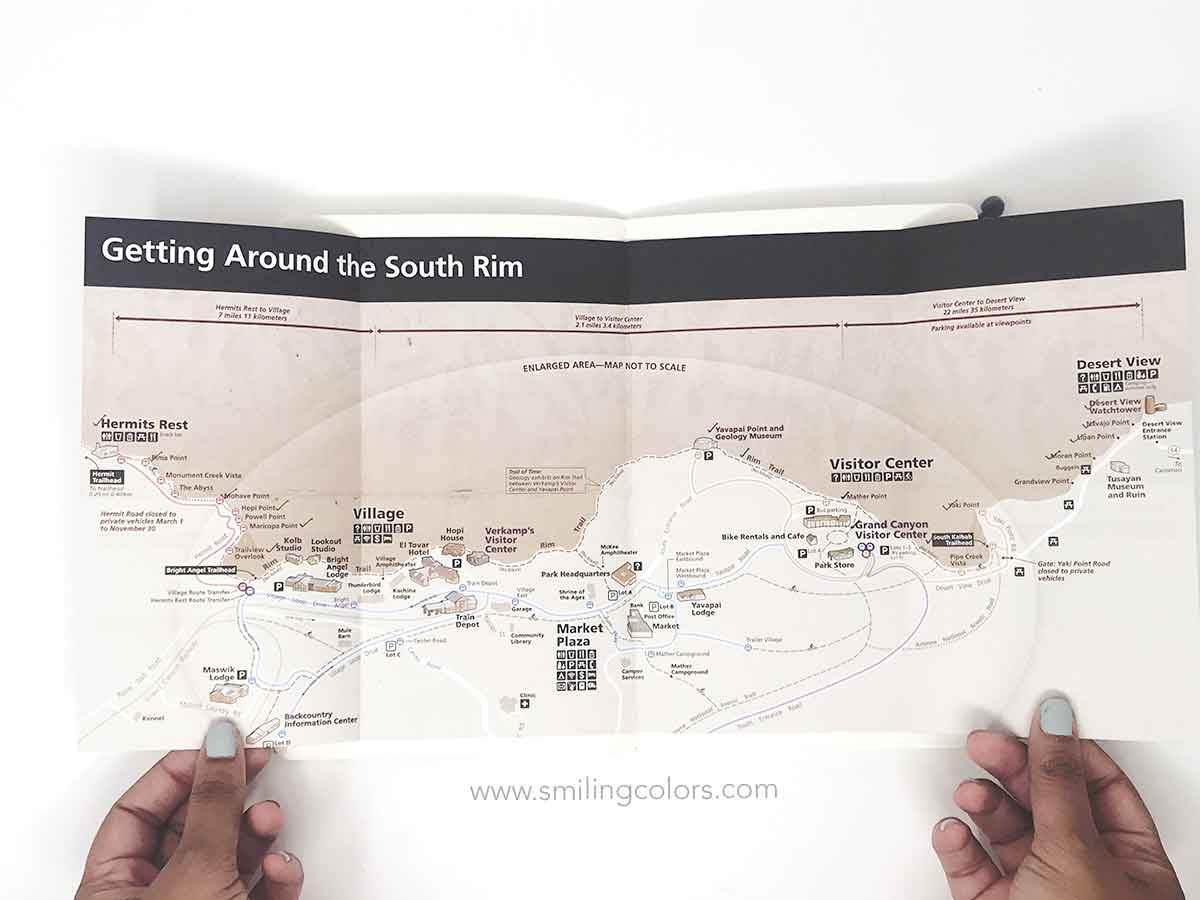
7. Create interactive elements
Adding interactive things brings a great fun element to your book. Here I really wanted to preserve this map that we carried with us everywhere for the 4 days that we were at Grand Canyon! So I just folded it and added it to the book and I love how you can open it up to see the entire map.
TIP 7: Adding interactive things brings a great fun element to your book.
Make sure to check out the video at the bottom of this post to see it in action.
8. Make your Traveler’s Notebook YOUR style

Bring your own unique style and sense to this book by adding bits of any creative craft you love. I am a hand-letterer and so I added large hand-lettered styles in many places in this book. If you are a watercolorist, add watercolor flowers to your layout. If you like to doodle, add doodled borders to each page.
TIP 8: Make sure to add something special to each page that is uniquely yours.
9. Have your family contribute
If you are feeling daunted at the task of filling up the pages of your travel scrapbook- have your family help out! I asked my daughters to write down how they felt during our trip and added those pages into my book as well. This is also a great way to preserve their hand writing.
TIP 9: Make it a family project. Ask family members to write two lines about their trip memories

10. Most of all, have fun scrapbooking!
This is my no.1 mantra! Have fun, do you and create pages and layouts that make YOU smile. This spread below was completely unplanned, I just added a few things and liked how it looked and went from there. Now this is one my favorite layouts of this travel scrapbook because it just fills me with joy because it sums up how I feel traveling with family.

travel scrapbook Video
And here is my YouTube video that shows you a flip-through of my entire travel scrapbook. Click the video box below to watch or head here to watch it on YouTube.
Supplies Used:
- Scrapbooking Kit- July “On our way” by Make a pretty life
- Fiskars SureCut Deluxe Craft Paper Trimmer, 12 Inch
- Canon PIXMA Pro-100 Printer
- Zig Emboss Writer Twin Tip Marker, Clear
- Embossing Kit with Embossing Heat Tool
- Canon Photo Paper, Matte, 8-1/2 x 11
- Tombow Dual Brush Pen Art Marker, N15 – Black
- TONIC STUDIOS Nuvo Embossing Powder Fine Detail
- Tombow Adhesives
- Dotted Notebook/Travel Journal – 5.5 x 8.25
Thanks so much for spending some crafty time with me creating this travel scrapbook. Let me know in the comments below which is your dream destination that you would love to travel next.
Happy Crafting!