Felt is a wonderfully versatile material for crafts, it is so soft to the touch but is sturdy enough to hold its shape. Let’s explore how to cut felt easily using a few different methods and what tools you will be needing for this.
Where you are learning how to make felt flowers or making your own DIY nursery wall art every felt project begins with figuring out how to cut felt. In fact, cutting the felt is the major portion any felt craft for beginner, and let me share a few tips and methods to ensure you are successful.
Affiliate links have been used at no extra cost to the reader. You can read my full disclosure here.
How To Cut Felt By Hand:
Cutting felt by hand using a good pair of sharp scissors is the easiest way how to cut felt.
This method is best for simple shapes, small projects and quick cuts.
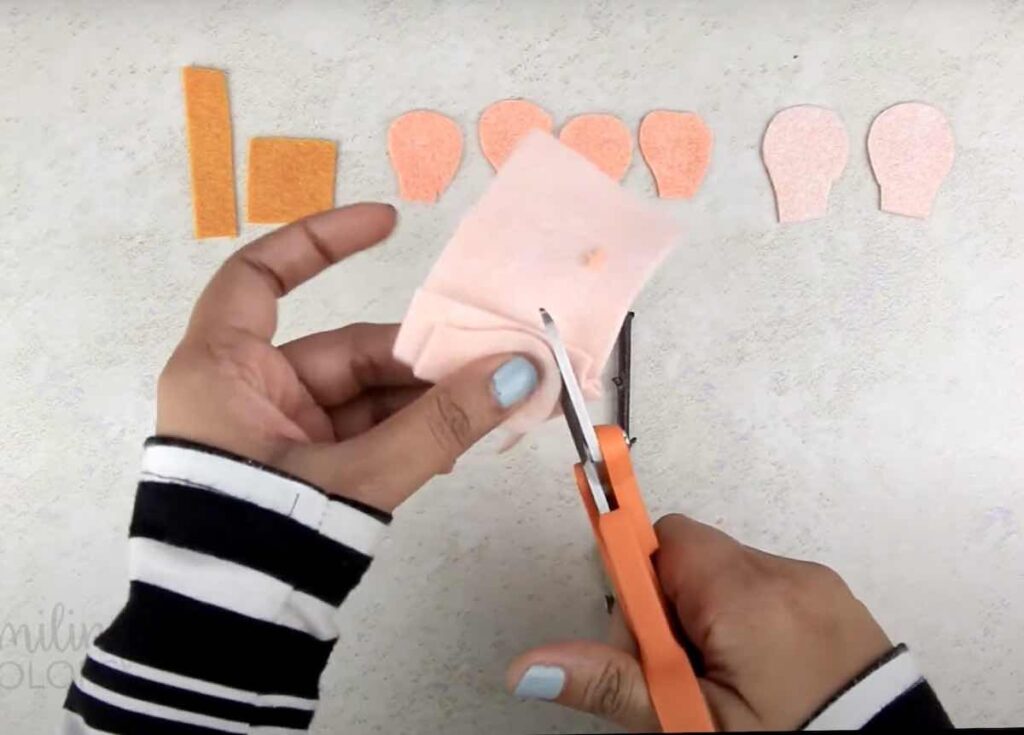
Almost every crafter has a nice pointed pair of scissors, and with a little patience you can literally cut any shape your heart desires. A really good scissor, will make this job so much easier, and below are a few options I love using and some tips to help your felt cutting project.
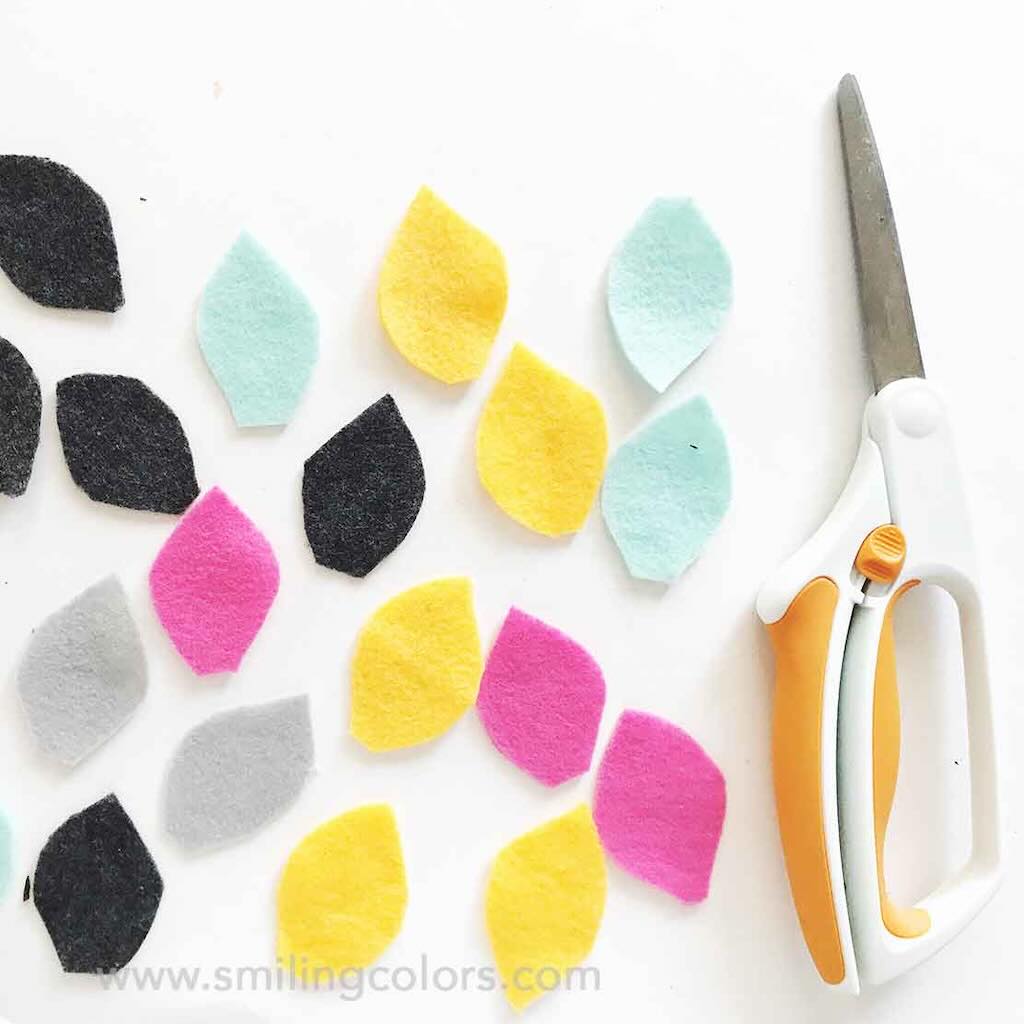
For small sized projects, like this strawberry craft, I used the Fiskars Micro-Tip Scissors, 5 Inch. This small scissors provides clean cuts with precision.

For cutting larger shapes, the Fiskars 8 inch scissors always gives great results. If you need to cut out felt shapes, cut slowly and steadily keeping the scissors perpendicular to the felt.
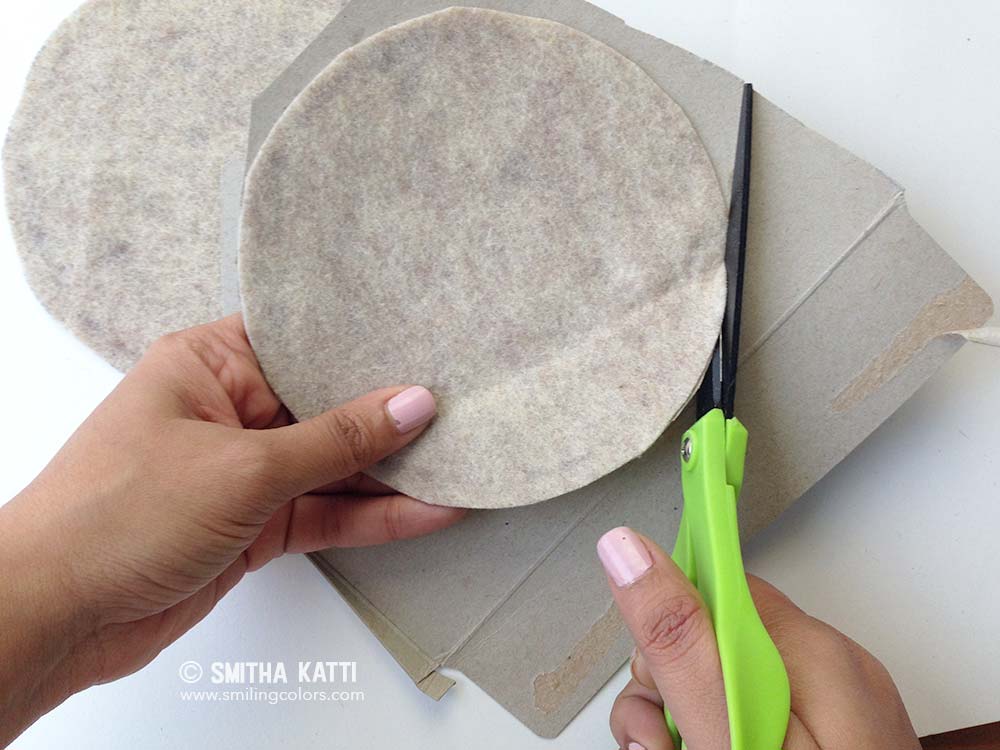
TIP: Trace or draw your shape (like a circle) onto an opened cereal box to use as a template. The cardboard gives steady support to the felt while cutting.
Tracing your design onto a thin cardboard is great especially if you will be cutting many of the same shapes in different colors like in these felt faces craft.
If you print your paper pattern off of your computer, like I did with this peacock feather template, you can pin it to the felt using sewing pins. Alternately, you can simply hold the layers of paper + felt firmly in your hand and cut out the design as needed.

To cut multiple layers of felt at once, I highly recommend any of the Amplify Fiskars scissors. The blades of the scissors are designed to cut thicker materials, and it makes cutting felt pieces a breeze.

Die-cutting Felt
Before diving into die cutting felt, make sure to start from the beginning and check out my intro how to use your die cutting machine. Now let’s see how to cut felt with a die-cutting machine.
There are many die-cutting machines available in the market, but if you use your steel cutting die only, you might have to crank the handle hard to try and pass the felt sheets through.

To make die cutting felt super easy, add a steel metal sheet into your die cutting sandwich, this applies even pressure onto the cutting dies for felt and fabrics!
Die-cutting felt is best for precise, repeat shapes like flowers, letters or decorations.
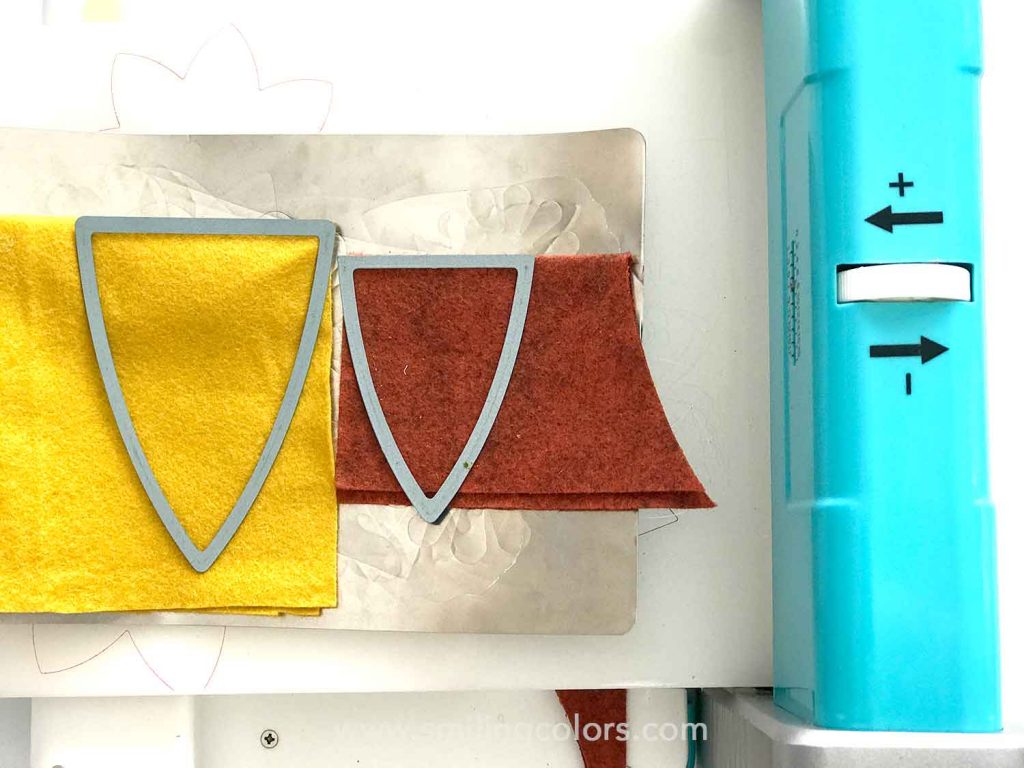
Here is how I recommend you build your sandwich- place the bottom cutting plate, the metal steel shim, then the felt, the die (cutting edge down), and the top plate. This improves the cutting and you get crisp felt designs in minutes!
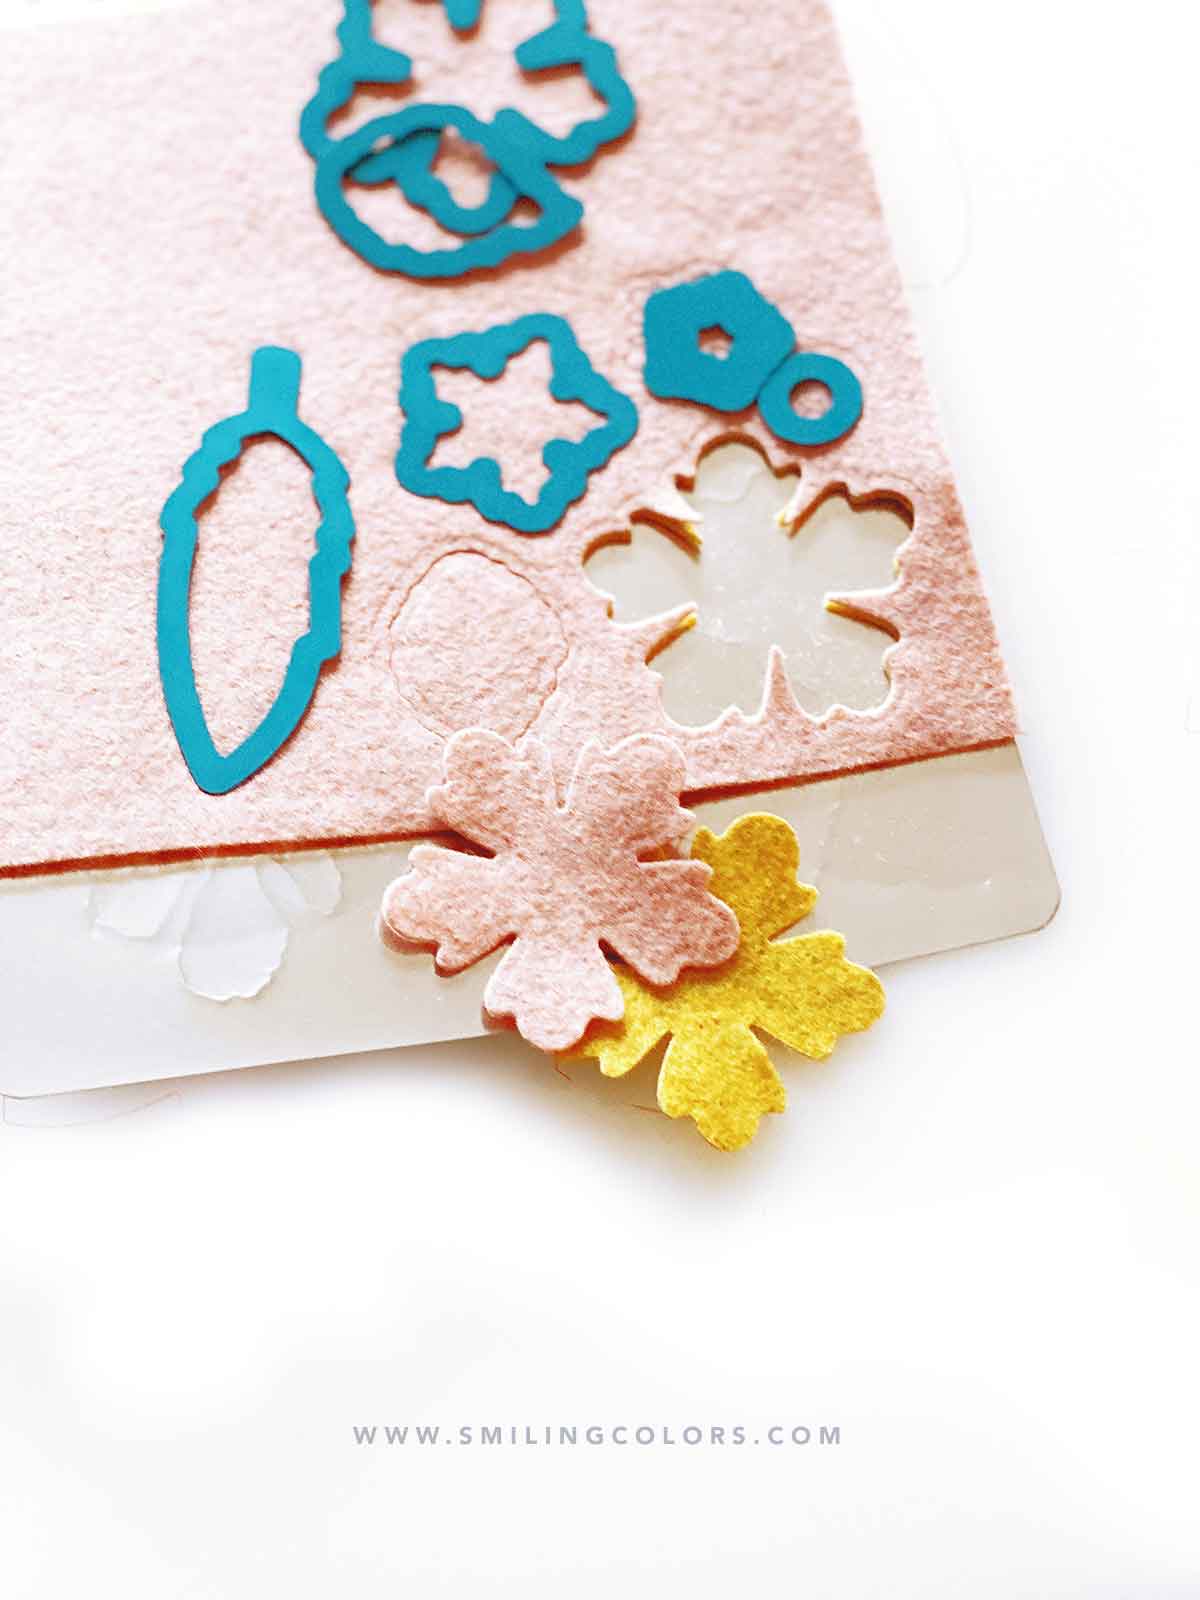
TIP: Arrange your felt and dies carefully to avoid wasted materials

Cutting Felt With Electronic Machines (Cricut etc)
Electronic cutting machines like the Cricut maker, are great for cutting detailed designs and complex shapes from felt, especially if you need to cut large quantities.
Here is how to cut felt with an electronic machine- make sure you choose a felt compatible setting and are using the rotary blade. Always run a test first to make sure you have the right cutting depth, blade and pressure.
TIP: Not all electronic machines will cut felt, make sure to check the manufacturers description of your machine
General Felt Cutting Tips
- Felt quality matter: Wool felt tends to be sturdier and can give cleaner edges, while synthetic craft felts may stretch or fray more.
- Go slow with intricate cuts: Sharp angles and tiny shapes are easier when you cut a little slower and support the felt with your fingers.
- Keep blades sharp: Make sure to use sharp scissors for clean cuts
- Make sure to clean: Dies, scissors and even electronic machines will collect fiber residue as you cut felt over and over again. Make sure to wipe blades clean.
How to Cut Felt Conclusion:
Depending on your project, craft expertise and the supplies you have- you can choose to cut felt by hand, with die-cuts or an electronic machine. Once you master how to cut felt, you will find that there are so many things to make with felt! Felt comes in so many beautiful colors, is is my go to supply for a quick satisfying craft. I hope you found this how to cut felt tutorial helpful friends, happy crafting!