

Make a whimsical House Shaped Pillow with no sewing involved! This Fabric DIY project is simple, cute, and easy to put together- Make one of these to decorate your kids room, nursery or reading nook today!

Supplies used for this project:
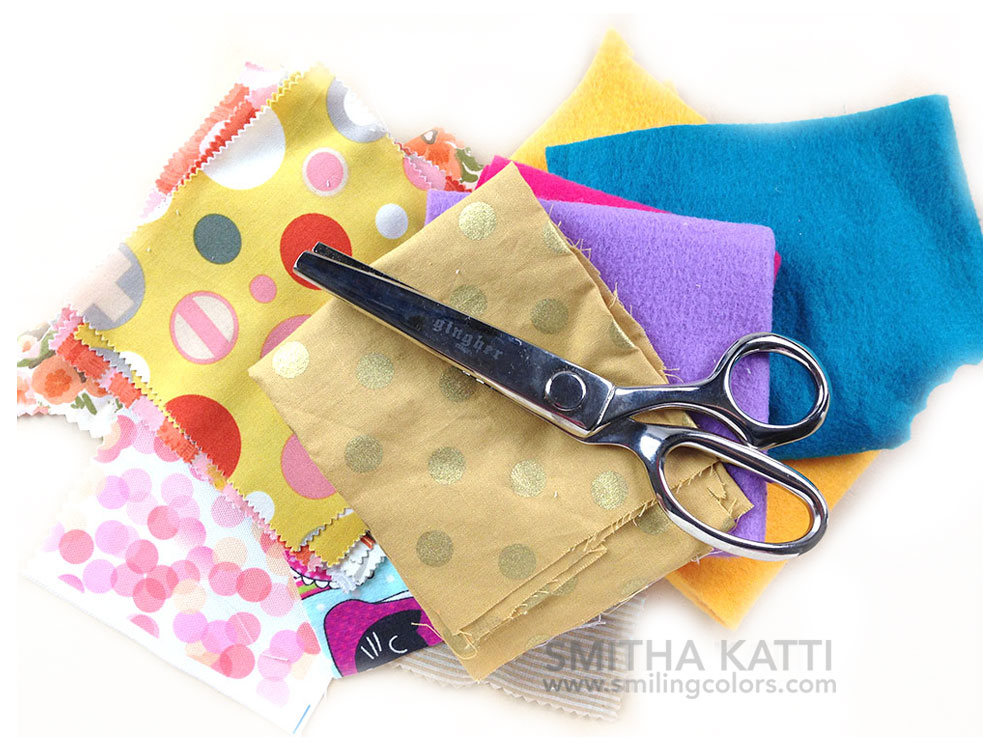
For my fabric stash buster project, I reached for a bunch of fabric and felt scraps I had collected over the years. But here is a list of the tools I use in the video
- Fairfield PF-5 Poly-Fil Premium Fiber
- One Box of 50 Plastic Bobbins Floss & Needlecraft Organizer
- Prism 6-Strand Floss Jumbo Pack 8.7yd 105/Pkg, Assorted Colors
- Nuvo Crystal Drops
- Embroidery Scissors Gold Stork Sewing Scissor
- Gingher Scissors
- Dritz 395 Original Liquid Stitch, 2-Fluid Ounce
- Fiskars Acrylic Ruler, 6×24 Inch
- Fiskars Amplify RazorEdge Fabric Shears (8 Inch)
A few weeks ago I was challenged to make a craft project using supplies from just your craft stash. I took to Facebook to ask you all what you would like me to use- Paper, fabric or felt, and almost all of you chose fabric! So here is my No-sew Scrap Fabric DIY Project- A cute no-sew House Shaped Pillow.
House Shaped Pillow Video Tutorial:
If you are a visual learner like me, you will enjoy the video tutorial more than anything I can type here. Click on the video box below to watch or click here to watch it on Youtube in HD. Make sure to Subscribe to my channel!
HOW TO MAKE YOUR HOUSE SHAPED PILLOW TUTORIAL:
Prep your Fabric pieces: You will need to trim out a piece of fabric to be the roof shape. I drew out my shape on paper and used that as a reference. for the house I chose fabric scraps and arranged them to form a rectangle.


How to use no sew fabric glue:
The glue I am using today is called Liquid Stitch and you can buy it online here

- Onto the right side of your first fabric, apply small dots of fabric glue along the edge.
- Then using a chopstick or any other tool, spread the fabric glue dots out to form an even line. Try your best to remove any bumps, as the bumps will dry thicker and create uneven seams.
- Align and place your next fabric on top while the glue is still wet
- Press down evenly all over the seam. Let dry.

5. To reinforce the seam, apply another layer of glue on top of the seam and fold the fabric back onto it. This is similar to a top stitch while sewing
6. In a similar manner you can adhere lace, ribbons etc and start decorating your house pillow.
7. To hold fabric in place while the glue dries, you can use clothespins.
8. I used the same glue to add felt details like the door.

9. Once you have the front and back pieces, adhere them together by creating a glue seam.
10. Let the seams dry for about an hour atleast, then turn your fabric house inside out.
11. Fill with polyfil of your choice.
12. Close the pillow shut at the bottom with a final glue seam, and hold that in place with clothespins or clips for atleast 12 hours till the glue dries completely!

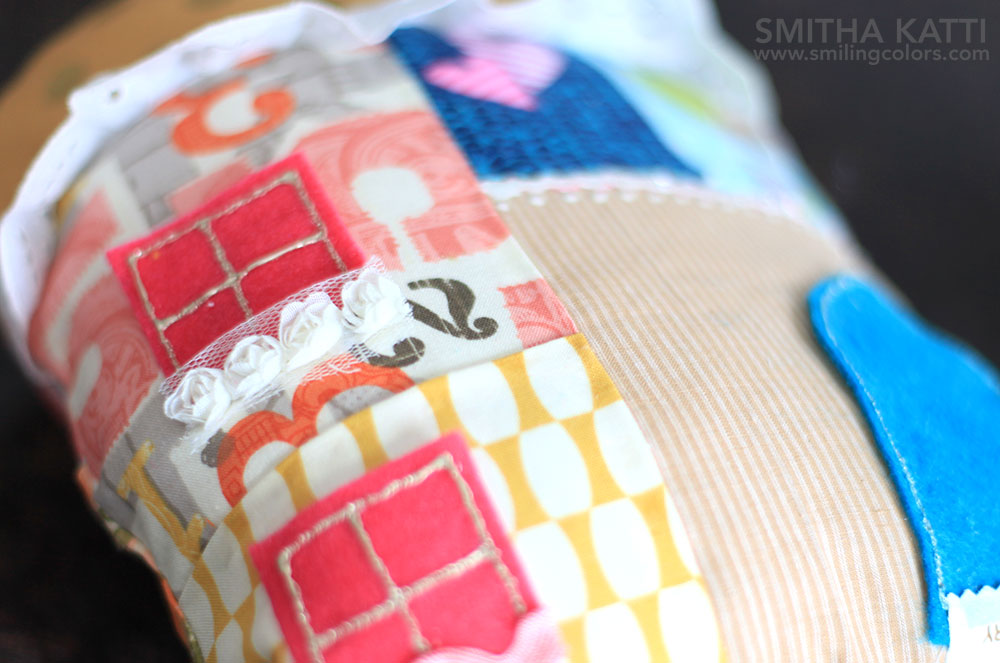
I had so much fun adding small details to the front of the pillow- a button for the door handle, some pretty trim around the window and scalloped lace for under the roof. Also, mixing and matching fabrics? Oh, that reminded me so much of my quilting days!
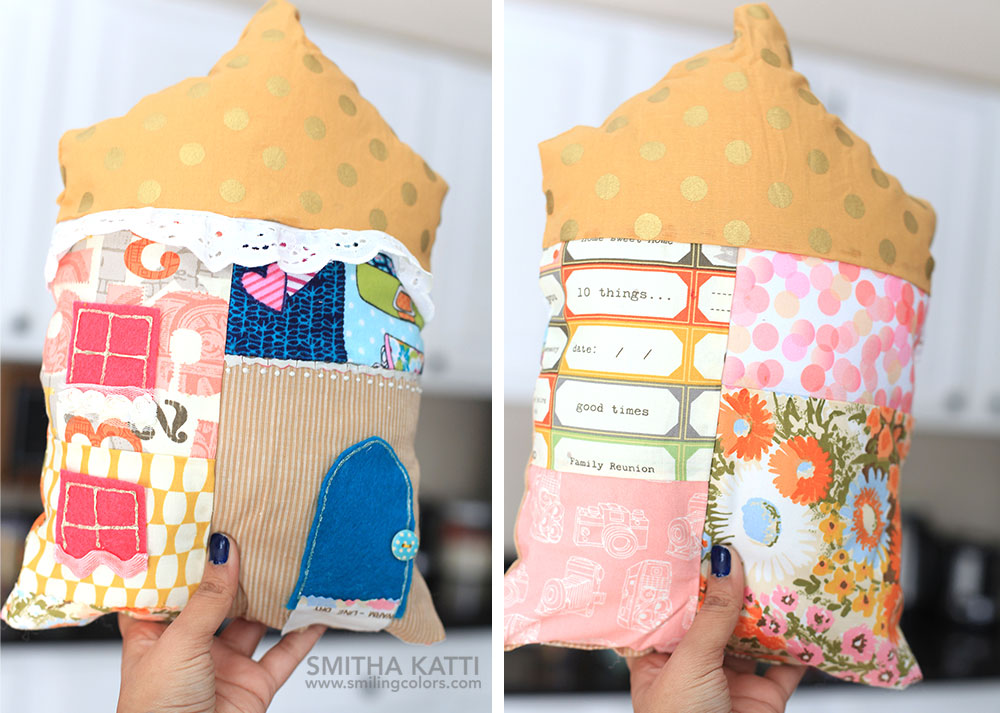
My daughter absolutely loves this pillow, and she, of course, wants to keep it in her bedroom. I was thinking of placing it in our entryway but I don’t think she will let go of it. And the pillow really is her size, isn’t it?
Pin this DIY project here
CONCLUSION
So what do you think friends? Does this spark ideas for you to create something from your fabric stash?
This is a fun way to use up some leftover fabrics you might have in your stash and make an adorable home decor item. I patch fabric blocks together to create a fabric of sorts- it’s like making a quilting block but using fabric glue.


Oh my goodness!!! This is spectacular! Cutest. Project. Ever! Thanks so much for sharing.
I so love this! I have a bunch of fabric scraps in my stash that this would be perfect for!
ADDDDDDDDDDorable!
This is the cutest pillow ever! Great tutorial as well!
Super cute! Love that you made this without a sewing machine. Visiting from Crafty Destash.
This is too cute and I love that its no-sew!
So cute! I love that you made a video for this too. I’d like to do create tutorial videos more this year, your style is great. Great job using the materials you had for the craft destash 🙂 Pinning now!
Thank you Molly for your sweet words’!
This is so sweet. And so easy to make. I love how you can use up all of the scrap fabric we crafters save because we know we will find a use for it. 🙂
What an awesome pillow. I would totally make this as a house warming gift for a new home owner. Thanks for the inspiration.
What a great idea!! I love how it turned out. I am a big fan of anything no-sew, so fabric glue is a great recommendation. Thanks for sharing!
Very cute! The crafty destash was so much fun to do!
Great idea to make it no sew! Lots of different ways you can make this pillow 🙂
Your pillows are awesome and a wonderful way to use up scraps!
This is beyond adorable and so clever! I can see why she loves it!