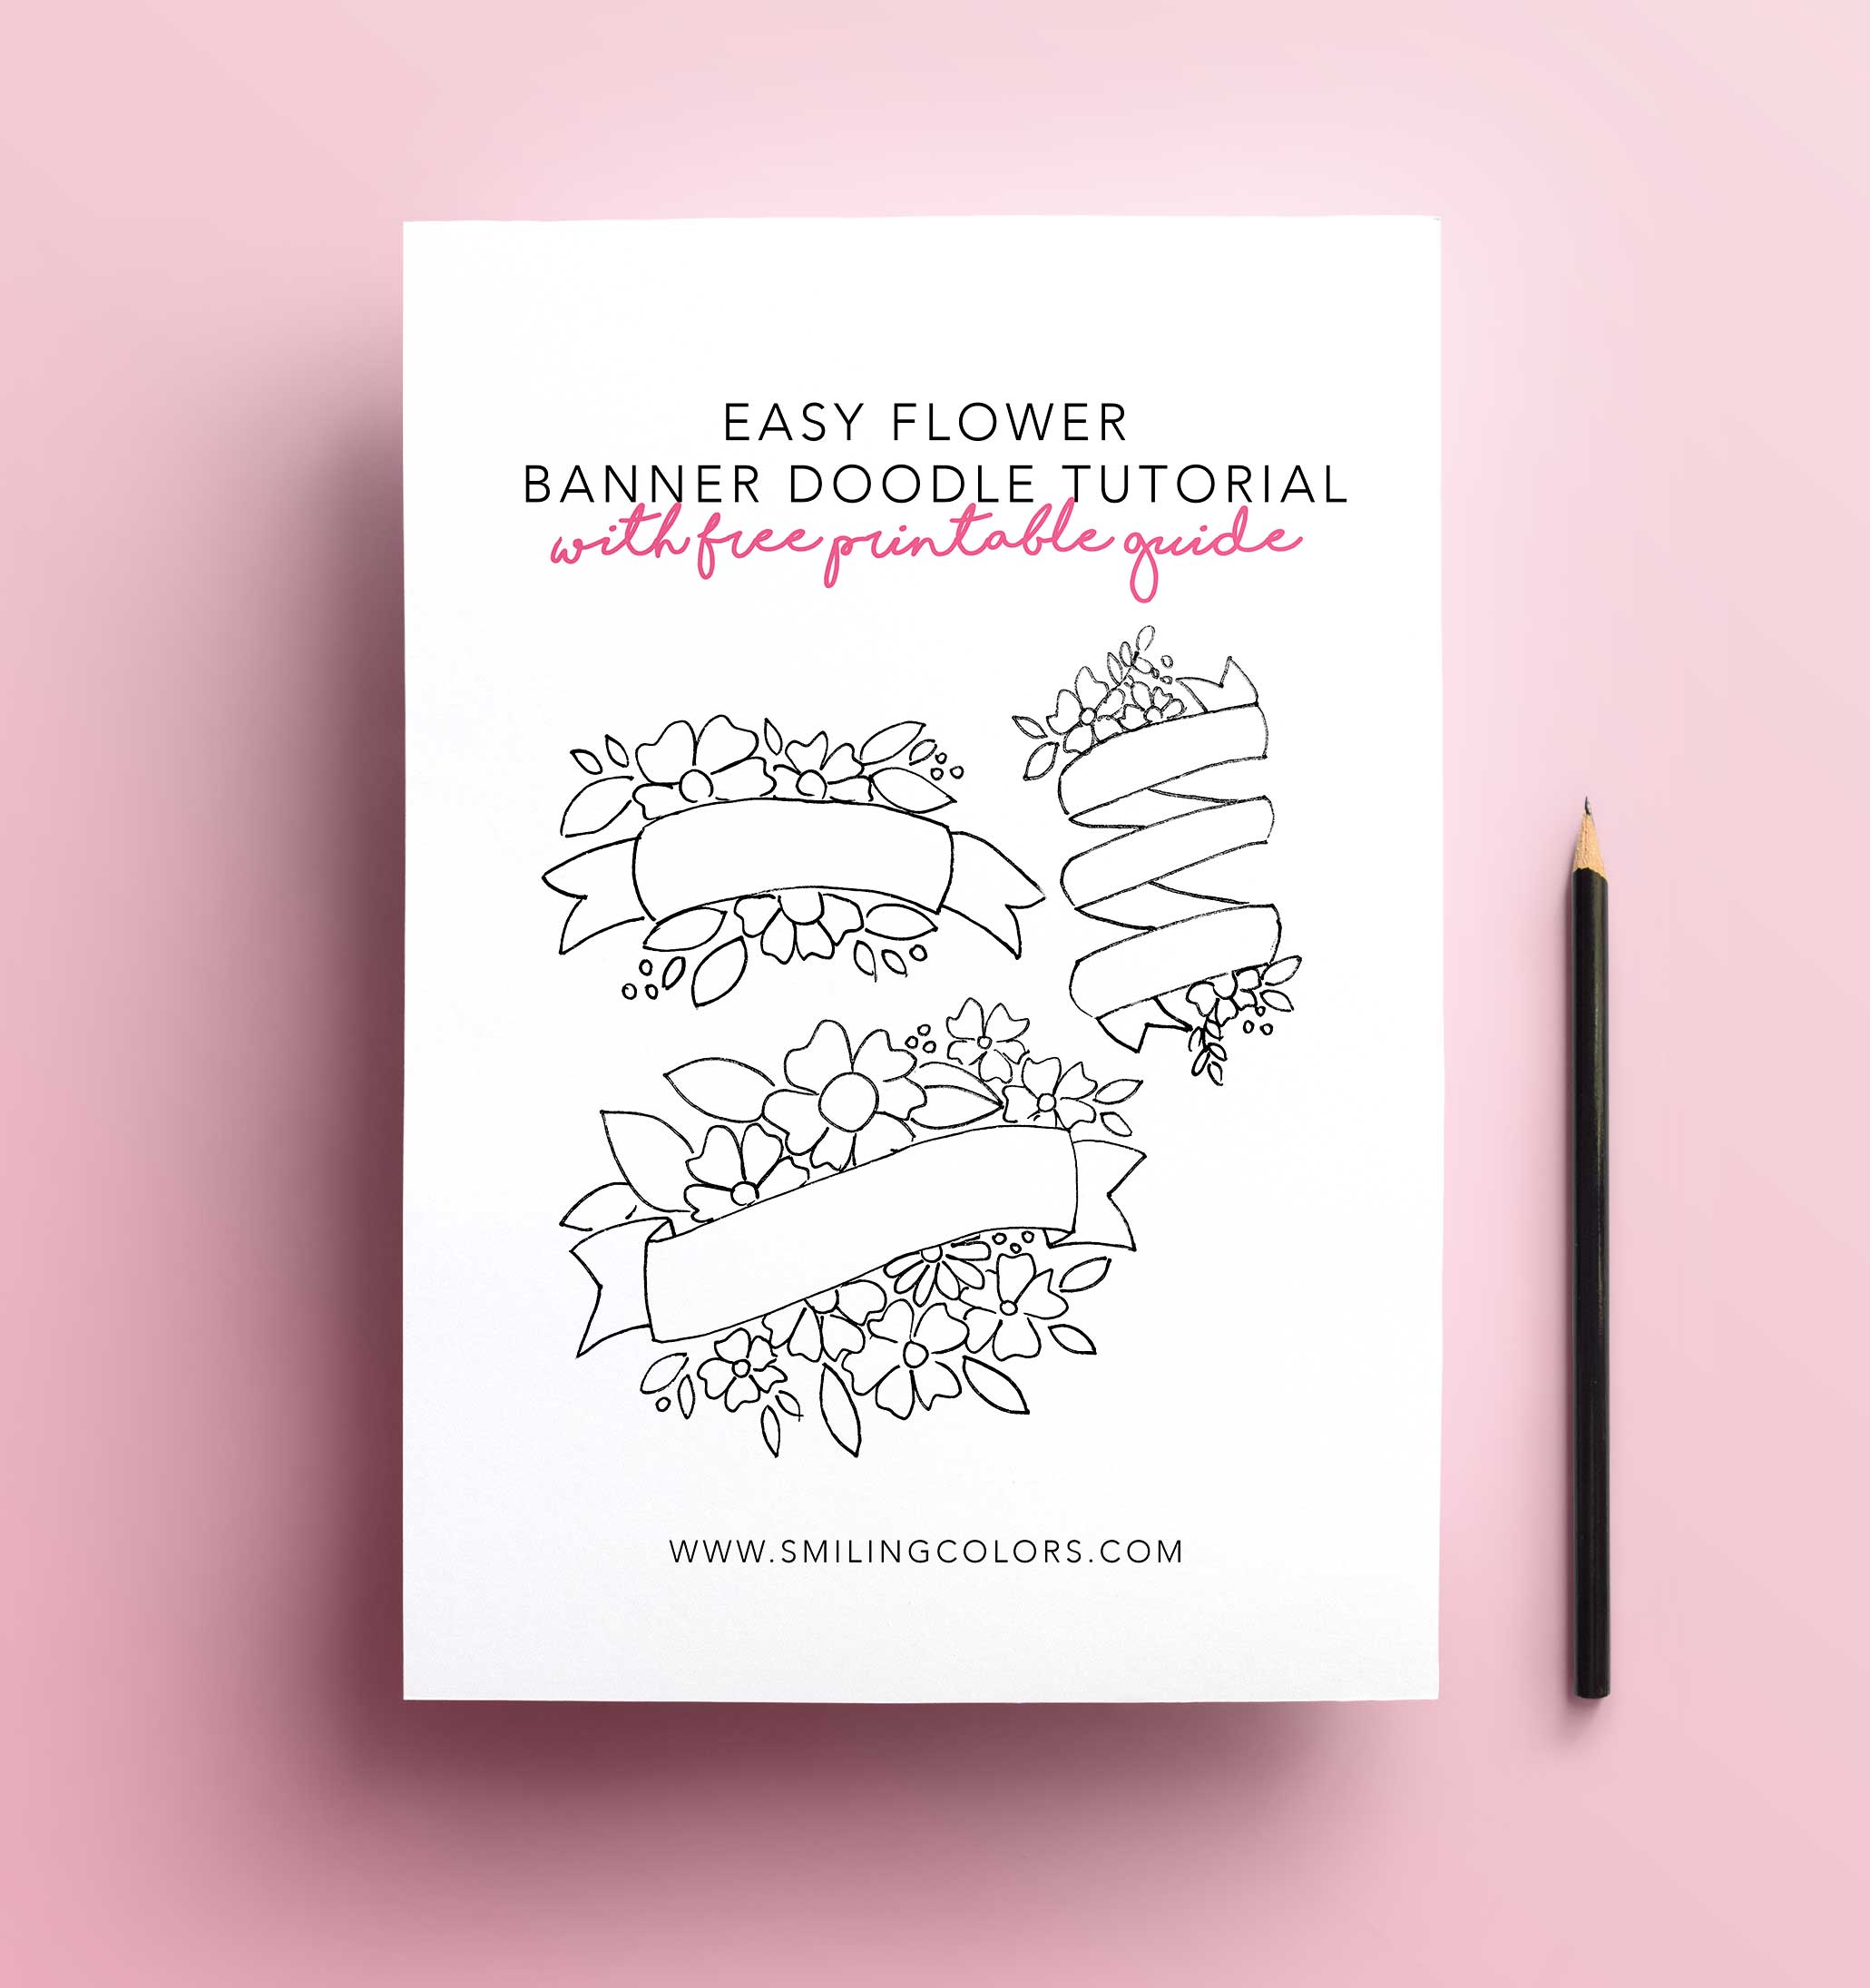
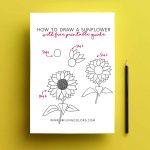
In this post, I’ll show you how to draw a banner step by step using three simple banner styles, plus I’ve included a FREE printable worksheet so you can practice along at your own pace
Banners are one of my favorite things to draw because they instantly frame words, calligraphy, and headings and once you learn the basic shapes, you can create endless variations
Supplies You’ll Need
You don’t need anything fancy to learn how to draw a banner.
- Paper (printer paper, sketchbook, or bullet journal)
- Pencil (recommended for beginners)
- Pen or marker for outlining
- Colored pens or markers (optional)
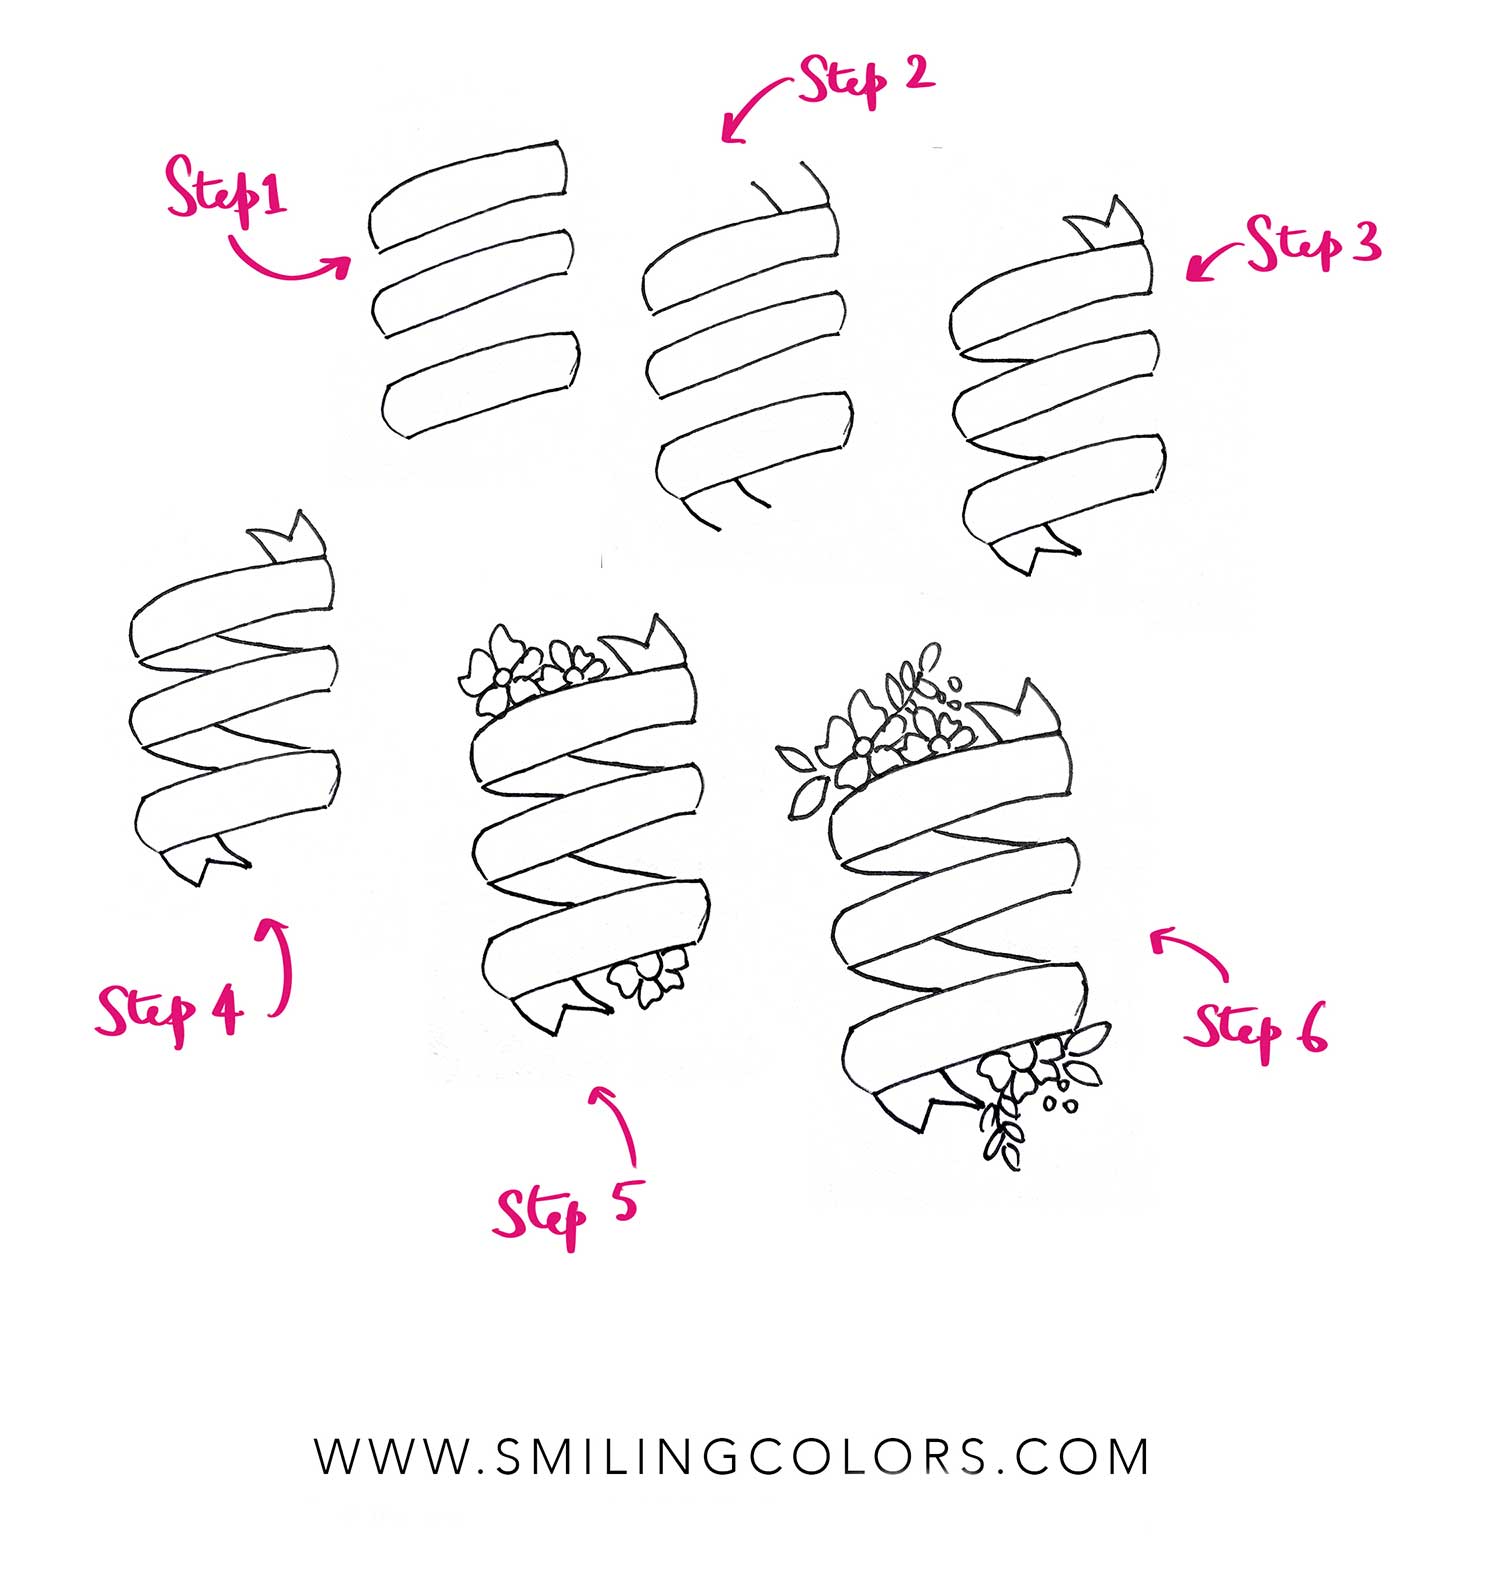
How to Draw a Banner: Simple Ribbon Style
This is the easiest banner style and a great place to start if you’re learning how to draw a banner for beginners.
- Draw two long, slightly curved parallel lines.
- Close the ends with short curved lines.
- Add small V-shaped cuts at each end to create the ribbon look.
- Erase any extra sketch lines.
- Add simple flowers or leaves along the edges if you like. Check out these leaf drawing and simple floral drawing posts for detailed tutorials.
This banner works perfectly for titles, names, or short words.
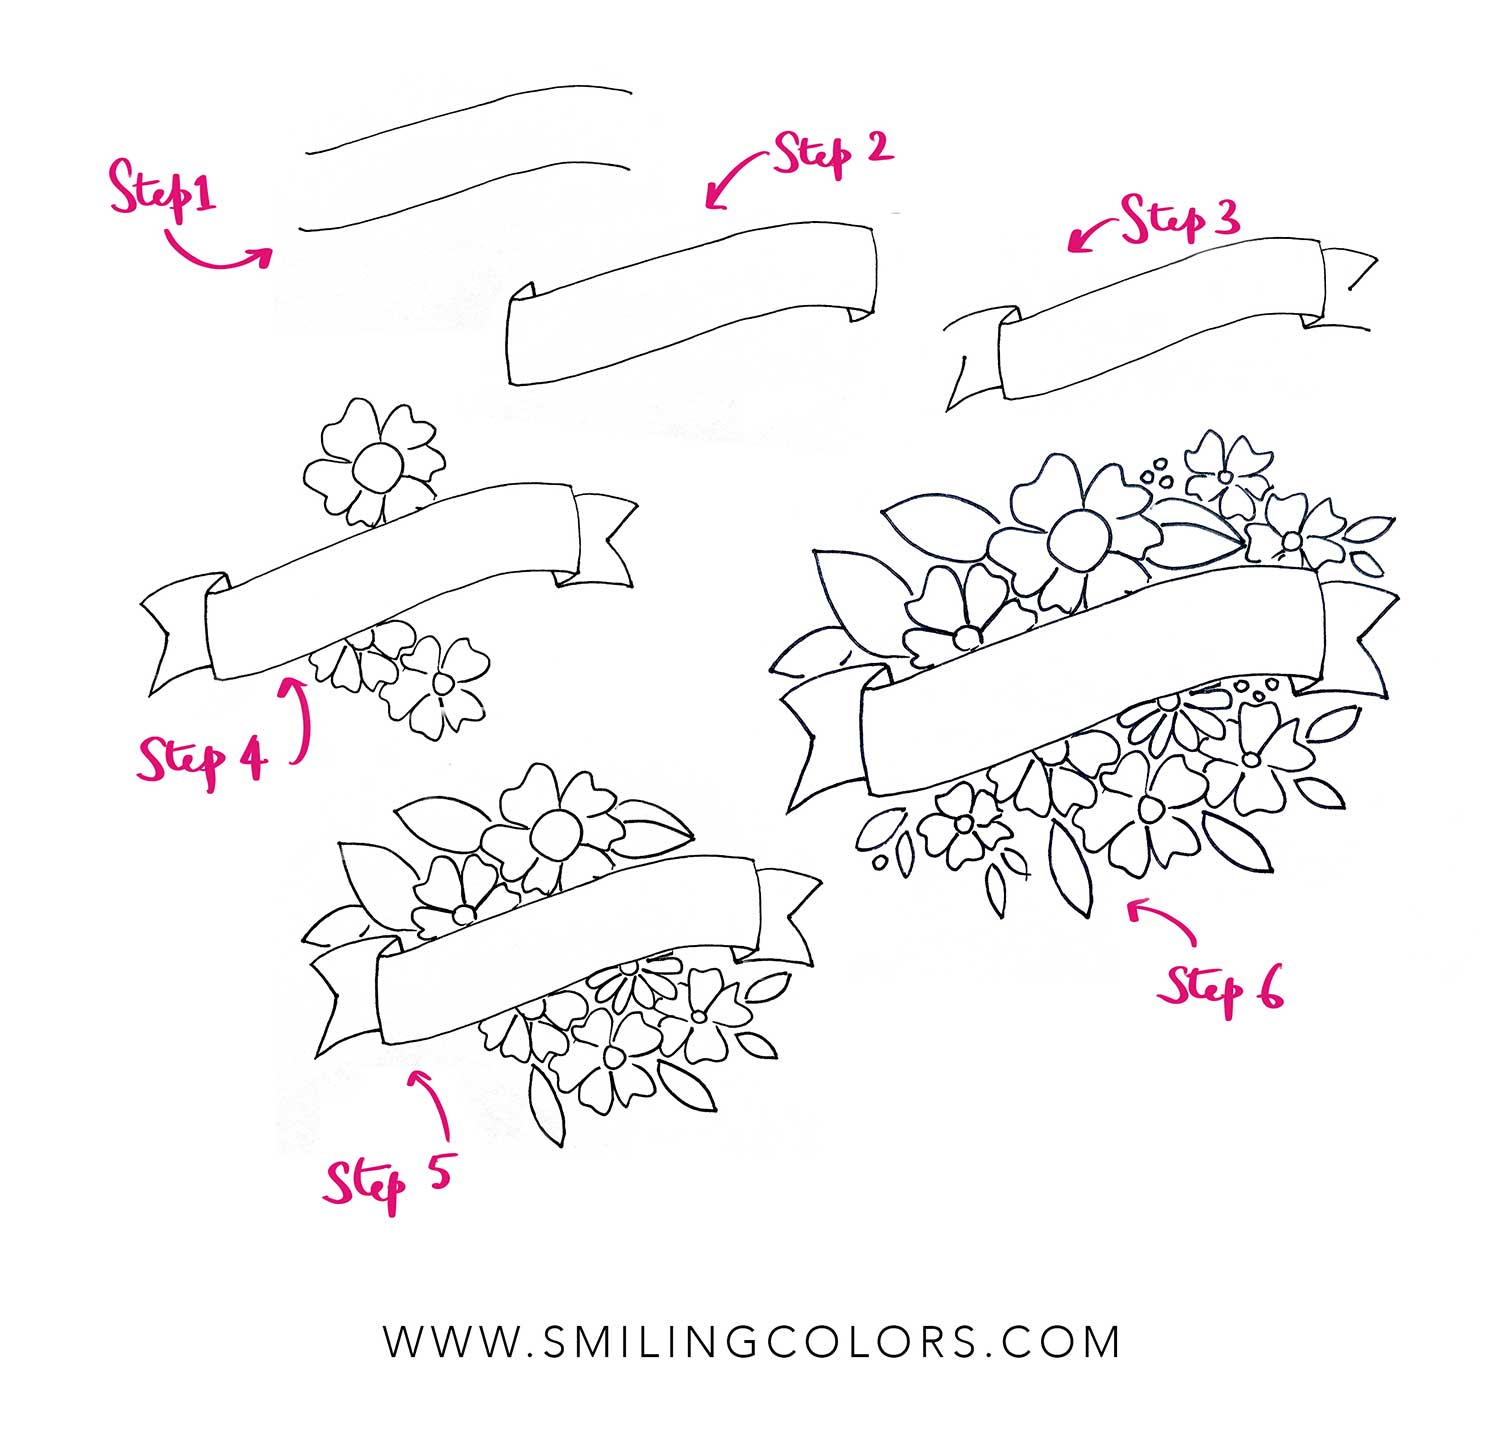
How to Draw a Banner with Curves and Movement
Once you’re comfortable with the basic ribbon, this style adds flow and motion.
- Draw two soft, wavy lines that move up and down.
- Add folded sections by drawing small cut-away shapes where the ribbon bends.
- Finish the ends with pointed or V-shaped tips.
- Decorate with flowers, leaves, or dots for extra detail.
This banner style is great for playful lettering and doodle pages
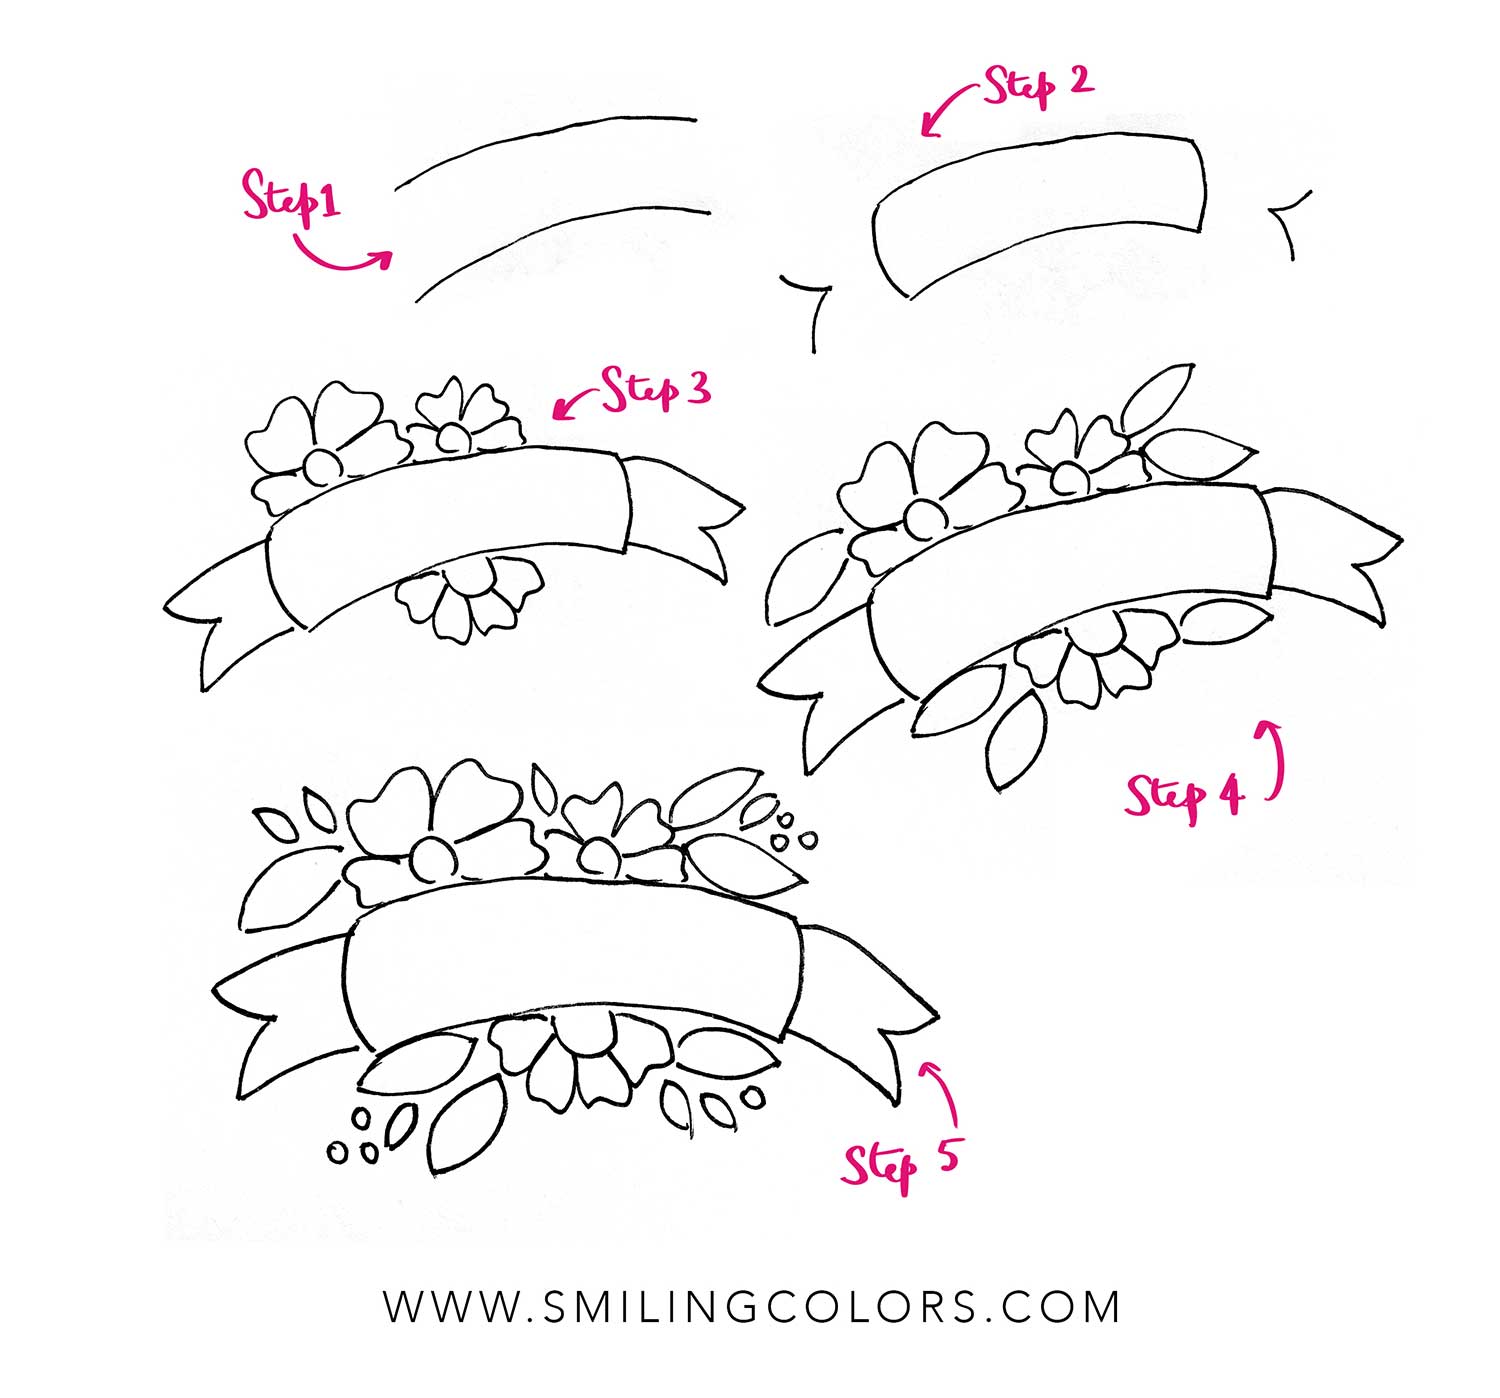
How to Draw a Layered Banner (Ribbon Fold Style)
This slightly more detailed banner looks impressive but is still beginner-friendly.
- Draw a light rectangle using a pencil. With a pen draw three ribbons at an angle parallel to each other
- Then add the top and bottom shorter ribbon ending curves
- Create those V-notched ribbon ends by selecting your center point first and then drawing out the V shapes. Draw curved lines where the middle ribbon folds backward.
- Connect the folds to give the banner a layered, 3D look.
- Add small decorative elements like florals, dot or lines.
This is a beautiful banner style for quotes, dates, or special occasions.
FREE Printable: How to Draw a Banner Worksheet
To make practicing easier, I’ve created a free printable worksheet that walks you through how to draw a banner step by step using all three styles shown above. Trace first, then redraw the banners freehand to build confidence.
Once you have practiced these banners, have fun coloring them in and adding your words, titles or quotes to the banner area.
Here is handy worksheet download
Tips for Drawing Better Banners
- Draw lines using pencil lightly so they’re easy to erase.
- Don’t aim for perfection, hand-drawn banners look better with a little imperfection.
- Add shadows or thickness to your outlines for a polished look.
- Try writing words lightly first, then draw the banner around them if needed.
Final Thoughts on How to Draw a Banner
Learning how to draw a banner is one of those small creative skills that goes a long way. Once you know the basic ribbon shapes, you can use banners everywhere journals, cards, planners, coloring pages, and art projects.
If you try this tutorial, I’d love to see your banners! Tag me on Instagram @smithakatti #smilingcolors so I can cheer you on
I’ve previously shared a Leaf drawing step-by-step tutorial and a Simple floral drawing tutorial that you have all enjoyed. Thank you for the love friends! Banners are so pretty and versatile to use- you can add them to a handmade card or use them to add titles to your journal spreads. A simple banner can add so much detail and beauty to your page and today I’ll show you how a few easy ways that you can draw them.

Thank you for being here today and spending some creative time with my friends! I’m so thankful for your kind words and support.
If you recreate this tutorial and share it on social media don’t forget to tag me! @smithakatti #smithakatti
Thank you so much for this. I will see you in class next week.
Namaste,
Lyric
dear smitha, i also live in minnesota! i live in minneapolis. i love the work you do!!! all the best, judy
Loved your floral banner class
Unfortunately I didn’t get the time to watch your class during the summer retreat but I greatly appreciate you providing a guide and some instructions here on your web page. Hopefully I’ll get a chance to practice them down the road. I also hope I get a chance to come back and see some of your other tutorials and check out your youtube page.