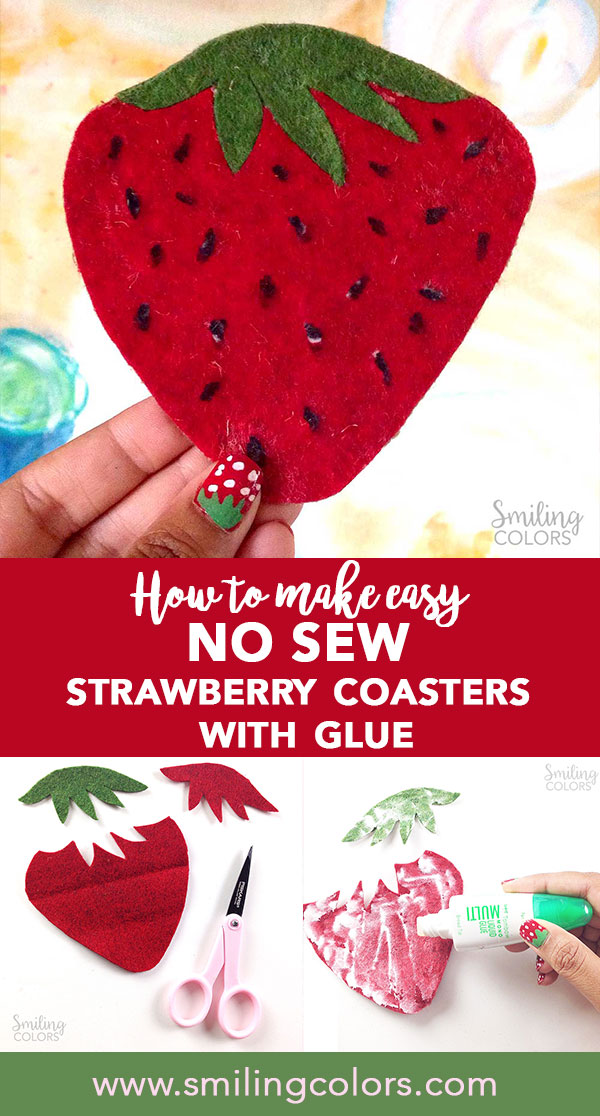
Here is a simple no sew coaster strawberry craft idea that you will love! With some felt and glue you can make absolutely cute strawberries, that look so cute on your desk or table!
This no sew coaster strawberry craft is a great felt craft for beginners and come together in just a few simple steps. Since they’re made from felt, they’re durable, reusable, and easy to customize with different colors or sizes to match your style.
No Sew Coaster Strawberry Craft
This tutorial breaks down the process of making no sew coaster strawberry craft into five simple steps. You can use paper, fabric or felt for on top of burlap to make these strawberry coasters, felt is my favorite though.
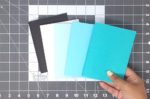
Step 1: Cut Out Shapes Using a sharp pair of cut out a basic strawberry shape from a scrap piece of red felt. Carefully cut out the top of the strawberry to make space for the stem and then use that piece as a guide to cut out the strawberry leaf top. This way, we will be sure that the green felt will fit correctly. Here are a few different methods showing you how to cut felt easily for beginners

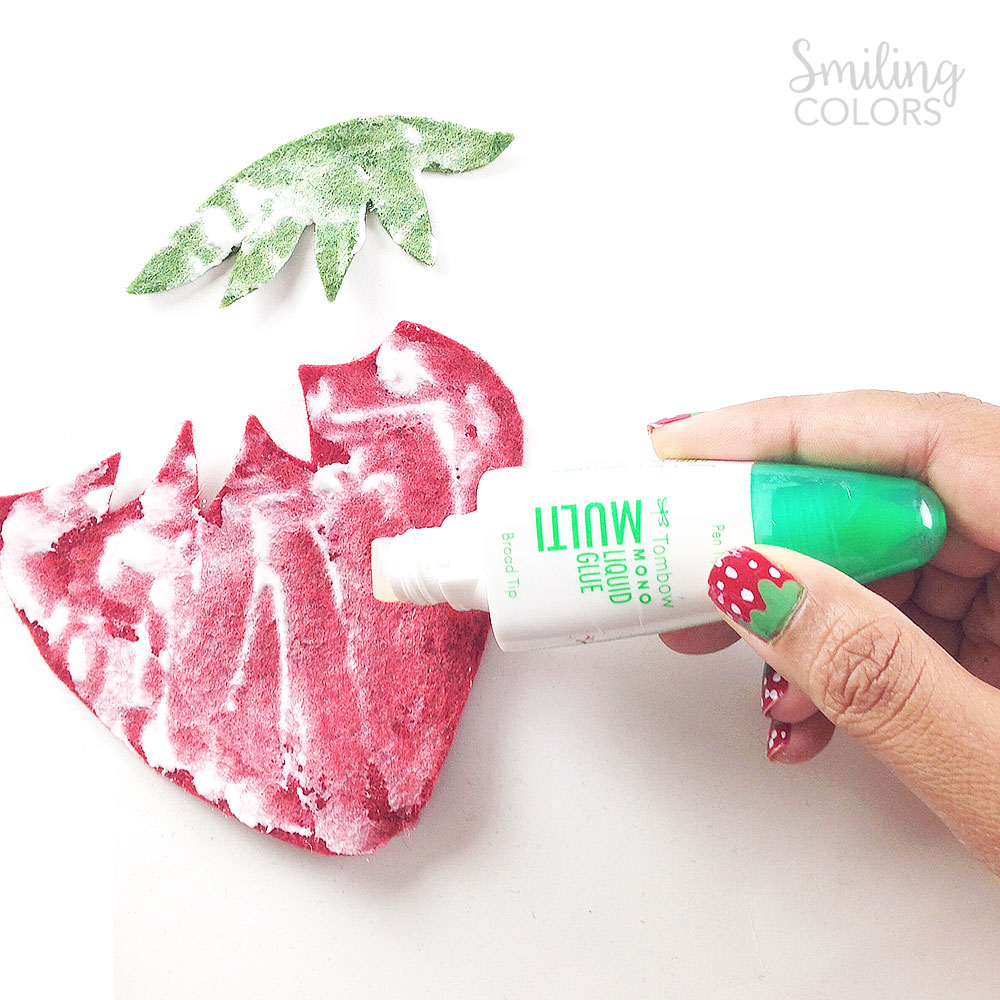
Step 2: Apply Glue Apply a generous amount of glue onto the back of each felt shape. You want the glue to soak into the felt a bit and have more sitting on top.
Set aside the glue-covered felt pieces for a few minutes. This allows the wet glue to get tacky to the touch and helps adhere the felt better.
I am using glue here today- check out this previous post How to glue Felt for tips. If you prefer to sew, check out this easy Felt Coasters DIY
Step 3: Adhere Onto The Coaster Base I am using burlap paper for the back of the coasters, this paper has burlap on one side and paper on the back of it. If you don’t have this you should be able to easily use cork or chipboard in its place. Cork sheets are dollar tree craft item that is easily available in most stores and economical.
Adhere the felt shapes onto the back of the burlap paper. Slowly place the green felt leaves into place and make sure that the red and green felt pieces join snuggly.

Step 4: Cut Out The Coaster Carefully cut around the coaster shape using a sharp pair of non stick scissors. The non stick makes it MUCH easier to cut the sticky layers.

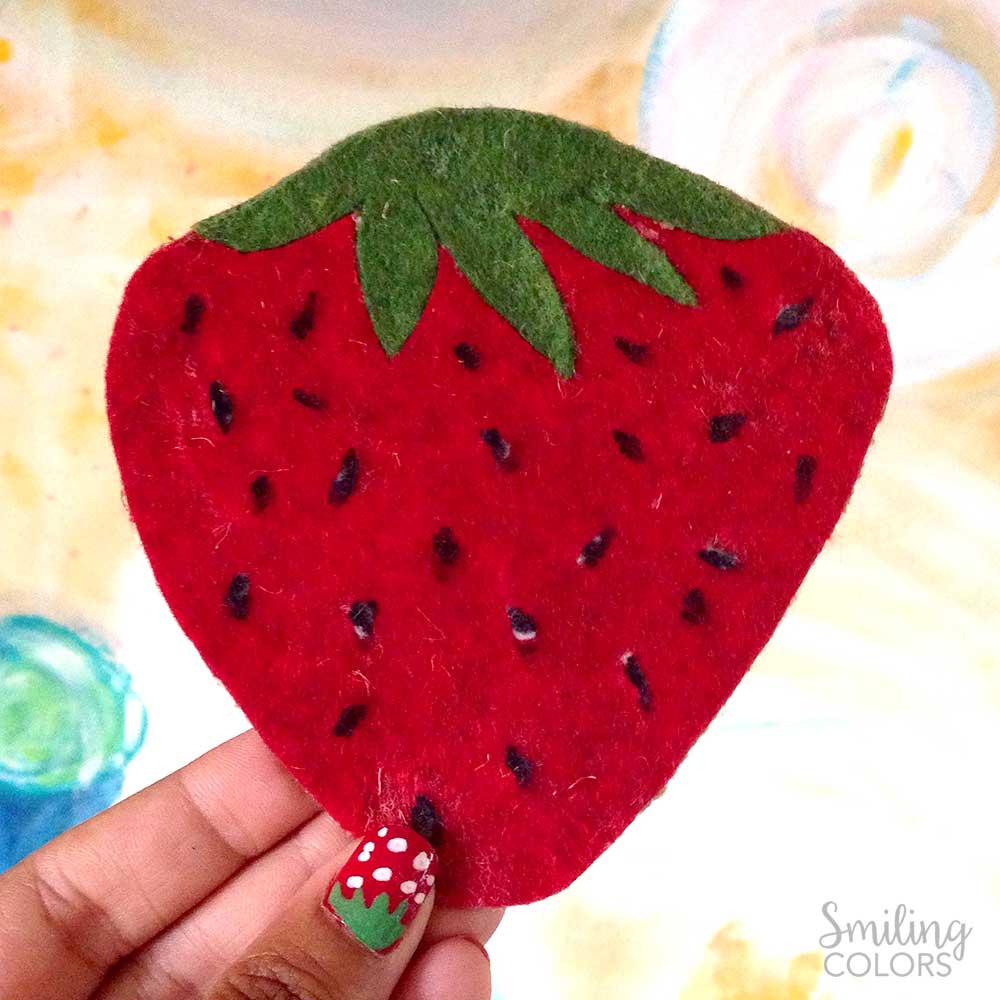
Step 5: Add Details: Finally, add the strawberry seeds with a black permanent marker. It is really used to draw these in even though it is felt! Let the glue dry a bit before you go to draw the seeds though.

And that’s it! No sewing is involved in the making of this No Sew Coaster Strawberry Craft and that is what makes it a quick craft! I love how these turned out!
This no sew coaster strawberry craft would be fun to use for your next summer party. Or you know, make them and use them on your desk. These are so cute and simple to make and hopefully will make you smile.
That’s right, no sewing we are using glue instead! These would make a really cute homemade gift idea for a foodie! Pair a set with a jar of jam, a summer tea blend, or a cute mug for a thoughtful hostess present.

Inspiring you with simple doable Art and Craft ideas and tutorials that will encourage you to use your supplies, get messy and find your creativity.


These are seriously cute AND I have both green and red felt in my stash! Thanks for a great project idea. Pinning. -Marci @ Stone Cottage Adventures
Seriously so cute! These would be adorable to use on a patio or for a 4th or July BBQ. I like how you used your destash items, I’d have not thought to back them with the burlap, that’s a great idea. Pinning 🙂
I adore these. I just have a thing for coasters and yours say summertime. Pinned.
These are super cute They would be perfect for outside on the deck.
Very cute! I have quite a collection of scrapbook paper & I’ve never seen the burlap paper before. I’m thinking I might make some watermelon ones!
Watermelon ones would be so cool!!
These are so sweet! I like the idea of using burlap for the backing, too 🙂
These are so very cute and I seriously have a million uses for that burlap paper….thanks for the inspiration.
Very cute idea! They are perfect for summer! 🙂
Hey Smitha! I love love love that you dressed up for this crafty project by getting a strawberry manicure! The other day I realized that my nails were painted the same color as my current knitting project…what fun! I love the strawberry but an orange or a kiwi would be fun, too. Pinning this tutorial for later 😉
I love pairing my nails so thank you for noticing that 🙂
This is darling! Reminds me of when our summer home had a watermelon theme in the kitchen, that would be another fun fruit to make coasters of!