Let’s learn How To Make Paper Mache with glue and water today. It is super easy, but messy and sticky.
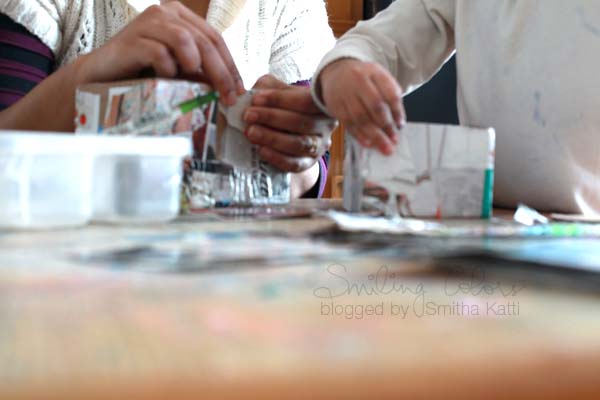
As a kid, Paper Mache was my absolute favorite craft! I loved that I got to craft with paper and get my fingers all sticky. I thought it was time to introduce my daughter to this easy recycled craft and we spent an afternoon making some paper mache bowls today
how can i make paper mache?
What you will need:
- A Plastic bowl- this will determine the shape and size of your paper mache bowl
- Newspaper or old magazines: newspapers torn into pieces work best as they absorb the glue well.
- Pretty patterned papers
- A paper punch – a small-sized one so the kids can easily use it
- Paint- for the interior of the bowl
- White glue
- Washi tape
can you use magazines for paper mache?
Yes! I love using magazines with pretty typography for my Paper Mache. Also Read: Easy Magazine Craft
paper mache glue to water ratio
You want your glue to have a runny consistency for Paper Mache. Create a mixture of equal parts water and white glue. Any white glue will work! You can create a thinner glue, by adding 1 part glue and mixing in 2 parts of water. Stir to combine.
how to make paper mache with glue and water
- Tear your newspaper or old magazine pages into pieces or strips. Tearing your paper is always better than cutting it with scissors or a paper trimmer!
- First Layer: Dip one piece of torn paper into a bowl of water, then place to cover a flexible plastic bowl. Continue placing these wet with torn strips paper till you have covered the entire bowl with one layer of paper.
- For the Next Layers, dip torn pieces of paper into the watery glue mixture, and place onto the first layer. Overlap each piece of paper slightly with the previous one to create a strong structure.
- Cover the entire bowl with at least 4 or 5 layers of paper. Let dry.

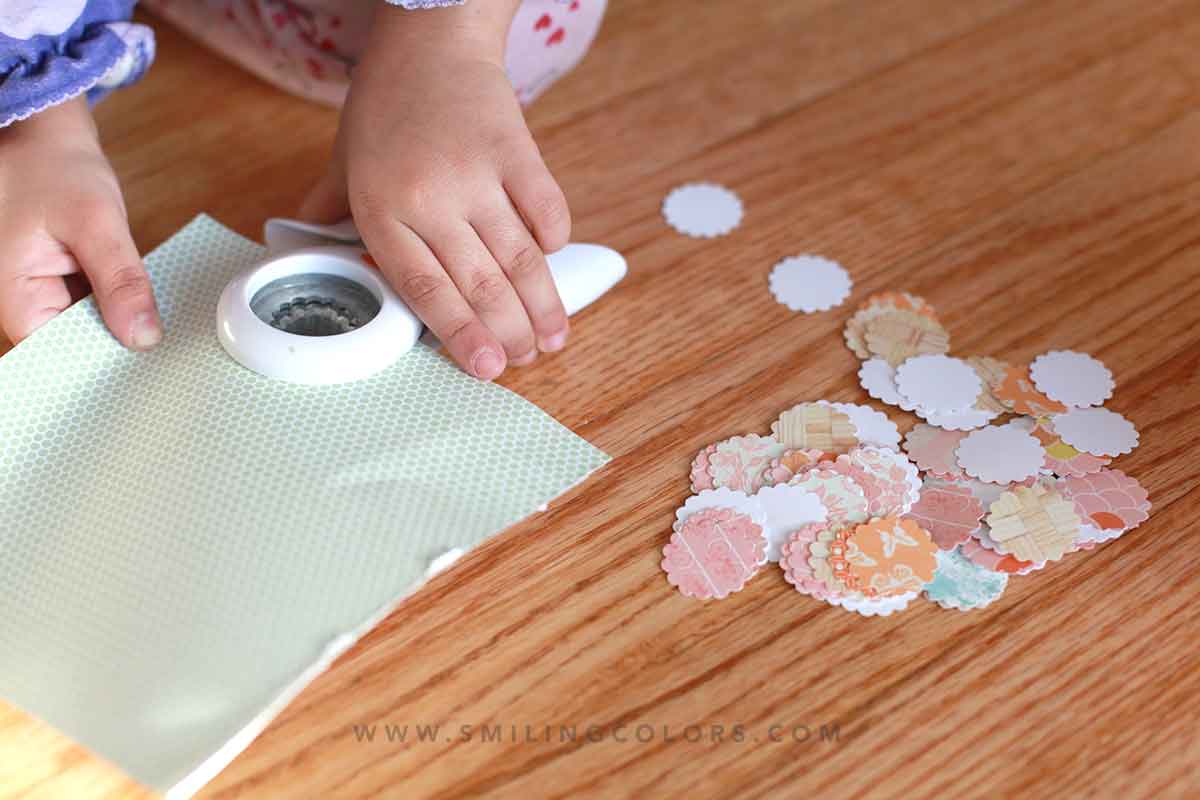
Using the Seal of approval Medium Squeeze punch, punch shapes from various patterned papers. This punch is smaller in size and kids can easily do the punching.
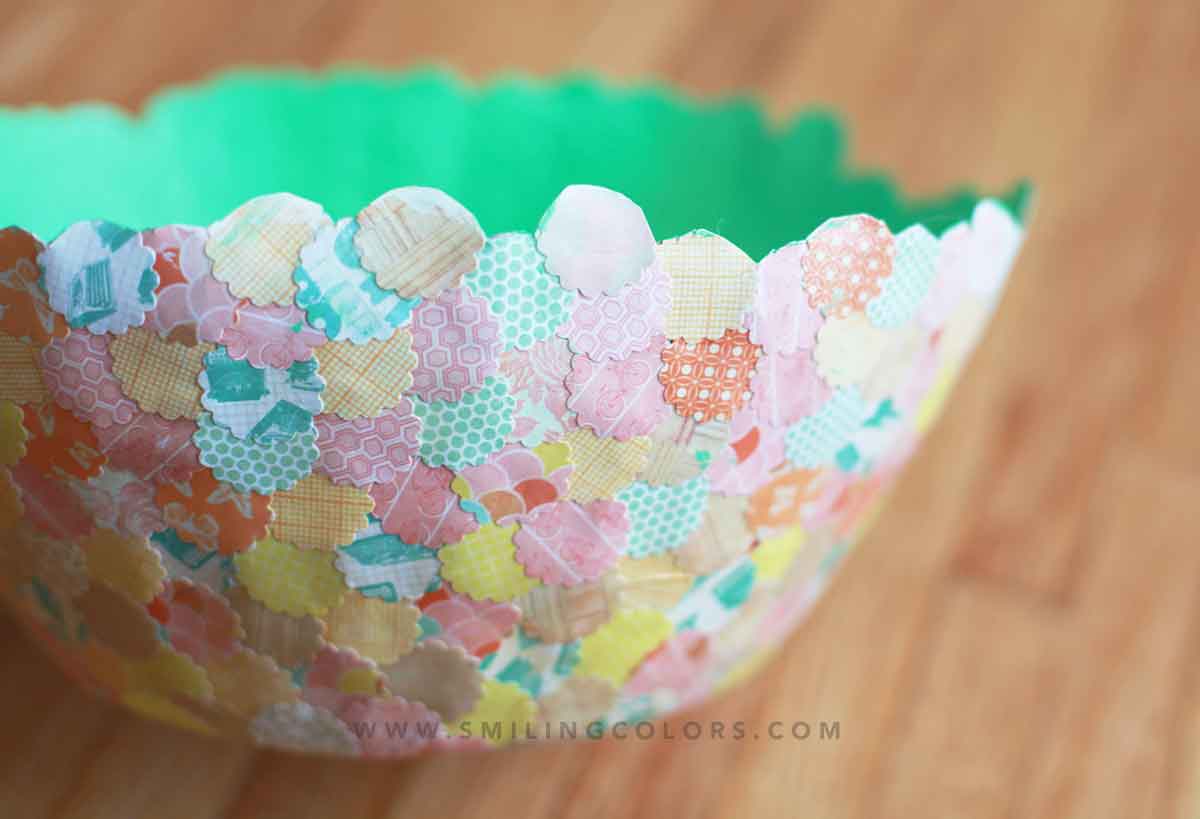
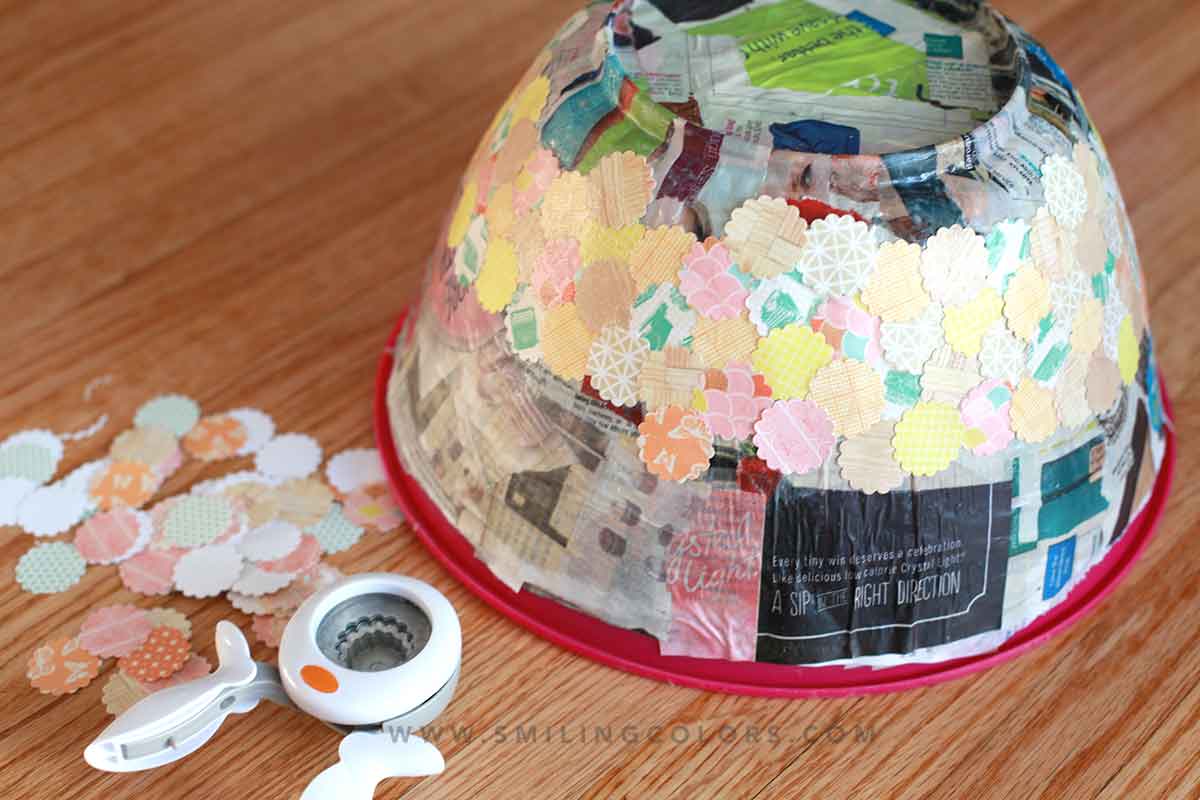
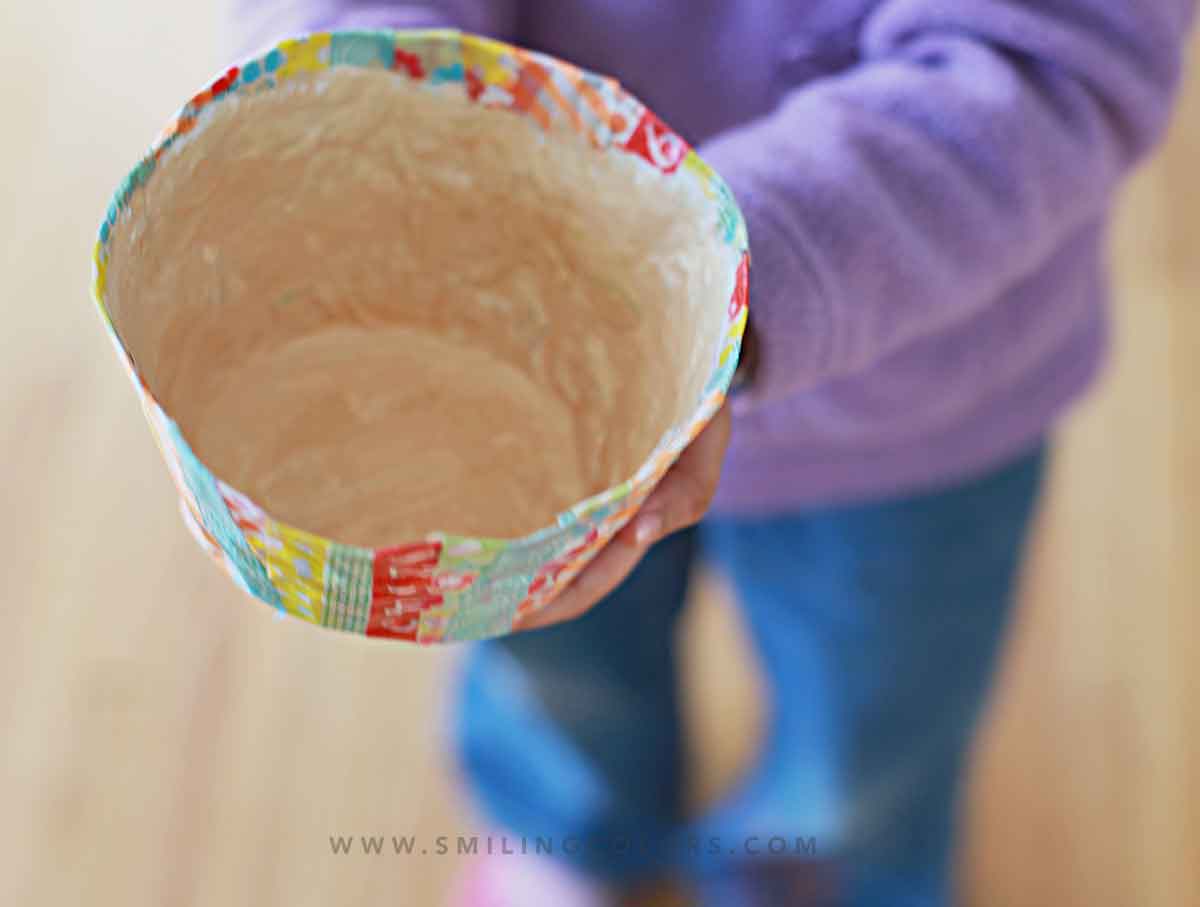
Moisten punched paper pieces with the water and white glue mixture and adhere to form the top and final layer on our bowl. Cover the entire bowl. Let dry thoroughly. Once dried, slide the paper bowl off of the plastic bowl.
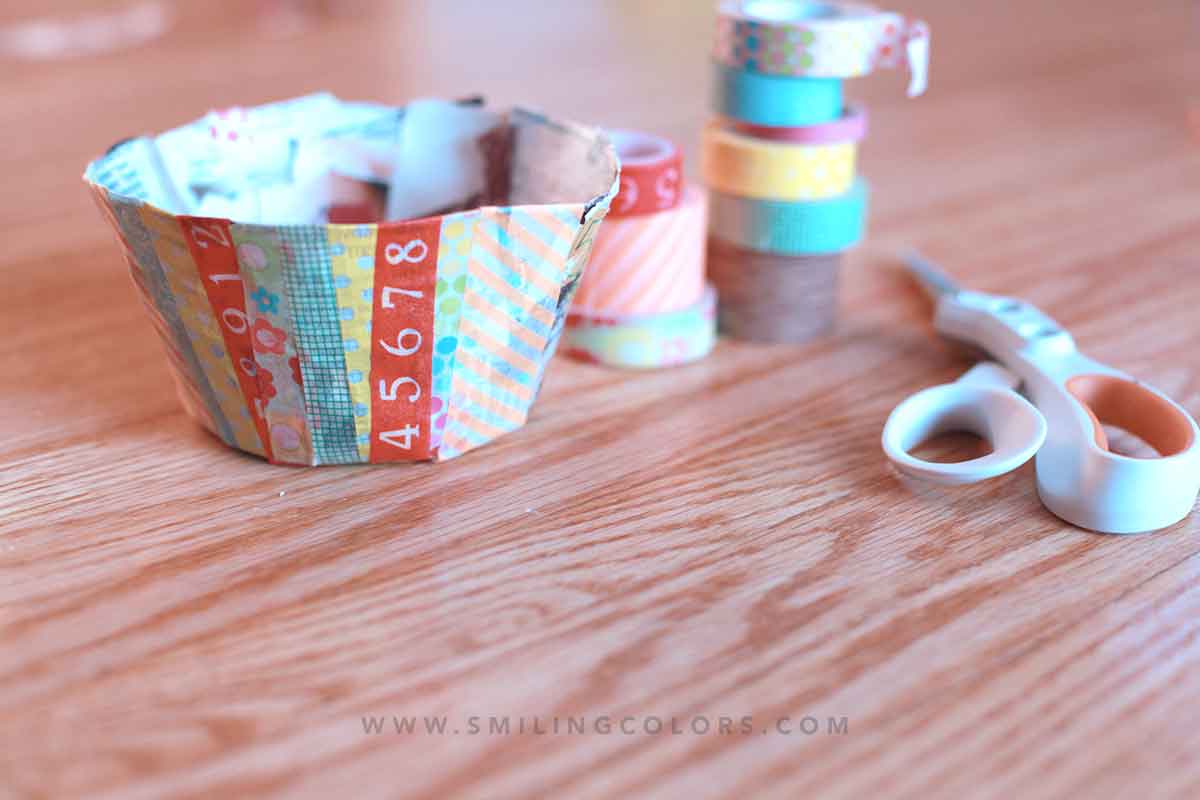
For a quicker finish, cover the outside of the bowl with various colors of washi tape instead. My daughter did this to her bowl and loved the way it looked.
Paint a layer of glue/water mixture on top of the washi layer and let dry.
To finish off the bowls, apply a thin layer of the water glue mixture to the inside of the bowl and then paint the inside of the bowl a nice bright color!
Paper Mache on Cardboard
Instead of using a flexible plastic bowl- you can easily Paper Mache on Cardboard to create a sturdier structure.
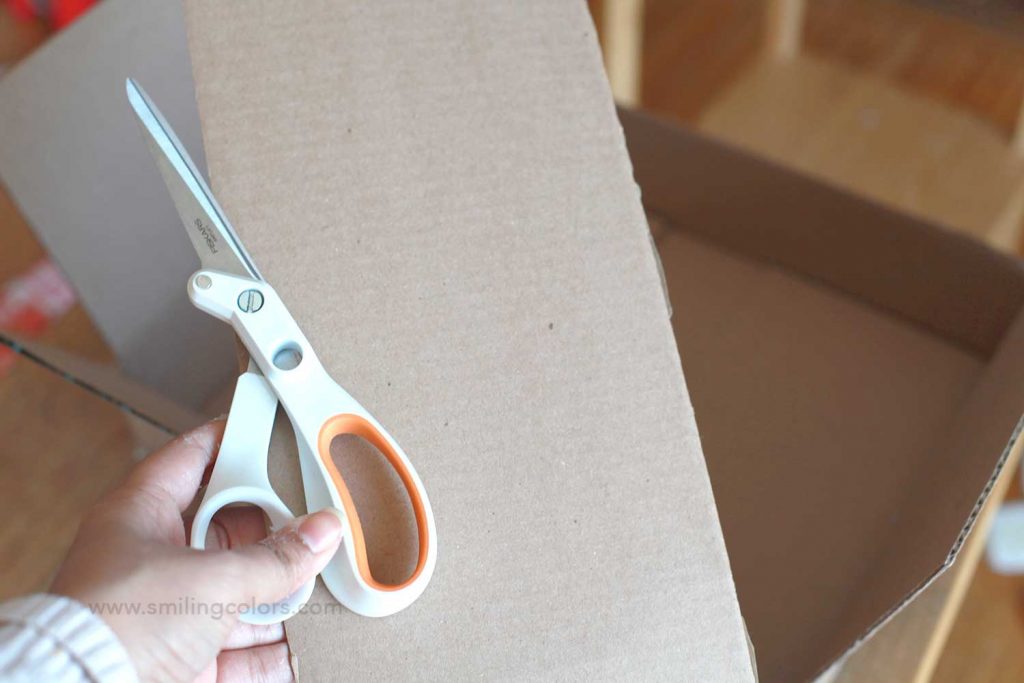
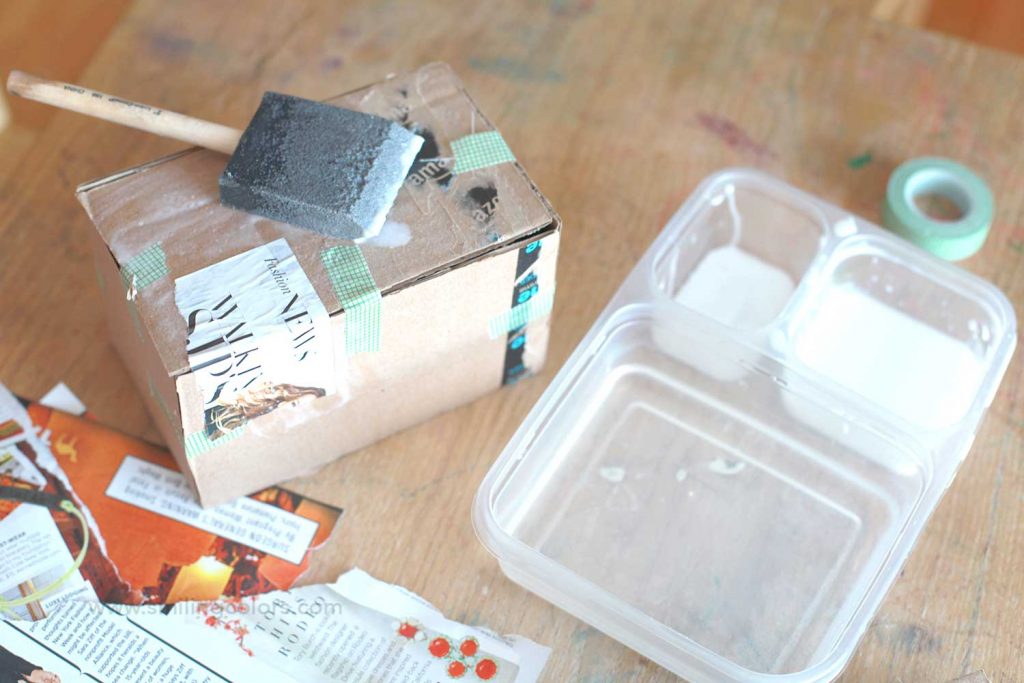
- Cut pieces of cardboard from used boxes. Trim 4 pieces to form the sides of the box and one for the base.
- Adhere these pieces of cardboard together temporarily using some sticky tape to form a box-like shape.
- Tear strips of newspaper or old magazine sheets. Dip these pieces in water quickly and then adhere them onto the box using some basic white glue.
- Cover the outside, inside and underside of the box with Paper Mache completely.
- Repeat until the box has about 4 to 5 layers of paper on it. Let it dry thoroughly.
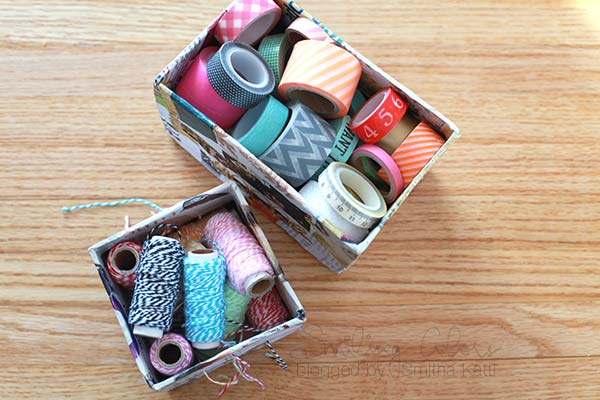

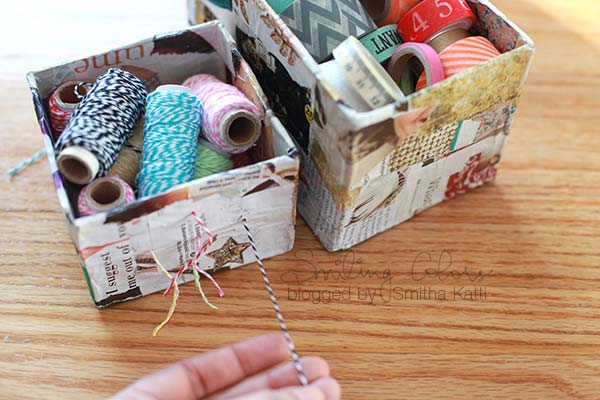
This Paper Mache on Cardboard Technique is what I used to build my own DIY Marker Organizer
How long does a Paper Mache take to dry?
Depending on the humidity and season where you live, Paper Mache can take about 7 to 10 days to dry completely. I would not apply sealer on it till it is dry to the touch. If the Paper Mache structure you make feels cool to the touch, then it is still damp within, wait a few days more. Place it in the sun (if available) for it to dry better.

Thank you for stopping by today friend. Follow me on social media to see my latest posts!
Tag me @smithakatti #smithakatti on social media! For yarn projects, find me at @smittenbyyarn #smithaknits #smithacrochets