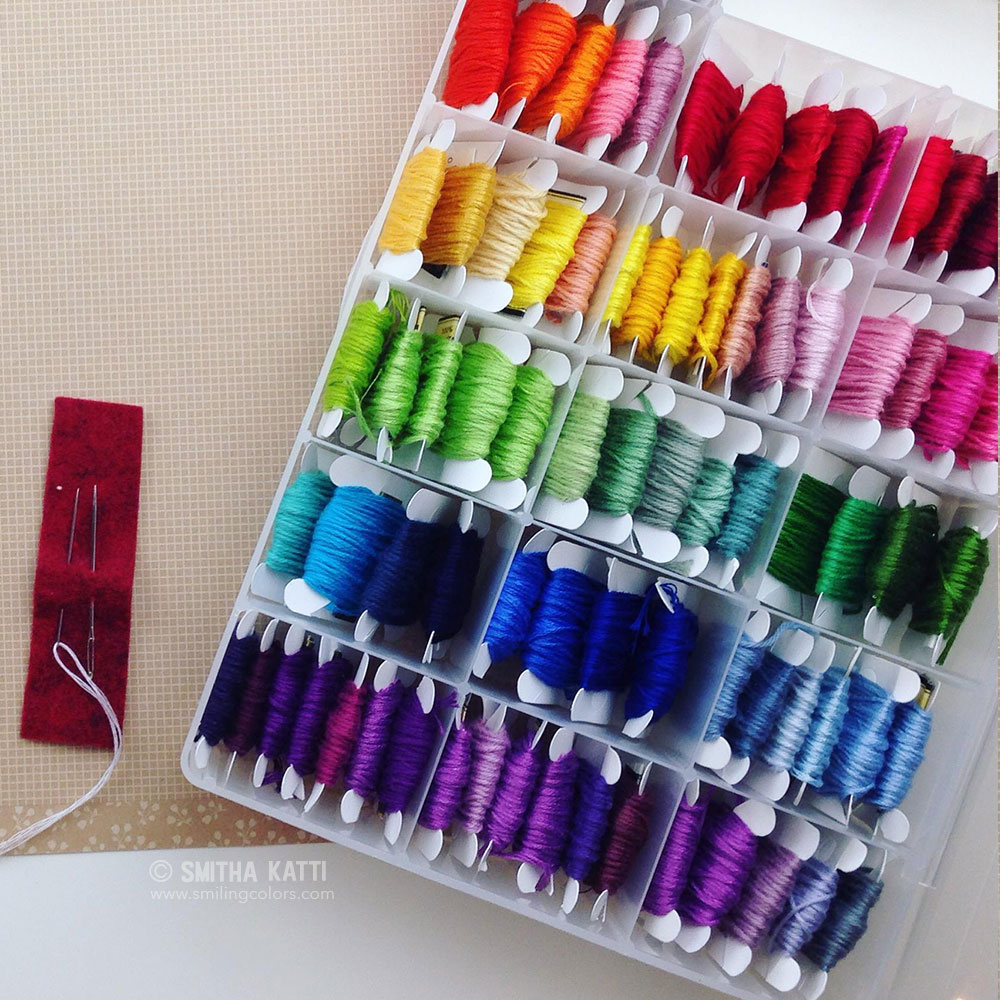
Stitching on paper is pretty similar to regular needlepoint- you need the same supplies. A needle, embroidery floss but instead of fabric you’ll need a good thick cardstock or patterned paper. Let’s get paper crafting!
I love adding the simple texture of embroidery floss onto paper, it’s subtle and beautiful. Once you grasp stitching on paper you can get creative in many ways!
Can you embroider through paper?
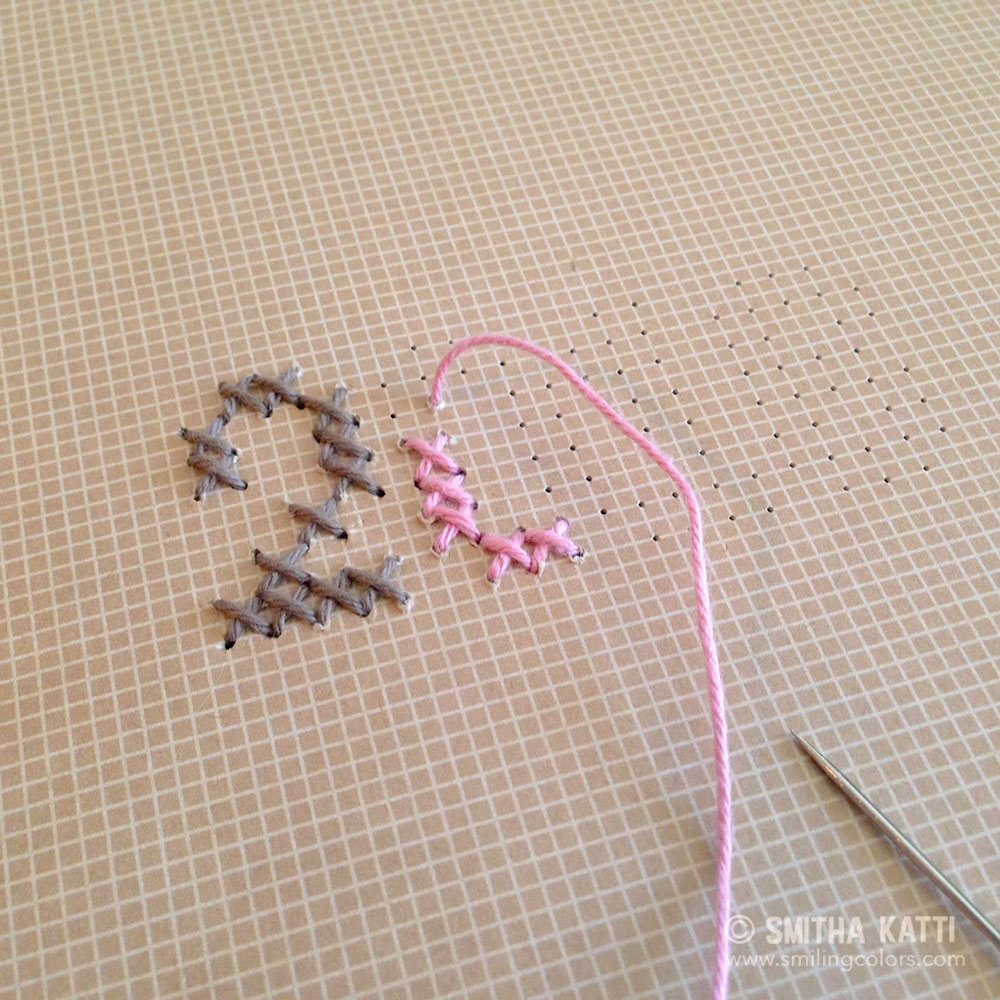
The only difference you will find when you sew on paper vs fabric is this: you will find it helpful to pierce holes in the paper before you begin the actual sewing.
I pierced the holes using my needle itself, but you could use a paper piercer to make things easier. Since the paper is rigid and not flexible like the fabric it helps
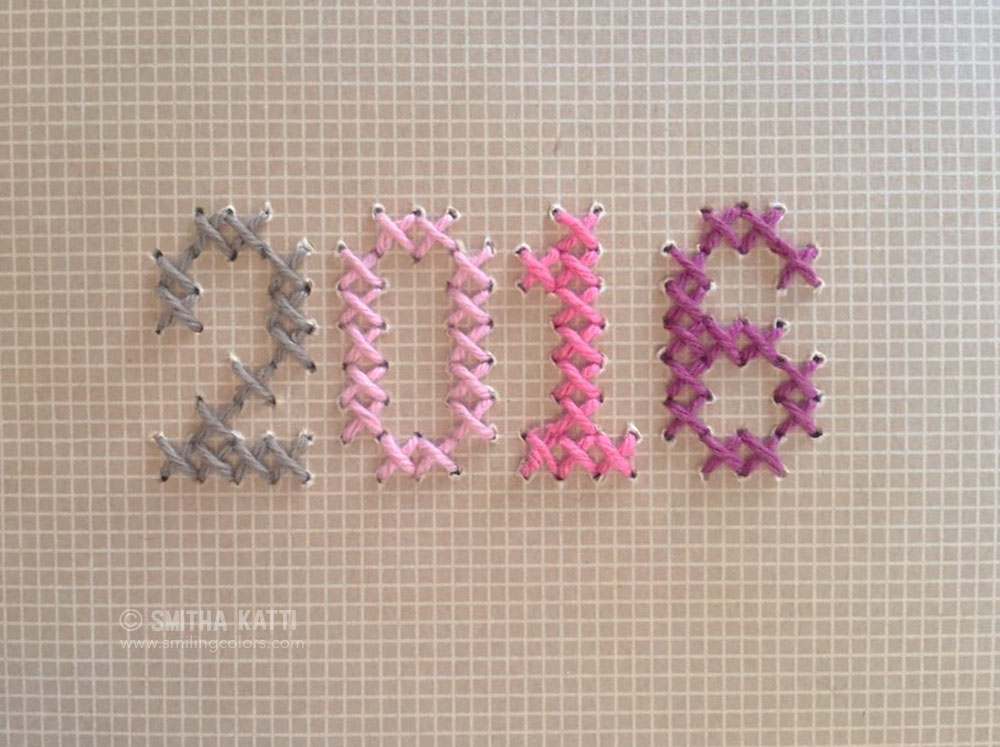
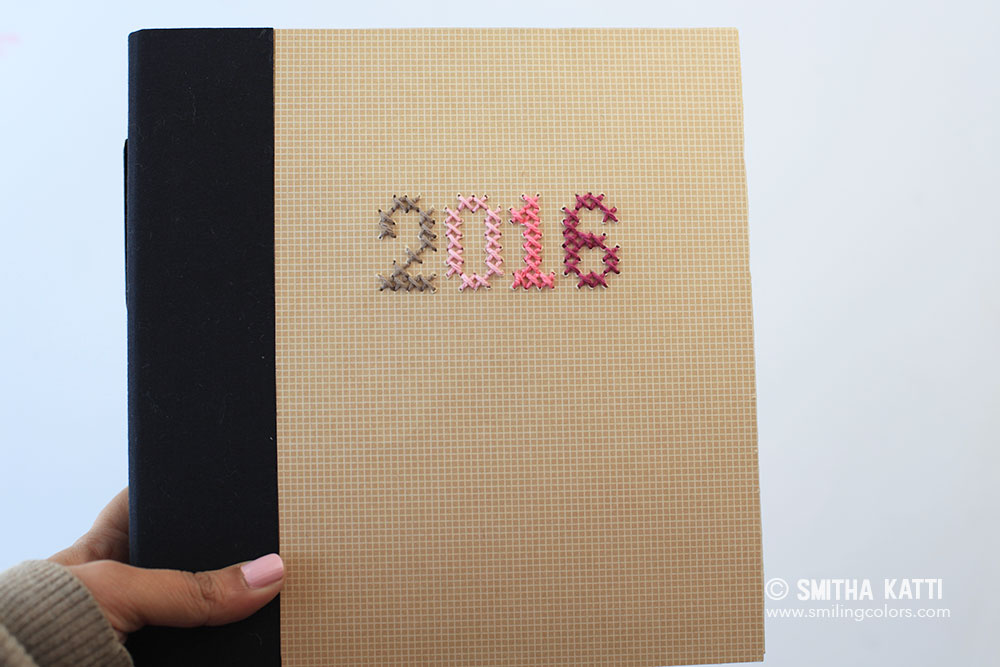
Piercing holes before stitching help quicken the whole sewing process, and in this case, it also formed my pattern “2 0 1 6”
I chose 4 different floss colors and sewed the numbers with a basic cross-stitch.
The whole sewing takes about 10-15 minutes, it goes quick!
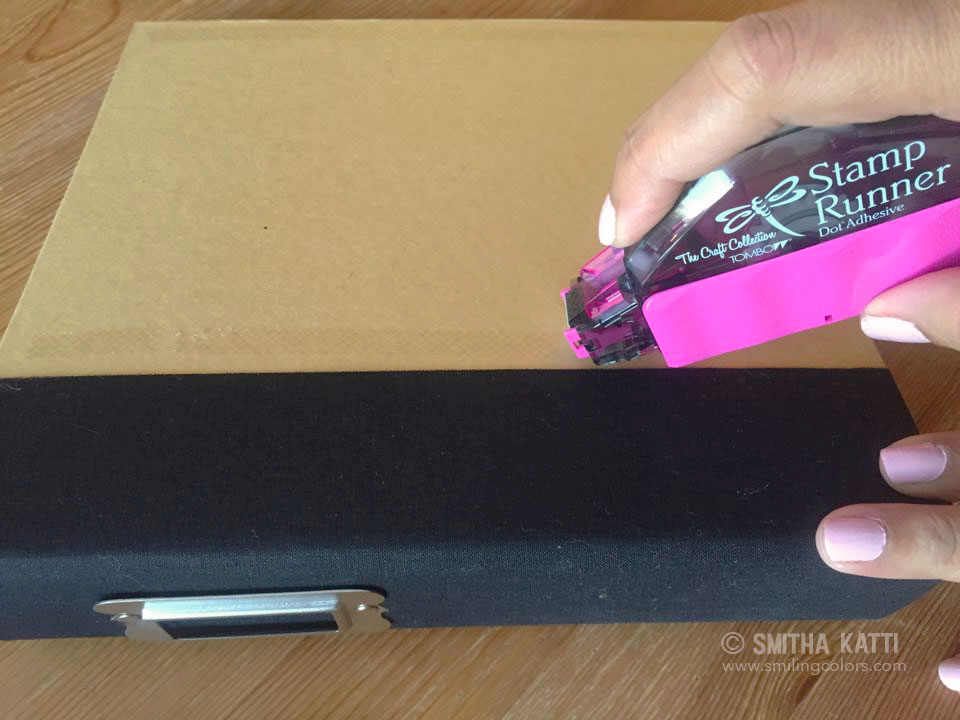
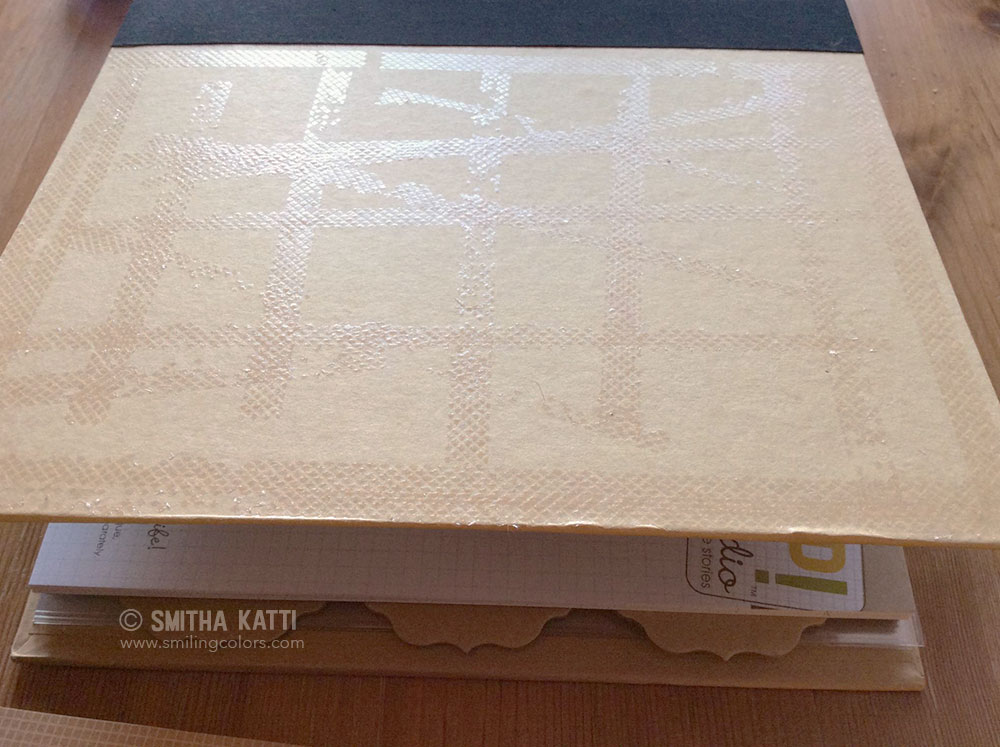
Next, it’s time to adhere to the paper with 2016 sewn, onto the front of the book.
First, apply the adhesive along the edge of the album.
Then criss-cross and add more adhesive to cover the entire album front.
Place the grid-patterned paper carefully and align it to butt against the fabric binding edge. Once it fits nicely, press down firmly all around the front of the album.
Finally, trim off the excess grid paper around the edges with a pair of long scissors.

Stitching on paper layouts:
Here I embroidered my word directly onto a photo on my layout and love how it turned out!
First, I wrote the word “little” multiple times on a scrap piece of paper, till I had the right size. I then held it over the photo and pierced holes through both layers. Makes it so much easier to stitch!

Use a paper piercer to make holes in the cardstock before you stitch. This makes it easy to pull your needle up at the right spots from behind the paper.


Inspiration for this layout came from here. I loved the yellow!
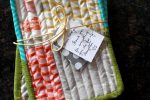
I loved the pieced flower in the inspiration photos, so I quickly sketched one onto the yellow paper. I also chose a glassine bag and some strips of paper for the layout.

HAND Stitching On PAPER CARDMAKING:


This card measures 4.75 by 5.25 inches. I printed (or you could stamp) a large snowflake and embroidered it with pink embroidery floss. I used cardstock from the Paper company and patterned paper from My mind’s eye and Bo bunny. Adhered the paper, buttons, and ribbon in place and was done!


Hi I’m Smitha! I live in Minnesota with my husband and two daughters. You’ll always find me painting florals in my sketchbook. And I love the sheer joy of making something with just my hands! But my bigger love is capturing it all on camera Read more.
Thanks for stopping by today! If you learnt something from this tutorial, do share this post with a friend or on social media! Tag me @smithakatti #smithakatti I’d love to see what you create!


I’m so impressed that you still keep a photo album! I barely make time to sort my digital photos into an online album!
My photos from last year are all unsorted, on different devices too. I haven’t kept up with my digital album-but I’m hoping that this physical album will help this year 🙂