Putting together a Disney Scrapbook Album need not be a daunting task. A little planning and a lot of glue will do the trick! These tips can be used to put together any Scrapbook album of your choice. So let’s get crafting!
disclaimer: affiliate links have been used through out this post.
disneyland scrapbook ideas
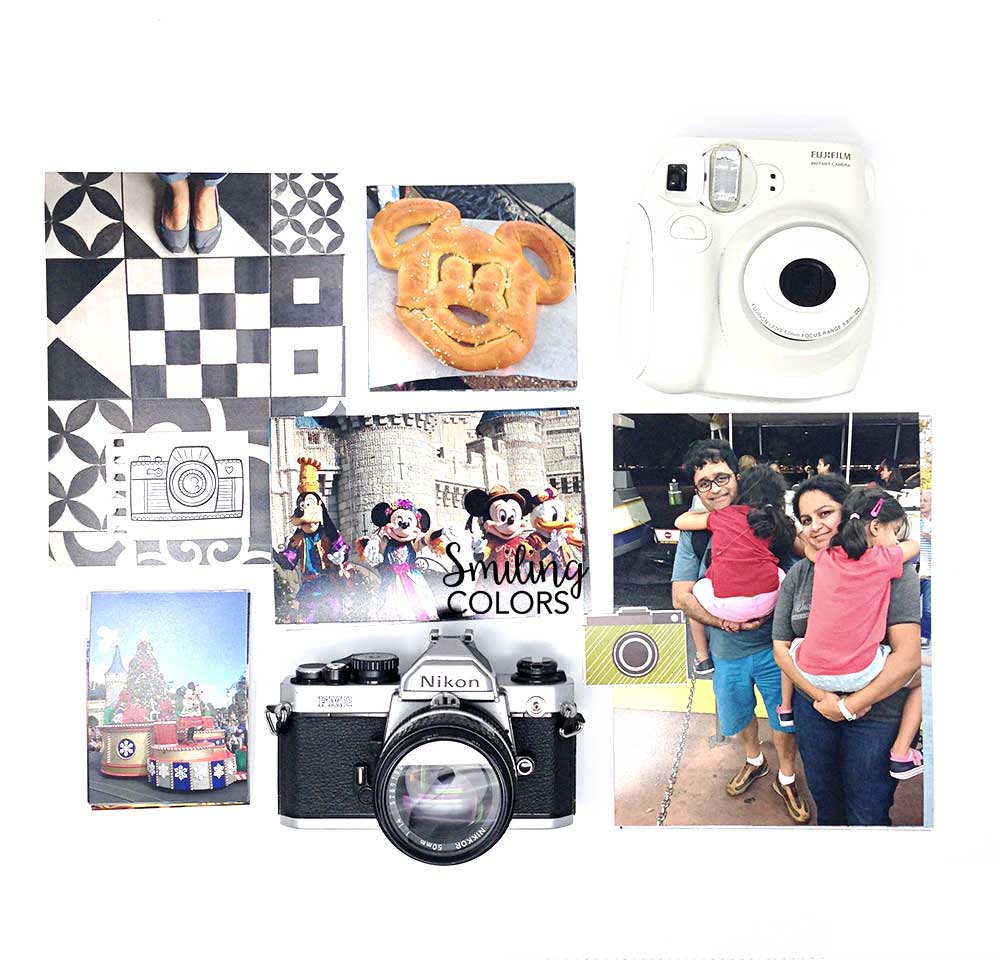
1: Print your photos
Let’s start by getting those photos off your phone and onto paper. I like using a combination of Dropbox, Amazon Prime or my computer to sync both my husband’s and my phone. Once you have all the photos in one place, select your favorite ones.
Print your photos next. I tend to print my photos at home or at my local Costco photo center. If I am super organized, I order them online ahead of time. Choose whatever is convenient for you.
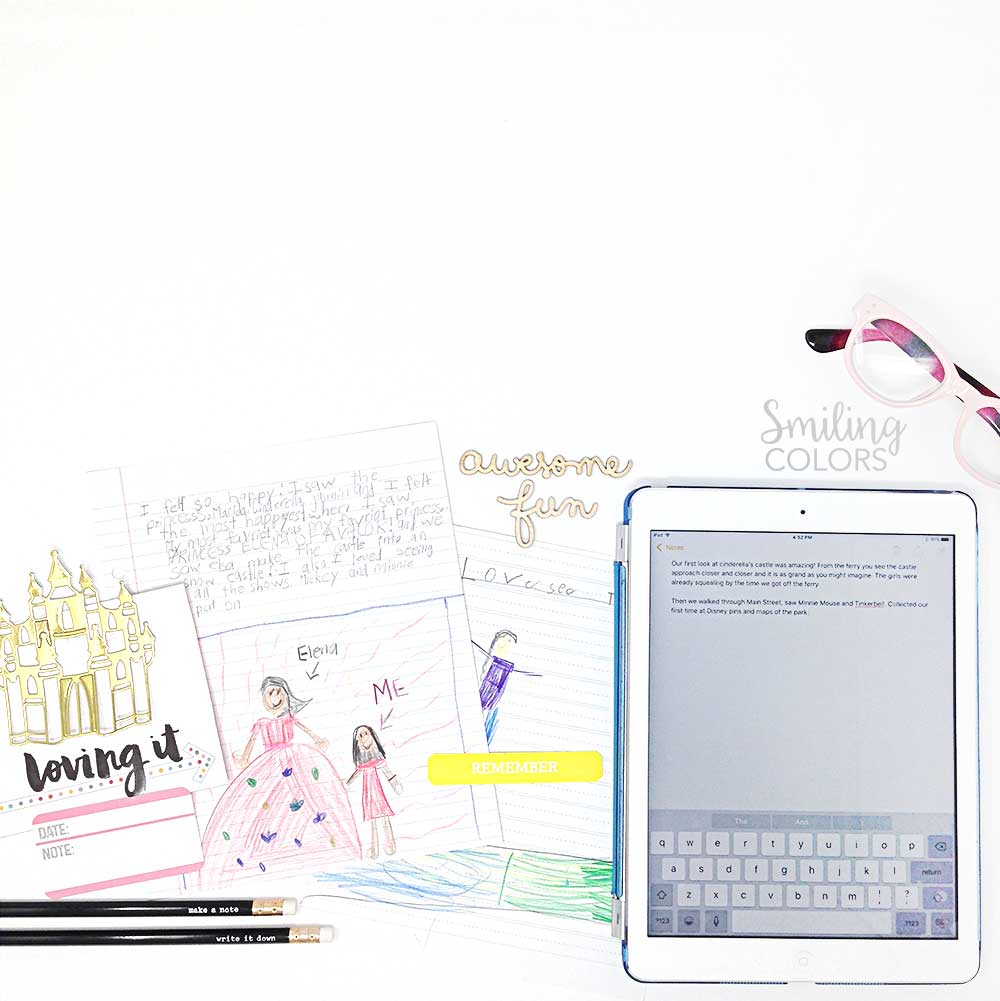
2: Write Your Story
Look through your photos and jot down memories that come to mind. Pull up your captions from your social media shares and copy those to add to the Disney Scrapbook.
Have your kids and family members contribute into this Disney Scrapbook too! Ask your kids to add a line or in my case a drawing about how they felt the experience was. I am sure they will have something to say!
I like to use the Notes app on my phone to make notes of what we saw/ what we loved or what we ate. You can do this during the trip- while waiting for meals, before bed time or while waiting at the airport. Jot down your thoughts as soon as you can.
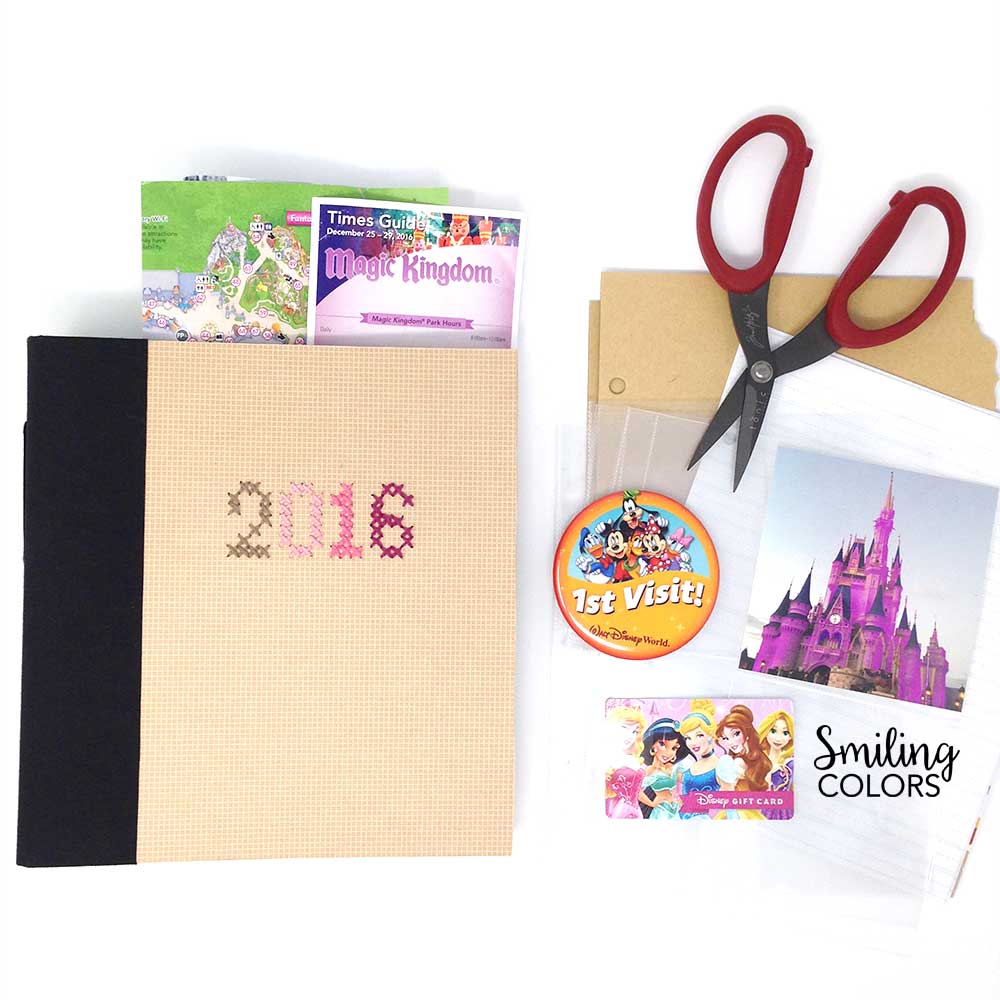
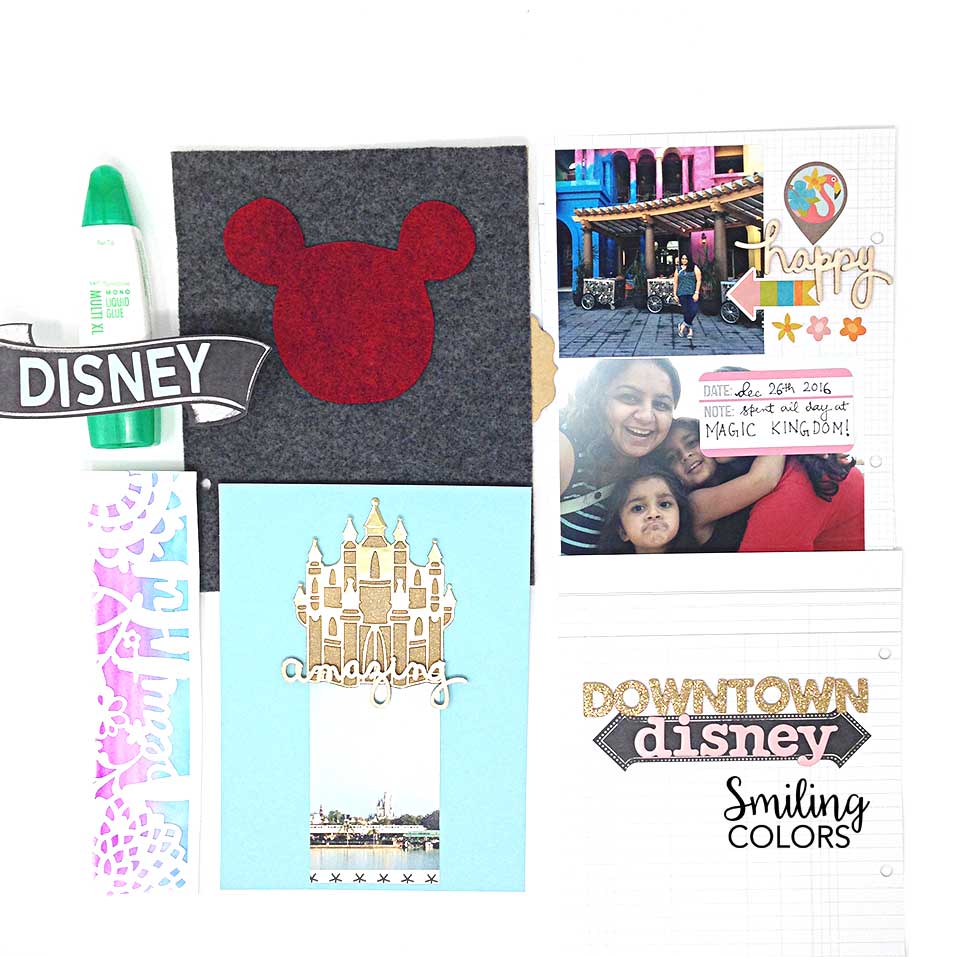
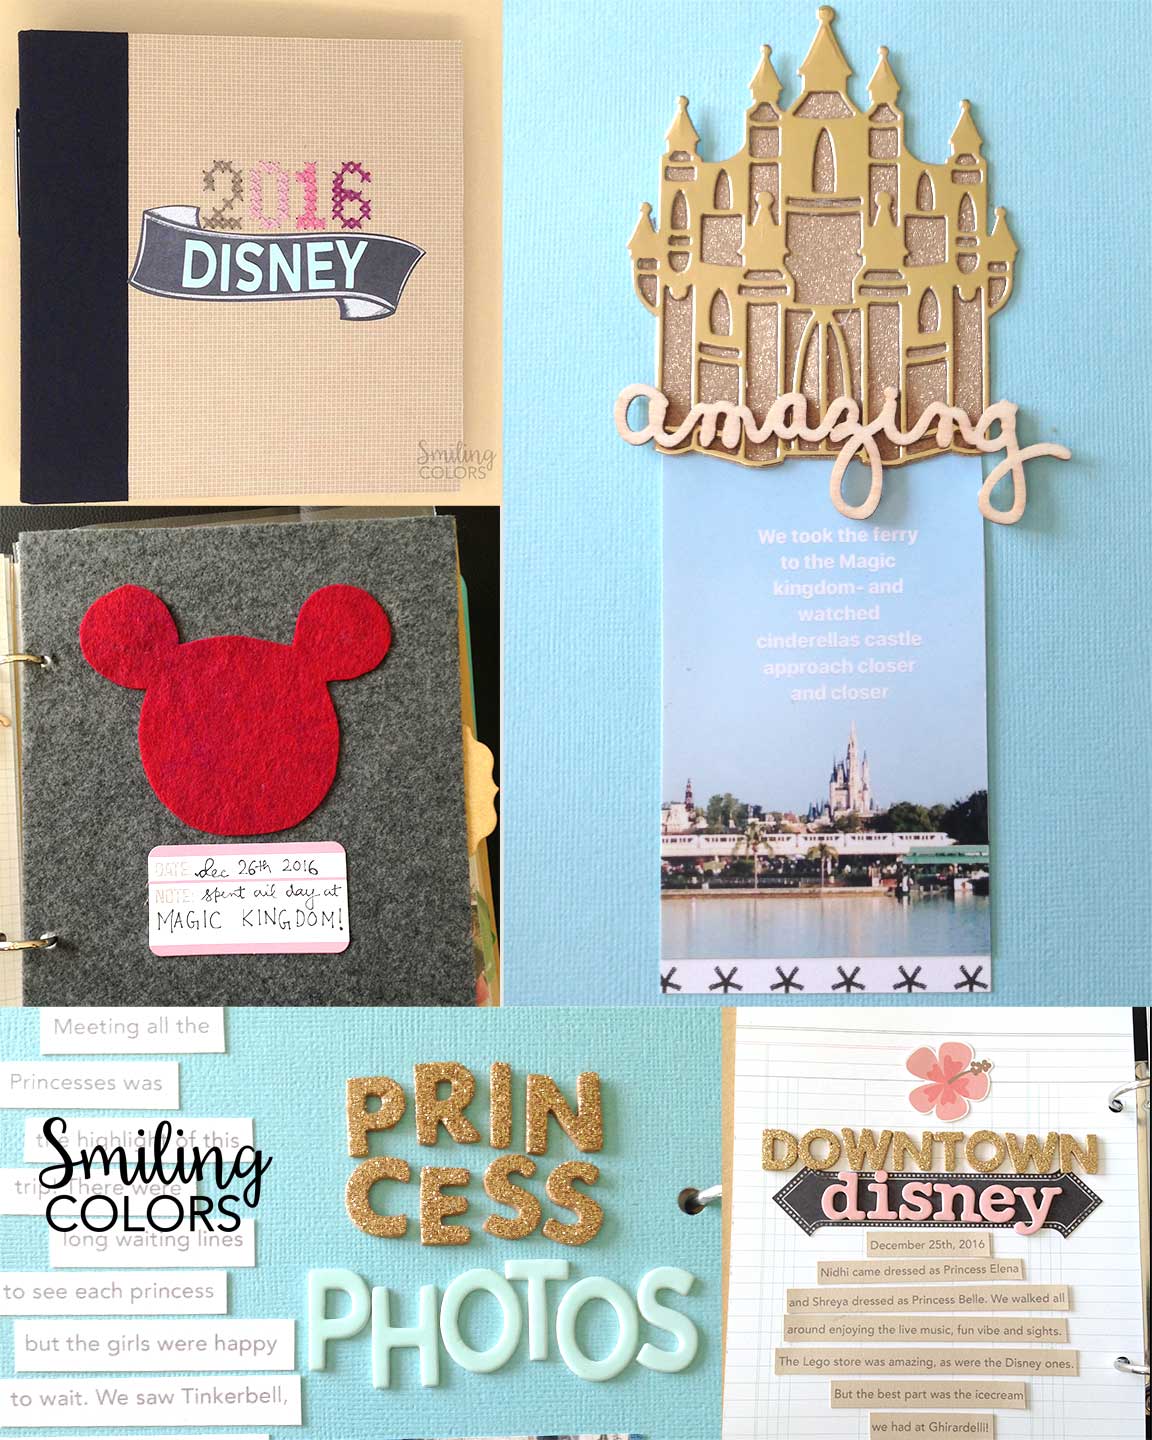
3: Use a Pocket Album
A pocket album is meant for pocket scrapbooking. You can add smaller photos or use the big empty areas for statement photos. There are also areas to write down my stories. These kinds of albums are more fun to work with and thus quicker and easier to complete.
Here I have used this Simple Stories SNAP Binder SN@P 6X8 with these Page Protectors. I altered the album from by Stitching on Paper here – you can add stickers to make it quick instead!

Not every pocket and area needs to have a photograph- add filler cards or memorabilia in the pockets too. Pop in maps, pins, used gift cards, and ticket stubs etc into the pockets.
It is so much more than just adding photos and words. It’s about bringing your memories to life.
4: Don’t Think, Stick it down
I often spend a lot of time moving my page elements around a page trying to figure out a great composition. And 90% of the time my first instinct is where I go back to.
So to speed things up, I believe in adhering things down as I go.
This way I’m less likely to loose small items on my table. I love using tape runner and you can still reposition them. The glue sets permanently only after a few minutes.
If you are wondering what glue to use, check out these Tombow Adhesives that work best.
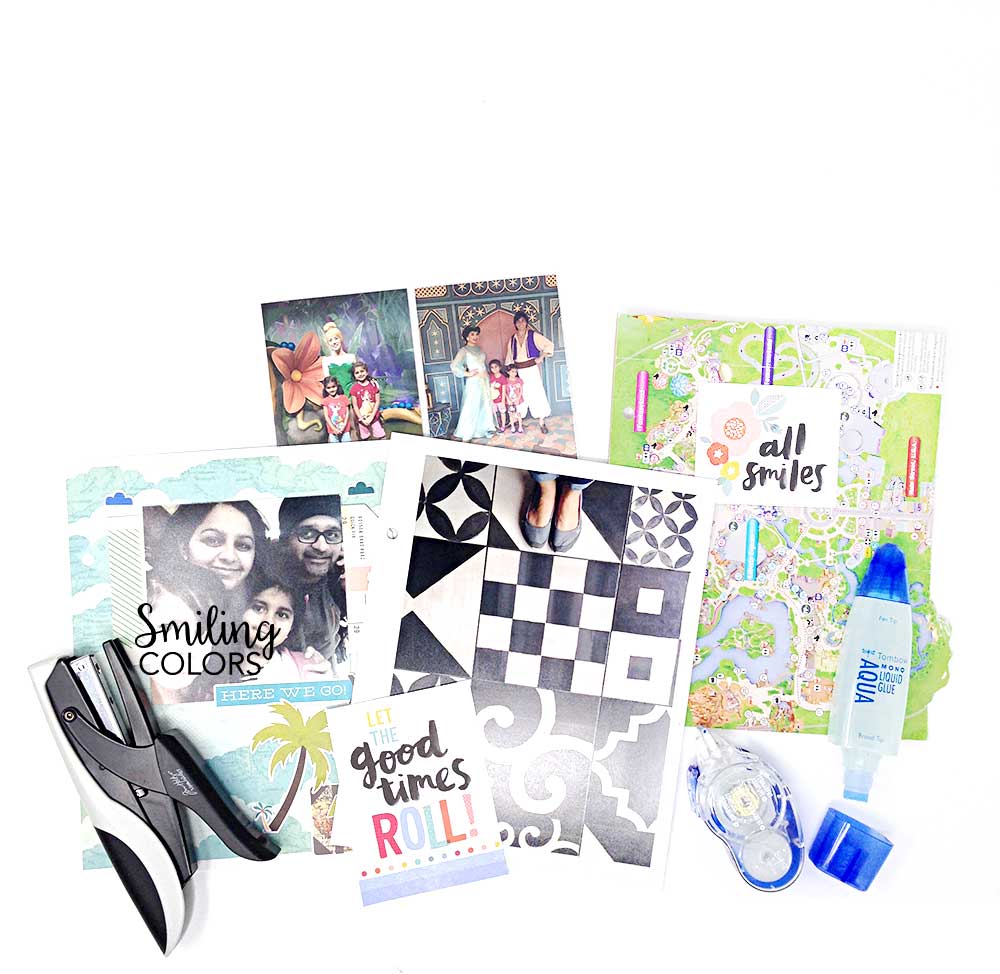
5: Add Dimension, Make It Fun
Add cards with Disney characters and with fun colors and textures to make the album fun and creative. I love using felt, it makes you stop and feel it. Add wood veneers or dimensional stickers and alphabets to add drama.
More Scrapbooking Ideas:
- Traveler’s Notebook Scrapbook: 10 Tips to document your memories
- 7 Beautiful Scrapbook Album ideas for you to try!
- 25 Digital Scrapbooking Ideas to inspire you to create!
- 10+ Easy Colorful Scrapbooking Ideas + free ebook!
- 21+ FREE Scrapbook Printables! Download them all NOW
Another Disney Scrapbook Tip– to try and get your Disney scrapbook done while the memories are still fresh. The sooner you put things on paper the more you are likely to remember. As mothers, we tend to focus on getting it all done and not missing a detail. But in the long run, it is more important that we create a tangible memory of a fun vacation that gives a great overview of the experience.
I hope these tips to put together your Disney Scrapbook helped you today! Do you prefer a Paper scrapbooking or a Shutterfly photo book?
Don’t try to make this Disney Scrapbook Perfect. Perfect is the enemy of done. The memories of the trip will remain special forever. Make an album NOW that you and your kids can enjoy flipping through and reminiscing along.

Inspiring you with simple doable Art and Craft ideas and tutorials that will encourage you to use your supplies, get messy and find your creativity.

Thanks for the ideas! We just visited Disney last October and the photos are still on the phones. This will get me motivated to move them! Happy NSD!
Just printing those photos will make you happy 😊
that is a wonderful vacation and a superbe way to see them after superbe work thank you for sharing
Such a great idea and post -thank you for sharing!