Learning how to make felt flowers and turning them into a bouquet makes them perfect for gifts, home décor, and special occasions. These felt flowers never wilt, are easy to customize with colors, and come together to make something uniquely yours.

Affiliate links have been used at no extra cost to the reader. You can read my full disclosure here.
How to Make Felt Flowers Video:
Enjoy my video tutorial showing you step by step how to make felt flowers! https://youtu.be/BRQpHxrspKo
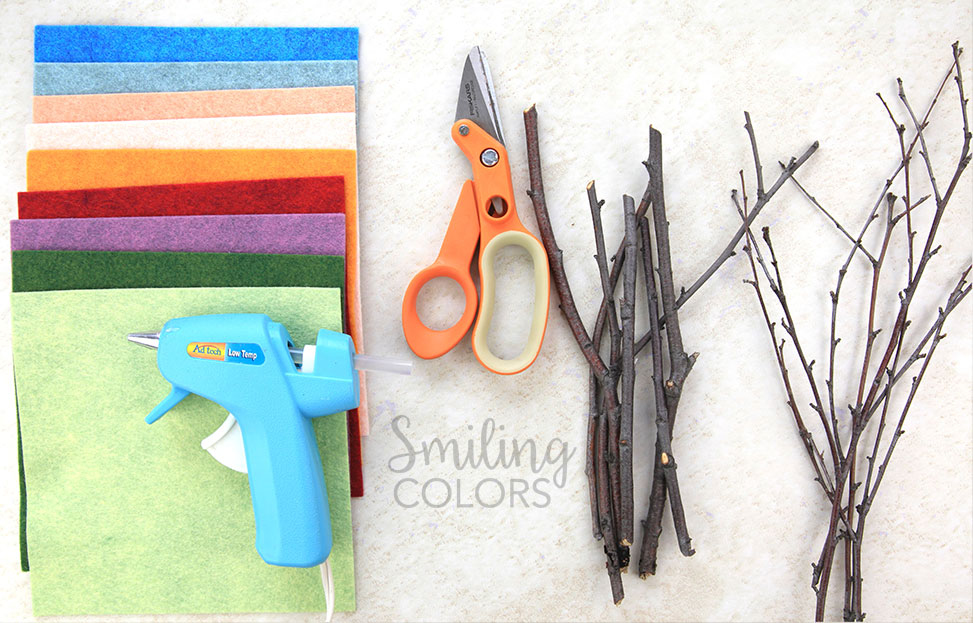
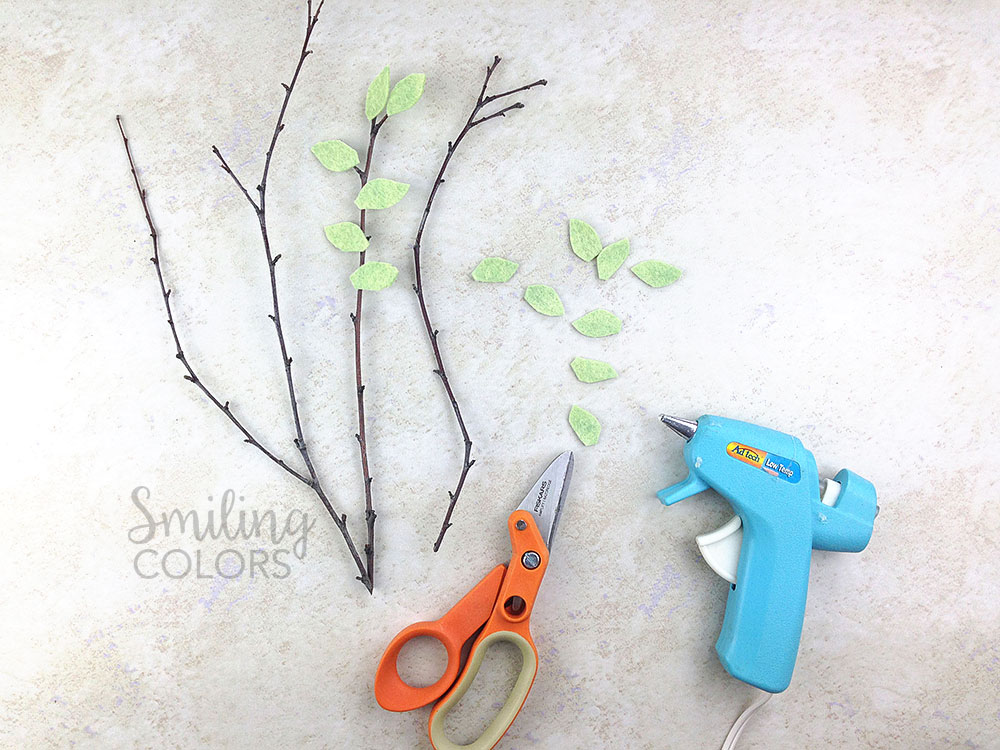
Supplies You’ll Need:
- Felt sheets
- Sharp scissors
- Hot glue gun and glue sticks
- Twig stems, floral wire, or wooden skewers
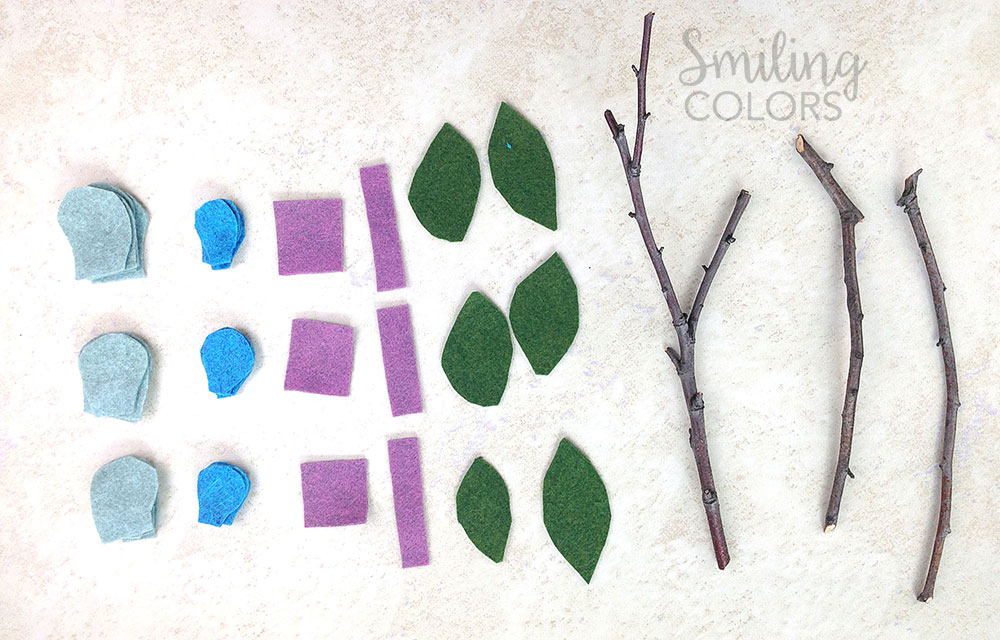
Tip: Using two shades of the same color adds depth and makes your felt flowers look more realistic.
What kind of felt do you use for felt flowers?
Felt Flowers look best when made with Wool blend Felt. I’ve used inexpensive craft store felt sheets for all of my crafting years, and I love how affordable they are. But a few months ago I splurged and bought some wool felt online and I can totally say they are worth the hype! I highly encourage you to buy and try these felt sheets if you can.
What is the best way to attach felt?
In this how to make felt flowers tutorial I use a hot glue gun to adhere everything. There are many other adhesives available and I share my favorites in this how to glue felt post, but for flowers hot glue works best. The hot glue dries quickly enabling you to make a bunch of flowers with no waiting time.
How to Make Felt Flowers (Step by Step)
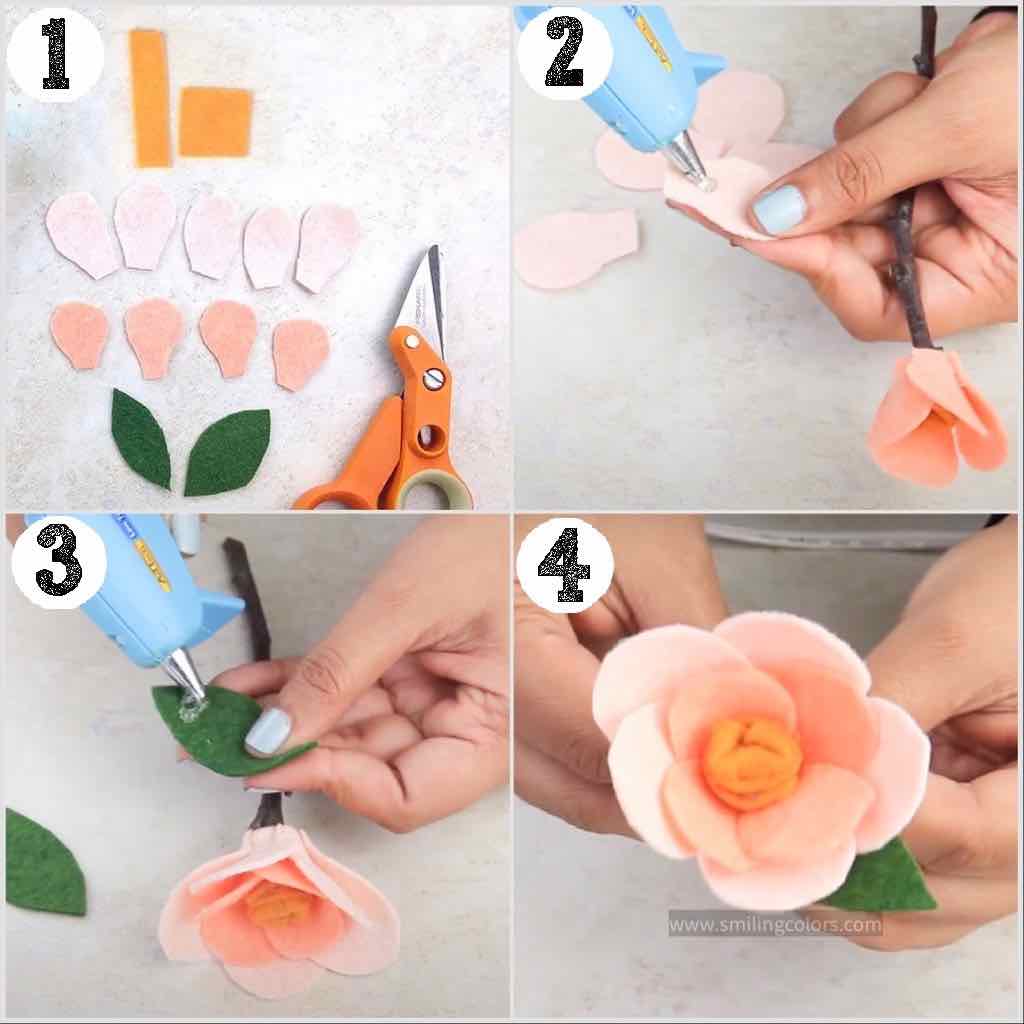
Let’s learn how to make felt flowers by hand in 4 easy steps.
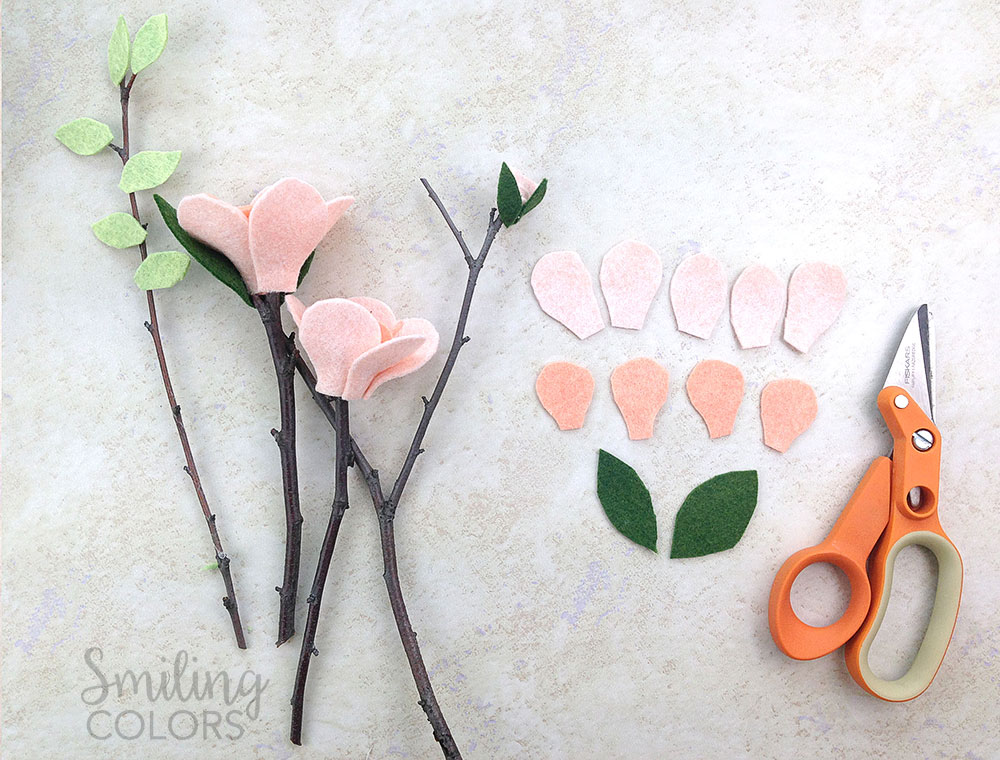
- Cut the Felt Pieces: Using a sharp pair of scissors, hand cut the felt. For one flower you will need: 4 darker shade petals, 5 lighter shade petals, one tiny square + strip for center and two leaves. Slight variations make the flowers look more natural.
- Attach the Flower Center to the Stem: Apply hot glue to the centre piece of felt, and then fold it onto the twig.
- Add the Felt Petals: Apply hot glue to the bottom of each petal and adhere while overlapping each petal slightly onto the previous one till you have a full flower.
- Glue on the Leaves: Glue the leaves to the stem to finish your flower.
TIP: Freehand cutting works perfectly, this is one of the easiest ways to learn how to make felt flowers without templates.
How to Arrange a Felt Flower Bouquet
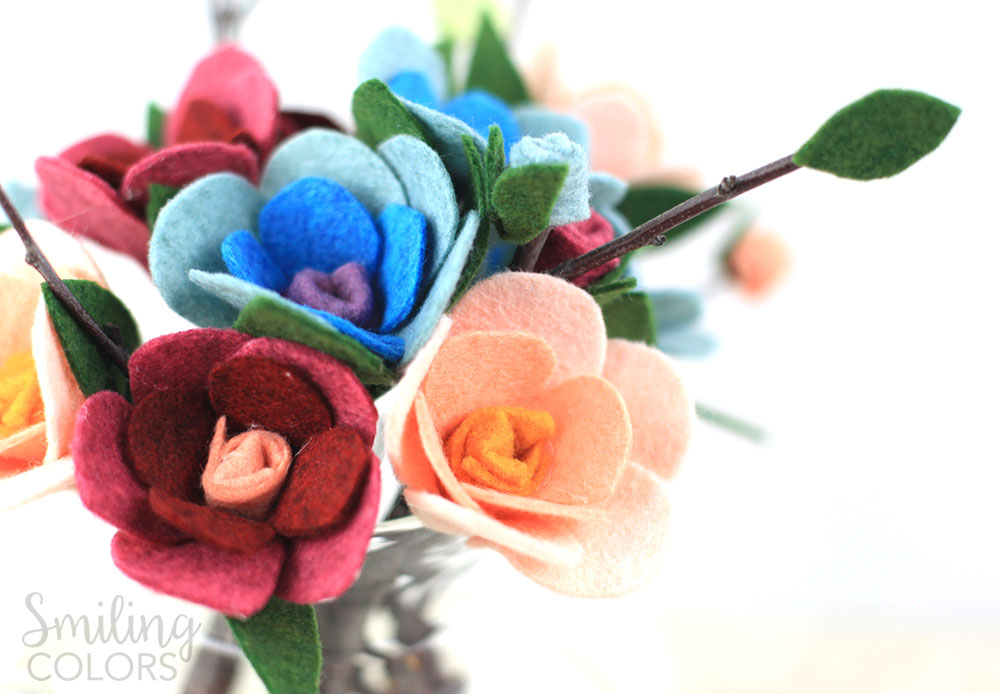
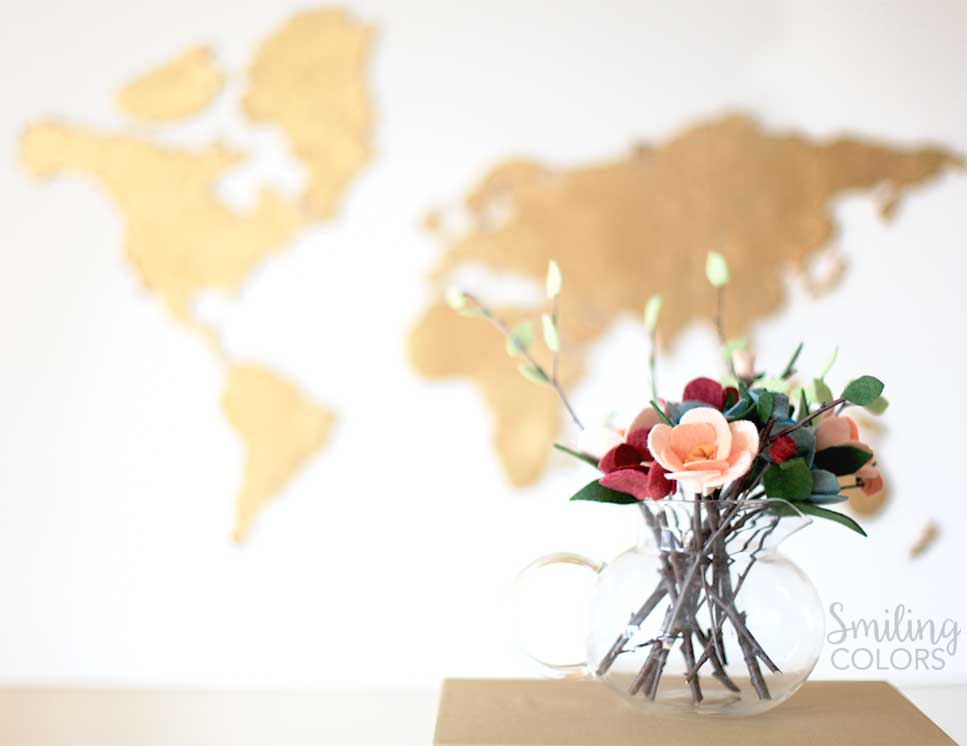
Once you’ve learned how to make felt flowers, it’s time to turn them into a bouquet. You will need to make several felt flowers in coordinating colors.
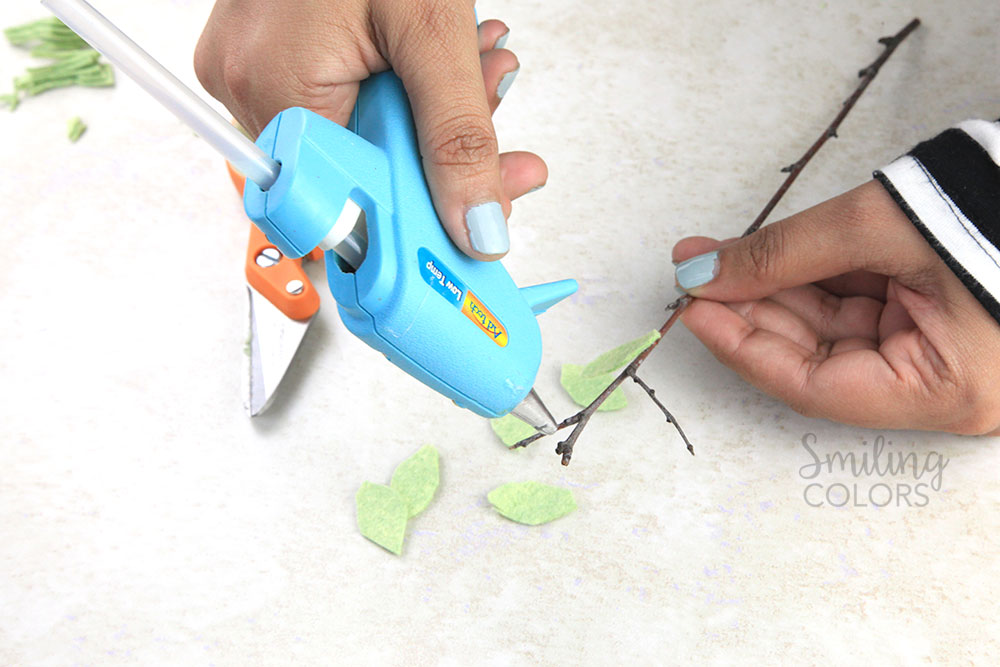
To make fillers for the bouquet, cut tiny leaves and adhere onto twigs. The tiny leaves are an extra step, but they look so pretty in the bouquet!
Helpful Tips for Making Felt Flowers
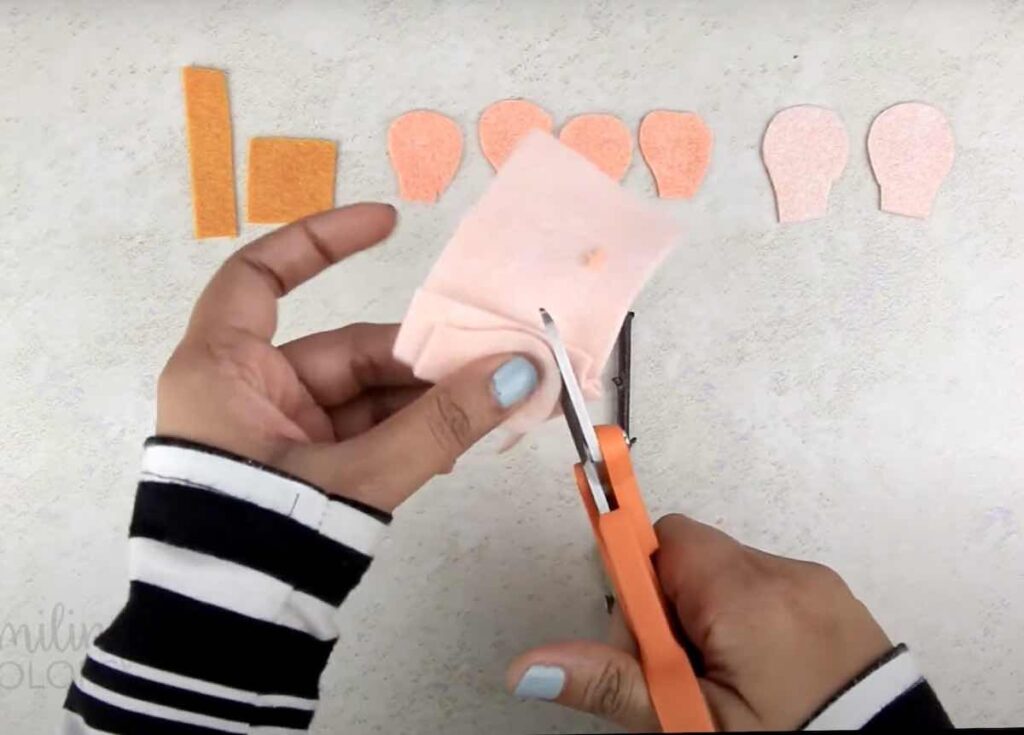
- Use a good quality scissors: Use sharp scissors for clean petal edges. I recommend using the Fiskars Amplify Razor edge shears to easily cut multiple layers of felt at once- and boy does that help speed up the cutting process here.
- Free hand the petal shapes: I didn’t use a template to cut out my felt petals or leaves. I don’t mind if the leaves are a bit wonky, it just makes them uniquely handmade. Don’t worry about perfection, felt flowers look best when they’re slightly imperfect.
- Create an assembly line. Cut all pieces first, then glue and this saves time. I worked with 3 flowers at a time, cut all the felt first, and then started adhering them down.
- Work in small batches to avoid glue strings: I found that I could apply hot glue to up to 4 petals at once and then could adhere to all of them before the glue hardened.
- I was able to make 3 flowers and a couple of buds from two 6 by 6-inch sheets of felt.
Try and use the best quality of felt you can fine- the flowers turn out so luxurious!
Conclusion:
Learning how to make felt flowers is a simple and creative craft that works beautifully for bouquets. With just felt, glue, and a little time, you can create long-lasting flowers that are perfect for gifting or decorating your home. I made generic flowers here, but you can use a carnation, peony, dahlia or even an anemone flower as inspiration to create yours. If you have felt left over, don’t worry, there are so many super cute things that you can make with felt.
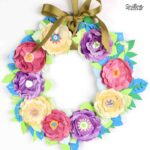
I love how these flowers turned out and I enjoyed the process of making them even more. Once you learn how to make your own felt flowers, you can use them to decorate hair clips, wreaths and so much more!

If you are interested in more flower tutorials, check out how to make a DIY paper flower garland!

Thank you for stopping by today friend. Follow me on social media to see my latest posts!
Tag @smithakatti #smithakatti on social media!


Pretty flowers and it is the season. I like how you didn’t use a pattern. It makes them more life like. You and I were thinking alike for this month’s Crafty DeStash 🙂
These are so pretty and great for spring time! I could also see myself making flowers and using on bows. 🙂
Your felt flowers are SO lovely! I’m really liking how you glued the little leaves on the twigs for stems. So, so cute.
Those tiny leaves on the twigs are my favorite too!
I love these beautiful felt flowers and such a great tutorial!!
Love this- so creative!
This is so pretty! and it would be fun to try!
The girls helped me make these. I would cut the petals, they arranged the assembly line. I would apply the hot glue and they would hand me the correct colored petal. It was fun!
So sweet! Love these to bits! What a great idea for Mothers Day and they last! Thank you for the tutorial 🙂
Thank you for your sweet words! And yes, I love that these flowers will never die!
These flowers are beautiful!
Your ideas are always so fantastic! I love your video tutorial too, I just subscribed 🙂 Your flowers are so trendy, I feel like you’d see these in a high end boutique. Your idea of using the felt flowers in a bridal bouquet is a great one. Pinning!
Beautiful job, I love these flowers! I think a nice bouquet of these would be perfect for my craft room! 🙂
These are so adorable!!! They look really great. I think we all had flowers on the mind with Mother’s Day right around the corner. So many great flower tutorials in this Crafty Destash group.
I’ve been looking for something like this for several weeks. I’m glad I finally found the beautiful ones you made.
Those felt flowers are super adorable!! Although you make it look so very simple I am one of the unfortunate people that lack even a single drop of artistic ability and would really benefit from a template for the petals and leaves! I ended up wasting several sheets of felt and received severe burns on my fingers after trying to replicate the beautiful flowers above and they ended up looking like complete disasters! PLEASE, PLEASE, PLEASE consider making a template for the artistically challenged! Thank so much for sharing all your beautiful ideas!
I Have only just found your beautiful flowers. if possible i would love a template for flowers and leaves. i am not too good at doing my own.
I will try to add them soon!