Looking for a unique and budget-friendly decoration? Follow this tutorial to make a stunning Paper Flower Wreath DIY that will add a touch of spring to your front door
I love finding easy DIY wreath ideas to decorate our front door that is unique and made with love. Check out this dollar store diy spring wreath that was so inexpensive to make, and this felt flowers wreath tutorial that used luxurious felt!

Affiliate links have been used at no extra cost to the reader. You can read my full disclosure here.
Paper Flower Wreath DIY Tutorial
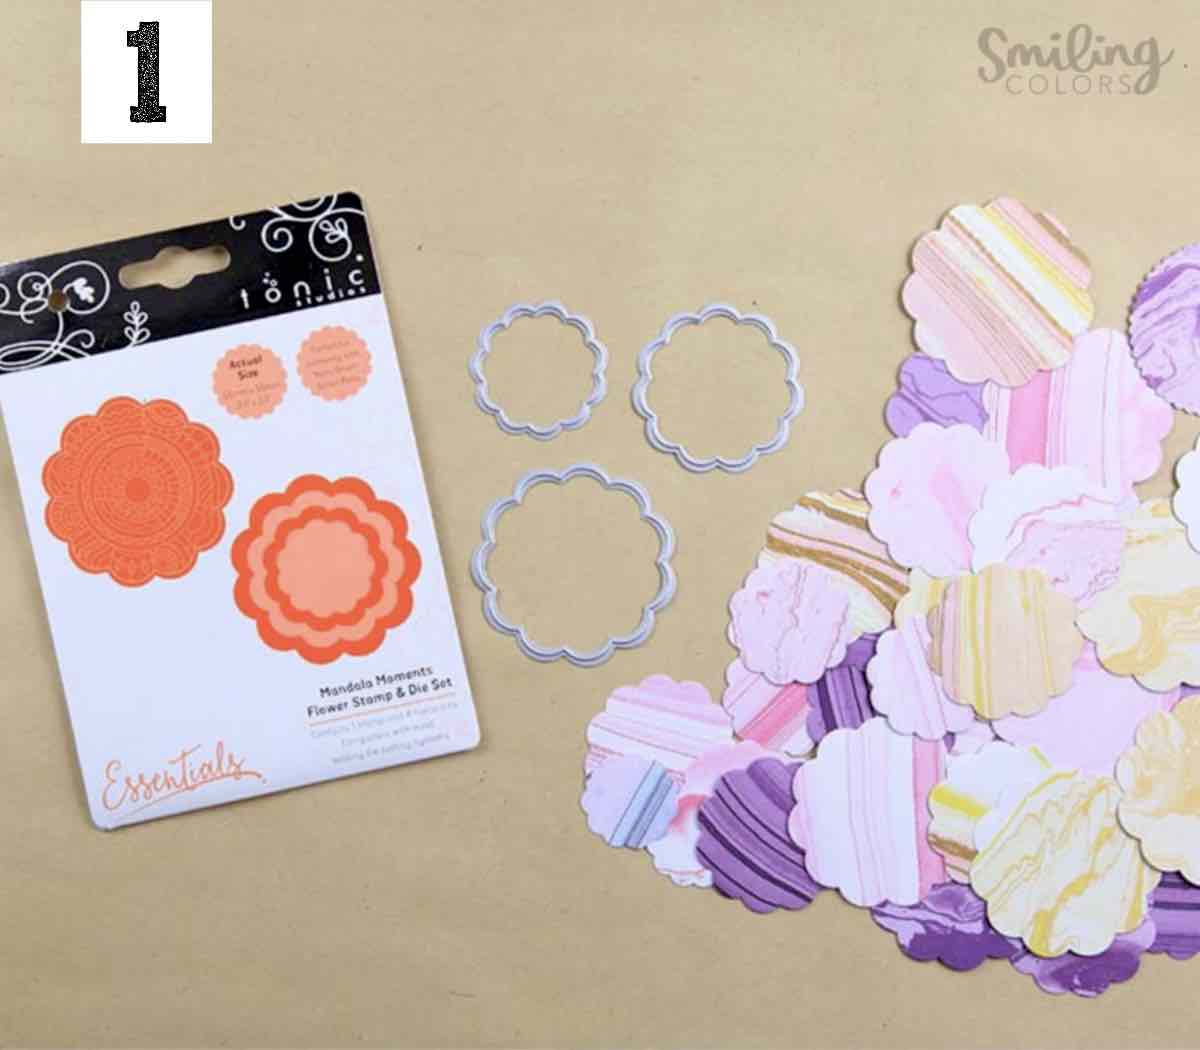
1. Choose Your Paper and Cut Out Scalloped Circles
For my flowers, I chose soft pastel-colored patterned papers and cut out scalloped circles in different sizes using my Die Cutting Machine
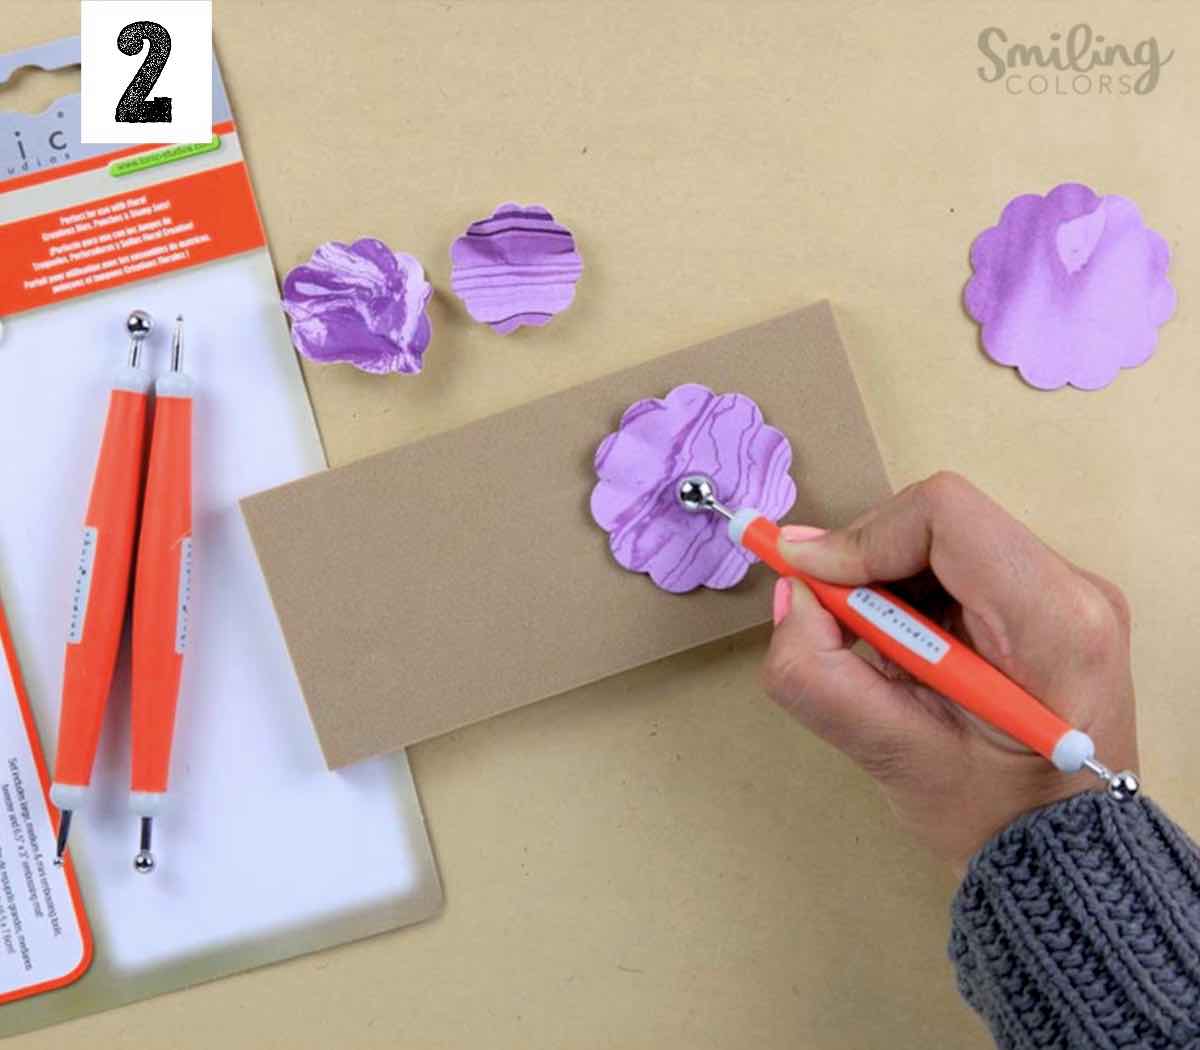
2. Shape And Curl The Petals
After cutting out all of your flowers, it’s time to shape and curl them to give them dimension and a more realistic look. To do this, I used a metal ball tool that easily curves the paper. You place your paper on top of a foam block (that comes with the tool) and then gently roll the metal ball in the center of the paper to add easy and quick dimension.
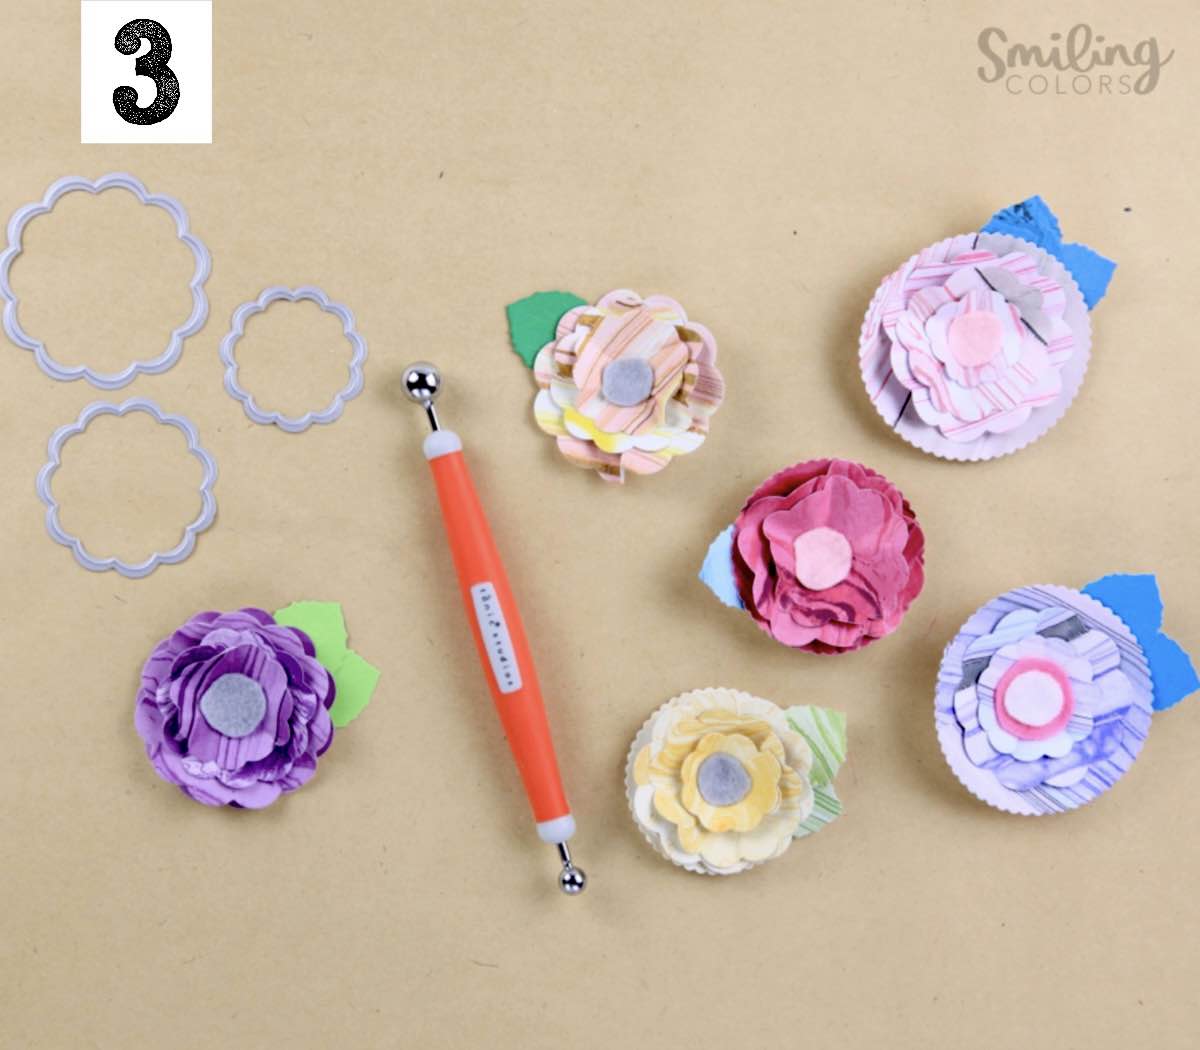
3. Assemble and Glue The Flowers
Using a liquid or tape adhesive, layer and glue the flowers together. The paper crinkles so nicely and adds great dimension!
4. Cut Lots of Leaf Shapes From Paper
Even though we are creating a flower wreath with paper today, I always cut a bunch of leaves as well. The leaves not only add a contrasting green/blue tone to the wreath, they are also great to layer underneath the flower and cover and open spaces.

5. Assemble Onto The Wreath Base
You can use a variety of materials for the base, such as a foam wreath form, a wire wreath frame, or like I am doing today a cardboard cutout. Choose a size and shape that suits your preference and the occasion.
Start arranging your flowers and leaves, layering them, and distributing colors without adhering anything down at first.

6. Attach All The Flowers And Leaves To The Base
Apply a small amount of glue to the bottom of each leaf and flower. Then, carefully press down to adhere to the base. Continue adhering until the entire base is covered. Add a satin ribbon bow at the top to hang the finished Paper Flower Wreath DIY.

Once all the petals are in place, allow the glue to dry completely before hanging or displaying your stunning paper wreath.

I love how this Paper Flower Wreath DIY turned out, so colorful and easy to make!

You Might Also Like:
Conclusion: Paper Flower Wreath DIY
A beautiful spring craft idea, this Paper Flower Wreath DIY is super satisfying to make and can be easily made in trendy colors of you choice. It is so calming to curl each and every one of the paper petals and then layer + adhere them all together.

Inspiring you with simple doable Art and Craft ideas and tutorials that will encourage you to use your supplies, get messy and find your creativity.