Learn How to Make a Rainbow Costume for your kid with this easy, no sew VIDEO tutorial. All you need are cardboard, paints and glue. I love how cute this one turns out!
Whether it’s for Halloween or a themed party, making a rainbow costume at home is a great way to show off your creativity. Follow these simple steps to make your own. Make sure to check out this DIY Peacock Costume Tutorial too!
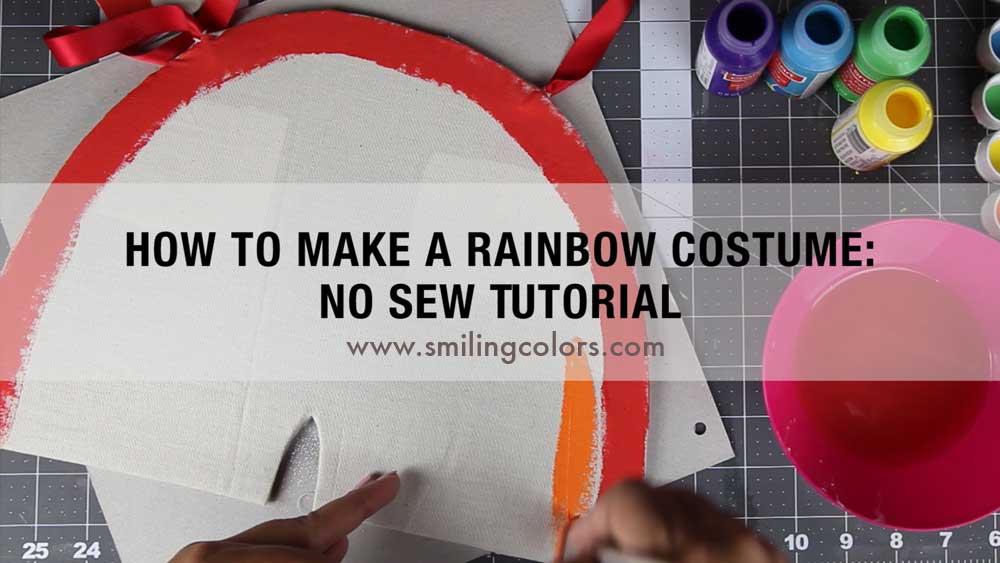
How to make a Rainbow Costume VIDEO
Learn how to make a Rainbow Costume for your kid with this easy, no sew VIDEO tutorial.
This costume takes about a day to make/dry and is the perfect size for a little girl. Follow along this step by step VIDEO- DIY Rainbow Costume VIDEO
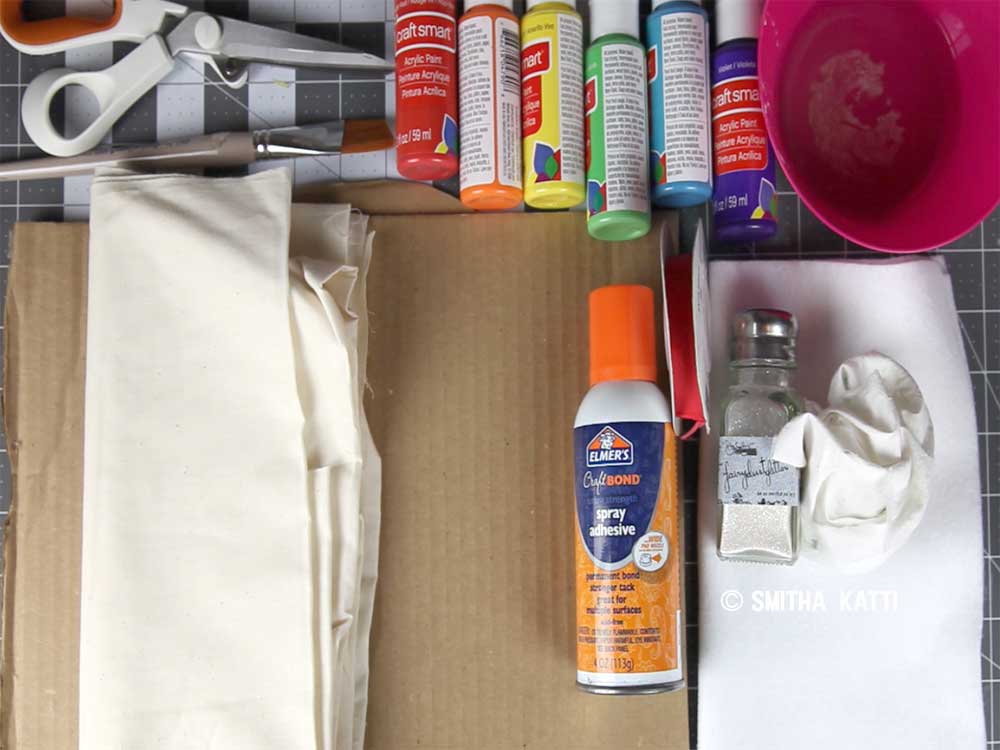
Supplies you will need:
You will need some basic supplies for this- cardboard for the base of the costume, fabric to cover it, some ribbon for the ties and a good adhesive to hold everyone together. I am using two kinds- a spray adhesive and a hot glue gun. Either or both work, just use what you have.
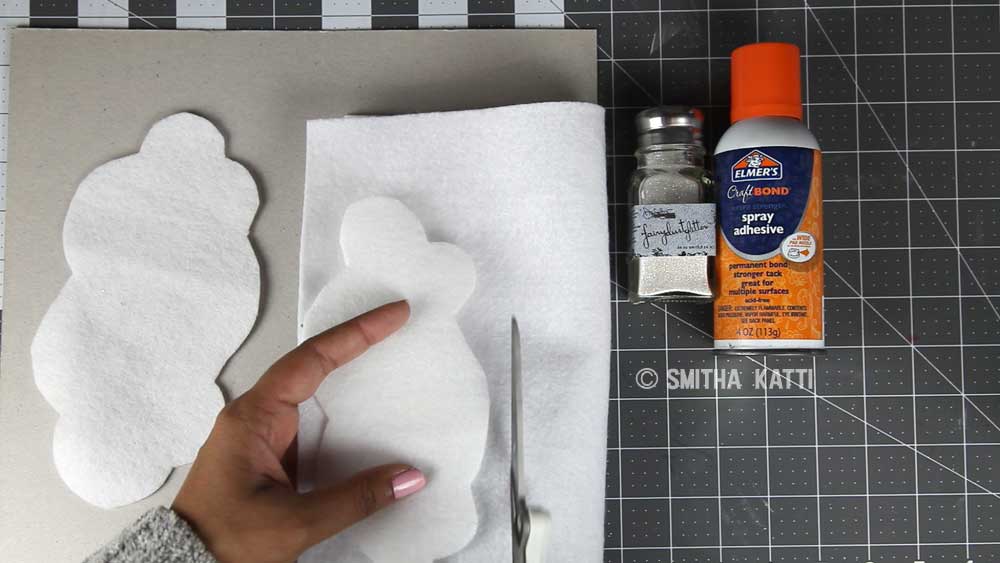
To make the rainbow- you will need basic acrylic craft paints in rainbow colors, a paintbrush and some white felt. Glitter is optional here.
ALSO READ: Felt Rainbow On Canvas
how to make a rainbow costume
- Cut a large piece of cardboard into a rainbow shape using Fiskars Ampifly Mixed Media shears.
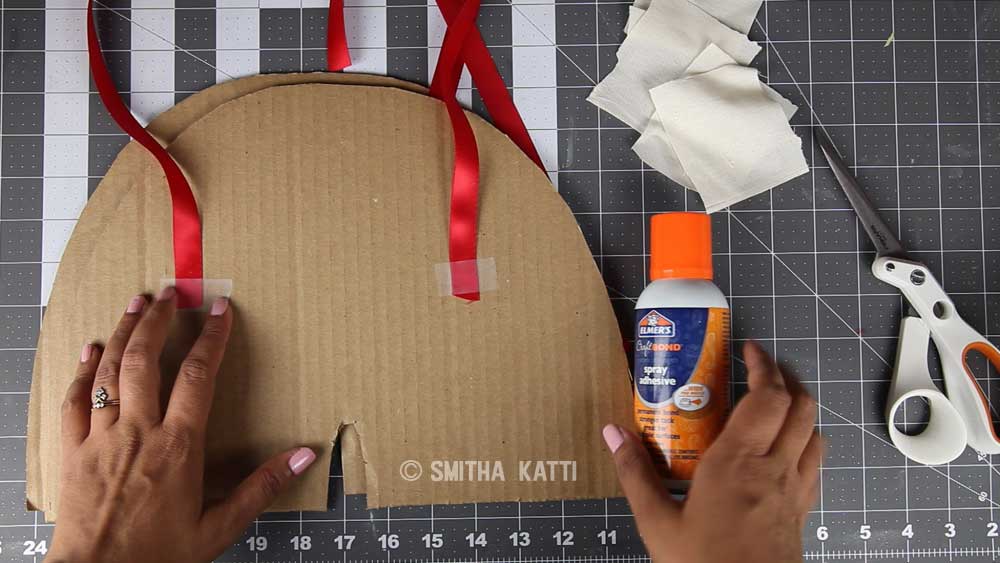

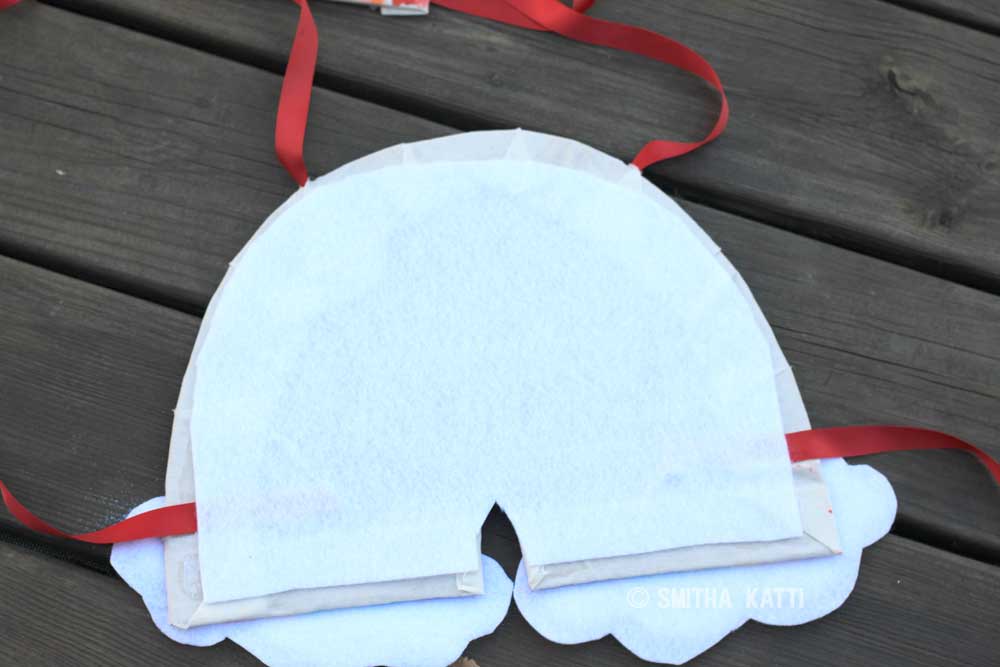
2. Using some tape temporarily hold the ribbons in place about shoulder width apart, spray some adhesive under and around the ribbon area and place a square on fabric on top.
3. Using the Amplify scissors trim cotton fabric to be about 2 inches wider than the rainbow front. Using the spray adhesive fold and adhere this seam. For the curved portions, cut the fabric every few inches, fold and adhere into place. When you come near the ribbon ties, make your fabric cuts in such a way that the ribbons lie exactly along a cut. This way, you can easy fold the seam around the ribbons and have the ribbons peek out.
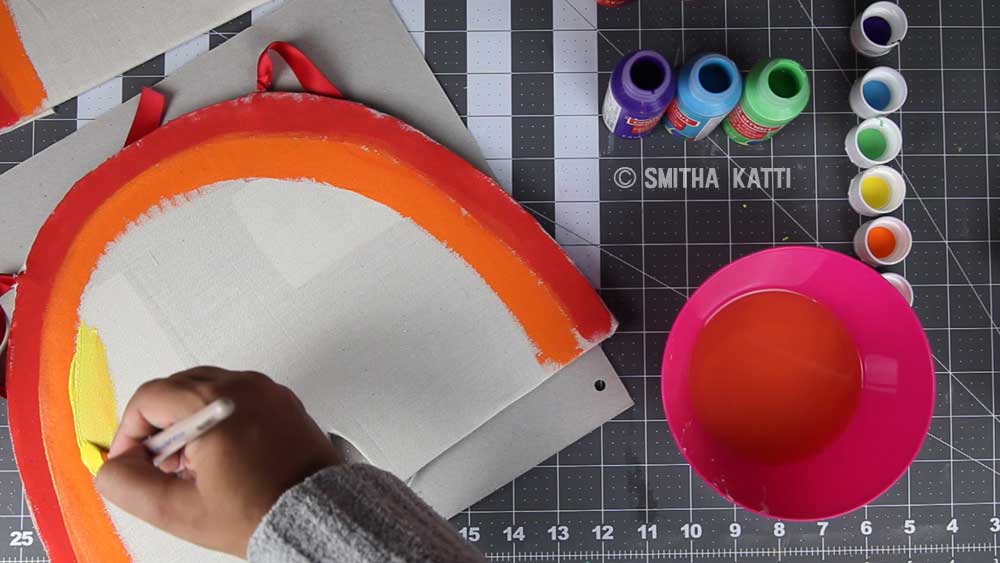
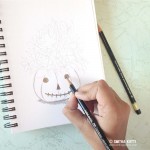
4. Start painting the rainbow, using paints of these 6 colors- red, orange, yellow, green, blue and purple. While painting try to use water on your brush as sparingly as possible.
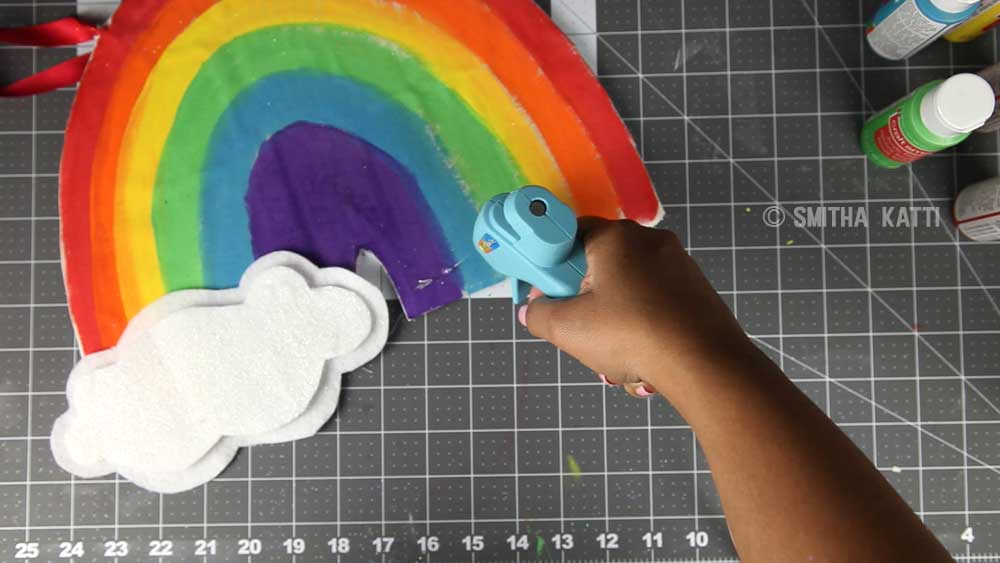
5. Quickly cut 4 cloud shapes from white craft felt, with two of them being slightly smaller in size than the others.
6.Spray some adhesive and then sprinkle glitter all over the smaller clouds.
7.Using some hot glue, attach the clouds onto the rainbow.
All Done!
And we are done! Here is how the costume looks- with two cardboard rainbows-one for the front and one for the back. Simply tie the ribbons together into bows and your little rainbow is ready to go trick or treating! I hope you enjoyed learning how to make a rainbow costume with me today.
PS: How can it be October already? I literally did a double take when the calendar page changed.
I really like making videos- I have even started to love the editing process. Let’s see if I can start sharing more videos over here. What do you guys think? Would you like to see more videos? If so what topics or crafts would you like me to make? Let me know in the comments below 🙂

So cute 🙂 looking fabulous
Thanks for letting me share this in my Halloween roundup that will go live tonight!