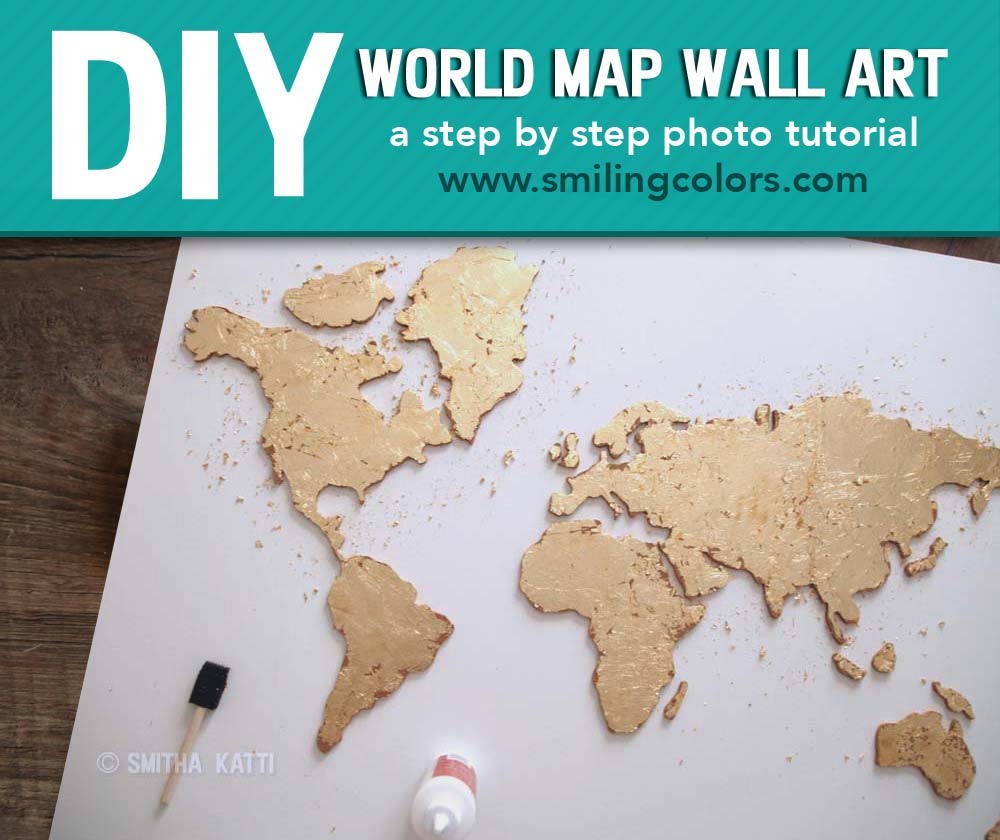
Create this simple DIY World Map Wall art that has a subtle gold shimmer and a great DIY for the home! Today’s post has the step by step tutorial with easy instructions and photos.
Make sure to check out all of my DIY for the home ideas and bookmark this page. See my DIY nightstand makeover, DIY felt trays for organizing, DIY felt wreath, DIY nursery wall art, DIY paper wall art and DIY mugs with sharpie!
This DIY world map wall art is always a conversation starter in my house now! Everyone who visits admires it and it always makes me smile 🙂
affiliate links have been used below at no extra charge to you. For more info please read my disclosure.
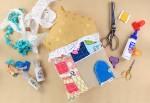
DIY world map wall art supplies:

- A large canvas- 30 by 40 inches in size or a size that is appropriate for your home. Look for sales at your local art stores to get a great price on these.
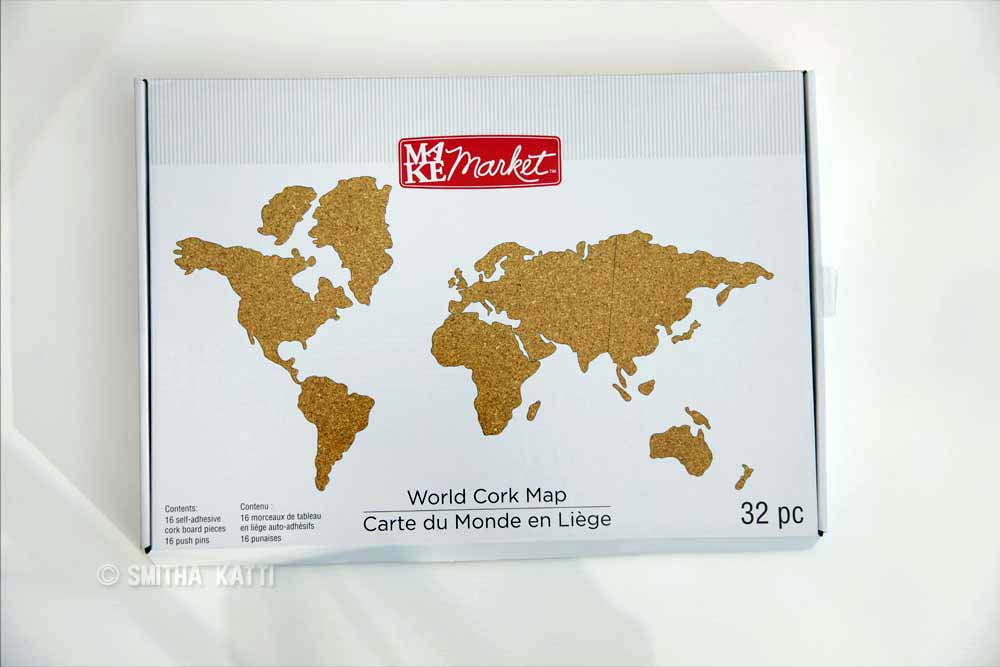
- A Cork Map. I bought mine at my local Michaels store, but this one looks to be just the same! Just make sure that the cork map is the right size for the canvas you plan to use.
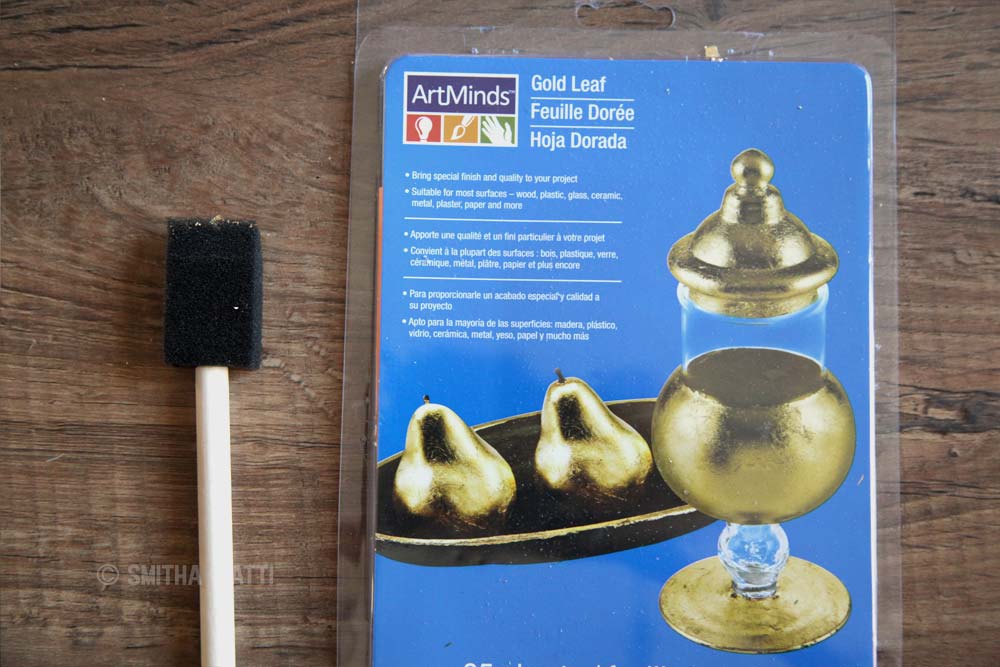
- Metal Leaf Sheets, is the main star of the show. If you have not used Metal leaf sheets before it is very easy. Start with my previous tutorial here How To Apply Gold Leaf Step by Step + FAQs!
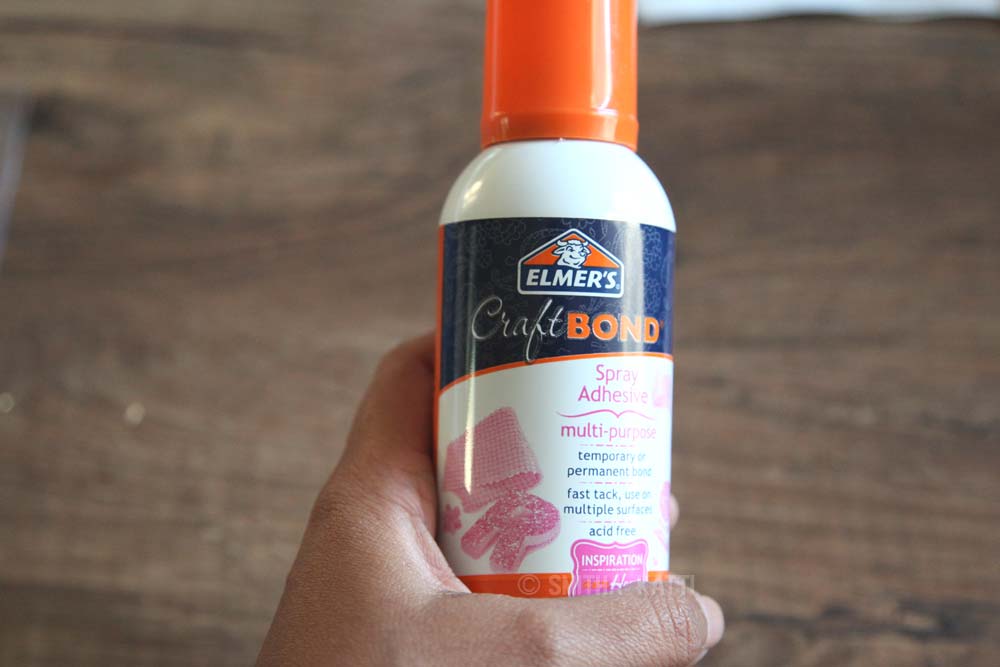
- To adhere the Metal leafing, you can either use the recommended Speedball Metal Leaf Adhesive or a general spray adhesive like this Elmers Craft Bond one also will work.
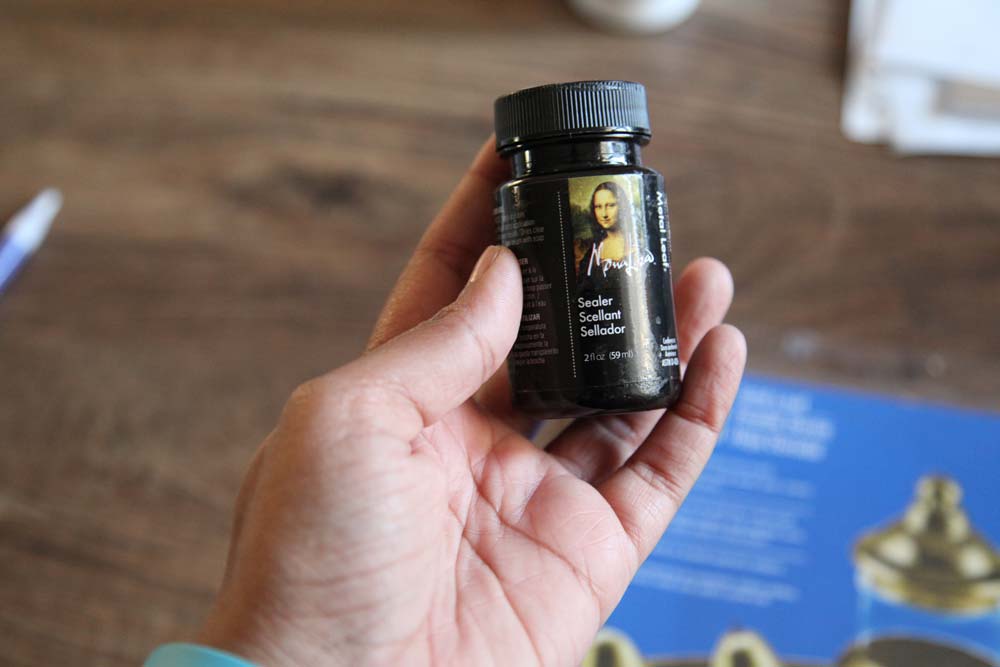
- You will definitely need this Speedball Mona Lisa Water-Based Sealer For Metal Leafing Projects to protect your gold layer. It looks like a tiny bottle, but it is more than enough!
- Gold Acrylic paint. I am using this Liquitex BASICS gold tube.
- Paintbrushes- a sponge one and a regular square edge one.
DIY WORLD MAP ART TUTORIAL
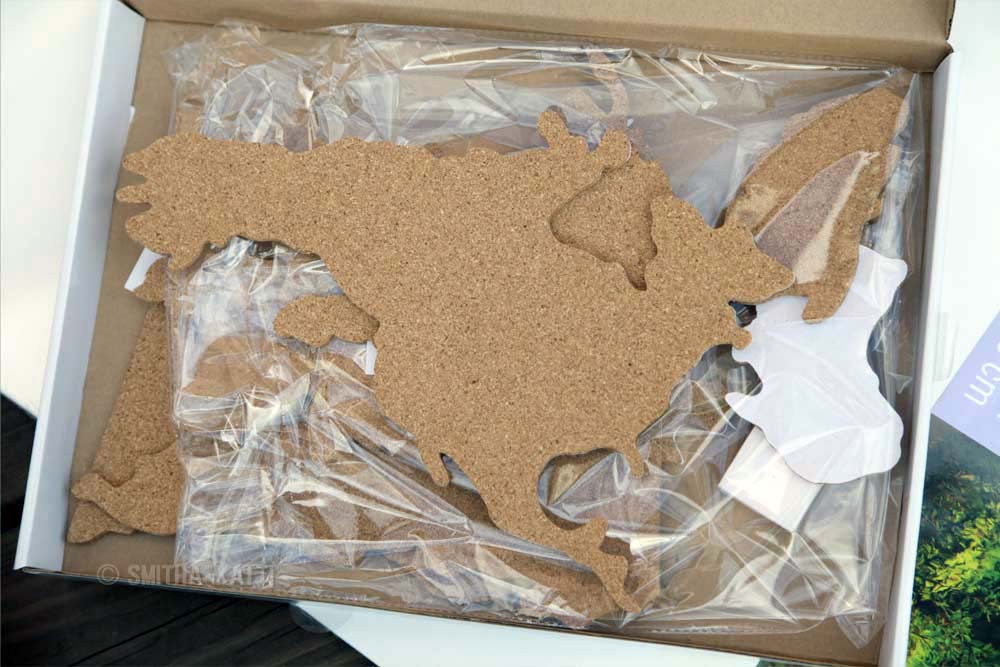
The World Map I am using here has all the continents of the world cut out of cork. It’s pre-made and perfect for this project! You can also use a laser cut wood map or even stack a few layers of laser cut paper in the map shape.
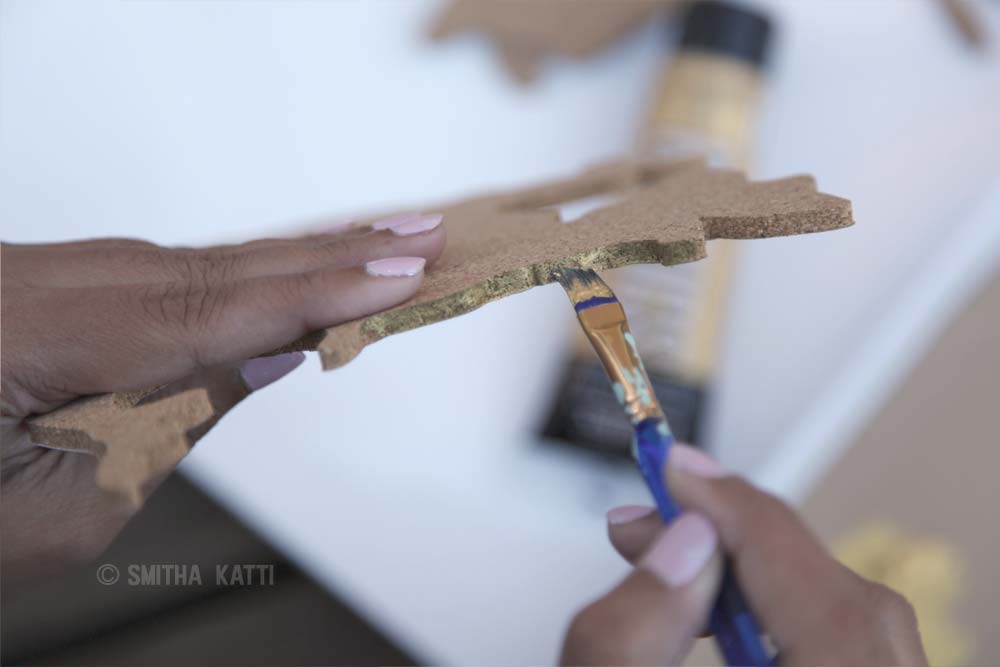
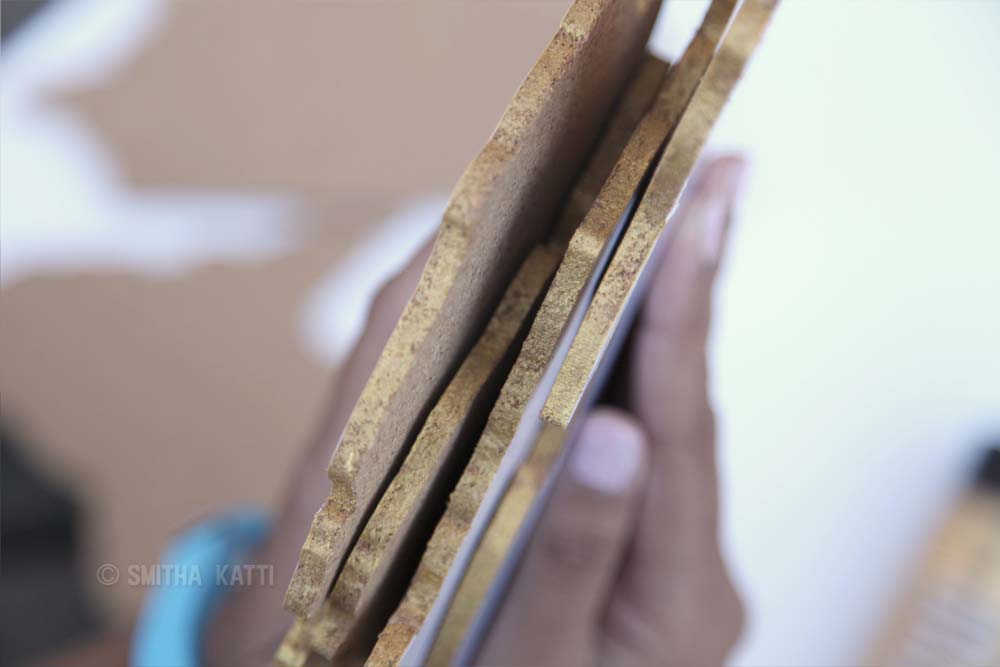
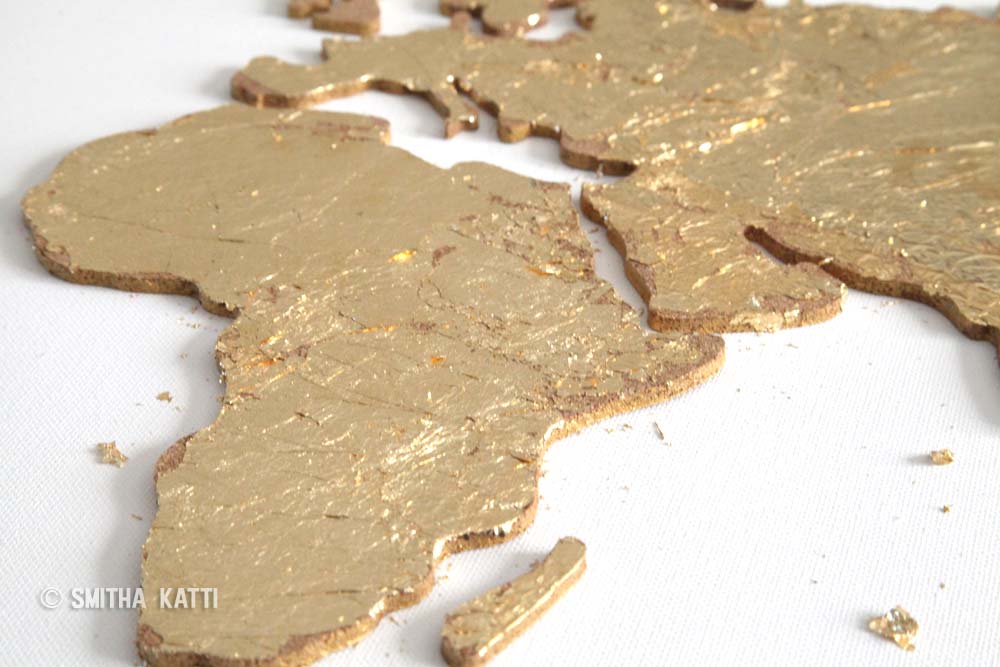
I painted the edges of each continent with Gold acrylic paint. I did not dilute my paint with water so it just needed one single coat.
Gold Leaf application to Large Wall Art
I am using this Metal Leaf by Art Minds today.
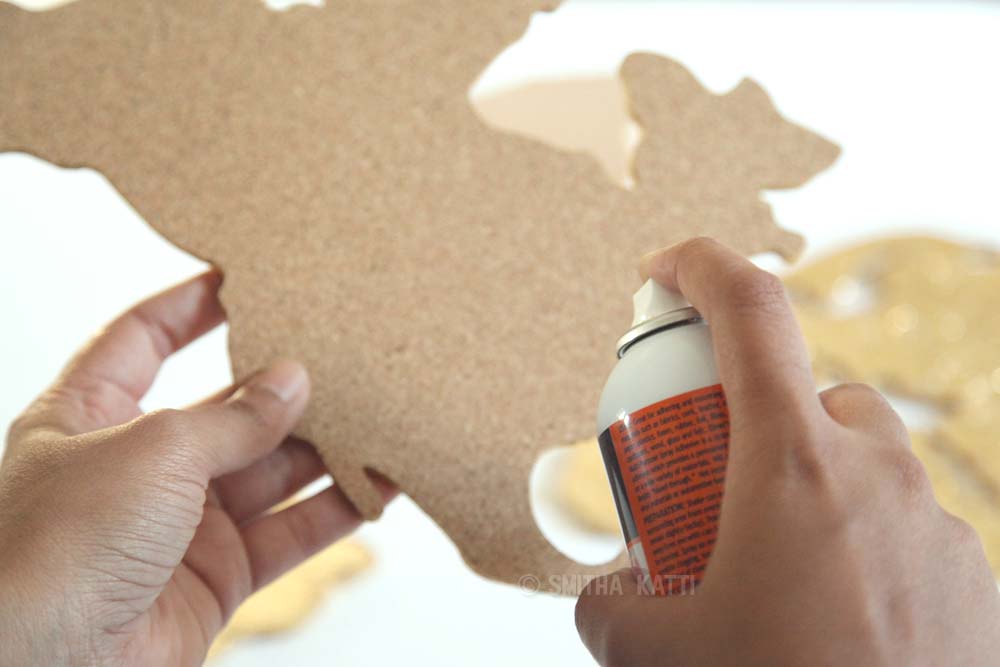
Step 1: Apply the adhesive: On the cork, I recommend using a spray adhesive (instead of regular adhesive) The spray adhesive covers large areas quickly yet remains tacky enough for you to adhere the Gold Leaf.
Spray generous amounts of the adhesive and let it sit for 30 seconds.
Step 2: Apply the Gold Leafing: Place an entire sheet of Metal Leafing onto it. This stuff is really delicate so be gentle while lifting it out of the packaging. Make sure your hands are dry, if not the sheet will stick to your hands.
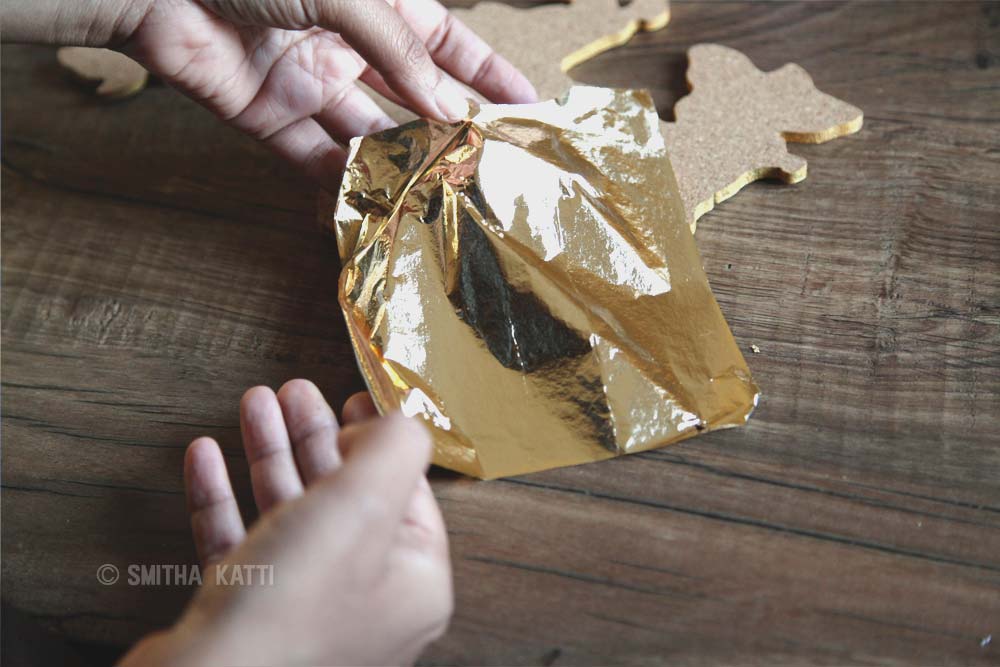
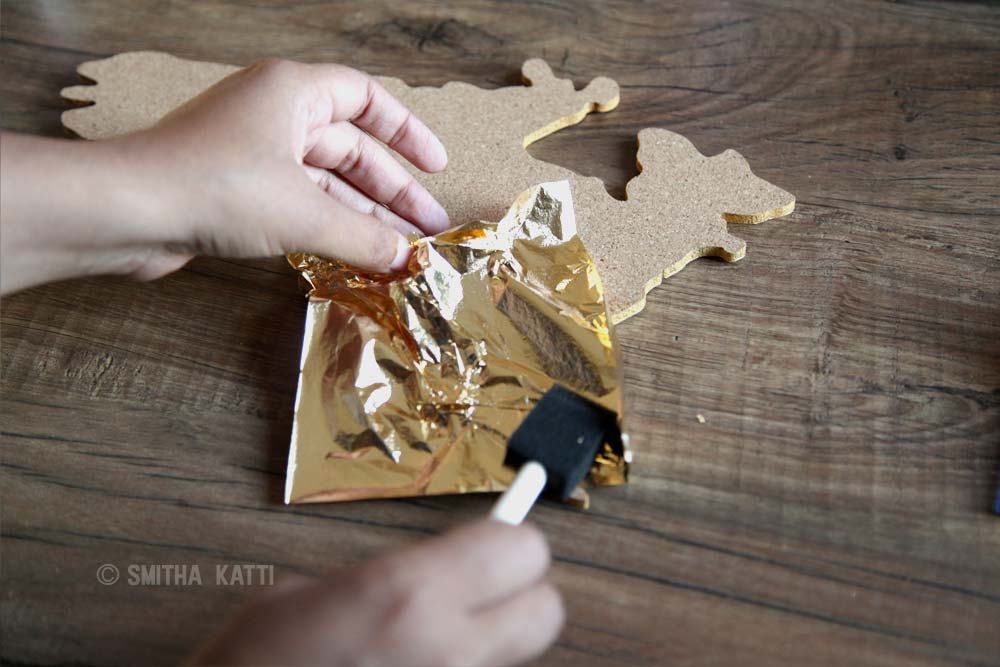
Step 3: Burnish the gold: Using a dry sponge brush, gently press the leafing down to adhere onto the cork. Let it dry for a few minutes, and then come back and simply brush off the overhang. Make sure you don’t sneeze close to it or have a fan running. Work far away from Air conditioning vents as well.
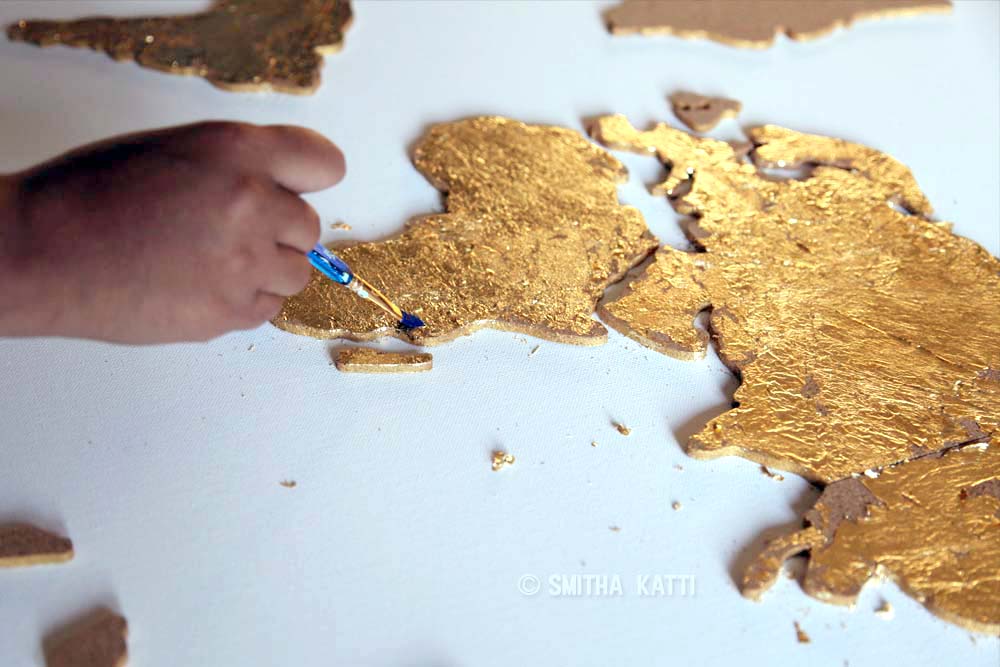
Step 4: Fill in the gaps: You might have big spots where the gold leaf hasn’t adhered at all, and in such areas, paint a small amount of white glue (that has been thinned out 1:1 with water) and add small pieces of the metal leaf on top.
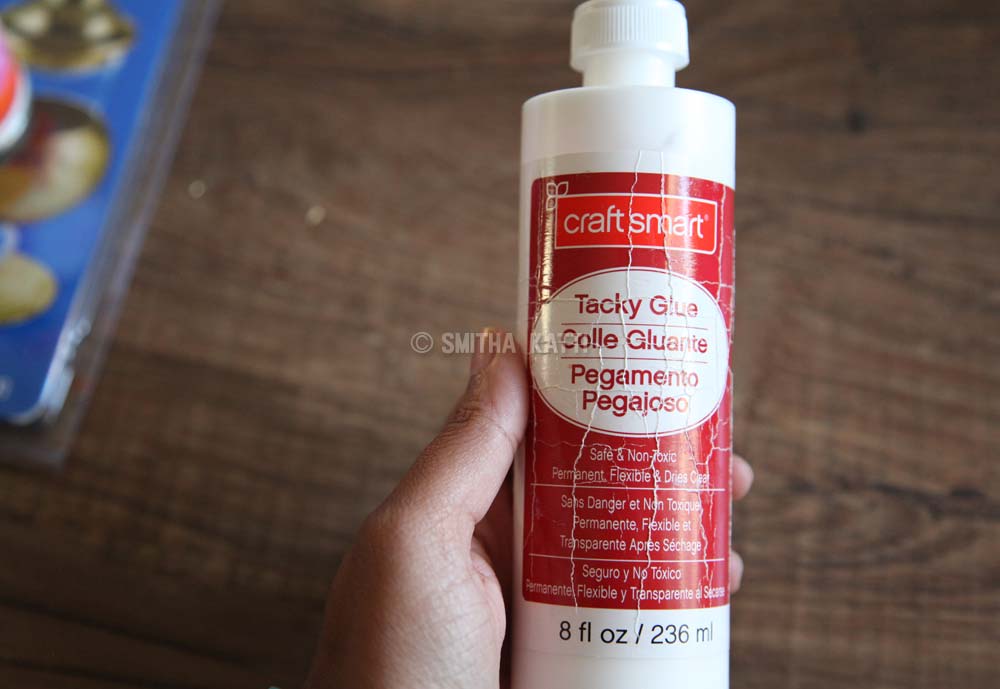
By white glue, I mean you can use any white liquid glue you have on hand- I used this Tacky glue. This tacky glue was also used to adhere all the cork continent pieces onto the canvas. I wouldn’t trust the adhesive backing on the cork map.
ALSO READ: The Best Tombow Adhesives: What glue to use when?
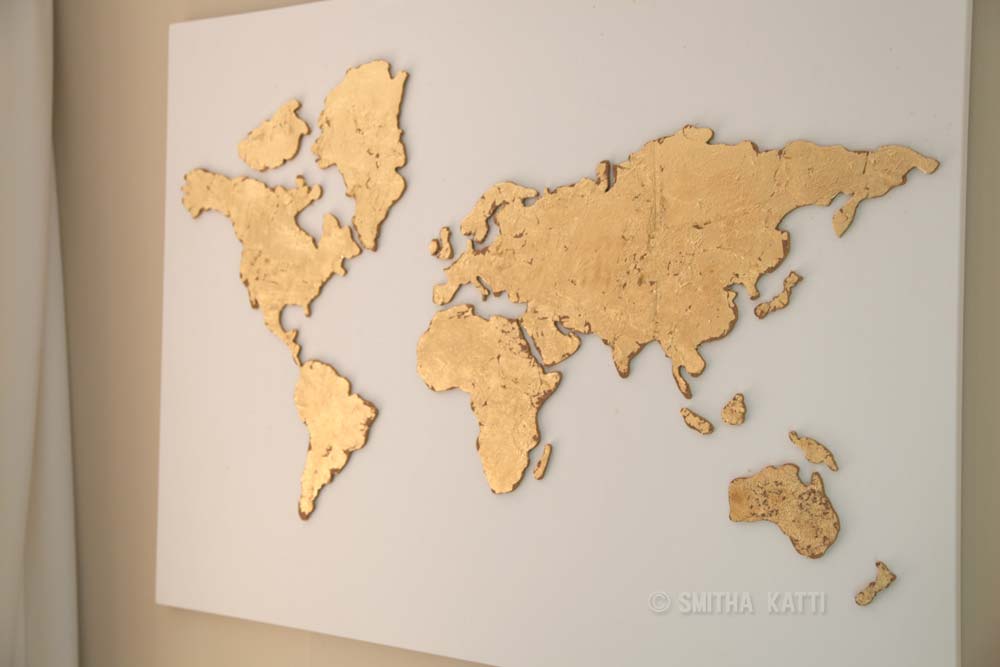
Cover all of the cork pieces with the gold leafing and then adhere the map pieces onto the canvas. I didn’t prime or paint the canvas, simply because I love using white in my DIY for the home ideas. You could of course paint the entire canvas light blue to represent the ocean.

Everything needs to dry for 12 hours or overnight and then using a dry brush, gently brush off the excess gold leafing.
How to Seal Gold Leaf
To finish off this DIY for the home wall art piece you will need to apply two coats of sealer onto the metal leafed areas. I’ve had this art piece on my wall for more than 8 years now and nothing has faded, discolored, or fallen off.
map wall art
Ta-da!!! This DIY world map wall art is ready to be hung on your wall. According to me anything covered with Gold Leafing is stunning, am I right? This one turned out to be the perfect DIY for the home.
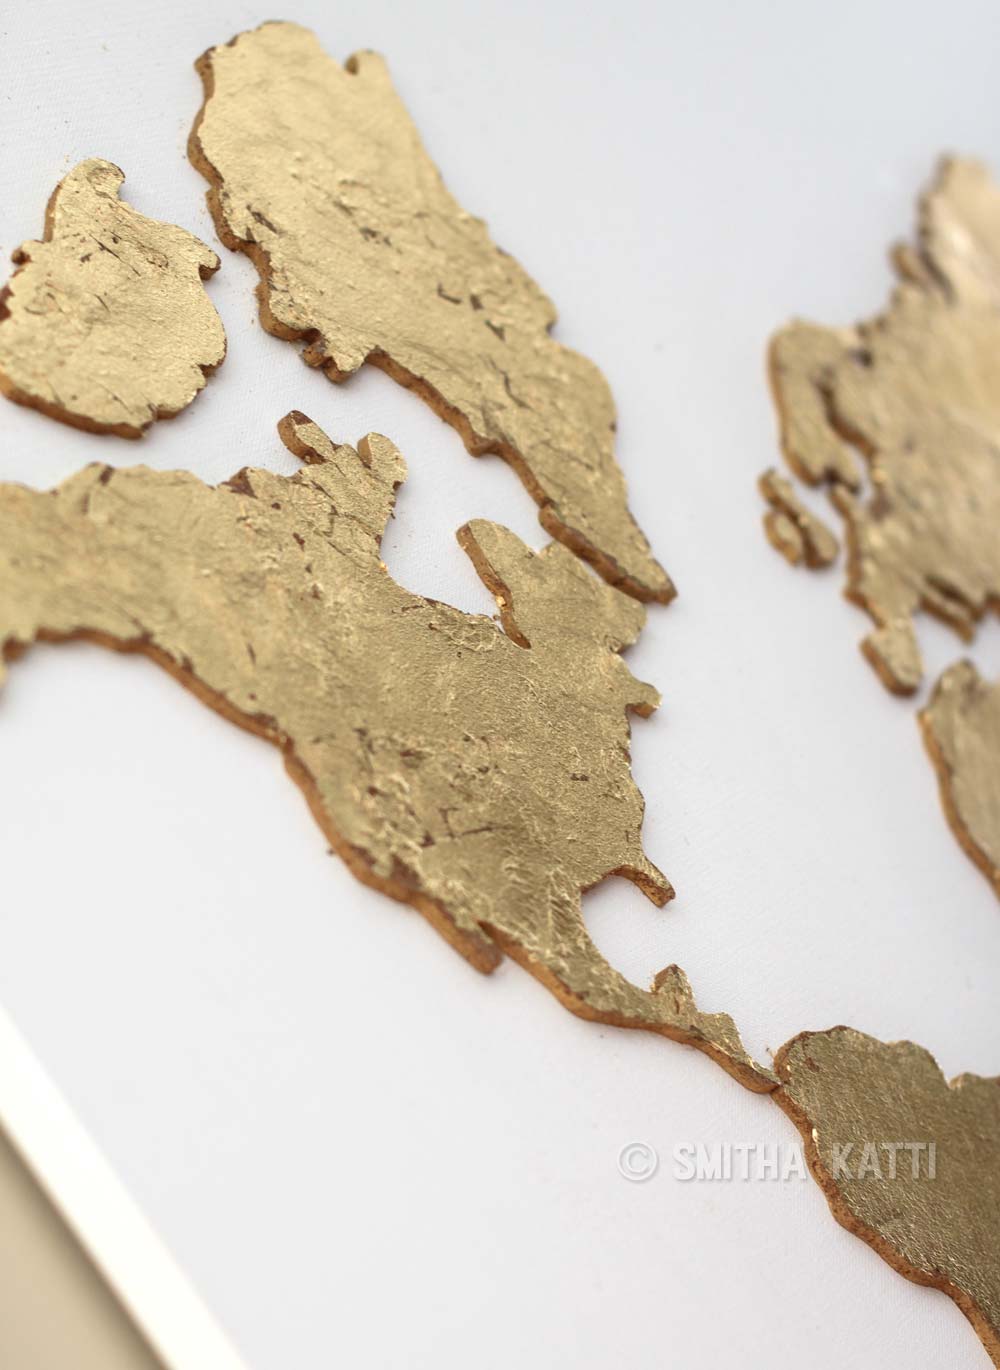
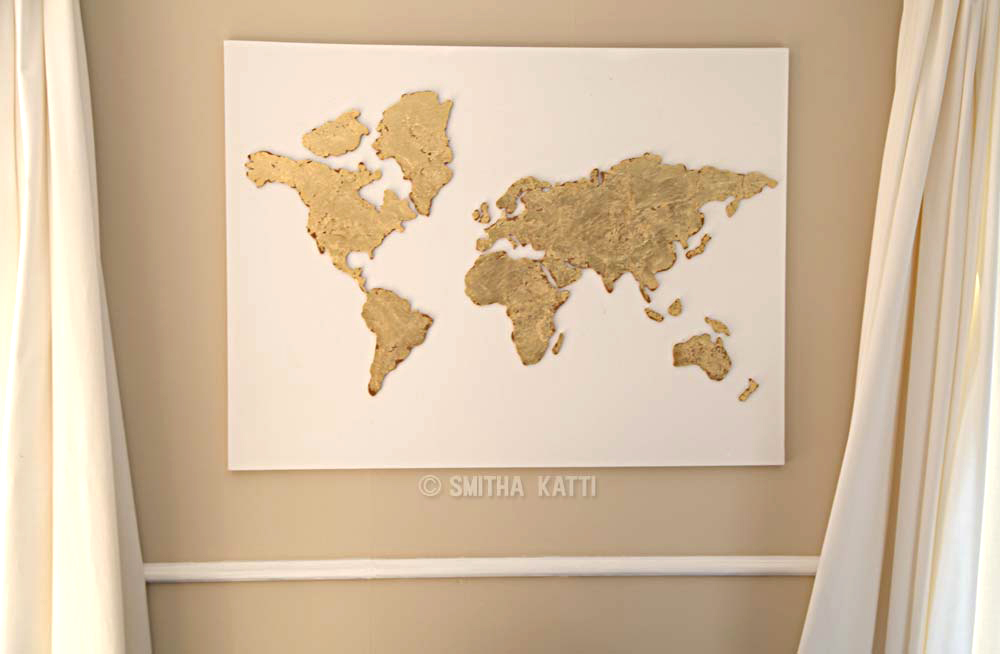
There is no way my camera can do justice to how shimmery this map wall art piece is in real life. It catches the light differently every time and is a statement piece in our home.
Gold leafing a large map wall art is super easy to do, and gives the most unique results! If you have any questions about this DIY World Map Art let me know in the comment section below and we can chat!

Wow, I love this Smitha! I love anything with maps and I just think this is amazing and it really stands out. 🙂
Also, I’m a long time follower of your blog, but I’ve never really commented much, so I’m trying to fix that. 😉
Thank you for following my blog Katie! And I love that you took time to leave a comment for me to read. you just made my day 🙂
Amzing , I was looking for wall art for my living room something chic yet affordable, this is exactly what I want , Thank you so much for lightening up my wall ☺
I just found your site and LOVE your gilded world map, as well as your coloring bookmarks. Thank you so much for sharing your talents with the world.
Thank you for your sweet kind words. Have a wonderful day!
Hi Smitha, can I use Mod Podge for adhering the gold leaf? I will be using thick foam board (used for insulation) and cutting the continents out by drawing it out. This project will go on my ceiling which is painted blue to show ocean. Thank you!
Hi Divya! The mod midge might be too strong for the gold leaf. Maybe try watering it down a bit? The gold leaf needs a really thin layer of adhesive and nothing else! I love your ceiling idea!
It’s beautiful!