Hello friends! I’m starting a new sketchbook today and painting simple Watercolor Pen Flowers on the first page. I’ll share the step by step tutorial so that you can recreate these too!
I enjoy creating and sharing on this blog easy floral paintings, and today I am using brush pens. Brush pens have water based ink and act as Watercolor Markers.
This post contains affiliate links. When you purchase an item via these links, I receive a small commission at no extra cost to you.
What you will need:
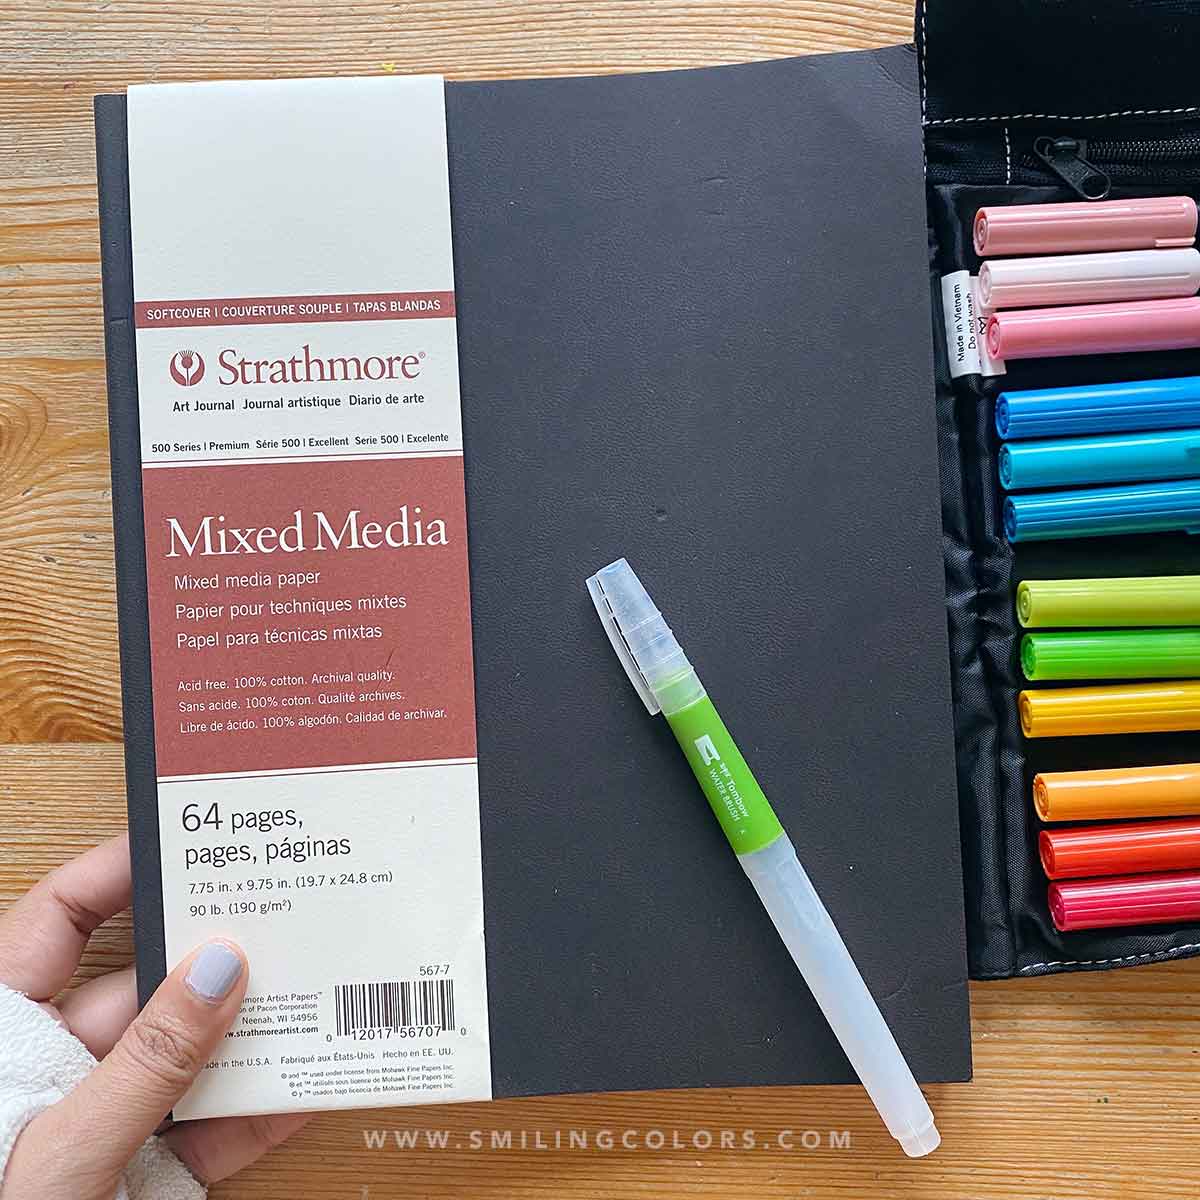
- Sketchbook: My new sketchbook is a Strathmore Mixed Media sketchbook that has a beautiful softcover!
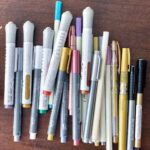
- Watercolor pens: I’m using my Dual Brush Pens here
- Pencil and Eraser: I used a mechanical pencil for my under sketch
- Paintbrush or Water Brush: A Round no 4 or no 6 paintbrush or a small water brush works great for this project.
- Black Pen: To write your name and add details using a fine tip pen like the MONO Drawing Pen 03
Watercolor Pen Flowers Tutorial:
Step 1. When starting with a blank page, instead of directly painting I like to lightly sketch out the design I have in mind with a light 6H drawing pencil. This is totally optional but helps to make sure your flowers are centered on the page and you know what you are going to paint.

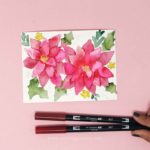
Step 2. Start adding color: Apply the Watercolor pen color onto the paper in a flower shape, and then quickly paint over it with water. While painting with water, I keep my paintbrush damp, not too wet. And I use that damp brush to drag the color to form petal shapes.
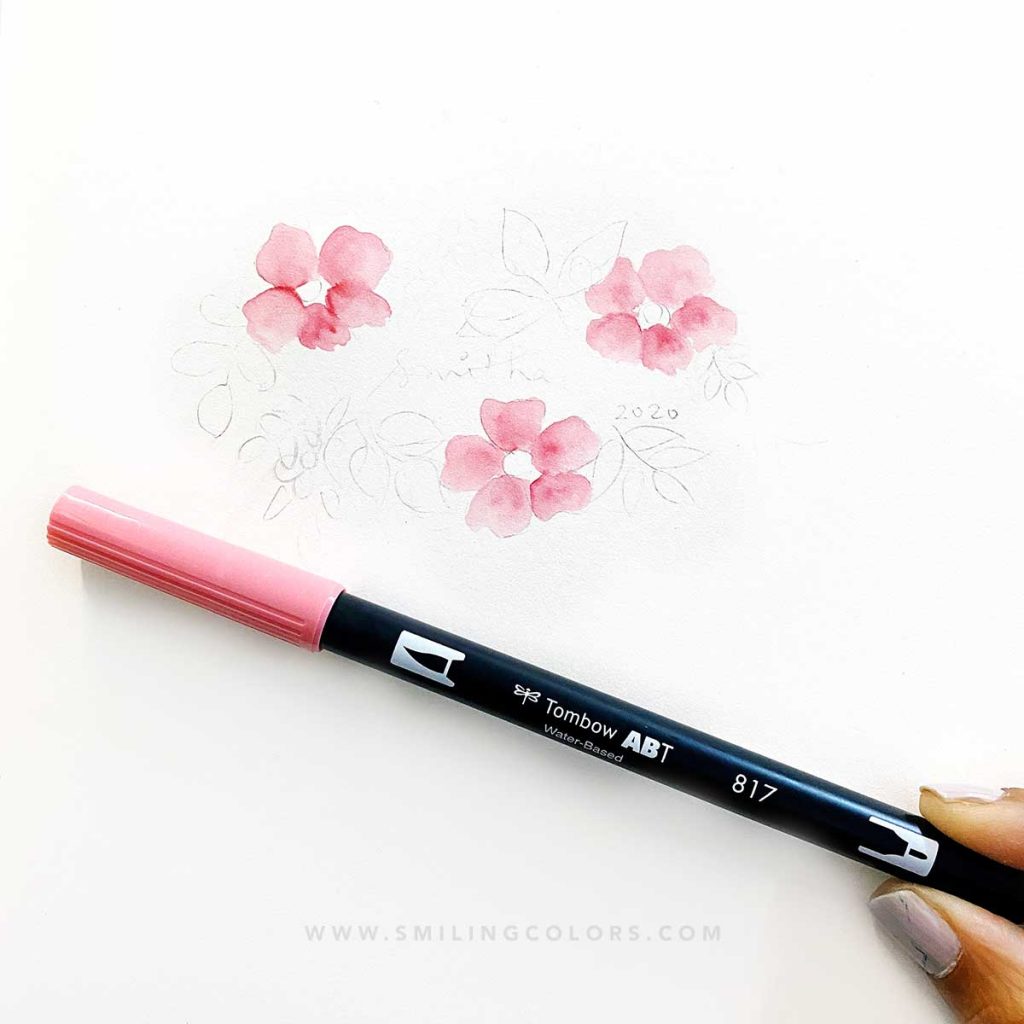
Step 3. Add different colors and keep painting over them with water carefully to create a few different sized and watercolor pen flowers. If you add too much water to the paper you will need to wait for the previous color to dry before adding a new one.
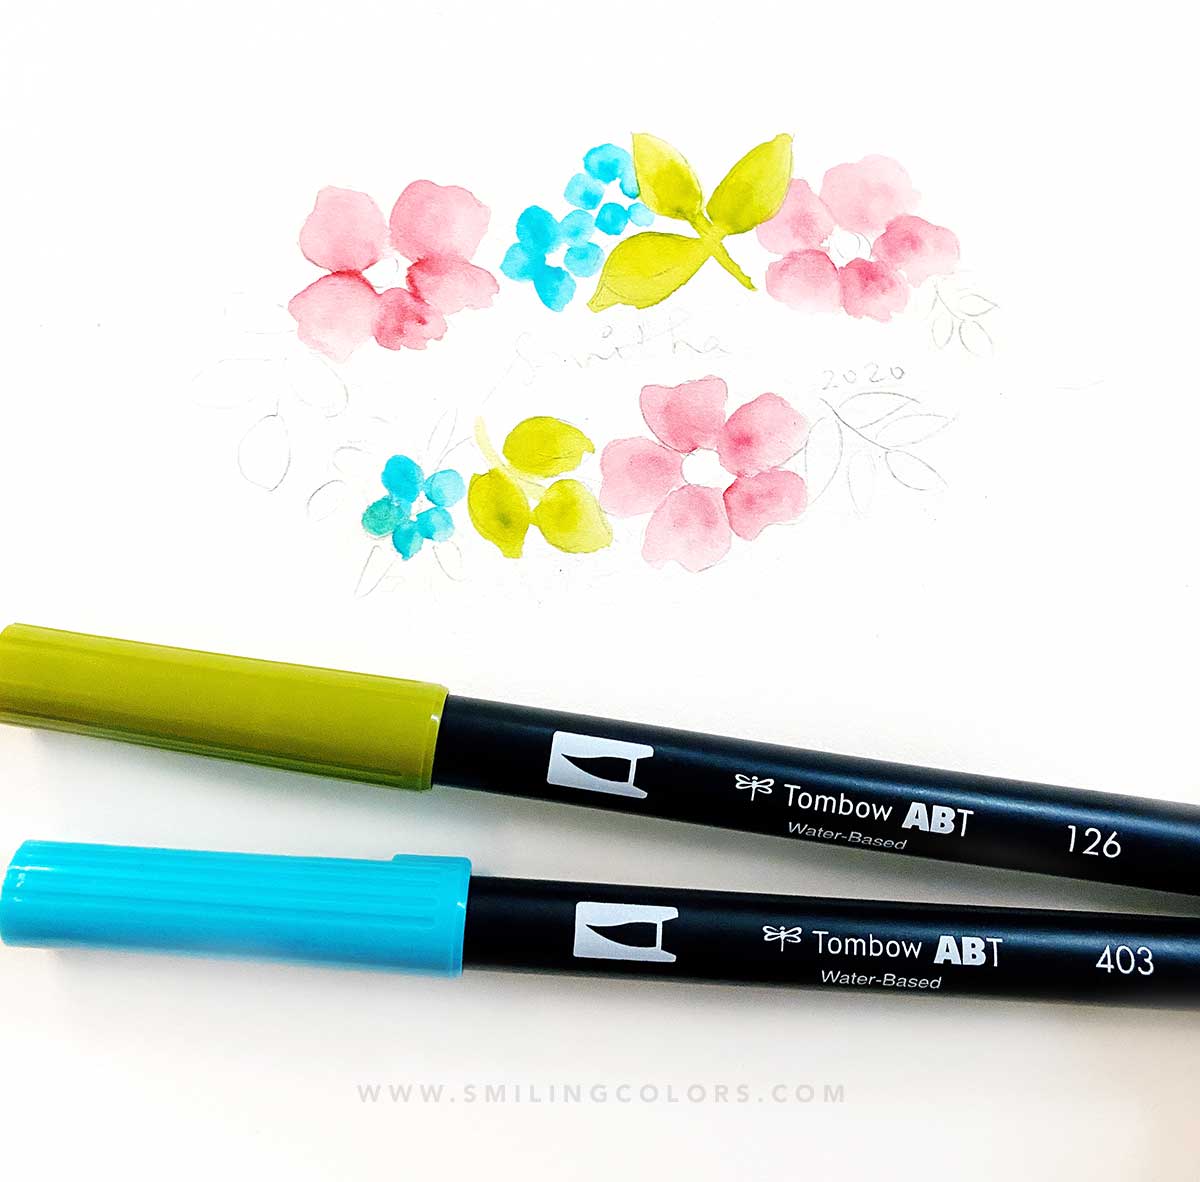
Step 4. Mix a few of your colors to create newer tones directly on the page! This way you just use a few markers but are painting with many more colors. I like using a water brush for this and you can read my tips on How to Use a Water Brush for Watercoloring to get the best results.

Repeat the step till you have watercolor pen flowers, leaves created and then fill in any in between spaces with tiny leaves or dots.

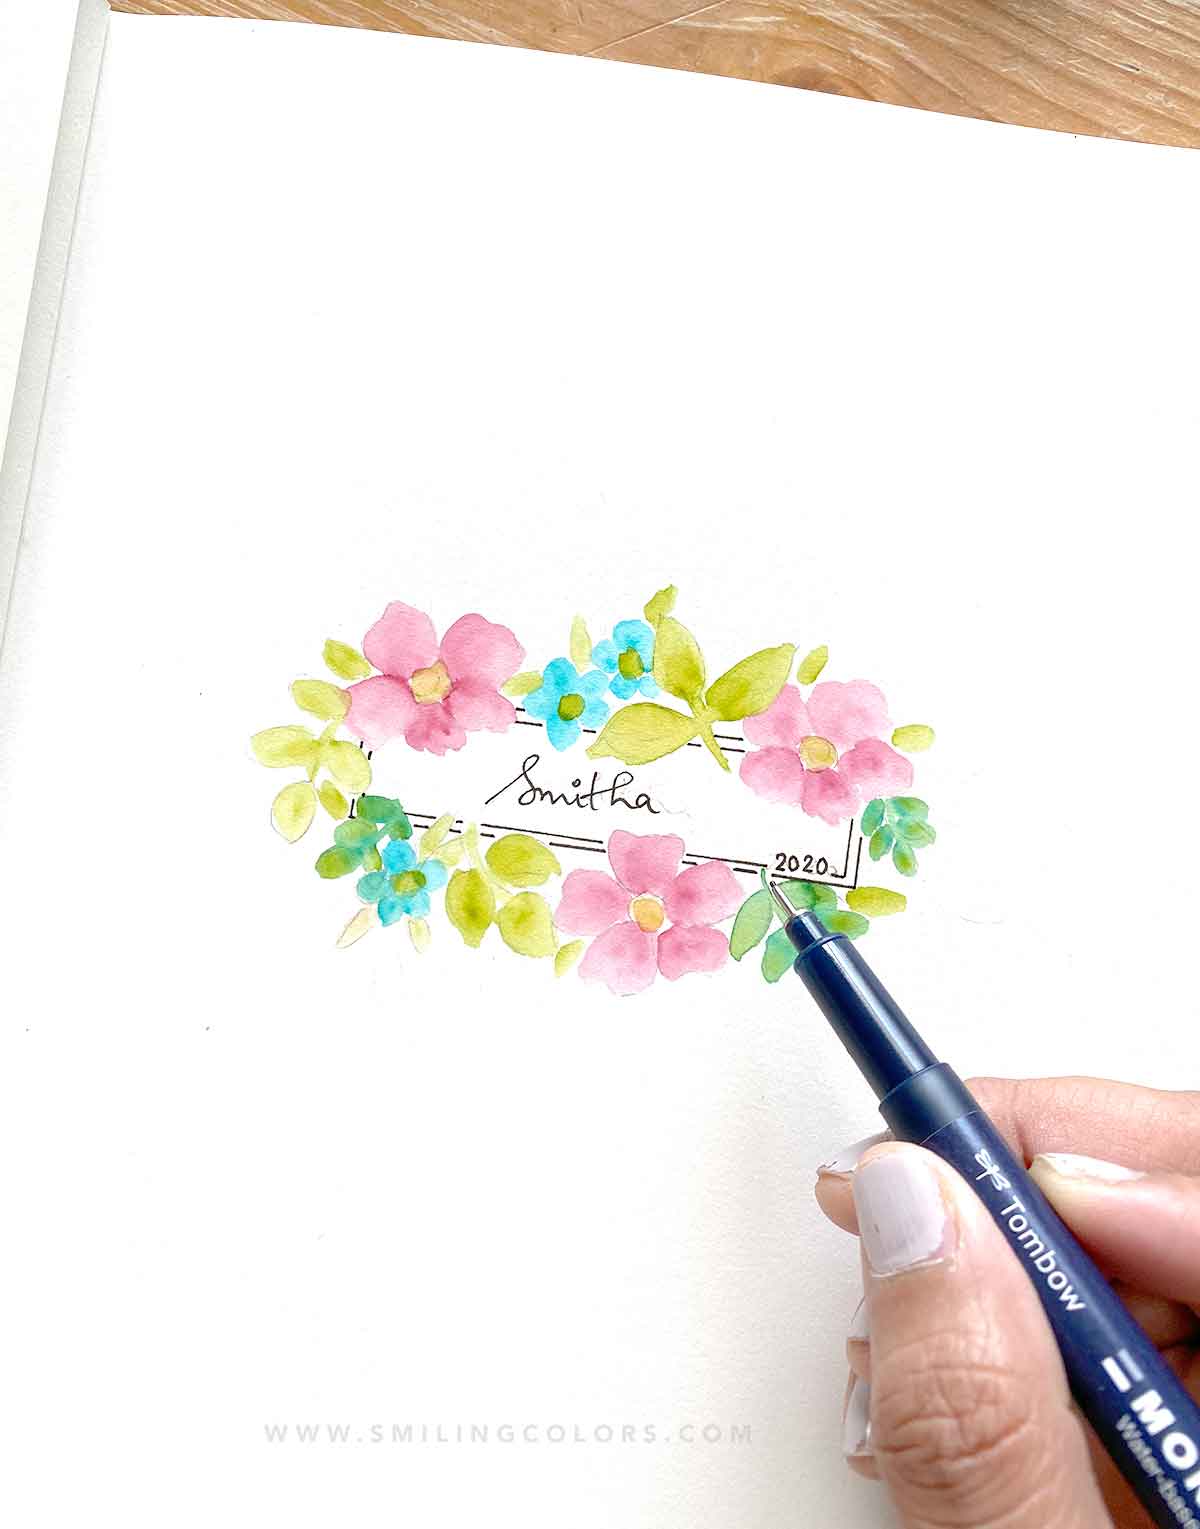
Step 5. Draw pen lines and add your name in the center carefully to finish of the first page of your sketchbook! If you wondering which pen to use, check out my post What Pen To Use With Watercolor For Best Results for pens I use.
I enjoy painting these watercolor pen flowers and they are my go to for a relaxing sketchbook page. If you would prefer to use a blender pen instead, check out this Comparing Blender Pen Vs Water Brush post! Then you can draw an easy Brush Pen Drawing of a Floral Frame!

If you are wondering what paper/ sketchbooks work best for these watercolor pen flowers check out my choices for Best Paper For Tombow Brush Pens

Inspiring you with simple doable Art and Craft ideas and tutorials that will encourage you to use your supplies, get messy and find your creativity.