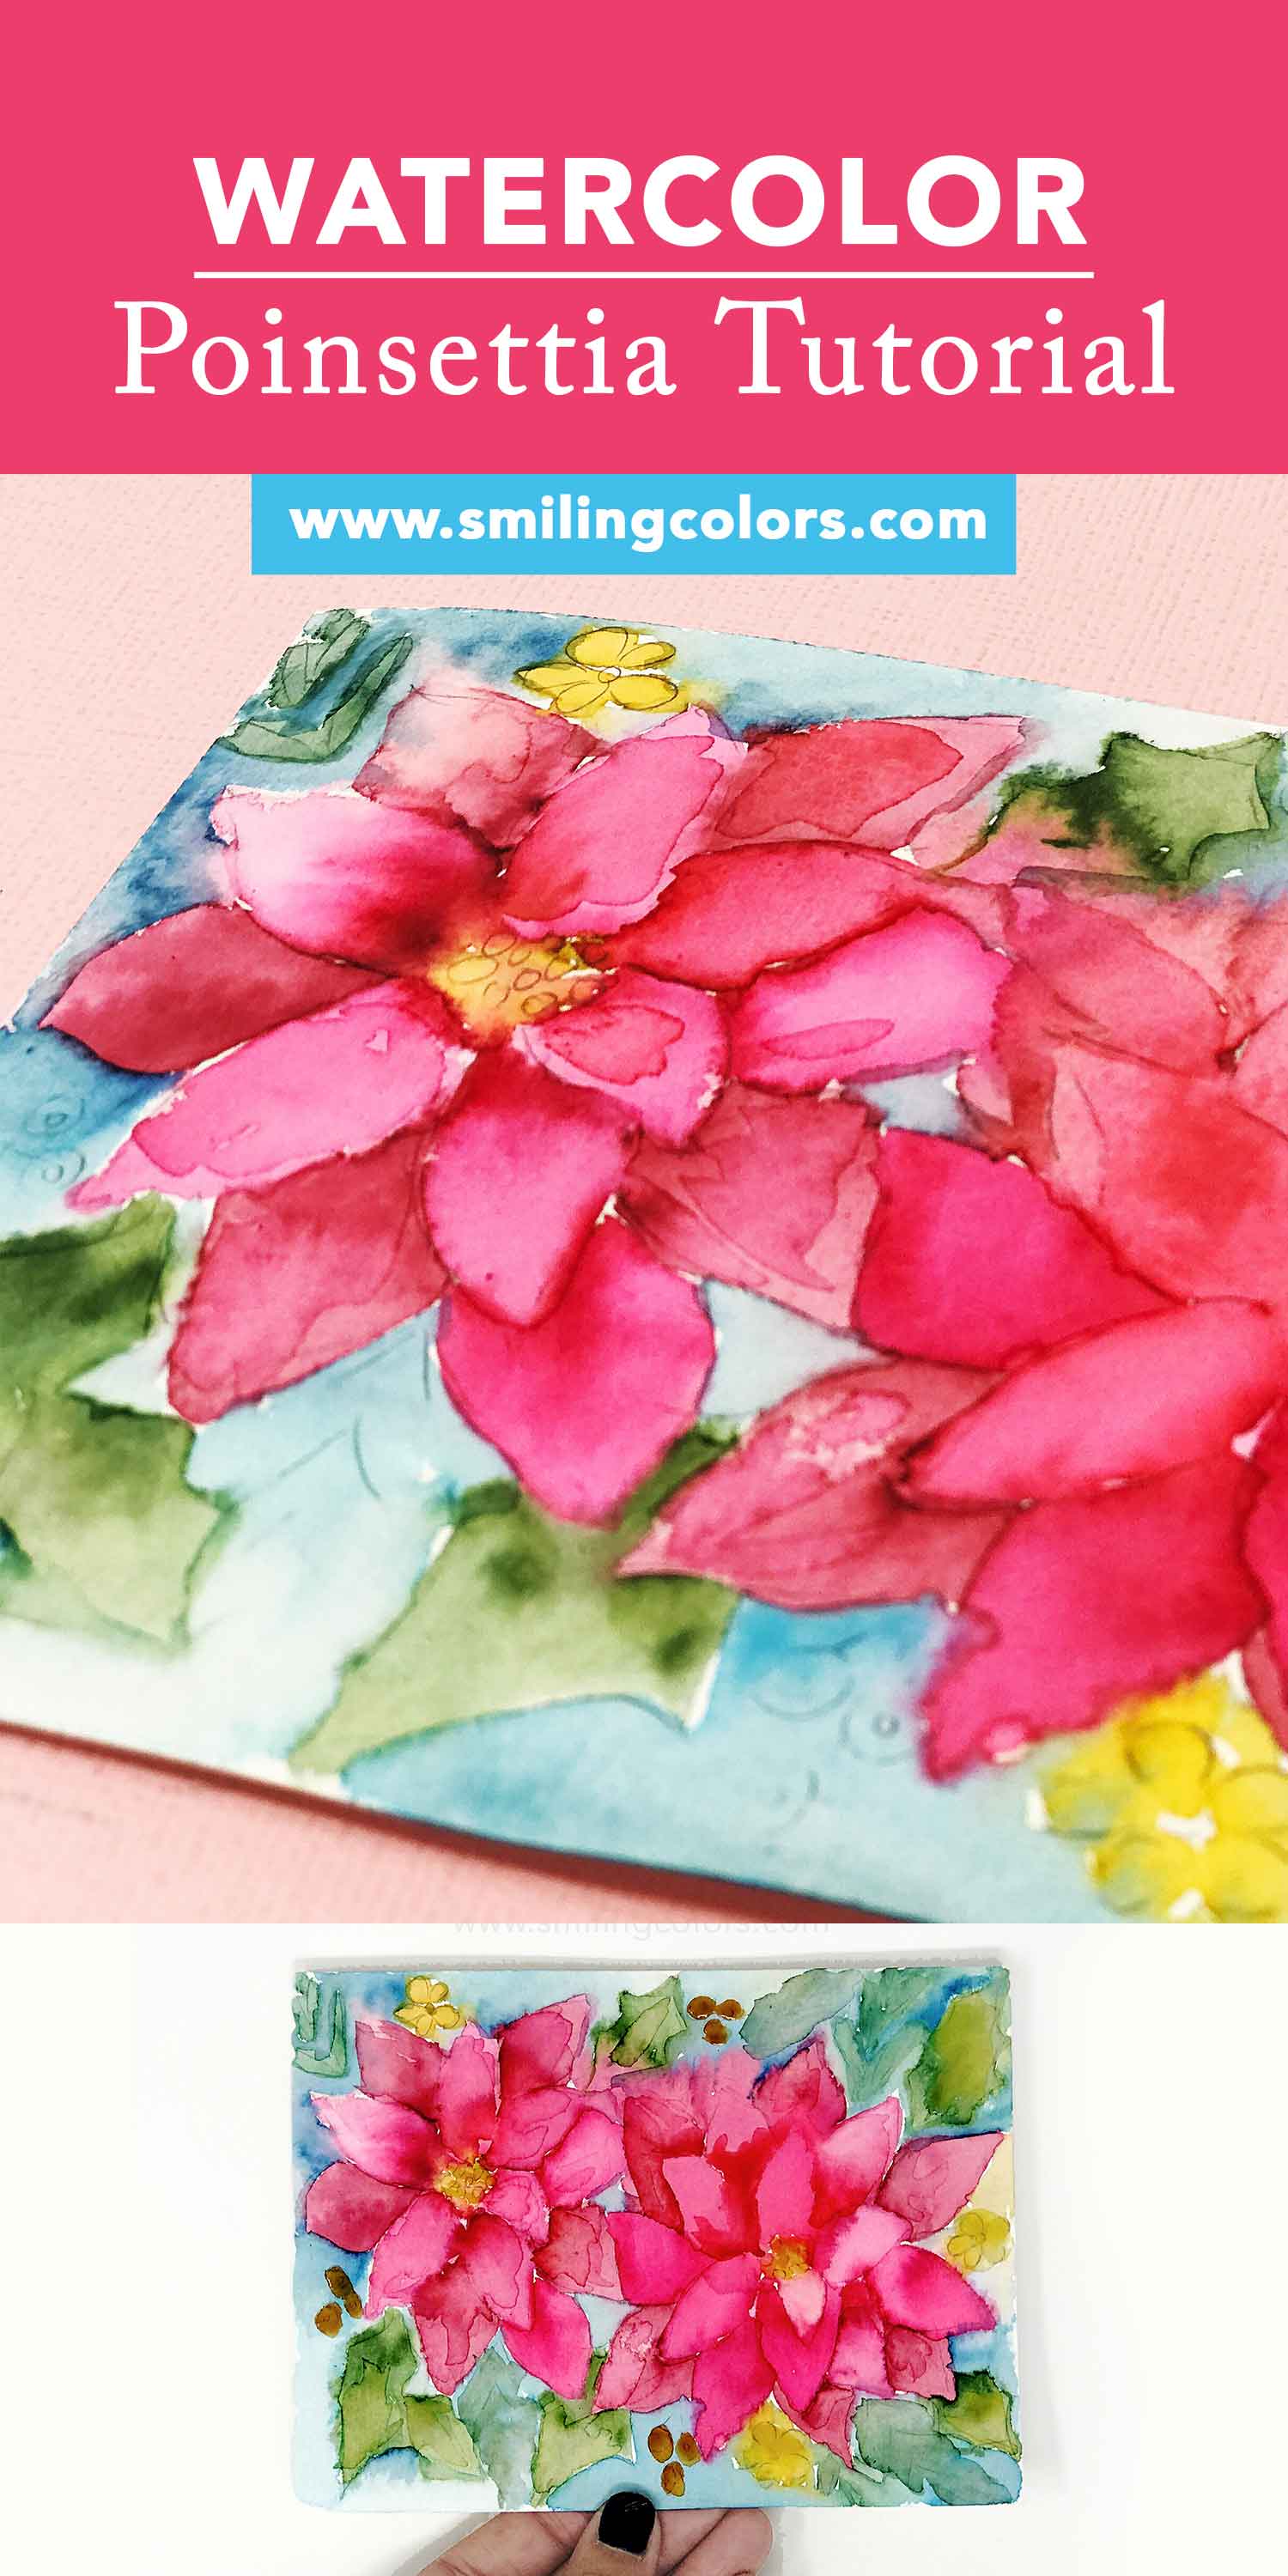
I’m sneaking in a few minutes of quiet painting during this busy holiday season to create this beautiful watercolor poinsettia tutorial. Video + step-by-step photos included for you to paint along with me
If you enjoy Christmas Crafts, today let’s paint another Handmade Christmas Card, using Watercolor Markers just like in this Easy Watercolor Pen Flowers. Please note that you can easily paint this Watercolor Poinsettias in a sketchbook instead of making a card.
disclaimer: affiliate links have been used at no extra cost to you.
I received the Tombow Dual brush pens from Tombow USA as part of being on their design team. I love these pens and hence am sharing this tutorial with you today!
- Quality paper– Use a watercolor or mixed media paper (at least 140 lb, so the paper does not warp!) trimmed to your card size.
- Watercolors – I’m using the Tombow Dual brush pens. If you are new, learn how to use watercolor markers.
- Paintbrush – like this Princeton Round 6
- FREE Printable Poinsettia template to color (optional)– Click HERE to download the free PDF
HOW TO PAINT WATERCOLOR POINSETTIA tUTORIAL
Now, let’s get started with this Easy Watercolor Poinsettia Step by Step Tutorial!
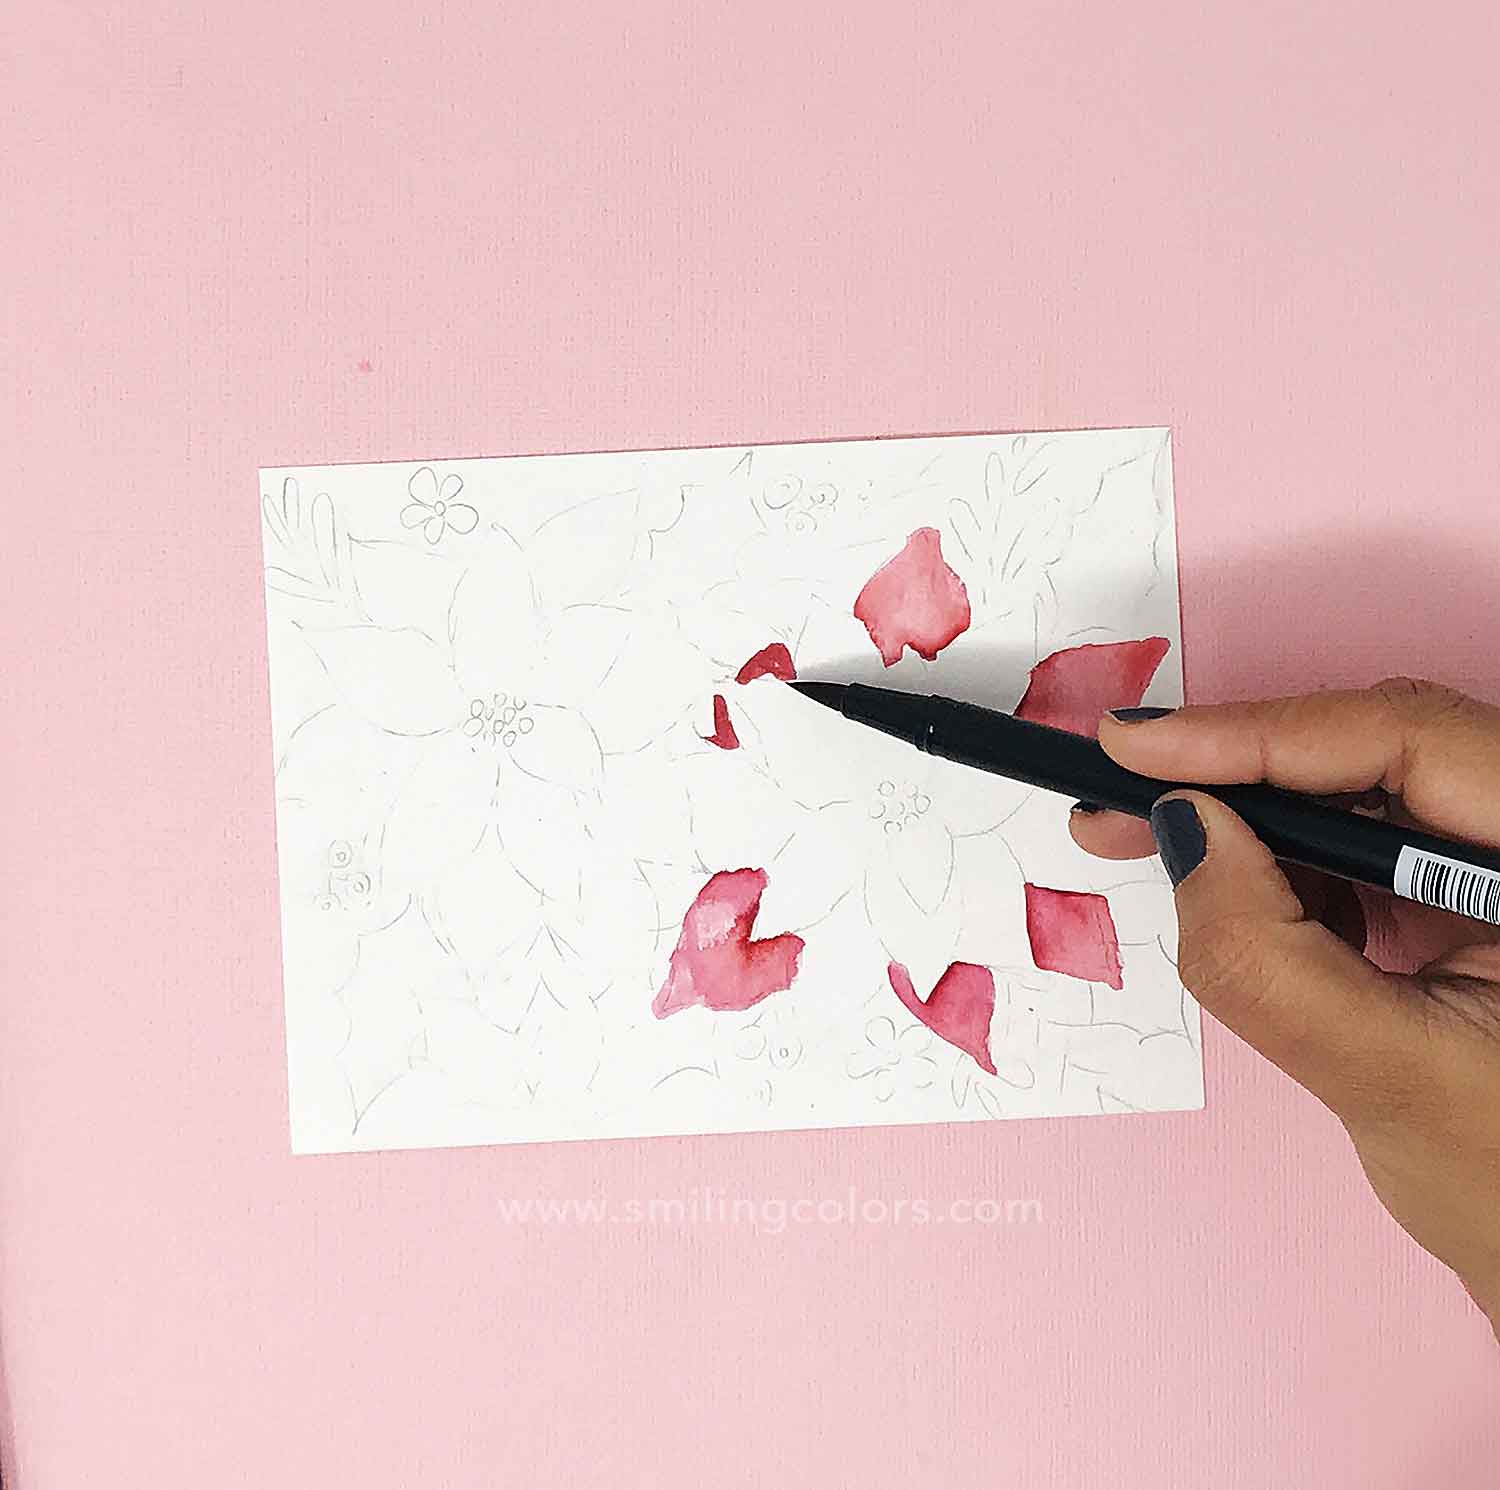
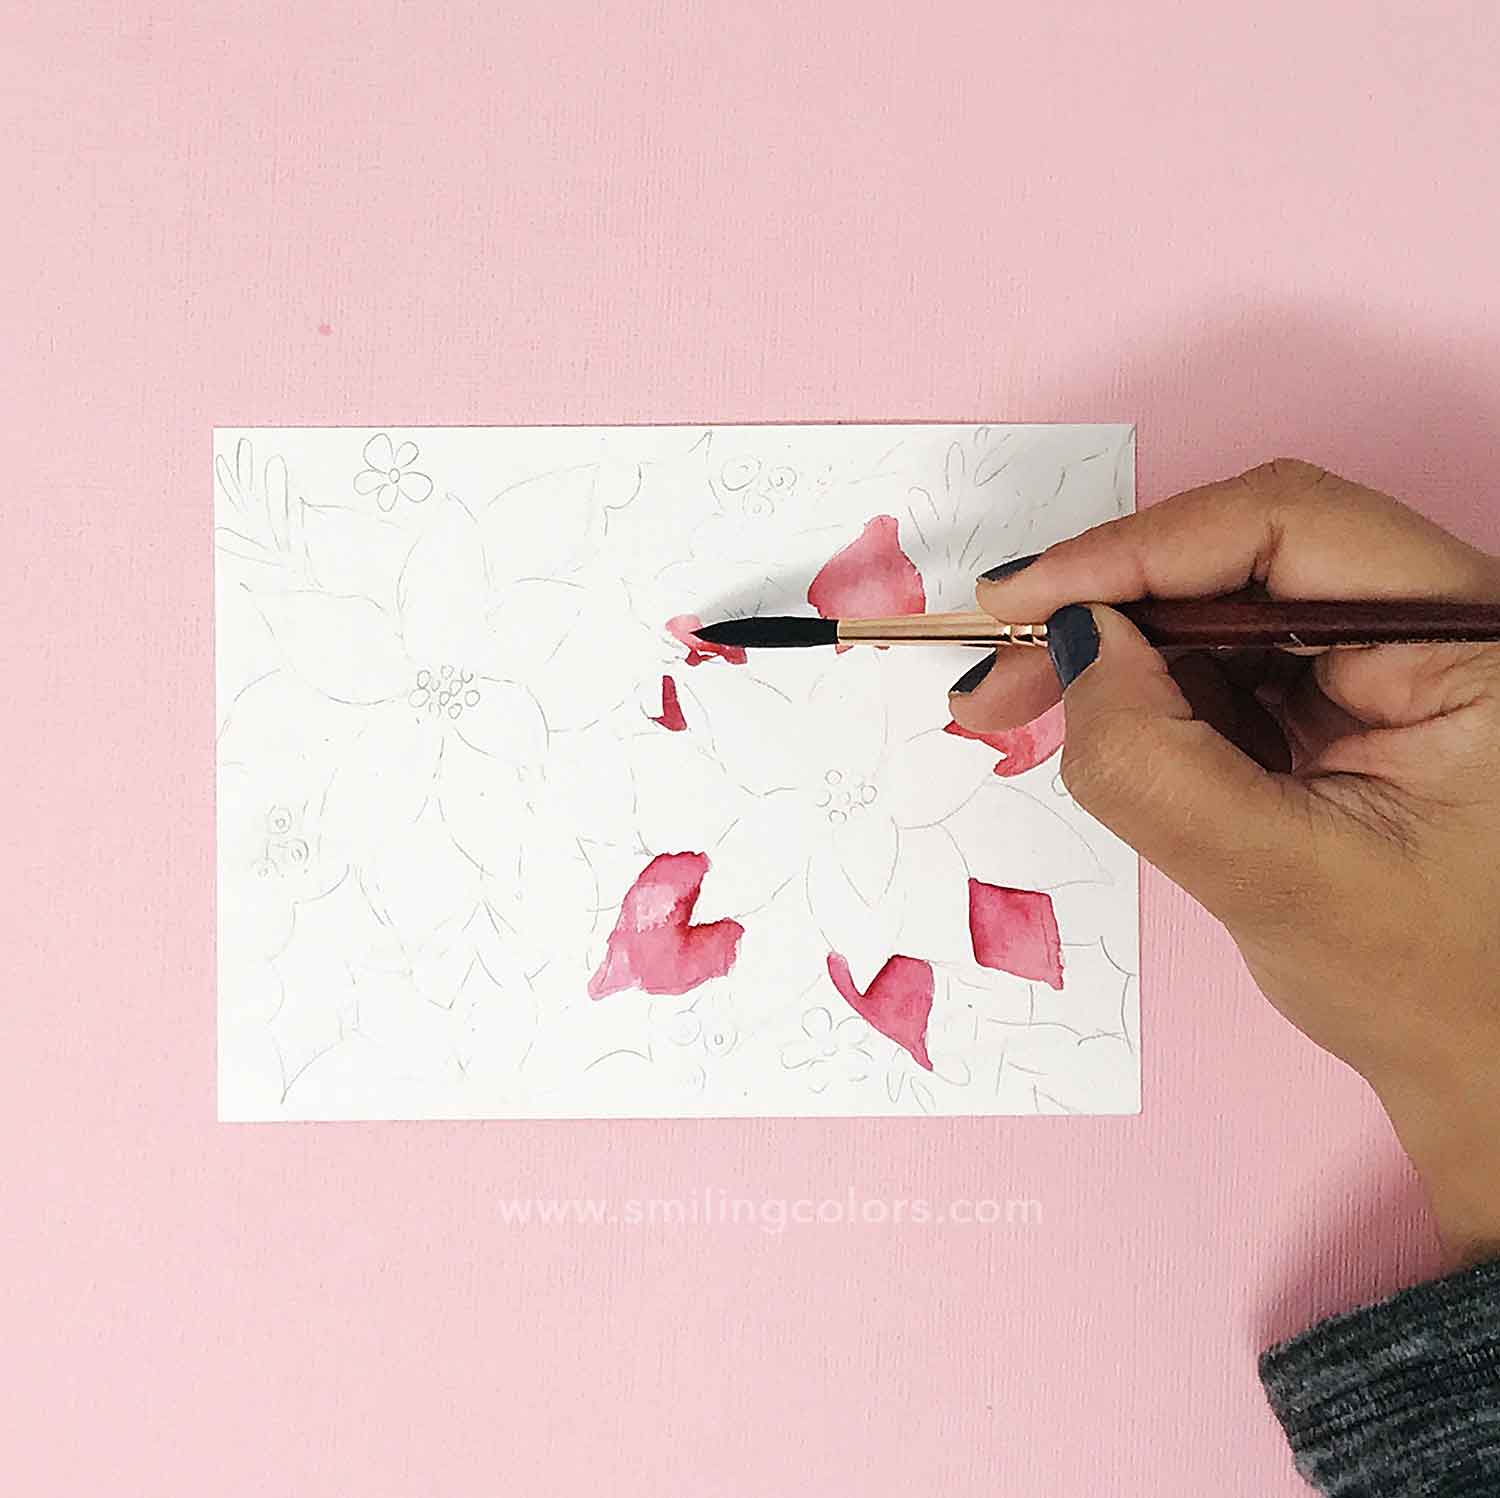
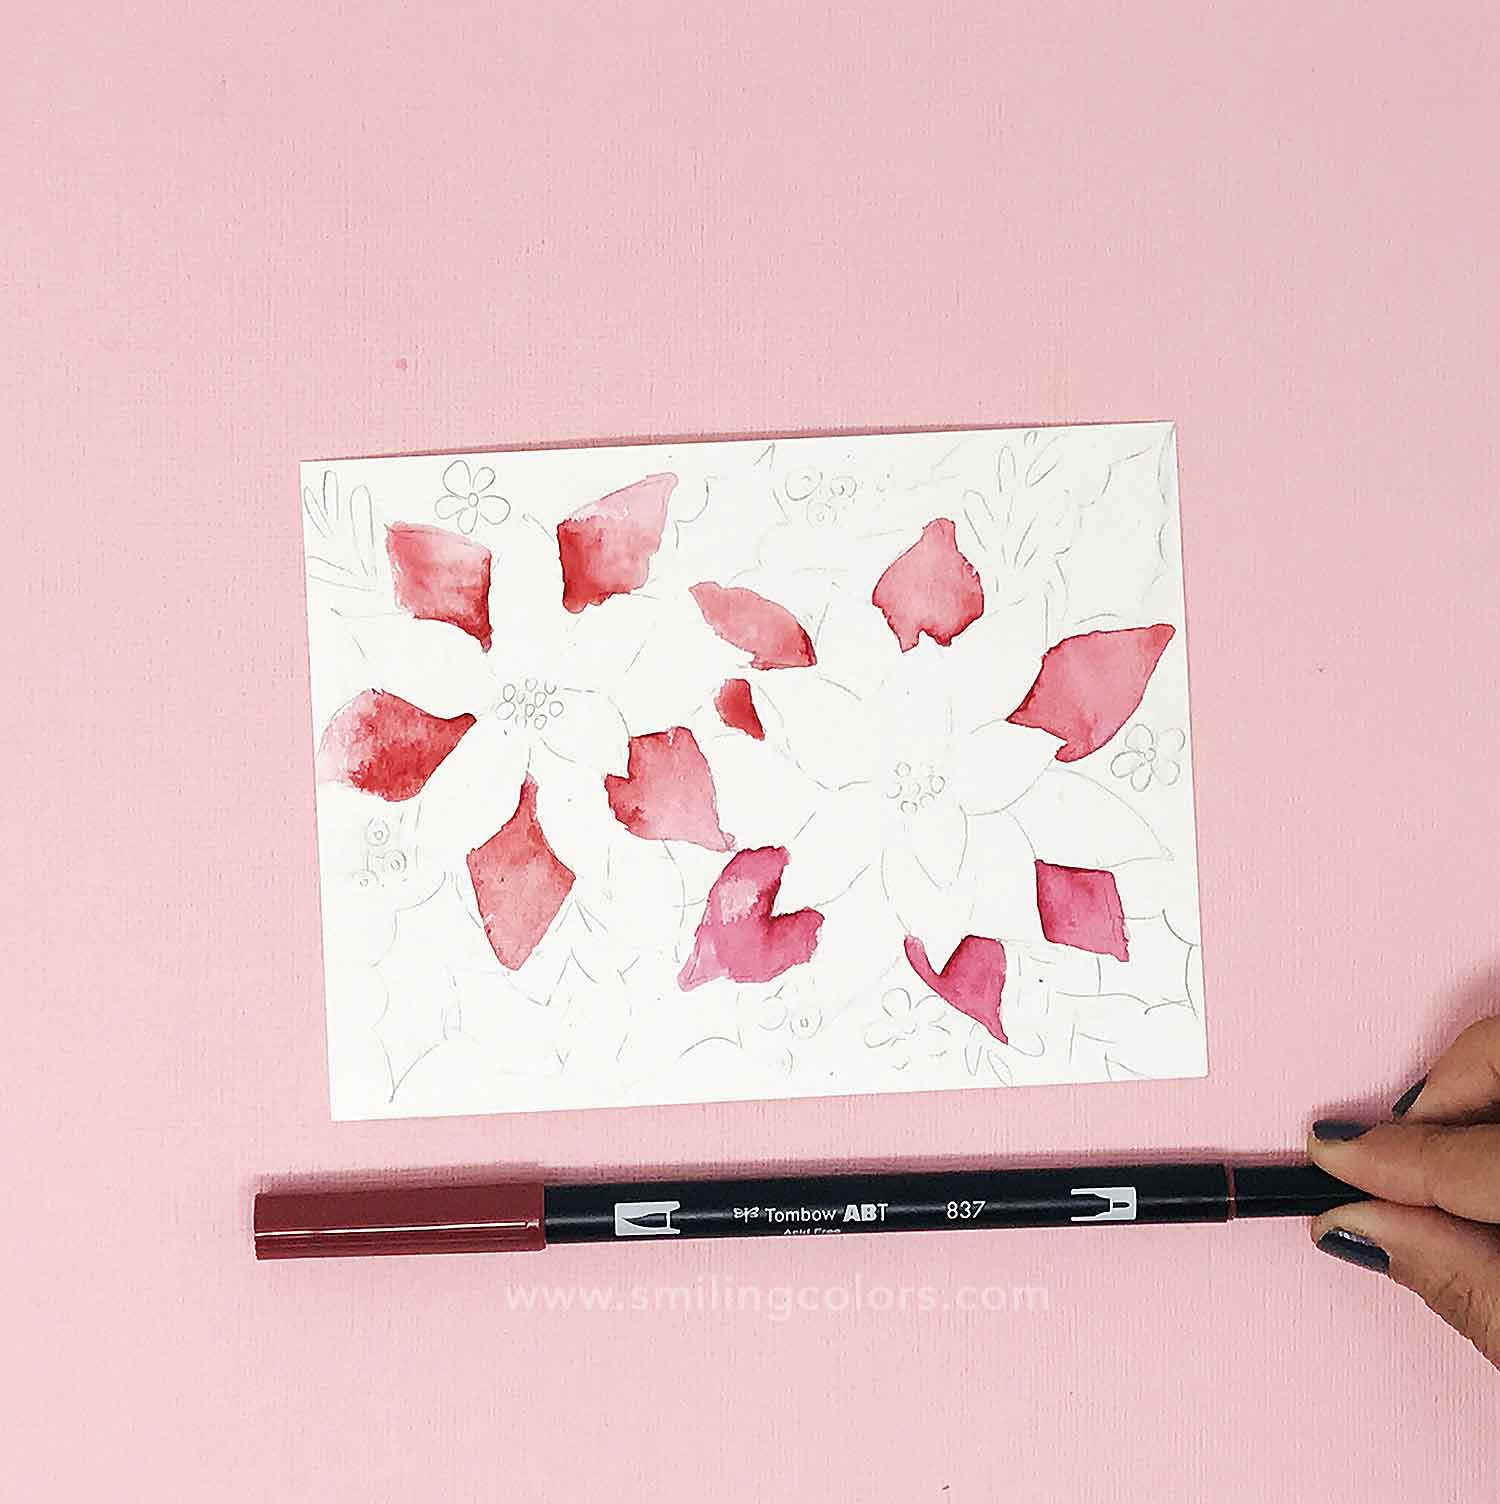
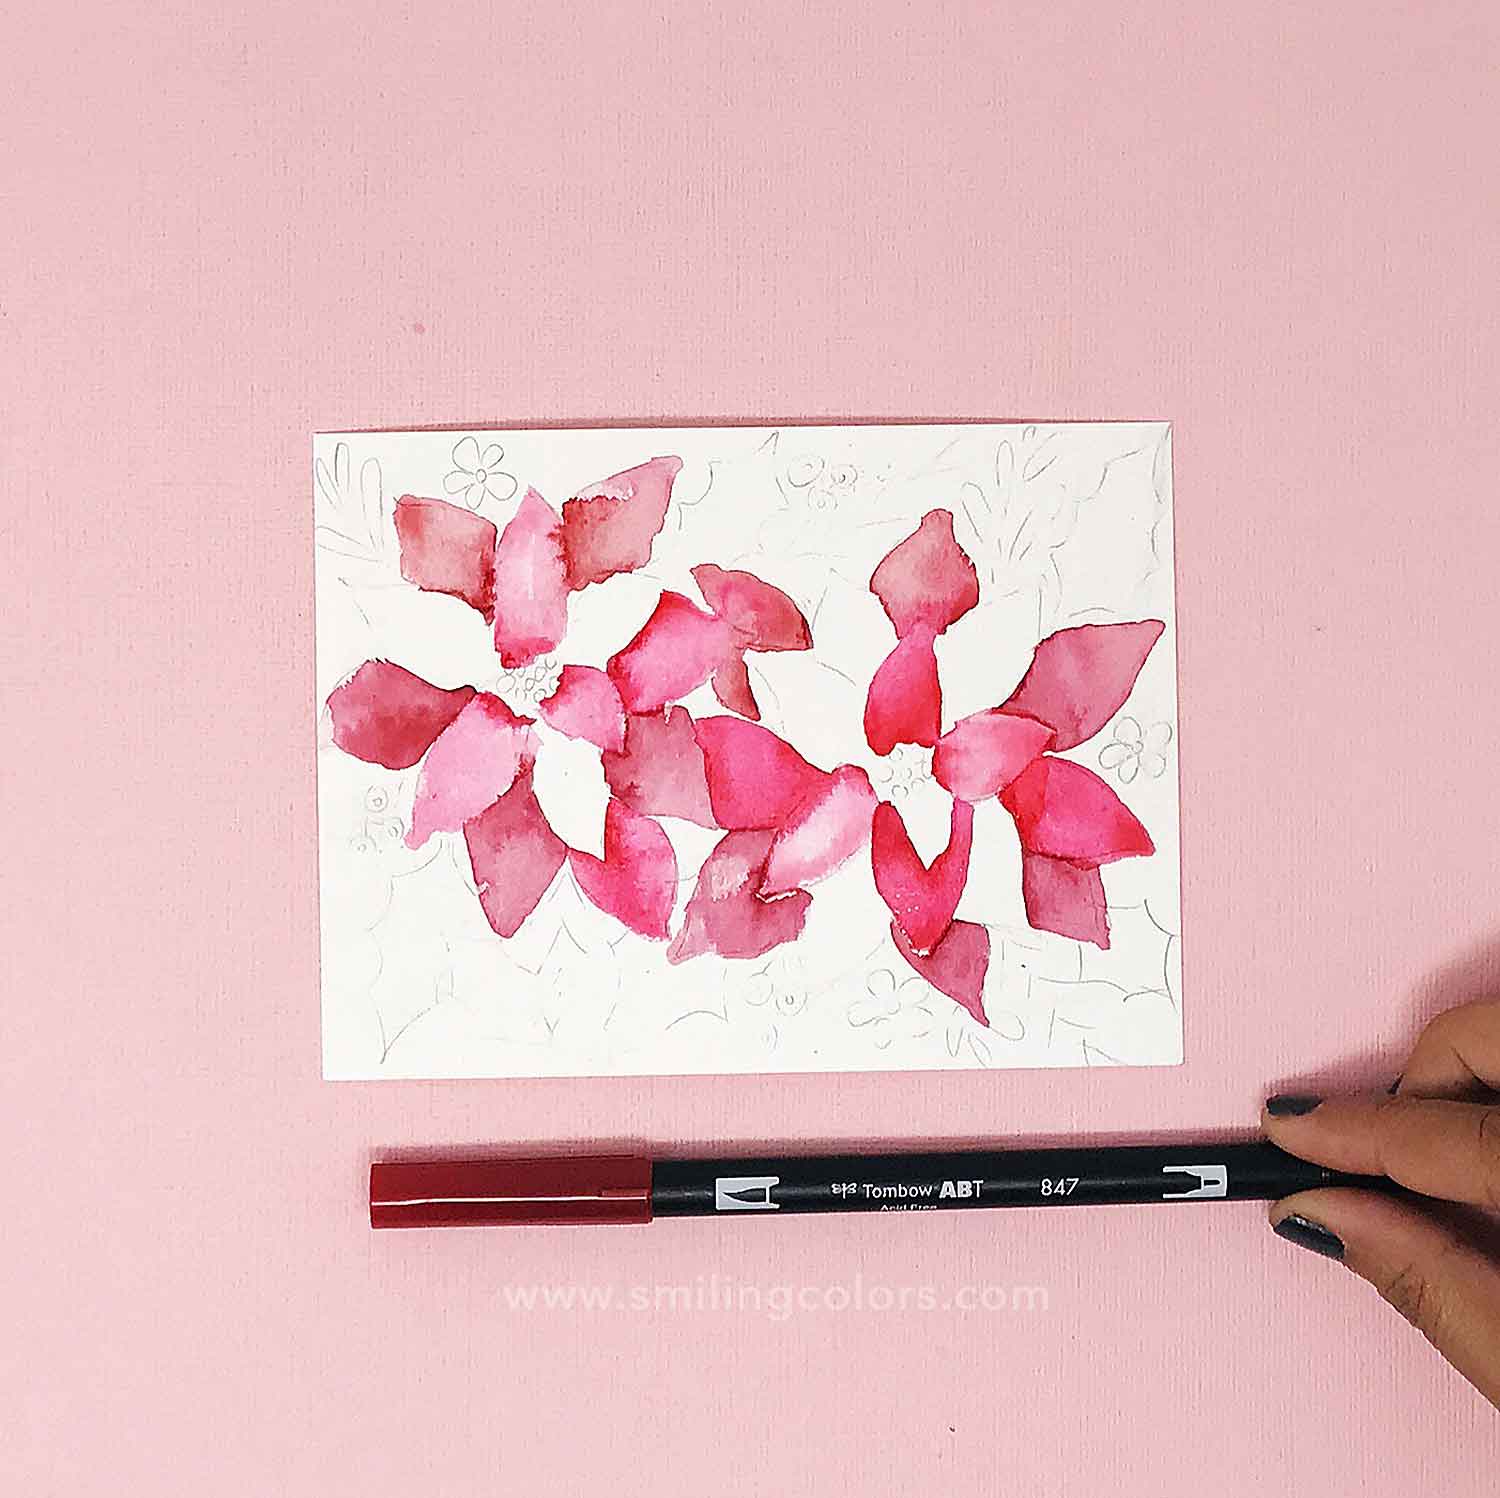
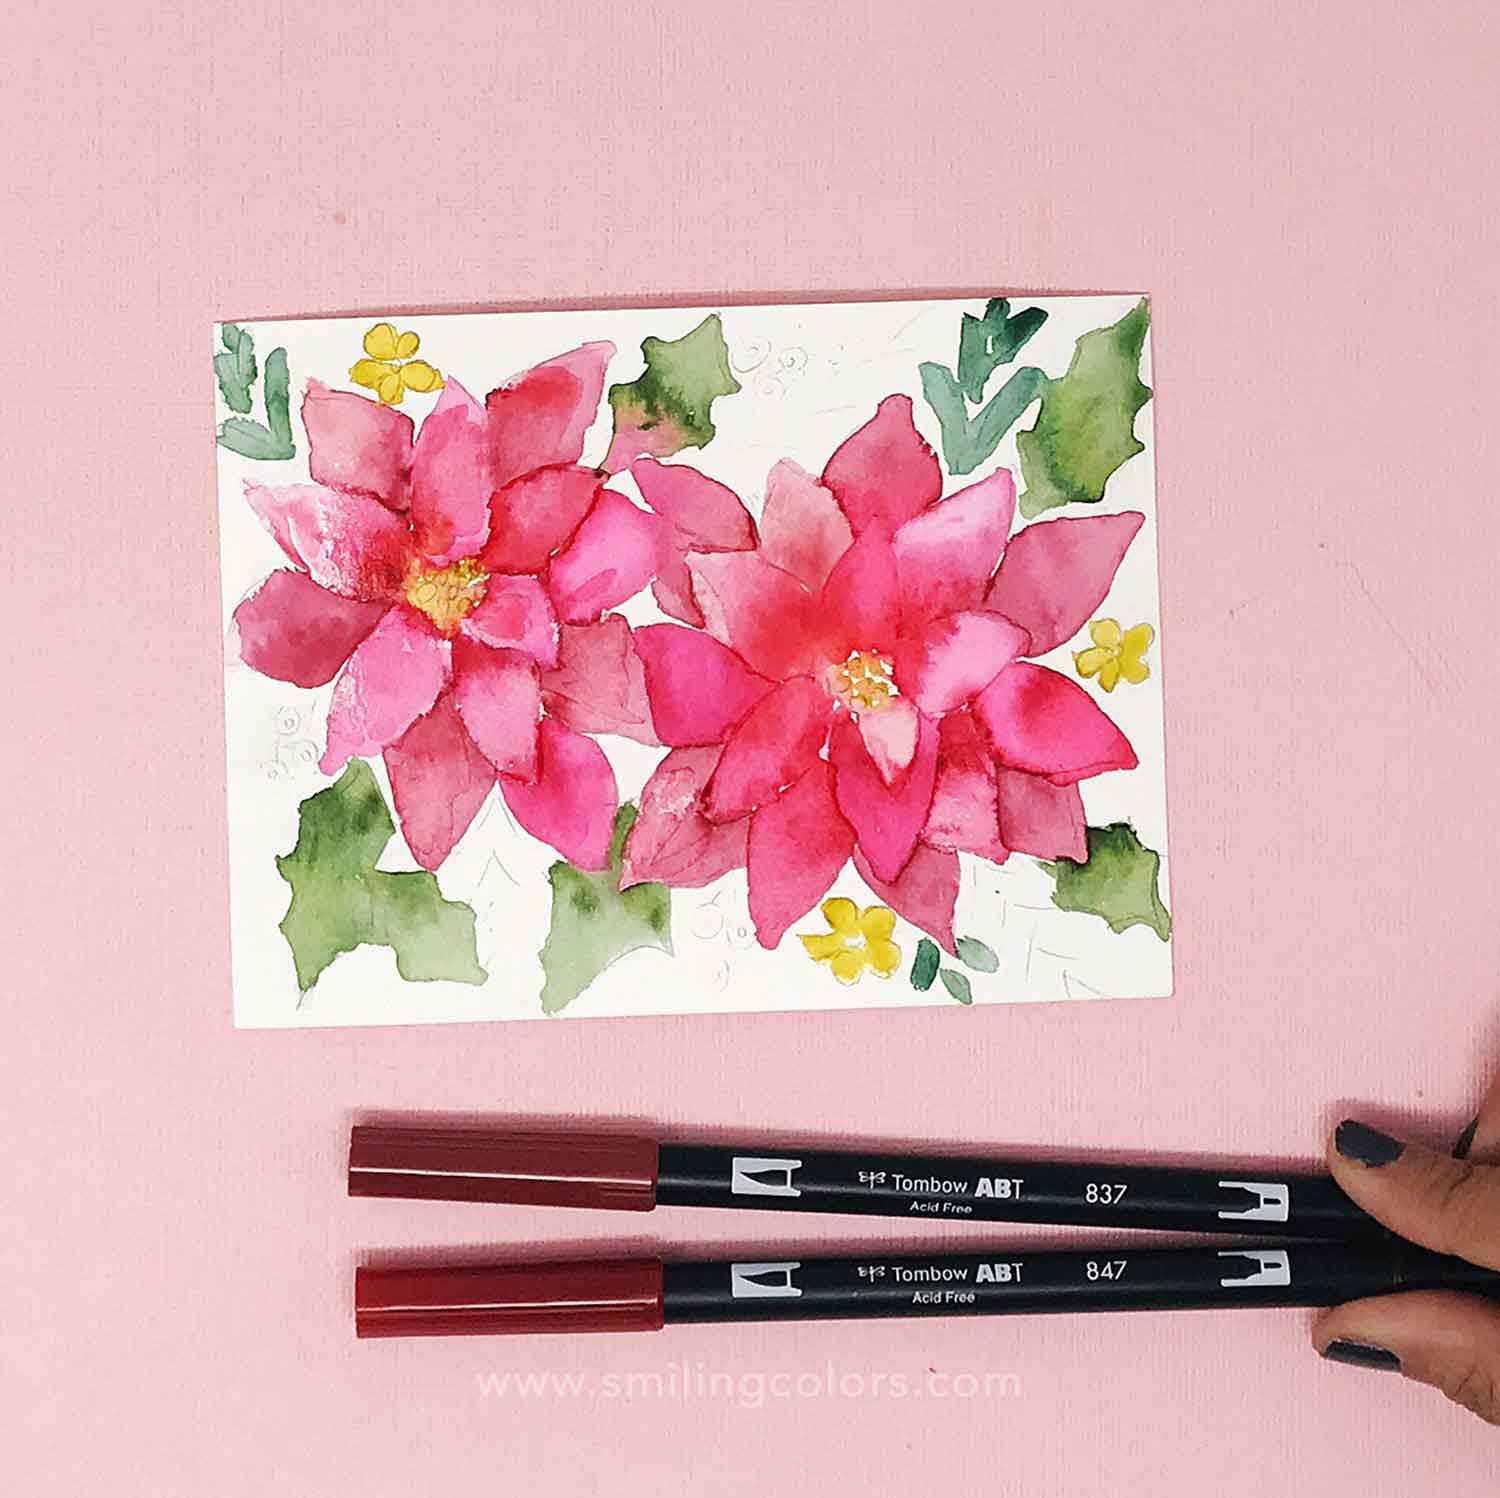
Sketch out your flowers lightly with a pencil or use the print out mentioned in the supplies. Using Dual brush pen color no 837 apply a little color to the bottom of a petal and then paint over it with water to spread out the color in a petal shape. Repeat for all the outer petals.
Paint the petals using Dual brush pen no 847 repeat the same process with the inner petals. By now your previous petals should have dried a bit and the colors will not meet and bleed. The colors are slighly different and this adds to create a depth in your flowers.
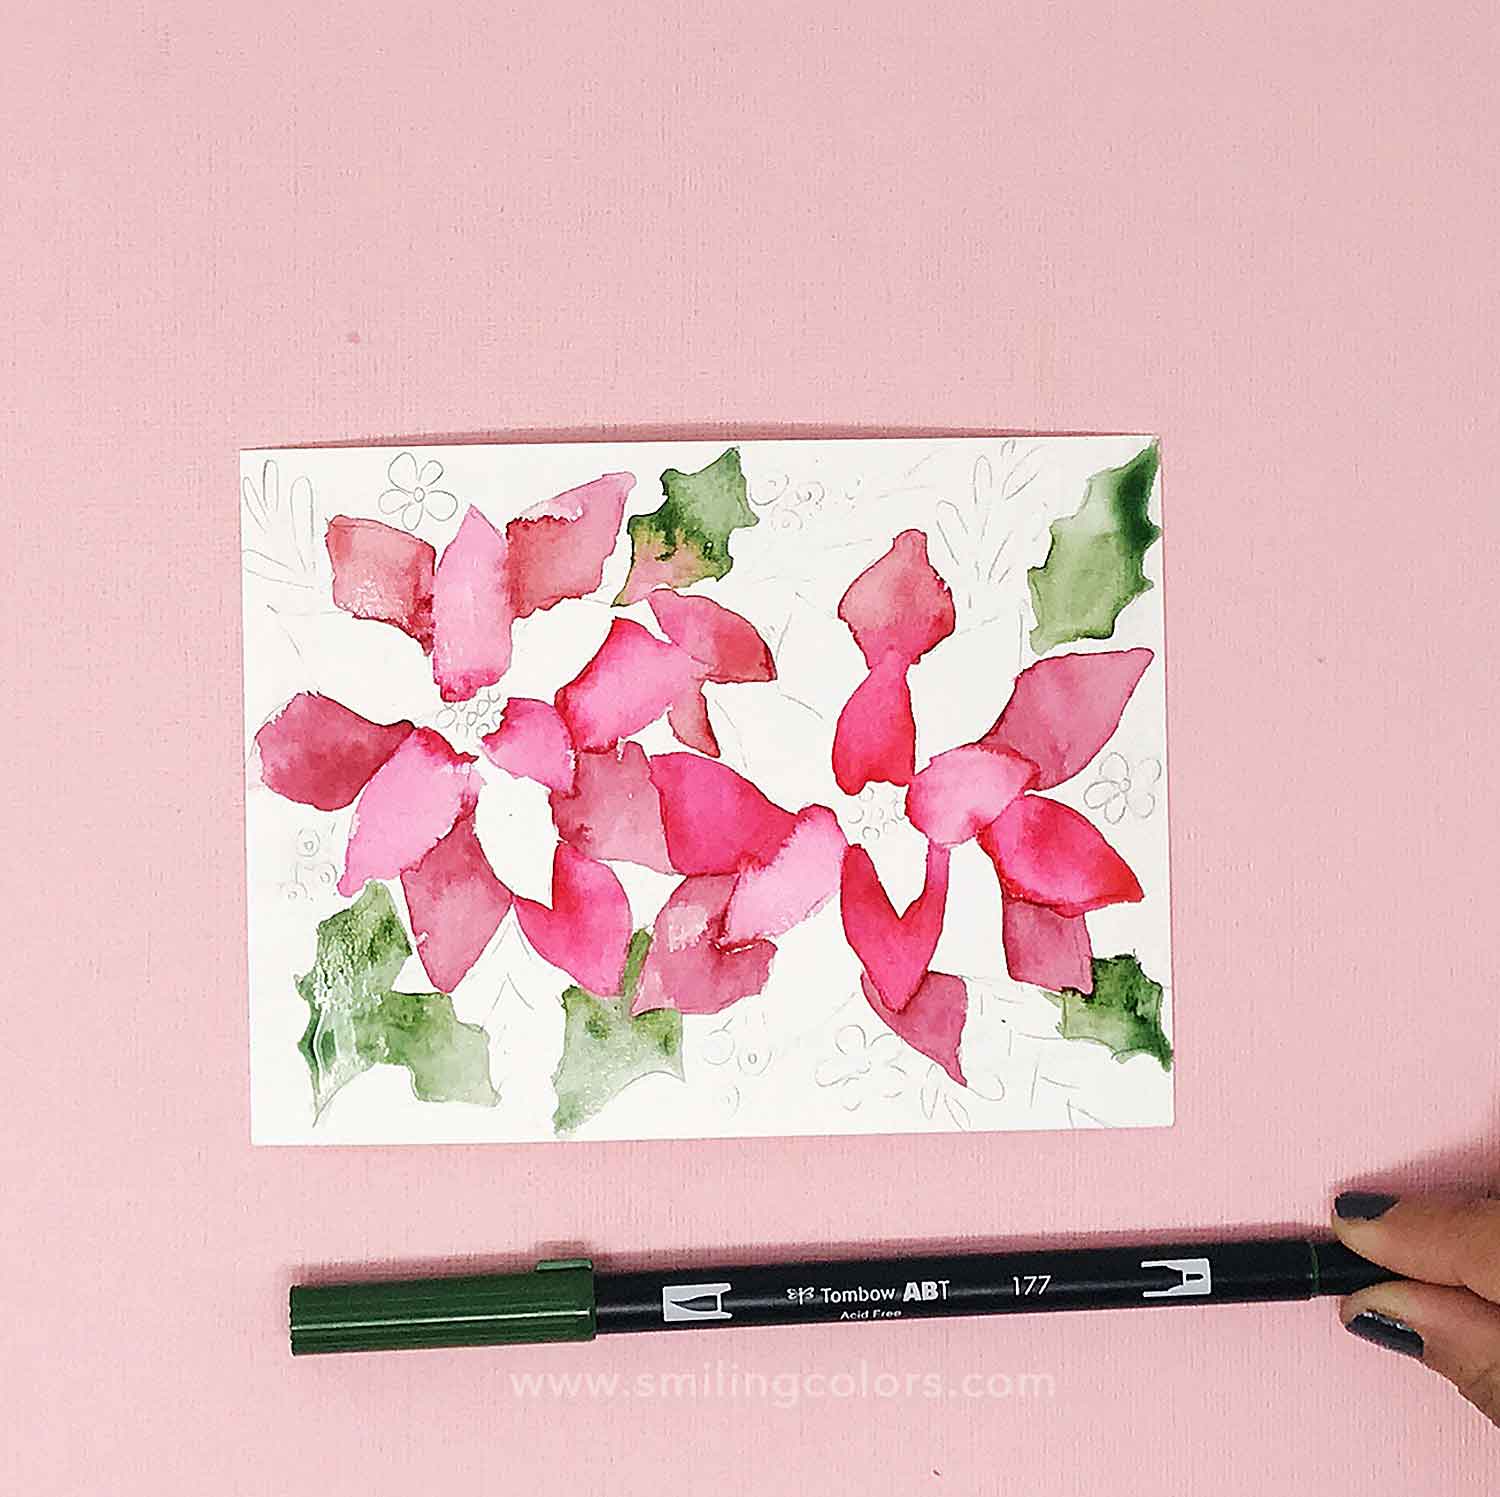
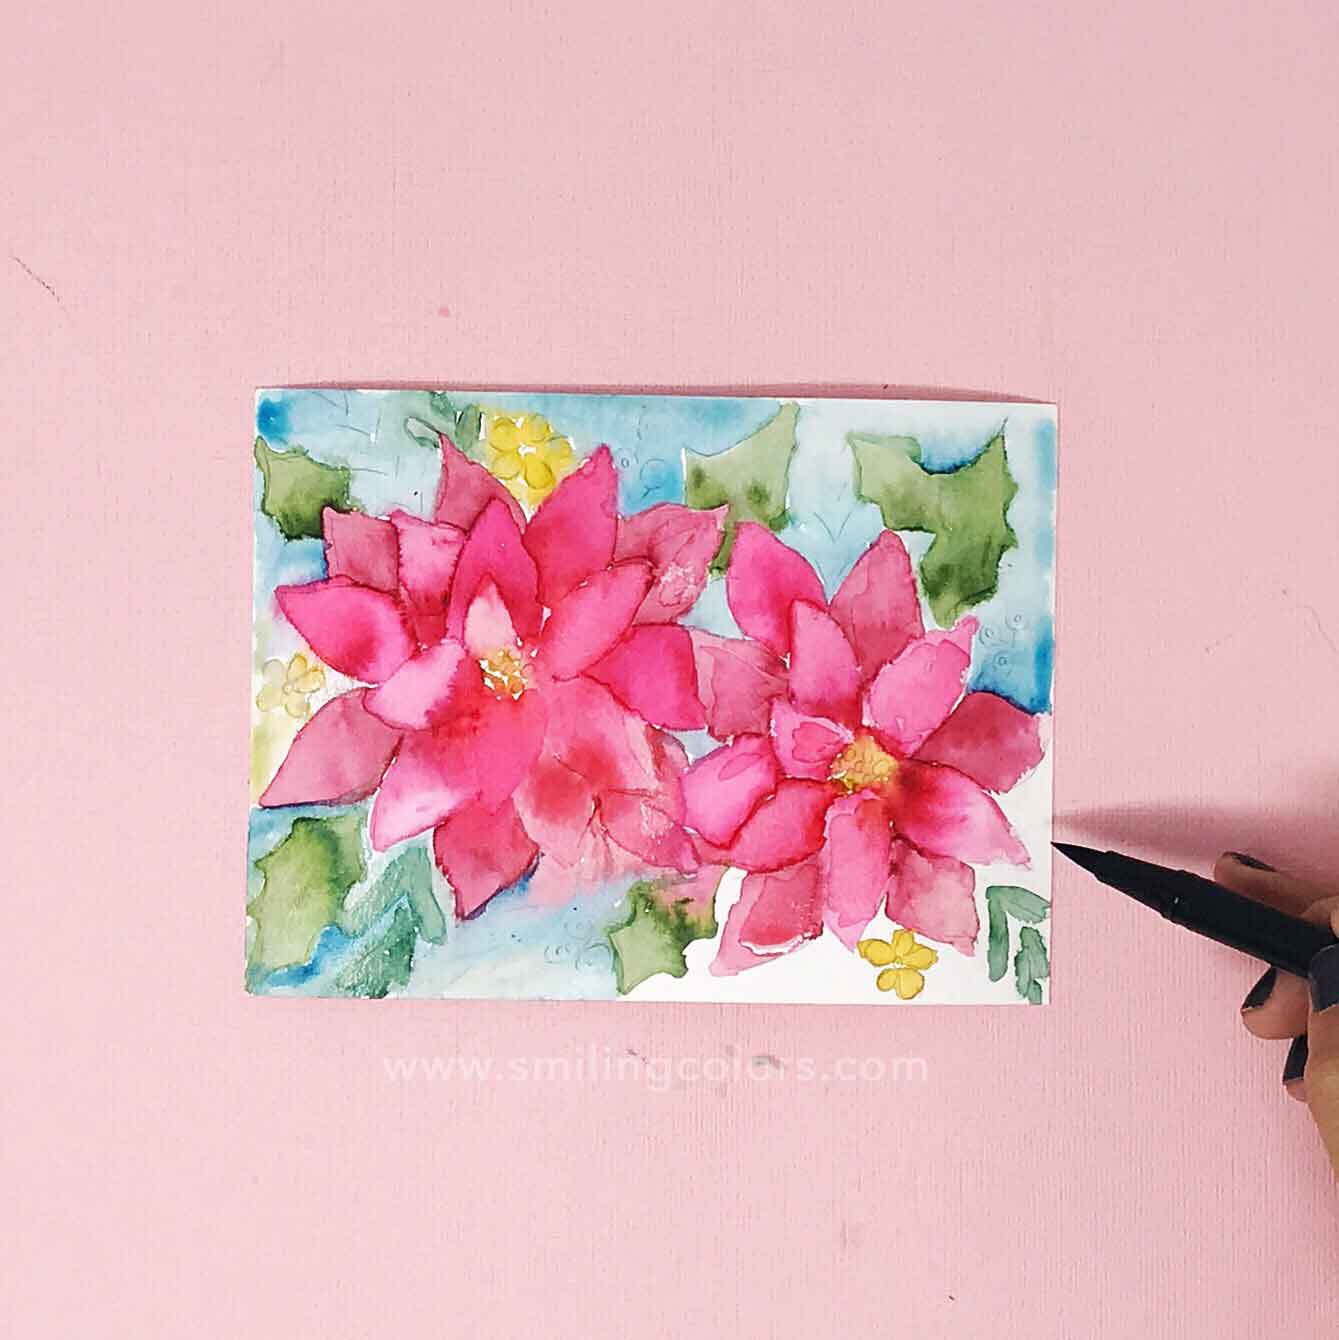
Time to add some leaves. For the holly leaves, use Dual brush pen no177 and work in the exact same way. If your petals are watery you might get some pink bleeding into the green! I don’t mind this personally, I think it adds to the watercolor effect and charm.
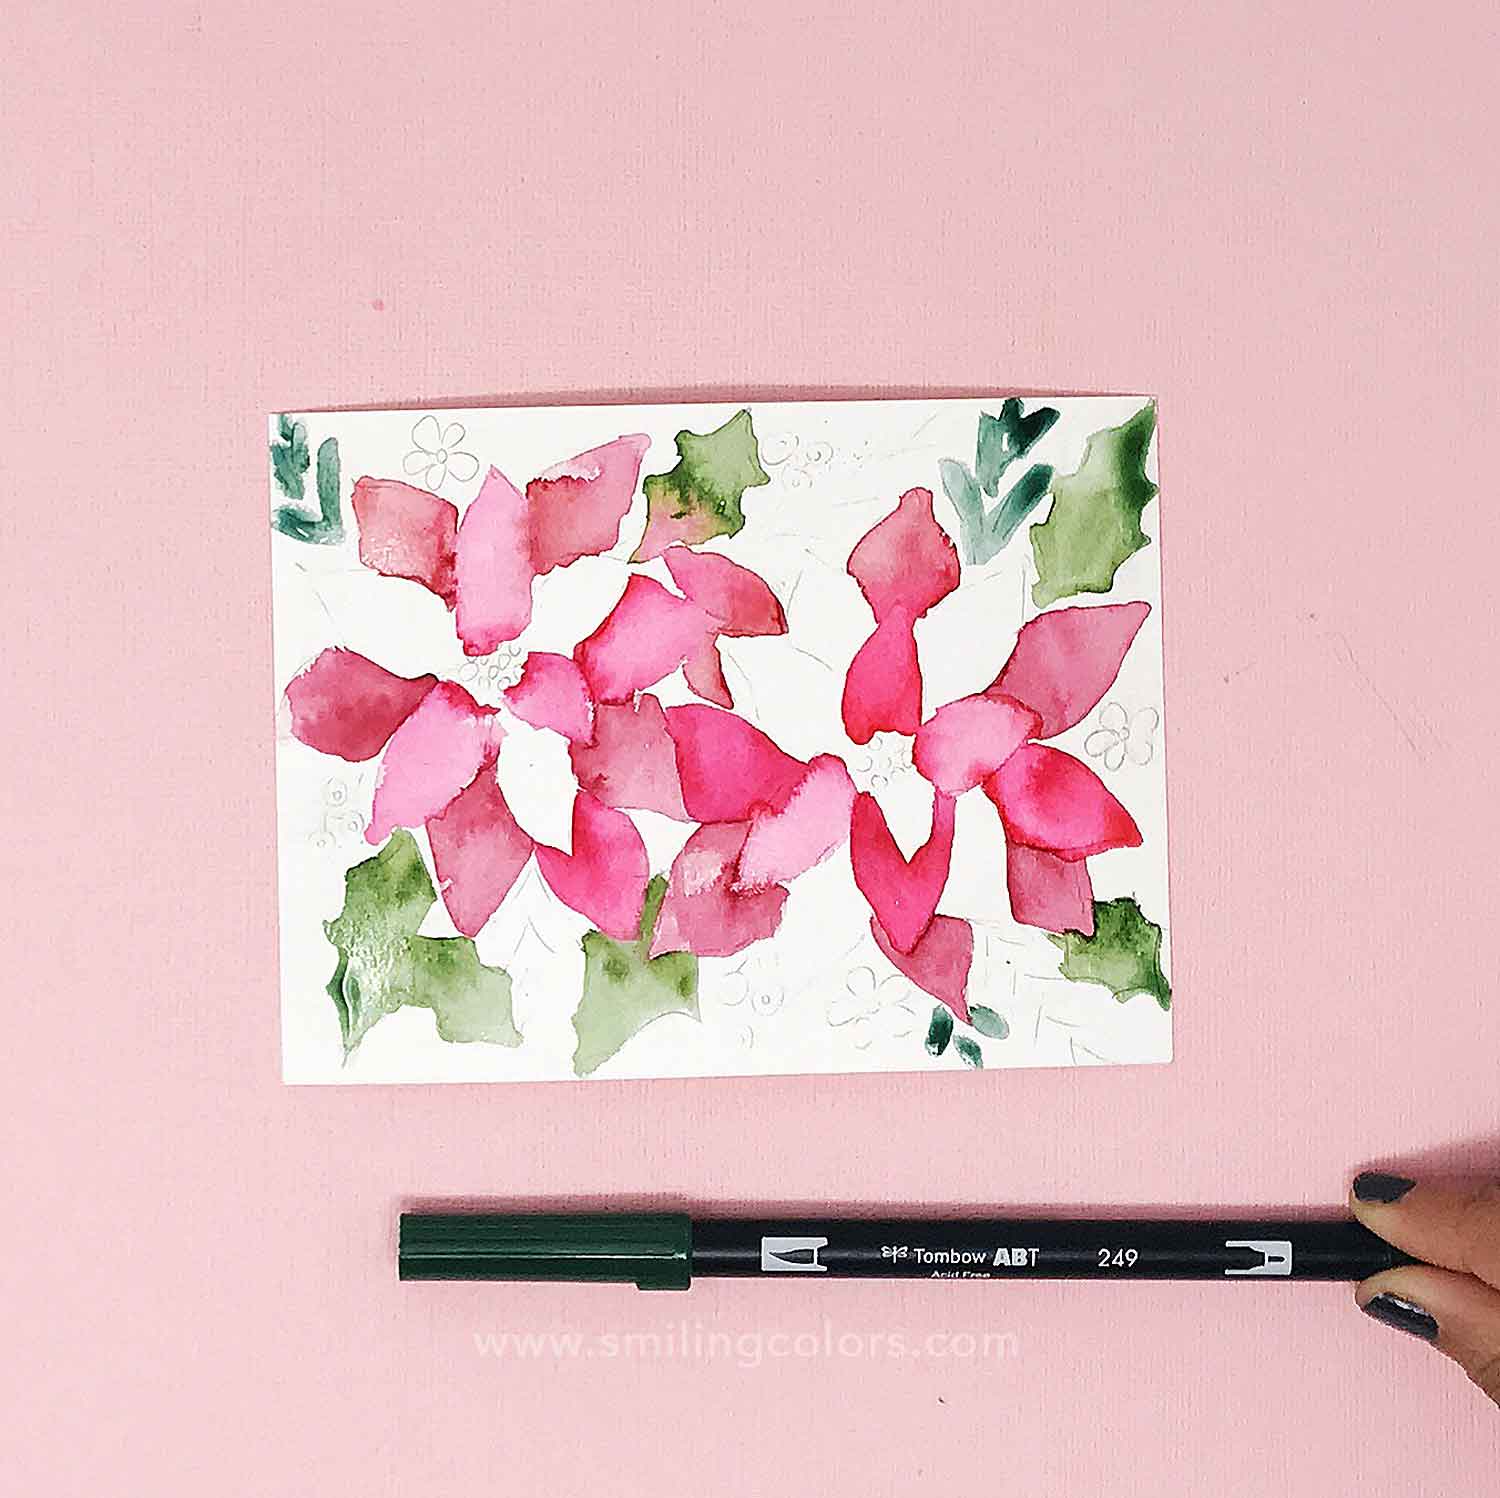
Add some filler leaves with a different green, this time Dual brush pen no 249.
Bring in a pop of color, add dots of contrasting yellow with the Dual brush pen no 026
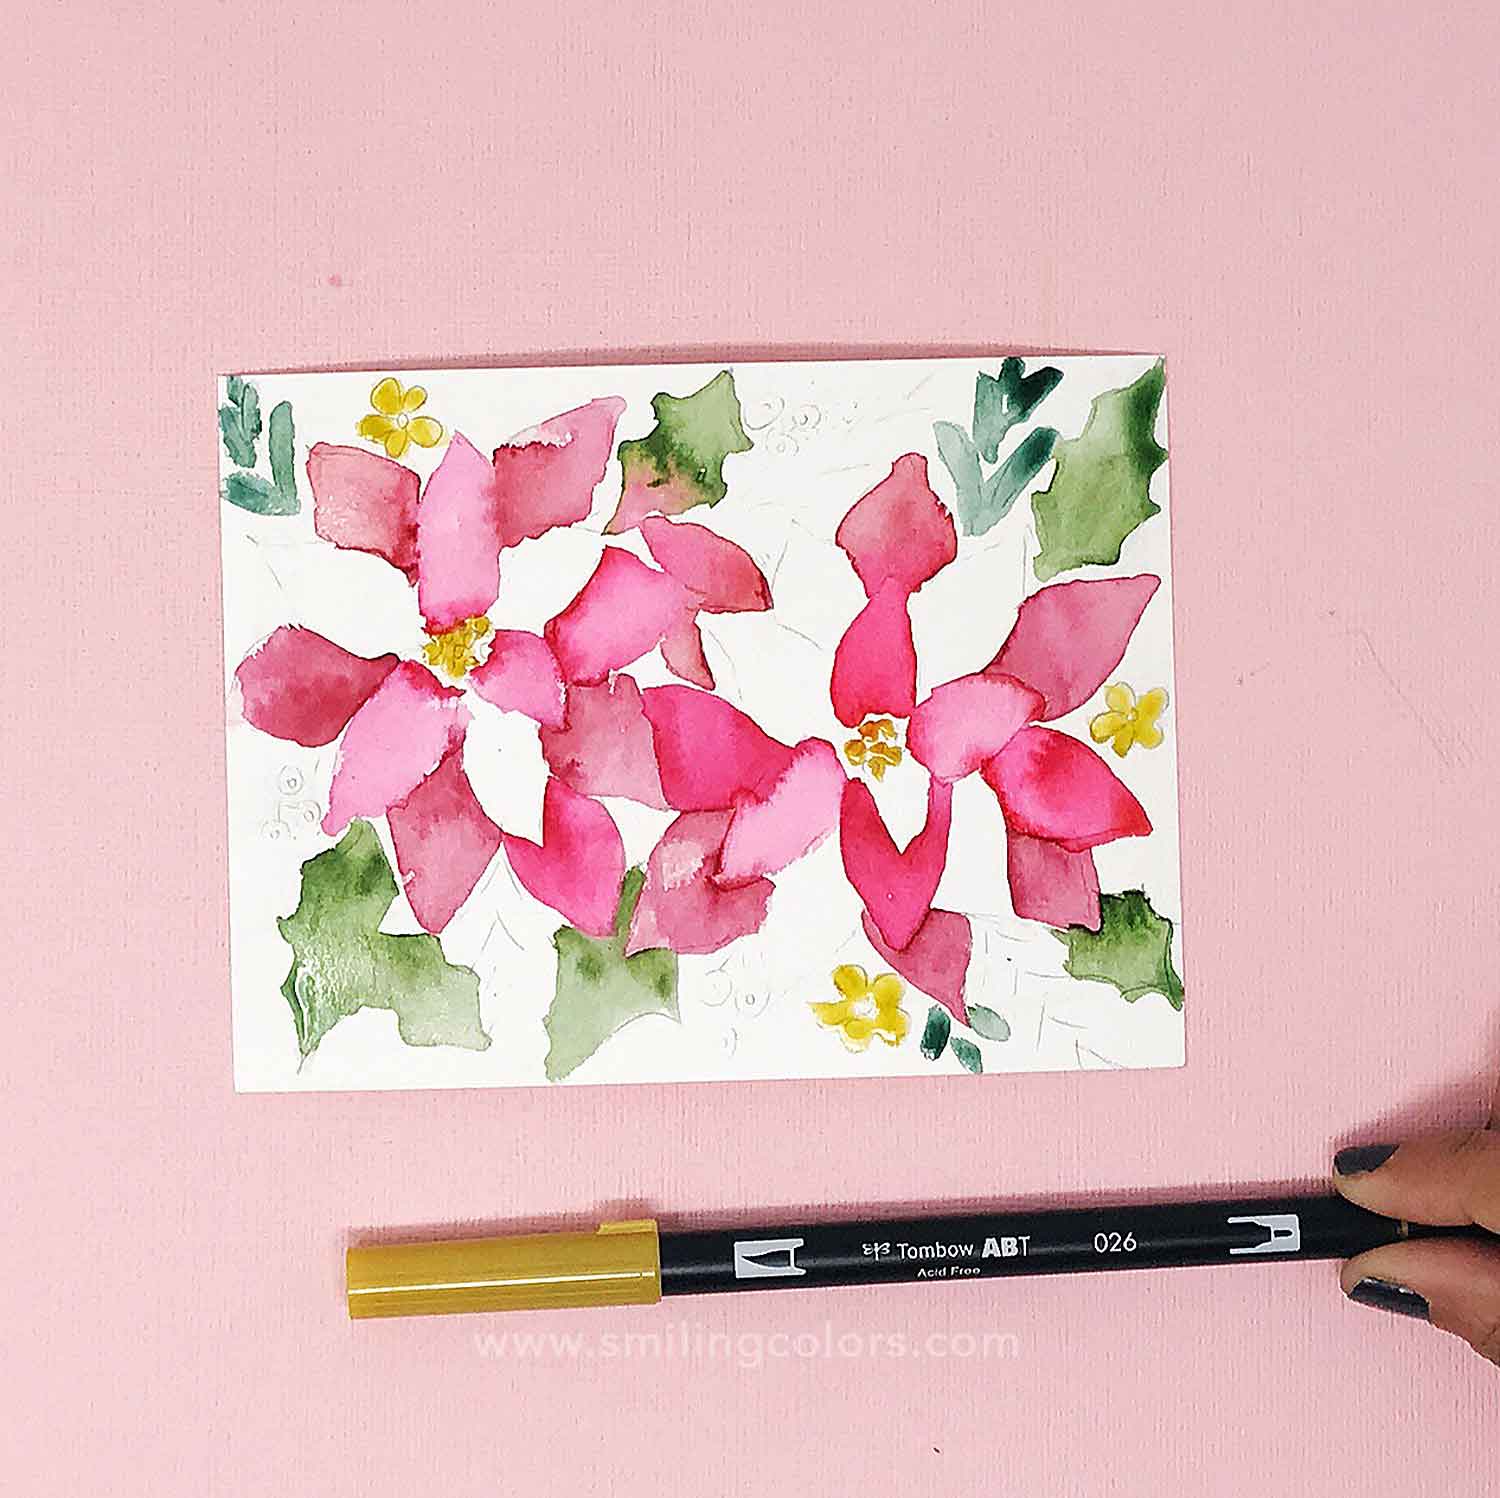
Finish the flowers: Finally, go in and fill in ALL the petals of the poinsettias with the two red colors we used. By painting the leaves and then going back in you give the petals a chance to dry. Painting two adjacent petals at once are not advisable as the colors will mix into one blob.
Optional, add a background color. I like to finish off the card with a nice blue background using Dual brush pen no 526.
Watercolor Poinsettia Tutorial Conclusion:
I simply LOVE how easy it was to paint a Watercolor Poinsettia! I hope you enjoyed this tutorial too!

WATCH THE VIDEO:
https://www.instagram.com/p/BrGB0jnHVhq/
Watercolor Poinsettia Tips:
- Make sure to wash your brush out often, so it has no paint on it, but keep it loaded with clean water while you paint over the marker.
- Painting with water over the marker creates a natural gradient within your flower shape. It will be darker at the bottom of the shape, and lighter at the top, much like flowers are in nature.
- Always create a contrast of colors. If you don’t think you have enough contrast or that it needs more saturation at the bottom of the flowers, then feel free to add another layer of marker color once the paper dries.
- Use watercolor paper. This technique of spreading colors with water will not work on thinner papers!
More Flowers to Paint:
- How to Paint Beautiful Tulips in Watercolor
- 3 Easy Flower Paintings with Step by step tutorials!
- How To Draw A Sunflower Easy Step by Step
- Monochromatic Flower Painting tutorial
Happy Crafting!