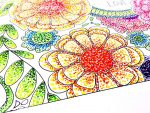
Hello friends! Creating a quick floral frame illustration in my sketchbook today and it is a super easy Brush Pen Drawing tutorial that you can recreate easily!
A floral frame is great to decorate a quote, for a name plate or even decorating a gift.

Affiliate links have been used at no extra cost to the reader. You can read my full disclosure here.
Brush Pen Drawing YouTUBE
Head to my YouTube Channel to watch the Floral Frame using the blender pen video tutorial!
BRUSH PEN DRAWING TUTORIAL step by step:
Step by step instructions showing you how to draw a floral frame using brush pens and blender
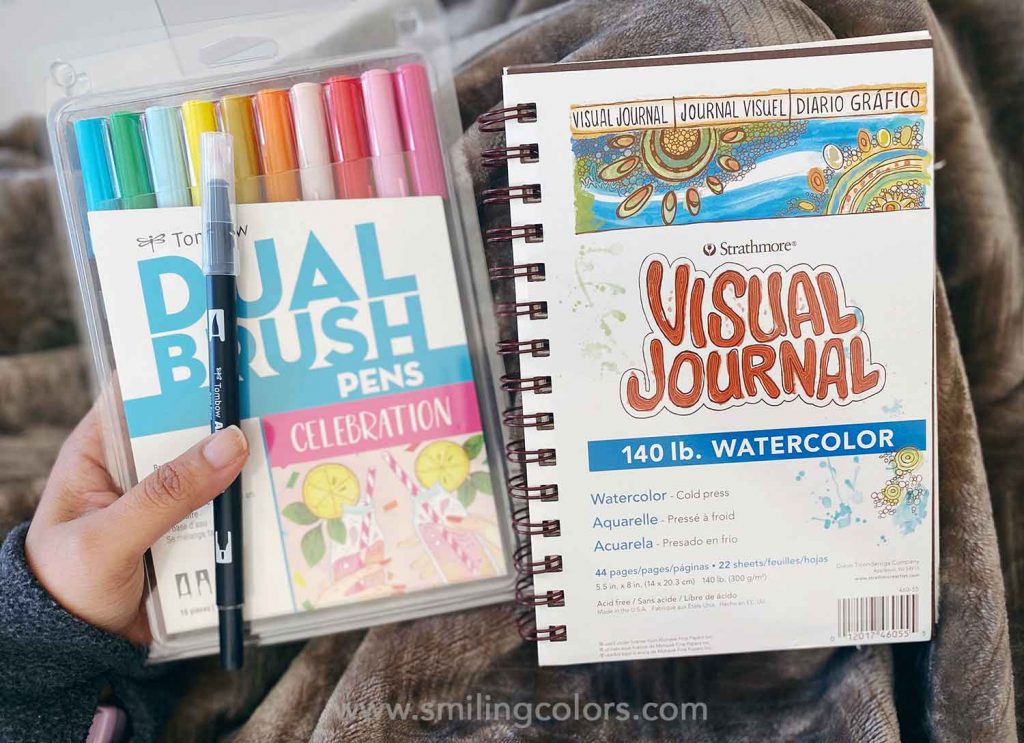
Here is what I’m using today: Dual Brush Pens Celebrate 10 pack | Strathmore Visual Journal | Blender pen N00 |
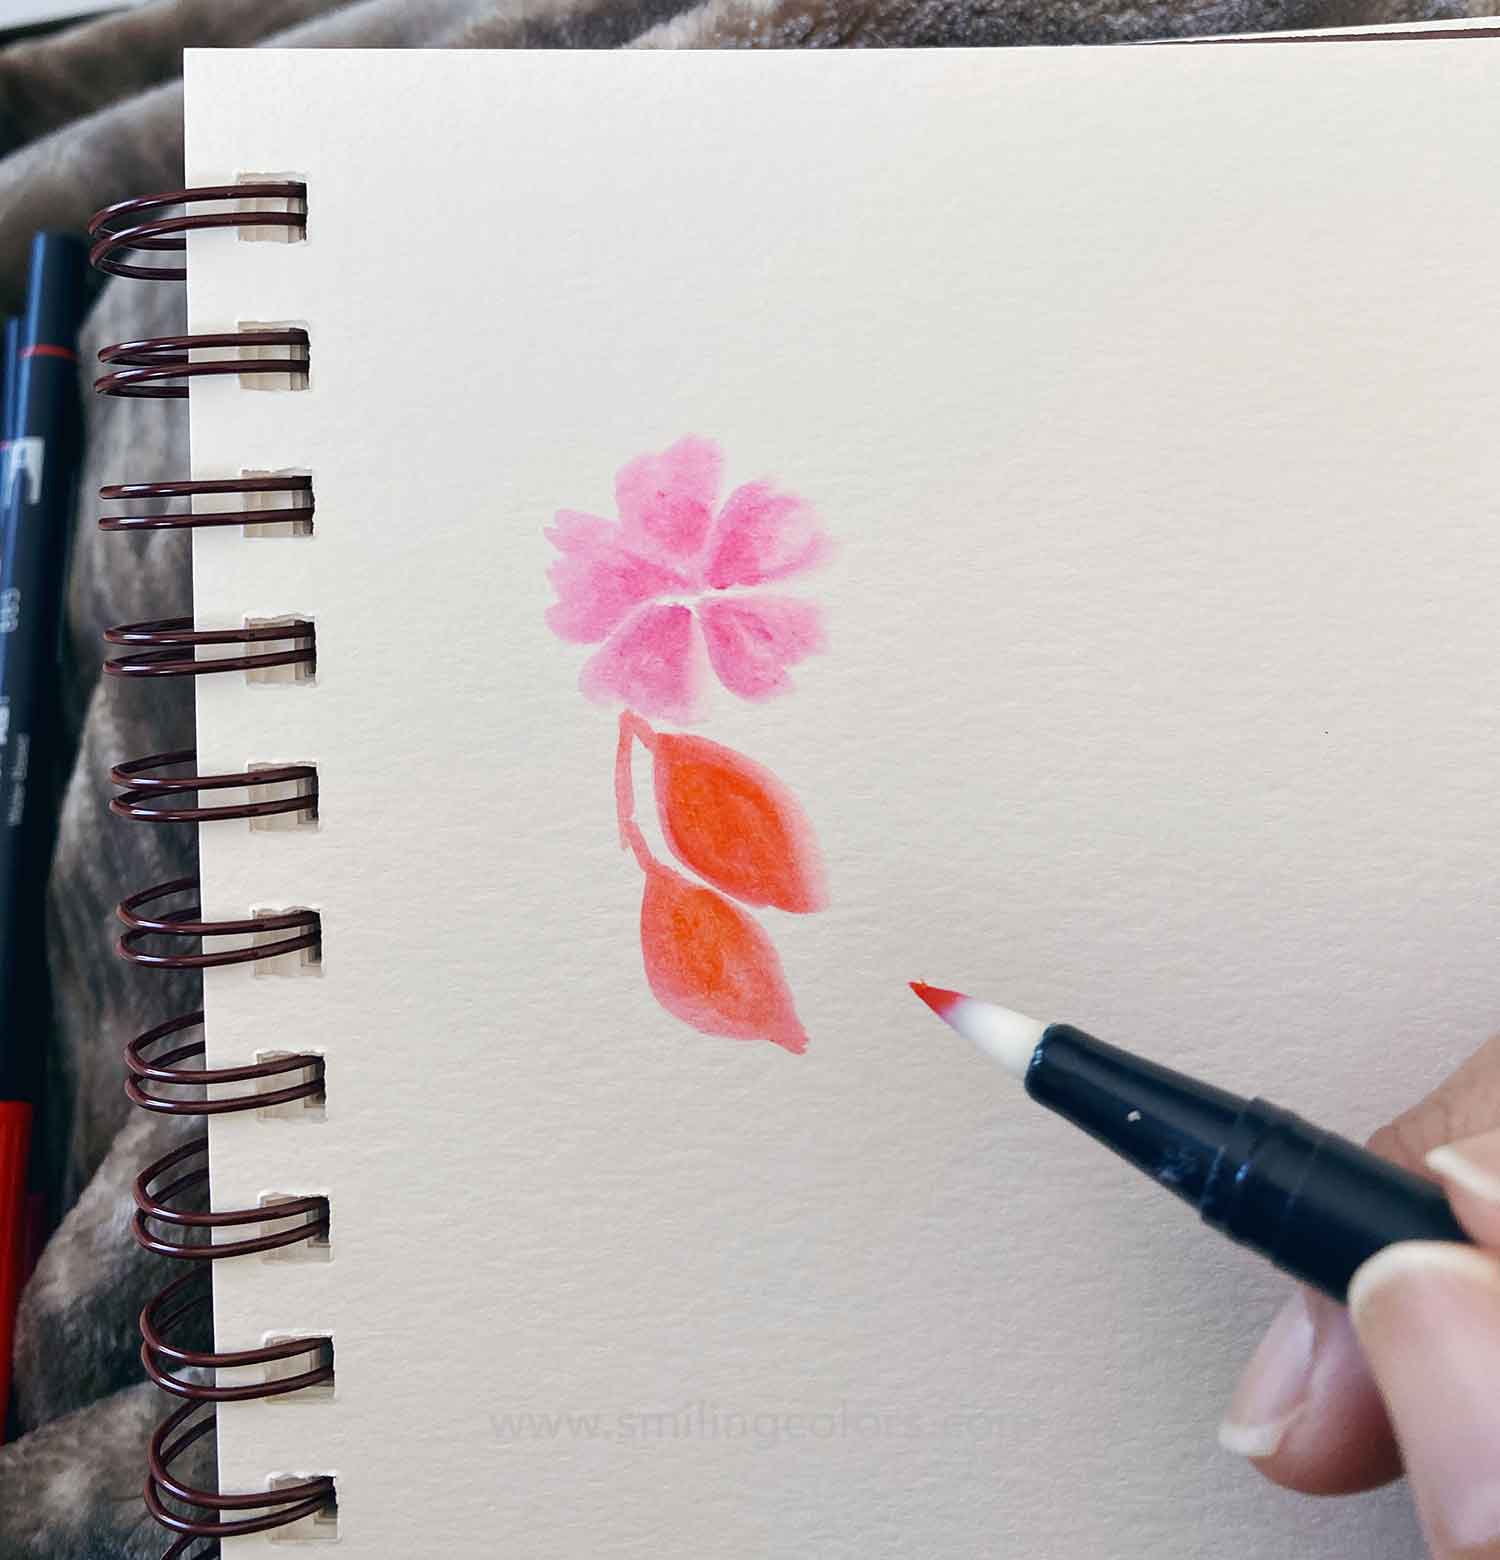
Step 1: Apply marker color using brush tip onto paper as five tiny petal shapes

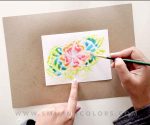
Step 2: Using the blender pen, drag color out to form larger lighter petals. I love how the blender pen softens the colors easily and creates lighters shades.
You could also use a water brush here, depending on what you prefere while Comparing Blender Pen Vs Water Brush

Step 3: Blend out all the petals to form a doodles flower

Step 4: Add leaves beneath to start frame shape
Step 5: Build more leaves on the other side to define the frame
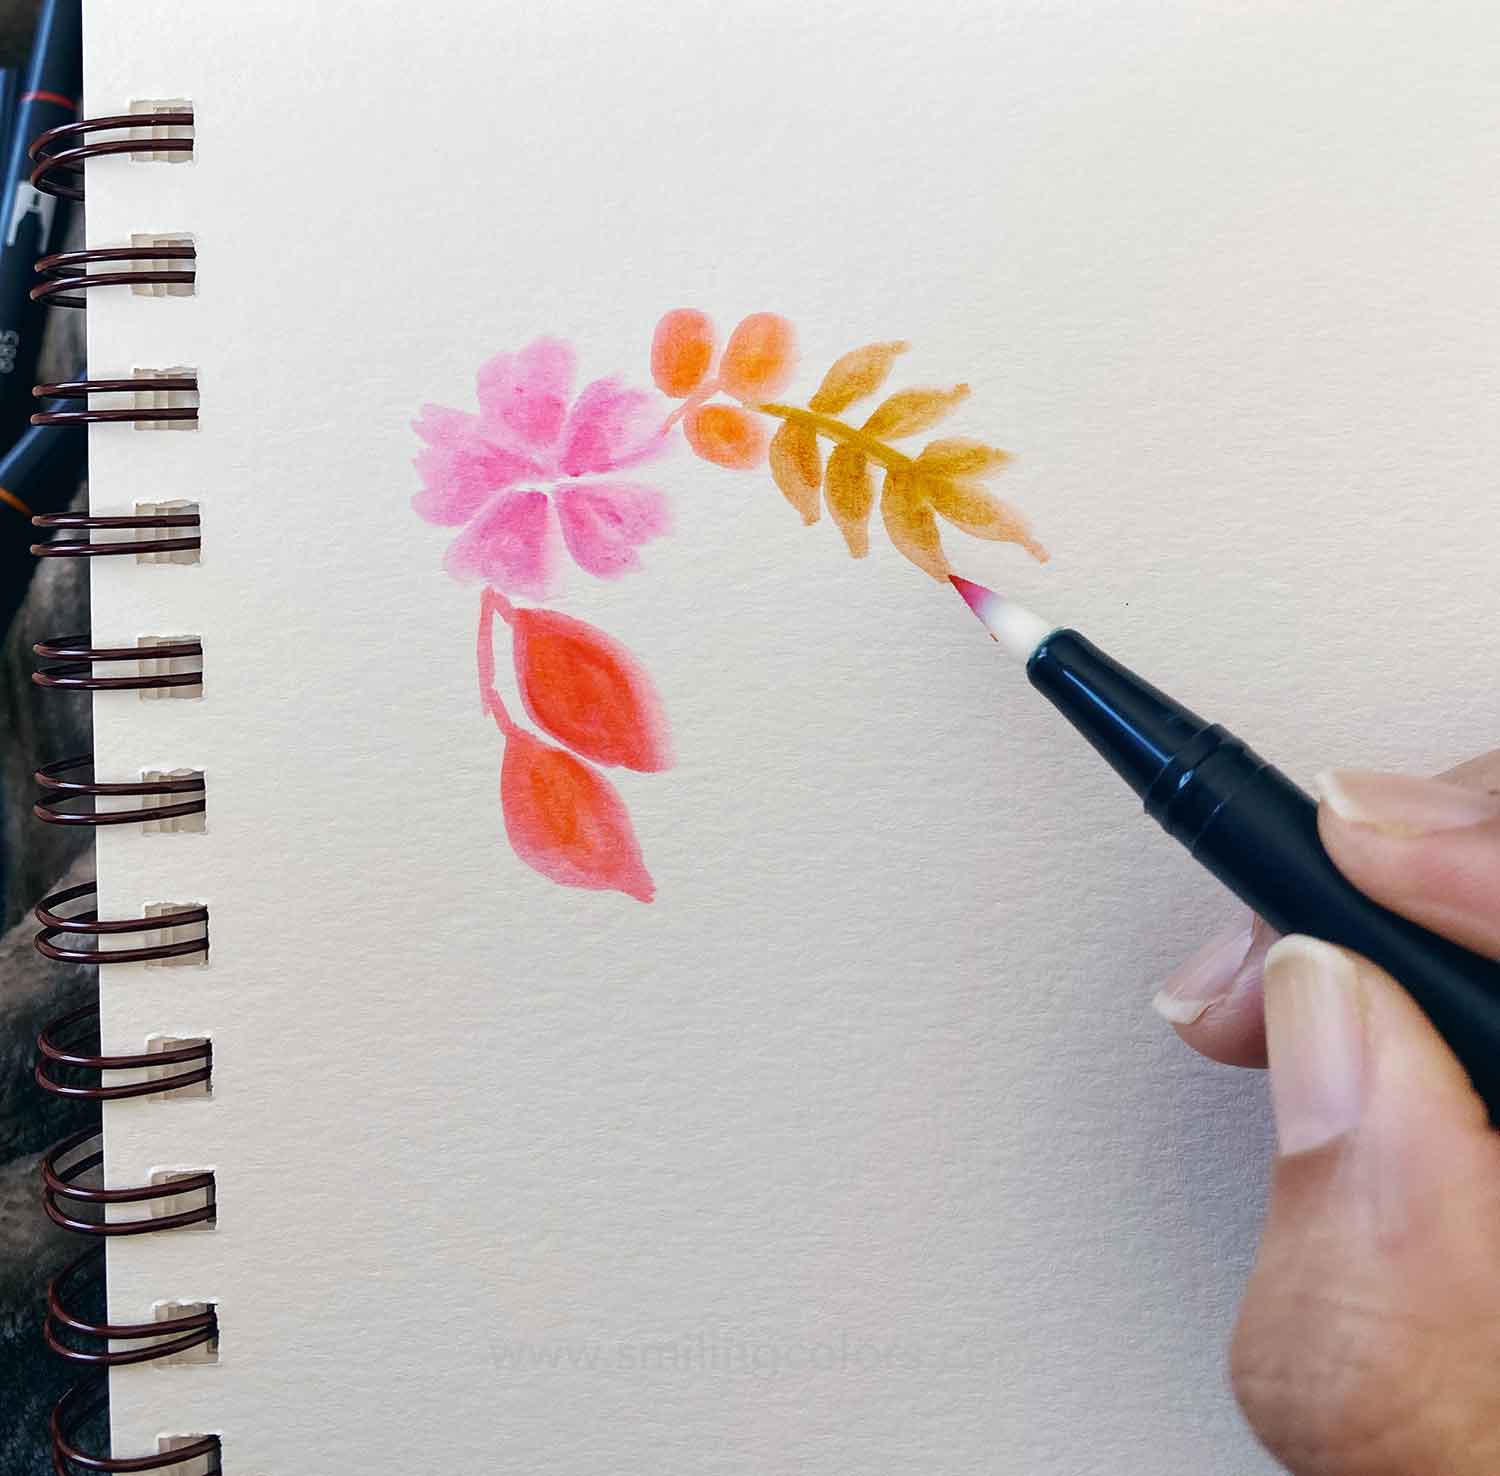
Step 6: Keep adding more and more leaves on either side. To keep things interesting, I like adding whimsical colors of leaves. Check out this post for more Leaf Drawing Ideas.

Step 7: Mirror your flowers onto the bottom corner, draw black lines to draw the frame. The black pen lines can be drawn using a ruler for precise crisp corners, or draw squiggly hand drawn lines instead depending on the style you like.
I hope you enjoyed this brush pen drawing tutorial, the markers are easy to use and the result is super colorful.

Inspiring you with simple doable Art and Craft ideas and tutorials that will encourage you to use your supplies, get messy and find your creativity.