Painting galaxy art is a great way to explore you painting creativity. In this tutorial, we will be using acrylic paints and simple blending techniques with bold colors in our sketchbooks. This galaxy painting is perfect for beginners, kids, and anyone who loves dreamy, colorful artwork.
Supplies You’ll Need for Painting Galaxy
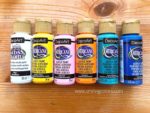
- Acrylic paints – including black and white colors and other colors of your choice
- Paintbrushes (one blending brush + one detail brush)
- Old toothbrush (for splatter stars)
- Thick paper sketchbook – mixed media or dot paper. Check out my Archer and Olive Notebook Review or Strathmore Mixed Media Sketchbook Review if you need help choosing the right for you sketchbook.
Painting Galaxy Step by Step with Acrylic Paints
Step 1: Paint the Black Background
Begin painting galaxy by adding a layer of black around the corner areas. Blend that into the paint using a circular motion. This dark base helps all the colors stand out and creates the depth of outer space.

Step 2: Add a Mix of Acrylic Colors onto the Page
Add small patches or dots of acrylic paint directly onto the paper to cover the entire background. You can use rainbow colors or limit your palette to just a few shades like blue, purple, and pink.

Step 3: Blend and Soften the Galaxy
Blend the colors using gentle circular motions. If this is your first time working with acrylic paint on paper keep in mind you will need to work quickly to blend colors before the paint dries on the paper. Avoid over-blending so the colors stay vibrant and layered.

Step 4: Layer more color as needed
The first coat of color will not cover the paper opaquely, as we used just a little paint. Add more color onto color each section individually and blend with rough strokes.

Step 5: Add white paint and blend
Adding a small touch of white acrylic paint in circular motions helps create glowing, cloud-like galaxy effects.

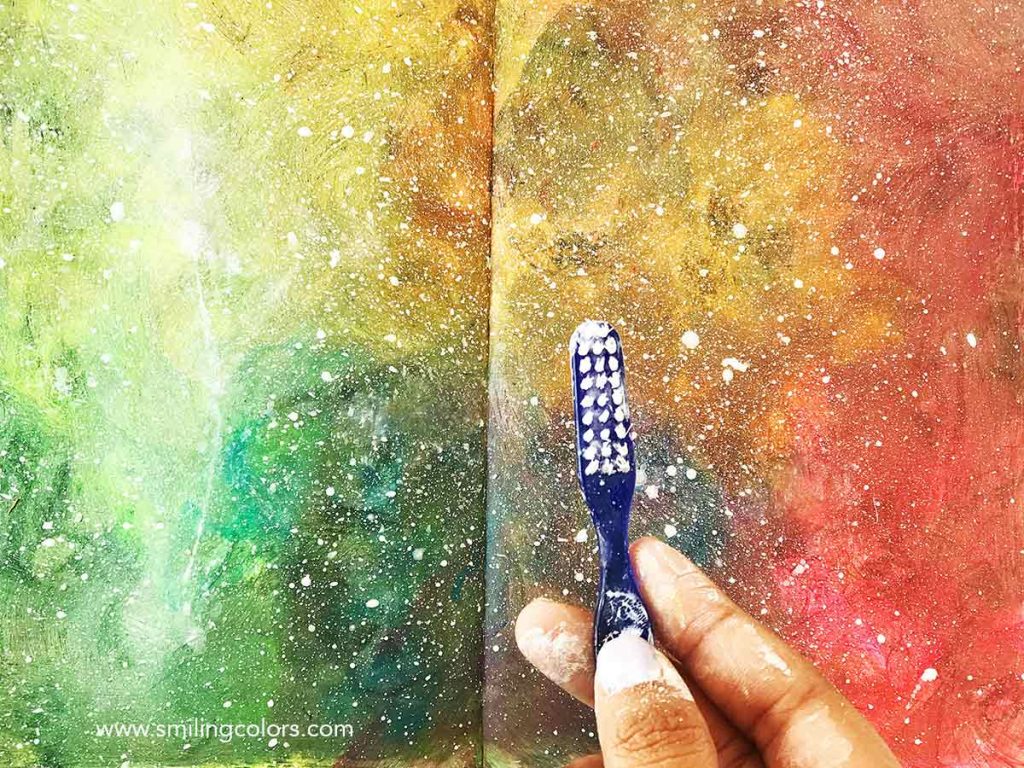
Step 6: Paint the Stars
Final step is to add a nice dusting of stars! Thin white acrylic paint with some water till it has a watery consistency. Dip an old toothbrush into this paint and flick it over your paining galaxy to create tiny star splatters. Use a fine brush to add a few larger stars for extra details.
Step 7: Let It Dry and Enjoy
Allow your galaxy painting to dry completely before displaying or adding any final details. Every painting galaxy turns out unique, which is part of the fun!

I lettered a positive quote onto it with white paint to finish off the spread.

Conclusion:
Painting galaxy art with acrylic paints is relaxing and incredibly satisfying. This project is perfect for beginners who want to explore color blending while creating something magical. Whether you are working in a sketchbook or onto a canvas this is an easy exercise to get creative!
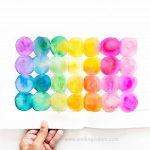
If you’re curious how the same galaxy effect looks in a softer medium, take a look at my galaxy watercolor tutorial. Watercolors create dreamy blends and natural color flows and a fun way to explore painting galaxies with a different technique
If you try this tutorial, I’d love to see your galaxy paintings! Tag me @smithakatti #smilingcolors

Painting Galaxy With Acrylic Paints
Supplies
- Acrylic paints
- Paintbrushes
- Old toothbrush
- Sketchbook
Instructions
- Step 1: Paint the Black BackgroundBegin painting galaxy by adding a layer of black around the corner areas. Blend that into the paint using a circular motion.

- Step 2: Add a Mix of Acrylic Colors onto the PageAdd small patches or dots of acrylic paint directly onto the paper to cover the entire background.

- Step 3: Blend and Soften the GalaxyBlend the colors using gentle circular motions

- Step 4: Layer more color as neededAdd more color onto color each section individually and blend with rough strokes.

- Step 5: Add white paint and blendAdding a small touch of white acrylic paint in circular motions helps create glowing, cloud-like galaxy effects.

- Step 6: Paint the StarsThin white acrylic paint with some water till it has a watery consistency. Dip an old toothbrush into this paint and flick it over your paining galaxy to create tiny star splatters.
- Step 7: Let It Dry and EnjoyAllow your galaxy painting to dry completely before displaying or adding any final details.