Whether you’re brand new to watercolor or just looking for a fun space art project, this galaxy watercolor art is an easy fail proof project. With just a few paints, brushes, and simple techniques, you can create your own starry cosmos on paper!
Affiliate links have been used at no extra cost to the reader. You can read my full disclosure here.
Supplies You Will Need:
- Watercolor paints or watercolor markers (any brand you love)
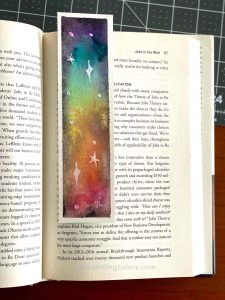
- Watercolor paper (thicker paper works best)- I’ve used a watercolor paper from Canson Paper (I trimmed the paper to make bookmarks that measure 2 by 7 inches)
- Paintbrushes
- Salt (from your kitchen)
- Glue Pen
- Tape
- White paint for stars
If you find yourself intrigued by acrylics, I’ve shared a beginner-friendly painting galaxy with acrylics tutorial that walks through blending colors, creating depth, and adding stars step by step. It’s a great next project if you want to explore a different medium while painting the same magical galaxy theme.
Galaxy Watercolor Step by Step
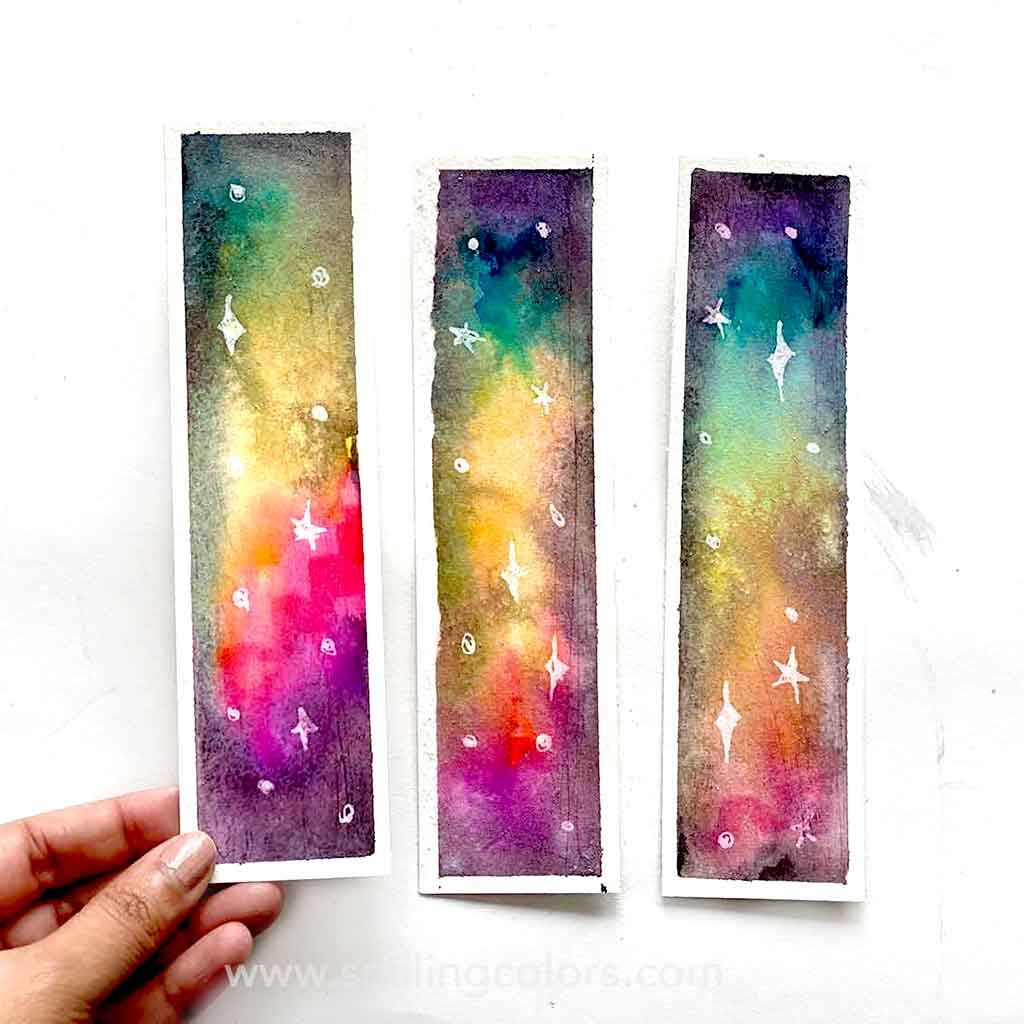
1. Galaxy Bookmarks
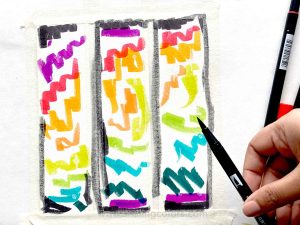
1. Prepare Your Paper: Tape down your watercolor paper with tape to keep the edges flat and prevent paper from buckling. This is the best masking tape for painters I highly recommend it to avoid paper peels.
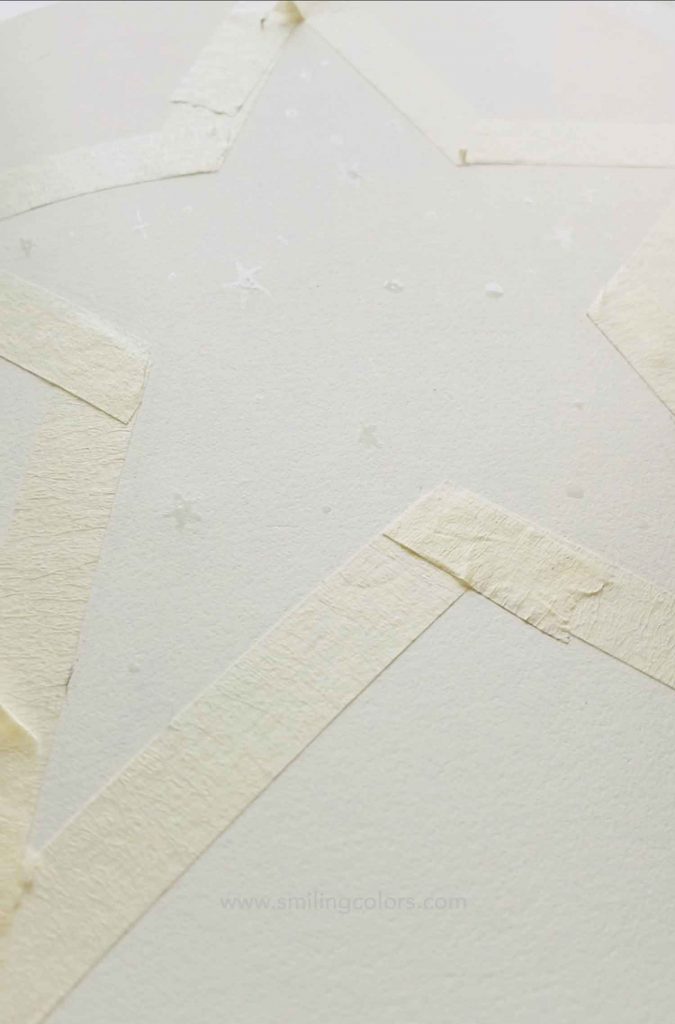
Use a glue pen or masking liquid to draw stars and dots onto the paper. Let dry for a few minutes.

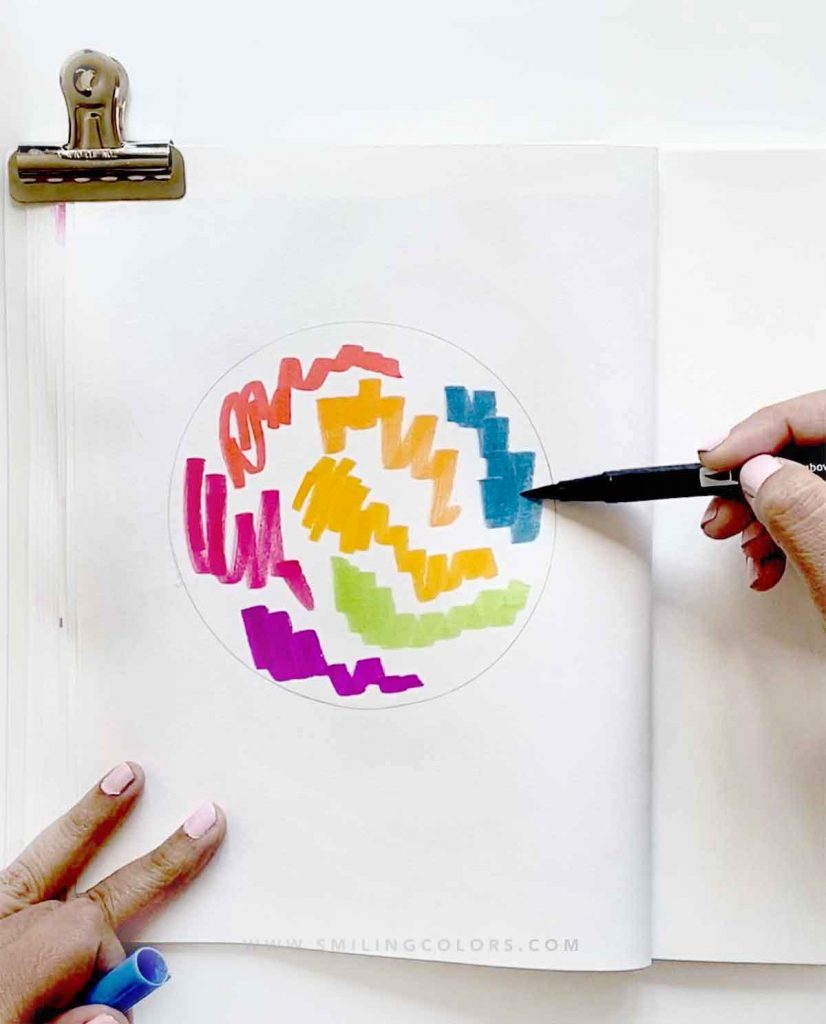
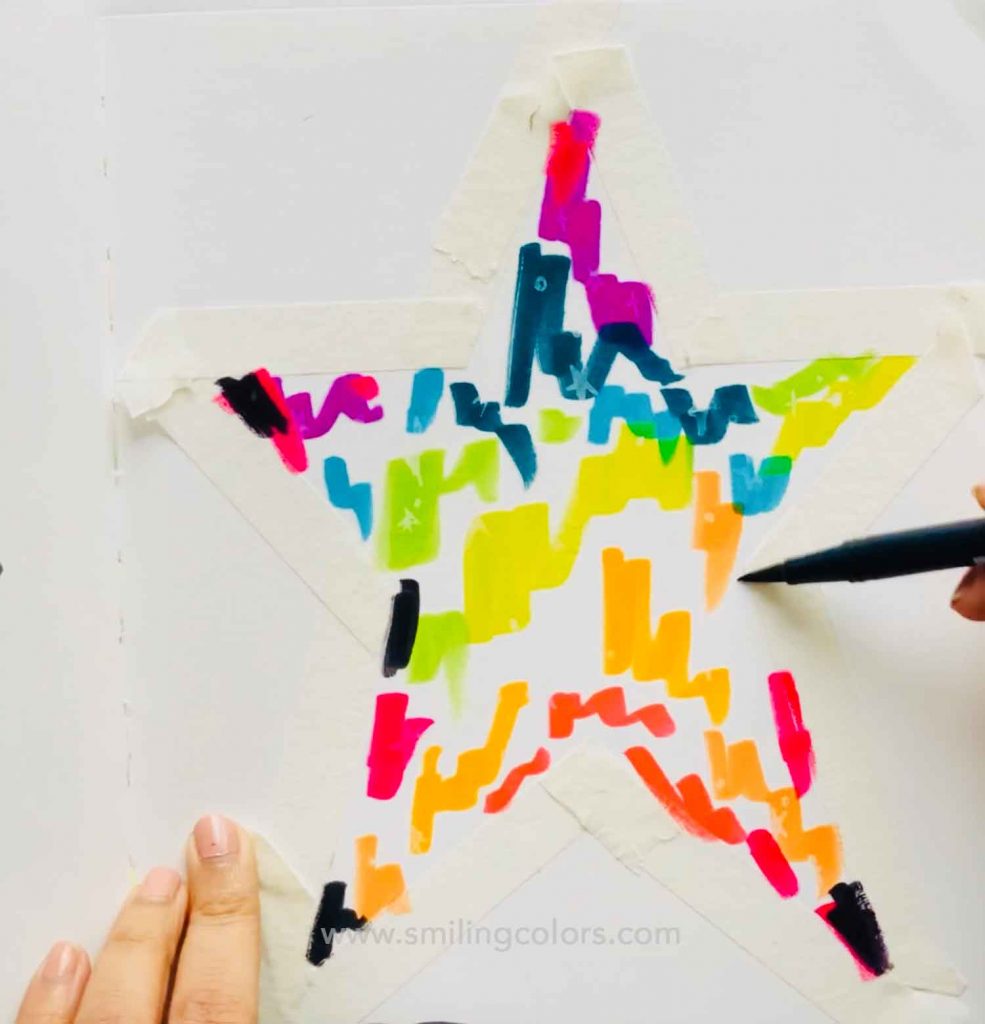
2. Add Marker Colors: Scribble in colors of your choice, adding a little black towards the edges and corners.

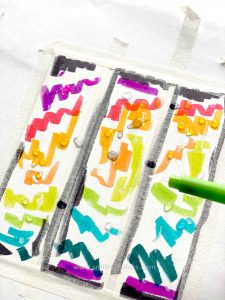
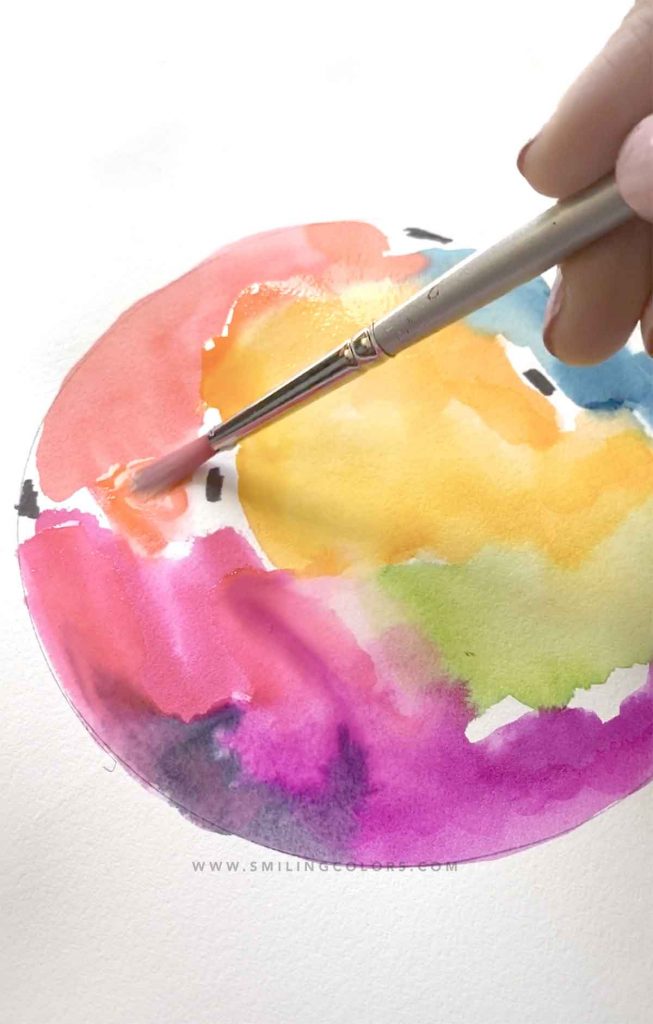
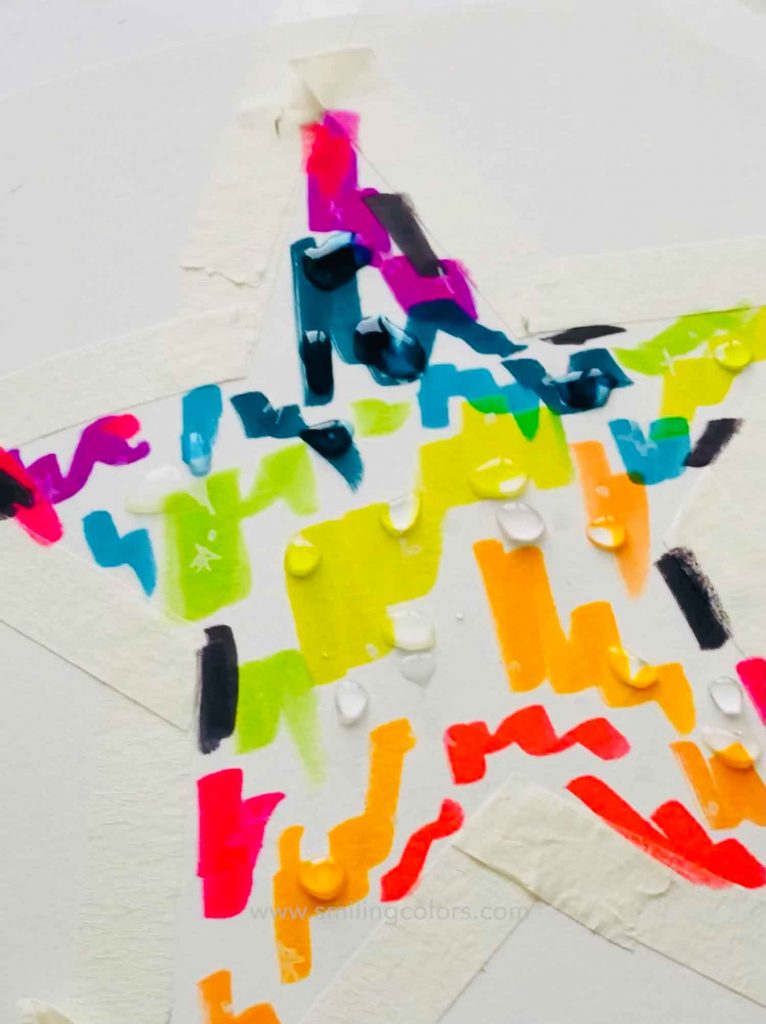
3. Wet the Paper with a Few Water Droplets: Add droplets of water, and gently blend the colors. Here are a few tips on how to use watercolor markers and how to use a waterbrush that will come in handy here.

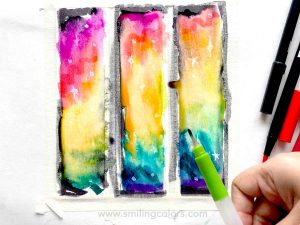
4. Blend the Colors Gently: Using soft slow motions, gently blend the colors. Do not over mix! Let the colors blend into one another naturally. You will see the stars we drew in step 1 resist the watercolor.

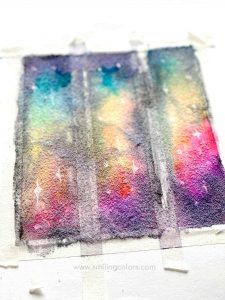
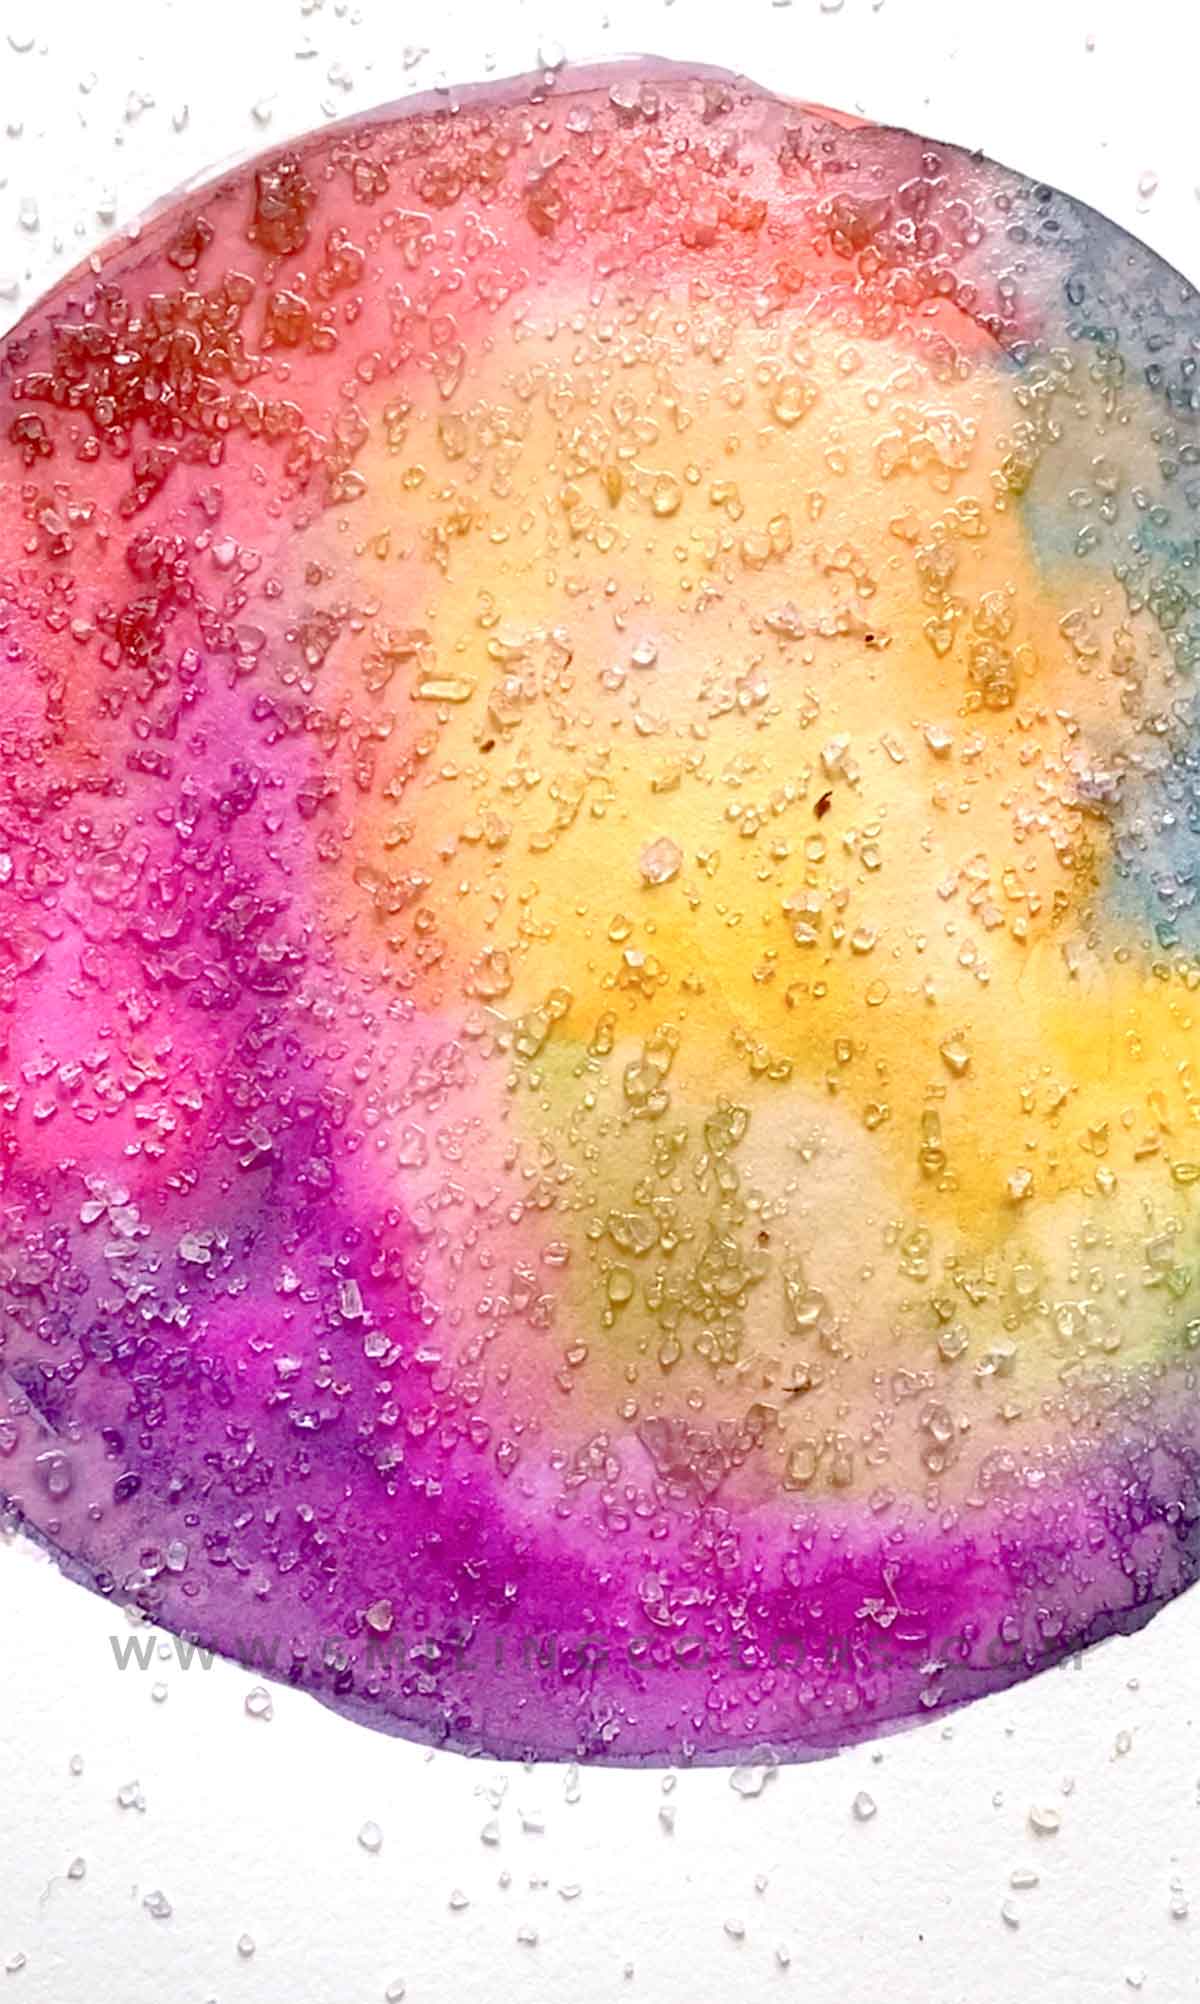
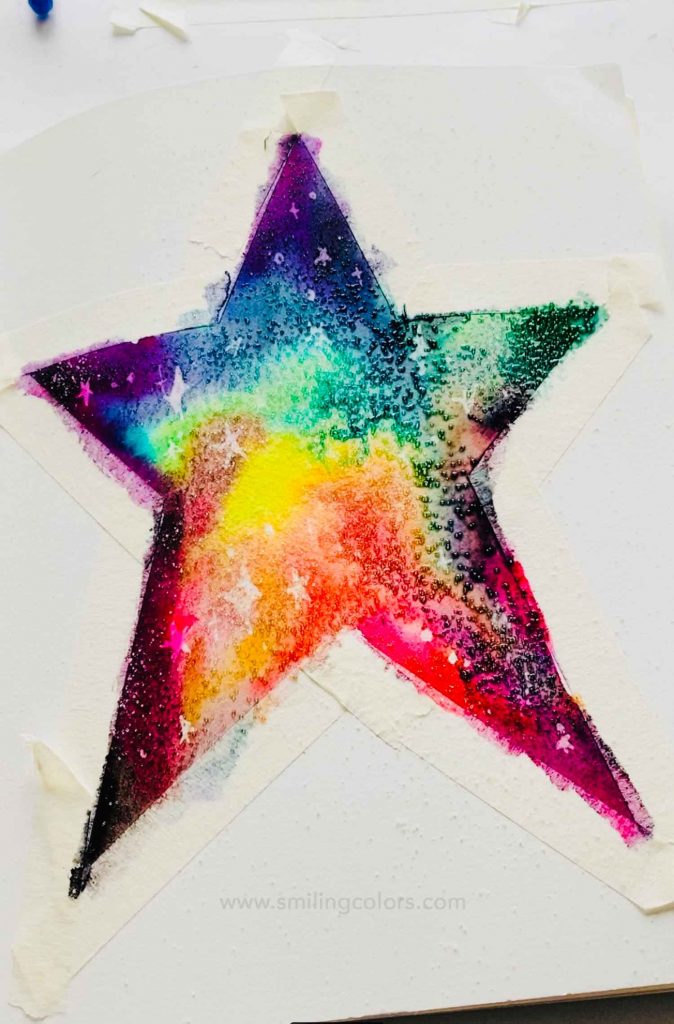
5. Sprinkle Salt: While the paper is still wet, sprinkle salt all over. This salt and watercolor create magic! Let dry overnight.

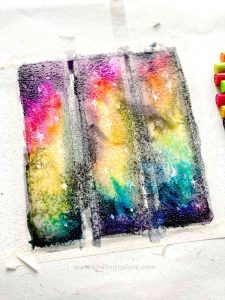
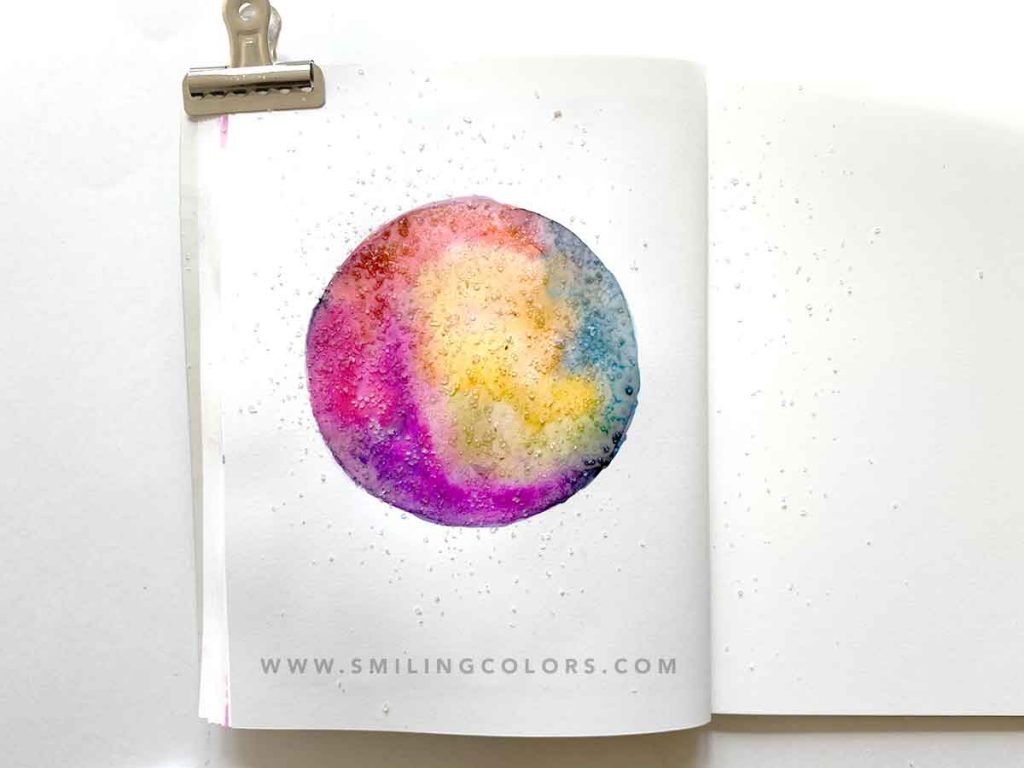
6. Rub the Salt off the paper: Using clean fingers, rub the salt off of the paper to reveal a textured mottled design that looks like the sky! Carefully peel off the tape to finish your galaxy watercolor art.


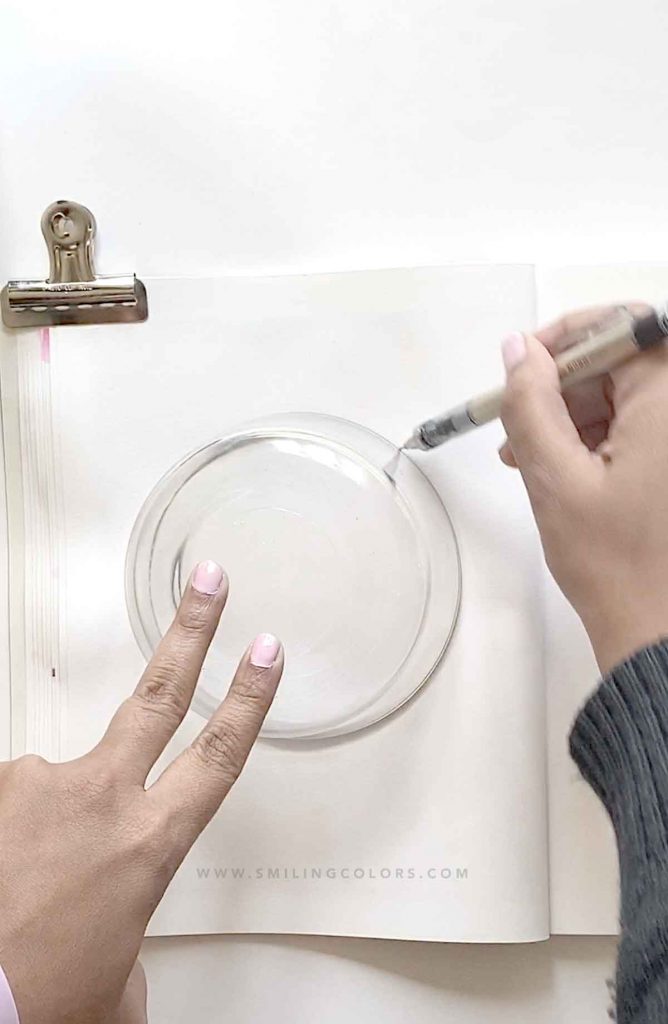
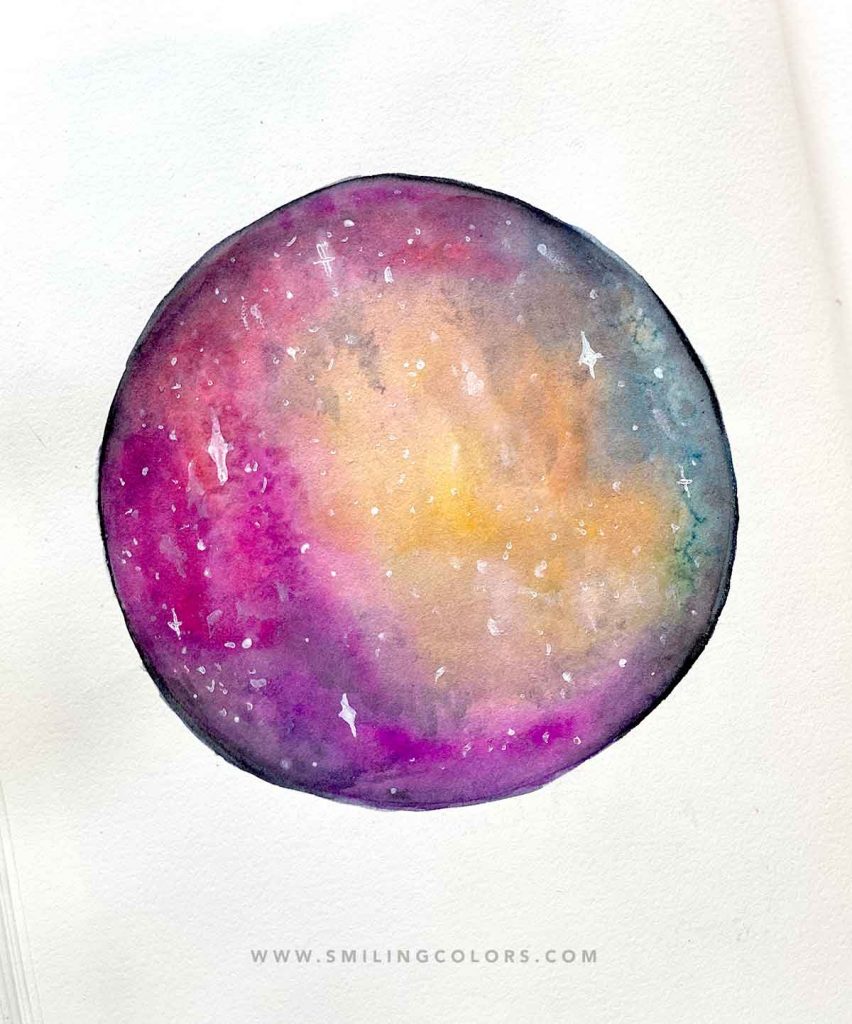
2. Circle Galaxy Watercolor
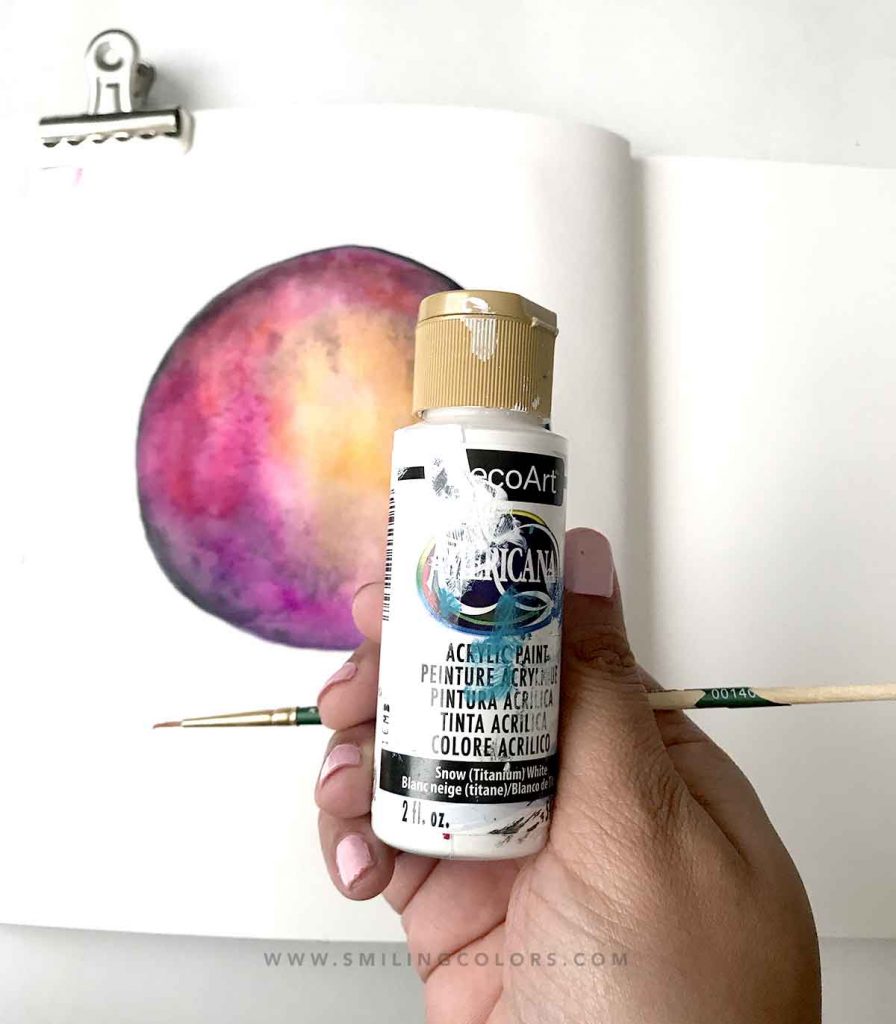
Start by tracing a circle shape with a pencil. I used a glass container from my kitchen here, but you can use any shape for your guide. Then I followed the same steps as above to create this circle galaxy watercolor. To finish the art, I used white paint and a thin paintbrush. Make sure you are using a white acrylic paint. Here is more info on what is acrylic paint. Randomly paint tiny white dots, stars, etc onto the galaxy. You can use a white pen for this instead as well.
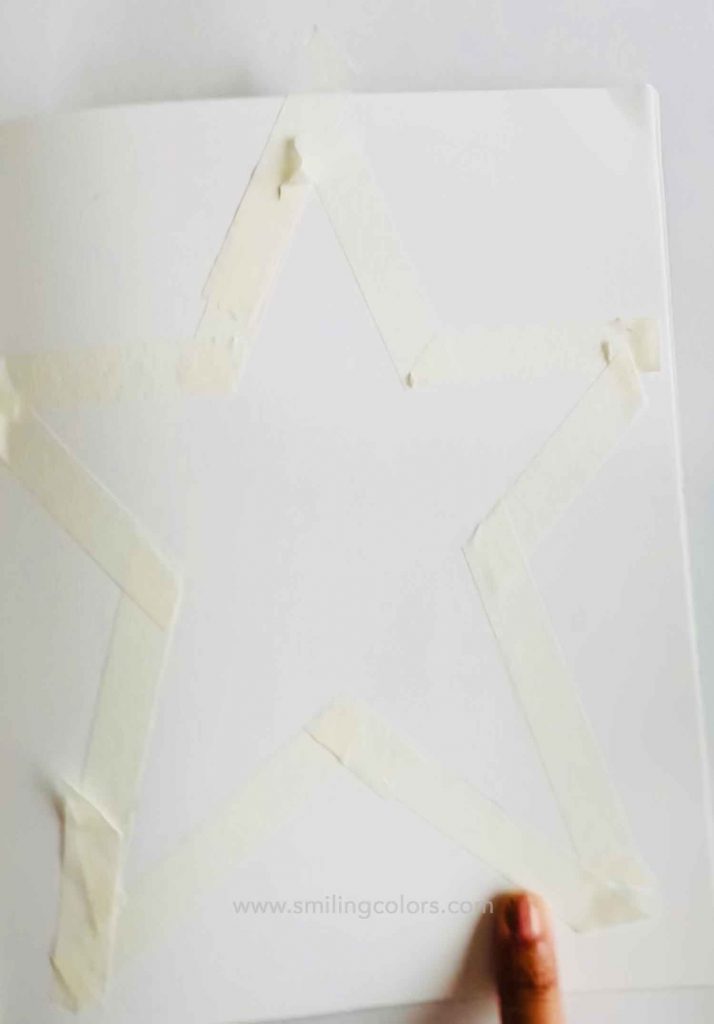
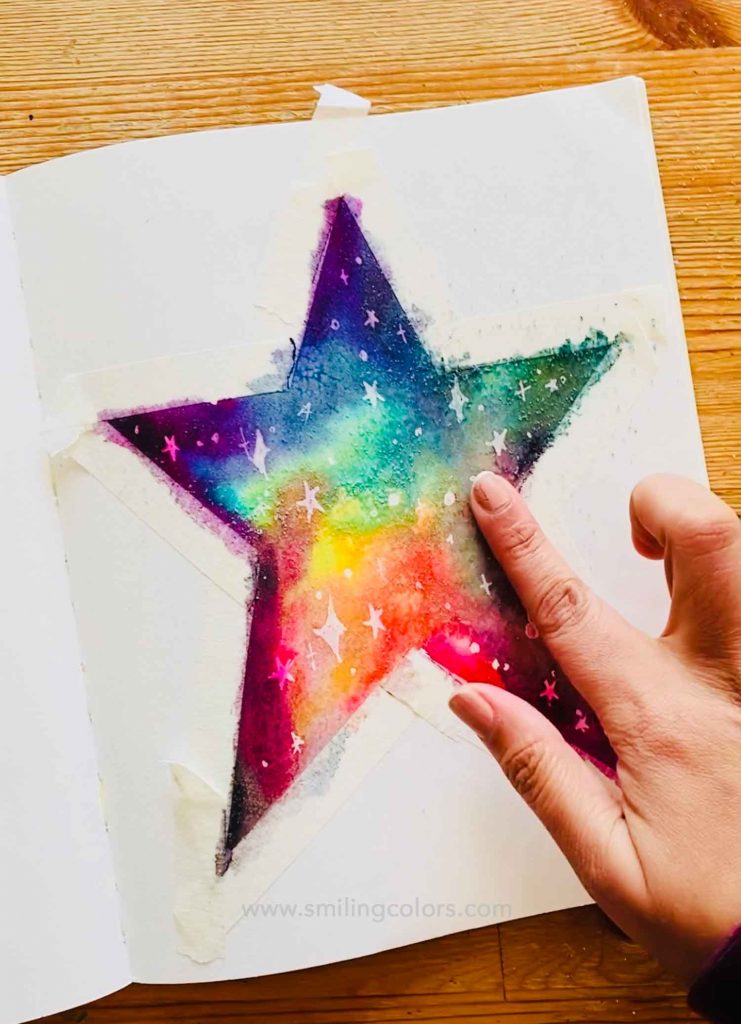
3. Star Shaped Galaxy Watercolor
Mask your star shape using tape. My favorite tape to use the the best masking tape for painters that avoids paper peels. Make sure to get those 5 corners neat and pointy before starting to paint your galaxy watercolor art as before.
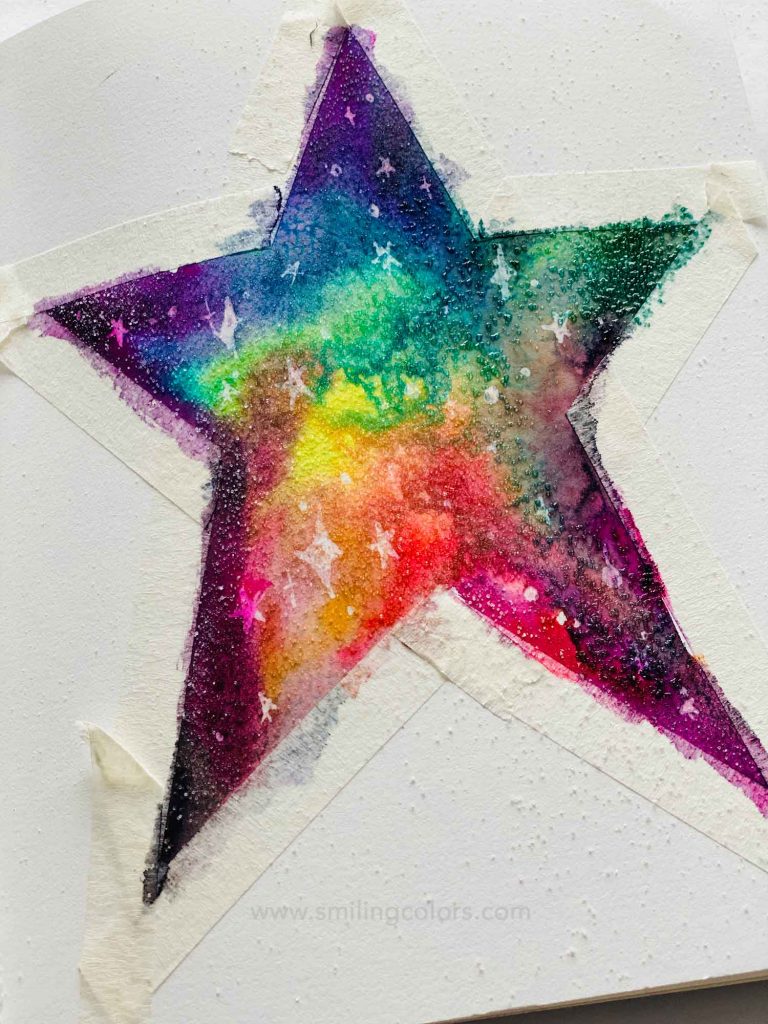
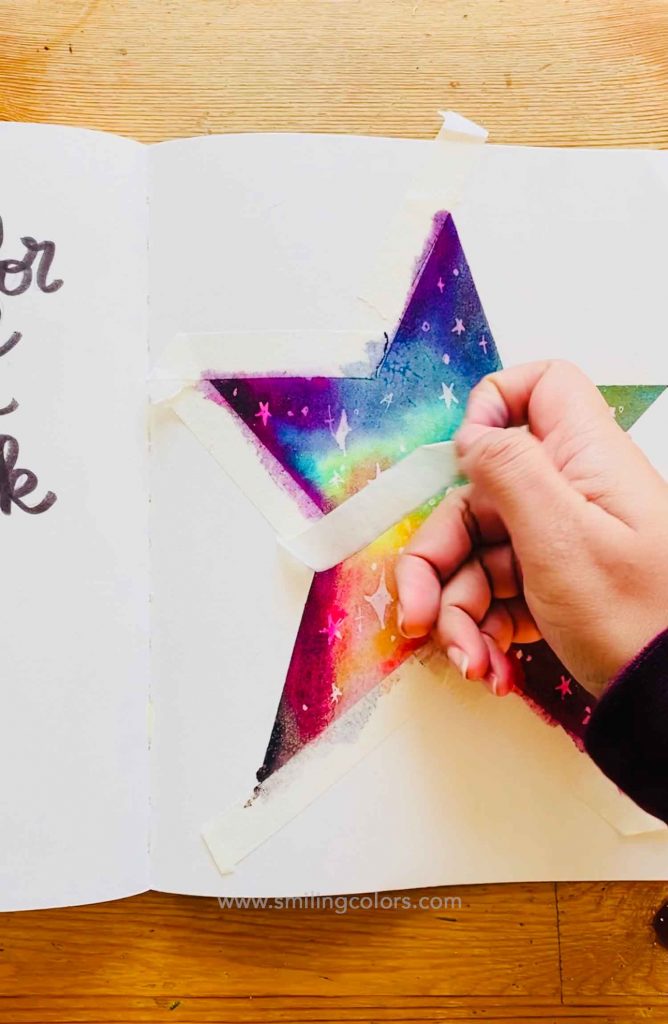
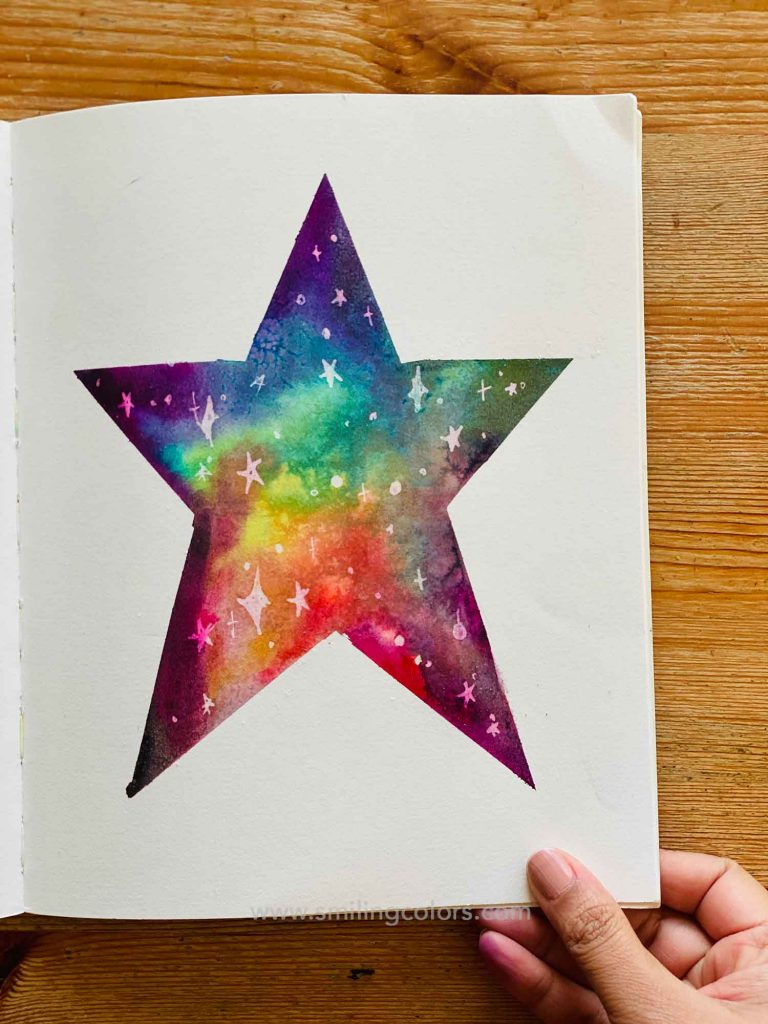
Peeling off the tape once the painting is dry to reveal those crisp clean lines is everything!

Conclusion:
Galaxy watercolor art is very forgiving, you just need to let the water do all the work for you here. The key here is to not over mix the colors especially if you want all the colors to stand out individually. There is no harsh right or wrong, the sky is the limit! (pun intended)
Galaxy Watercolor Tutorial
Supplies
- Watercolor Markers
- Watercolor paper
- Paintbrushes
- Salt
- Glue Pen
- Tape
Instructions
- 1. Prepare Your PaperTrim bookmarks to measure 2 by 7 inches. Tape down paper with tape. Use a glue pen or masking liquid to draw stars and dots onto the paper. Let dry for a few minutes.

- 2. Add Marker Colors: Scribble in colors of your choice, adding a little black towards the edges and corners.
- 3. Wet the Paper with a Few Water Droplets: Add droplets of water, and gently blend the colors.

- 4. Blend the Colors Gently: Using soft slow motions, gently blend the colors. Do not over mix! Let the colors blend into one another naturally. You will see the stars we drew in step 1 resist the watercolor.
- 5. Sprinkle Salt: While the paper is still wet, sprinkle salt all over. This salt and watercolor create magic! Let dry overnight.
- 6. Rub the Salt off the paper: Using clean fingers, rub the salt off of the paper.
- 7. Peel the tape: Carefully peel off the tape to finish your galaxy watercolor art.