Today I’m sharing a fun way how to make a sketchbook without sewing. We will be using a simple book binding with glue technique that works very well with heavier sketchbook papers.
I love trying out DIY book making ideas and have tried how to make a book with paper and glue, book made out of envelopes, and also how to bind a book with string. And today’s how to make a sketchbook without sewing tutorial is also super simple you don’t need staples and there is no sewing at all!
I thrifted a cute book from Goodwill for a few cents and I knew immediately that it had a great spine to convert into a sketchbook. Making my own sketchbook has long been a wish of mine, and today I’m so excited to share the outcome!
I’ve used a bookbinding kit today. It comes with a great collection of tools for bookbinders! For this how to make a sketchbook without sewing tutorial, the glue I used is a basic white glue that you will probably already own.
How to make a sketchbook Without Sewing Tutorial:
- Cut out the old pages of your book with an Exacto Knife
- Pull out all of the old pages carefully
- Measure old page size, then
- Trim your watercolor paper down to that size, doubled
- Using a Bone folder or paper creaser, carefully fold each watercolor paper in half and crease. Repeat
- Place folded watercolor papers on top of each other and build the pile till you have enough to fit the book spine you have
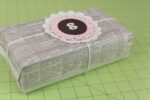
- Using binder clips or clamps hold all of the watercolor papers together
- Apply liquid adhesive into the book spine, and along the paper folds
- Press papers into book spine firmly, and hold in place to dry using more binder clips or large rubber bands
- Wipe off any excess glue that oozes out and let dry

How to make a sketchbook without sewing video:
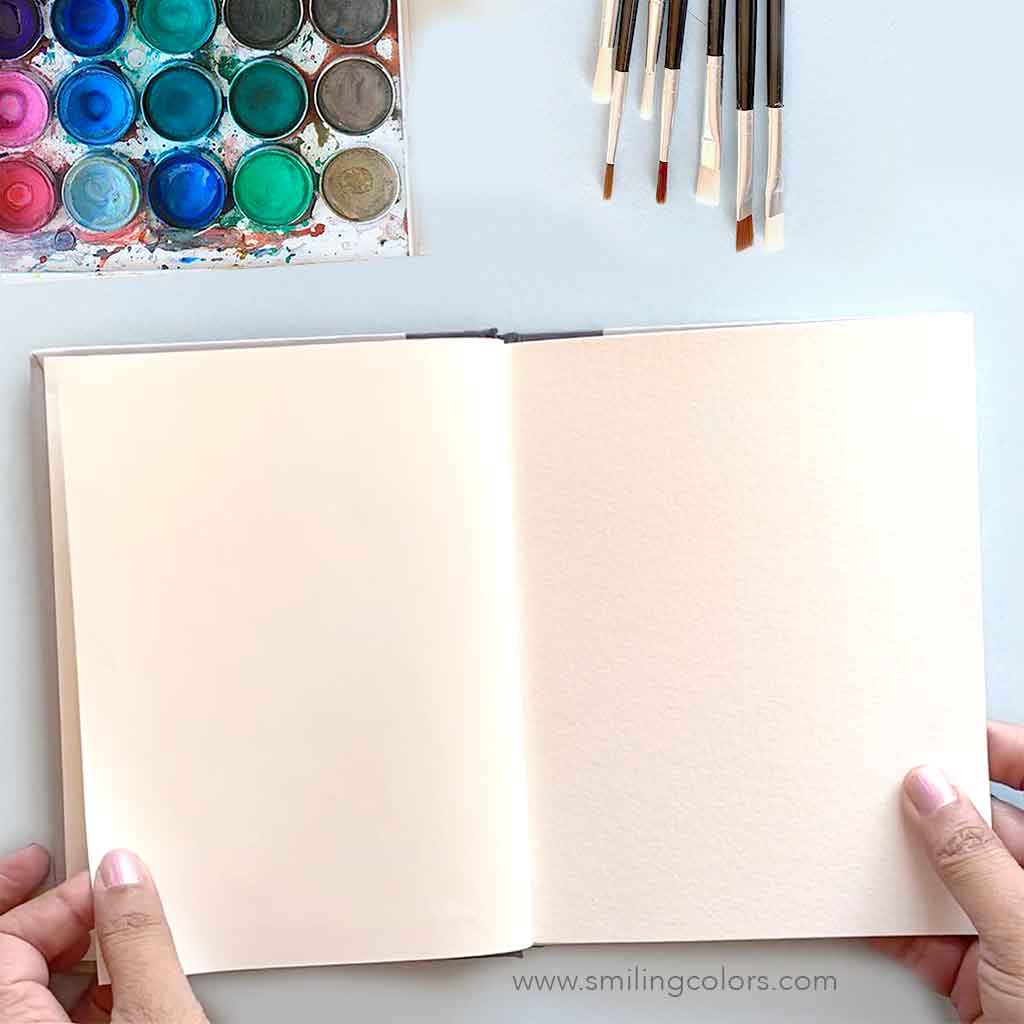
In my new How to make a Sketchbook without Sewing Video, I use an old thrifted book, watercolor paper and basic white glue to make my own book.
how to make a sketchbook Tips:
- Liquid adhesives used for book binding are mainly the basic white glue itself. You don’t need a fancy glue if you are beginner.
- White glue dries a bit slowly, so you will have enough time to make sure that your pages are aligned properly and readjust accordingly if needed. White glue will dry clear so any stray glue will not be seen.
- If you dont have white glue or don’t want to get your fingers sticky, here is a mess free way how to staple a booklet with a regular stapler. In this method you can easily make a booklet and then decorate the spine with strong decorative tape.
- If you do not have an old thrifted book for the outside spine, try folding a sturdy card stock, or a thin sheet of cardboard like I did in to make this cereal box notebook.
- You will need sturdy binder clips for this project. Binder clips is a great dollar tree craft item to pick up when you are in the store next time.
Making a sketchbook without sewing is a quick and beginner-friendly way to create your own custom art journal. I had never tried to make my own sketchbook before, always thought it to be too difficult. But, it is surprising easy to make and once you figure it out the options are endless. The best part is that you can make your own sketchbook in any custom size you want!

Always the BEST upcycles, Smitha! Thanks for sharing as a part of the Creative Crafts Recycled Edition!
Great tutorial