Ready to try making a puff quilt? These soft, raised squares give your quilt such a fun texture. I’ll walk you through how to make one step-by-step.
This post was created in partnership with Crafter’s Edge. All opinions, project ideas, and craftiness are my own

How To Make A Puff Quilt For Beginners VIDEO
I’d say I’m a beginner+ or intermediate seamstress. So if I can learn how to make a puff quilt, I am sure you can too! Along the process of this quilt I learnt so much and in my how to make a puff quilt for beginners video I share all of my tips and short cuts. Some of them are not conventional, but I felt they worked well for me.
What is a Puff quilt?
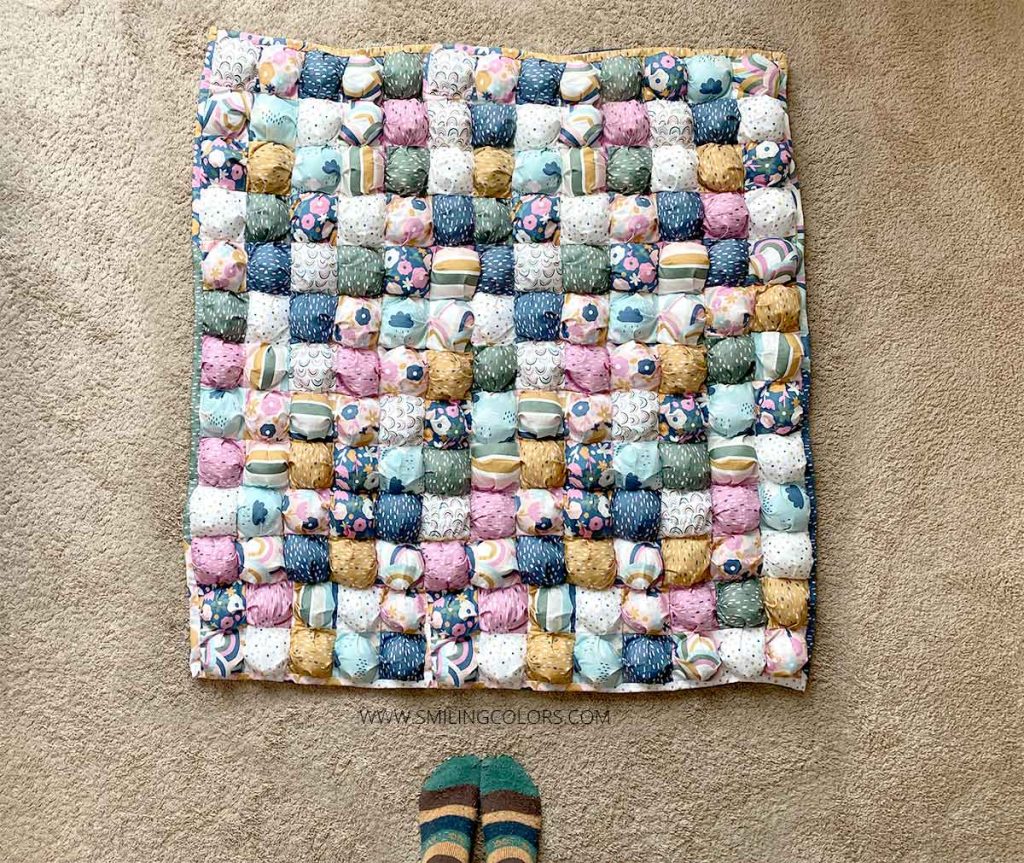
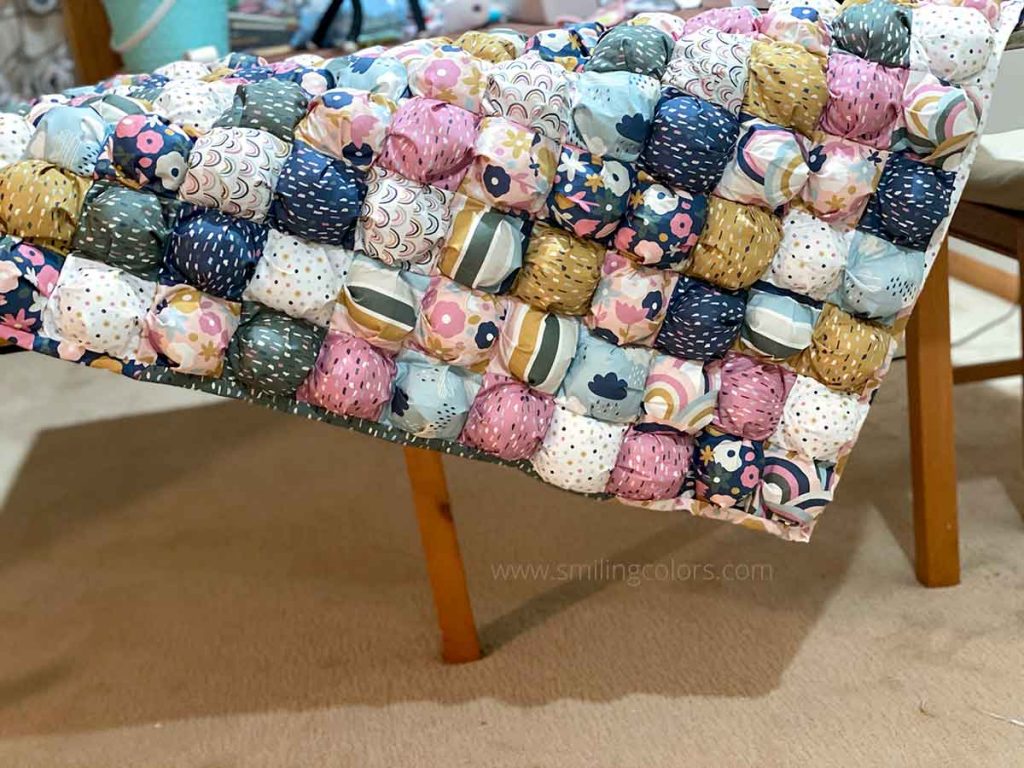
A Puff Quilt, also called a Bubble Quilt or Biscuit Quilt is a quilt made of individual puffy squares that have polyfil in them, then sewn together into a quilt top. The result is a cozy, dimensional blanket that is one of a kind and. has a lot of visual interest!
Learning how to make a puff quilt is not as difficult as you would think and I can’t wait to share all the tips I have learned in my sewing process.
What you will need:
- Crossover 2 die cutting machine
- Crafter’s Edge Square die cut set
- A sewing machine
- Fabric for the puffs: I used 2 of these Paintbrush Studio Over the Rainbow Fat Quarters
- Fabric for the quilt backing: 2-yard Polycotton Fabric, I used a Navy color.
- Extra Fabric for the binding
- Stuffing like Fairfield Polyester Poly-Fil
- A pair of scissors

How much fabric do I need for a Puff Quilt?
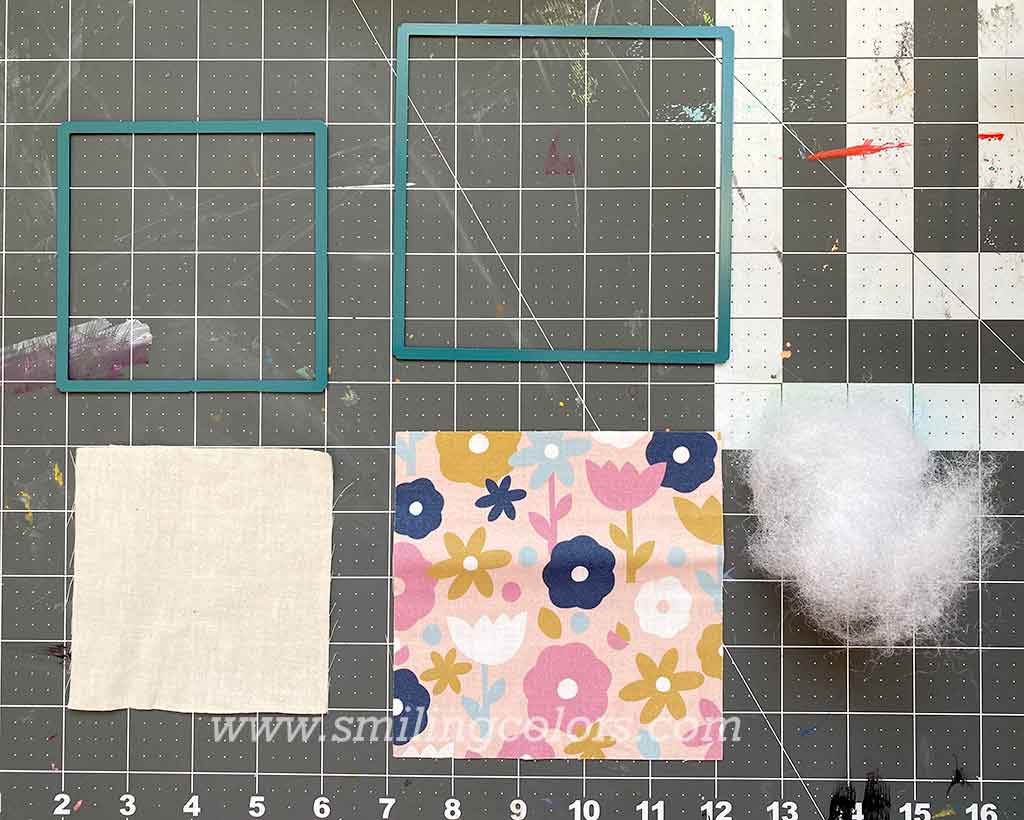
The first step is to choose the fabric you need. To make ONE single puff you will need a 5-inch square of the fabric of your choice and ALSO a 4-inch square of fabric that can be a scrap fabric. The fabric used for the 4-inch square will not be seen at all in the final finished quilt.
Each finished puff will end up measuring 3 inches in size.
For this how to make a puff quilt tutorial, beside the puff fabric, you will also need a backing fabric. I used this 2-yard Polycotton Fabric for the backing in Navy color.
How To Make A Puff Quilt Step by Step
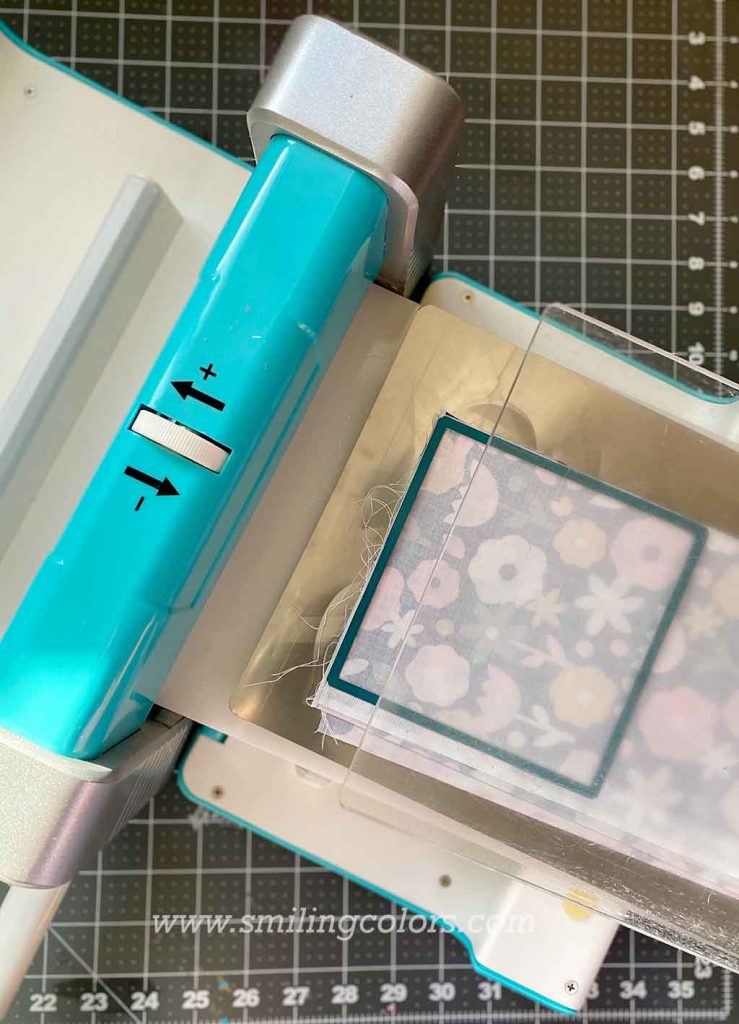
Step 1: Cutting all the fabric
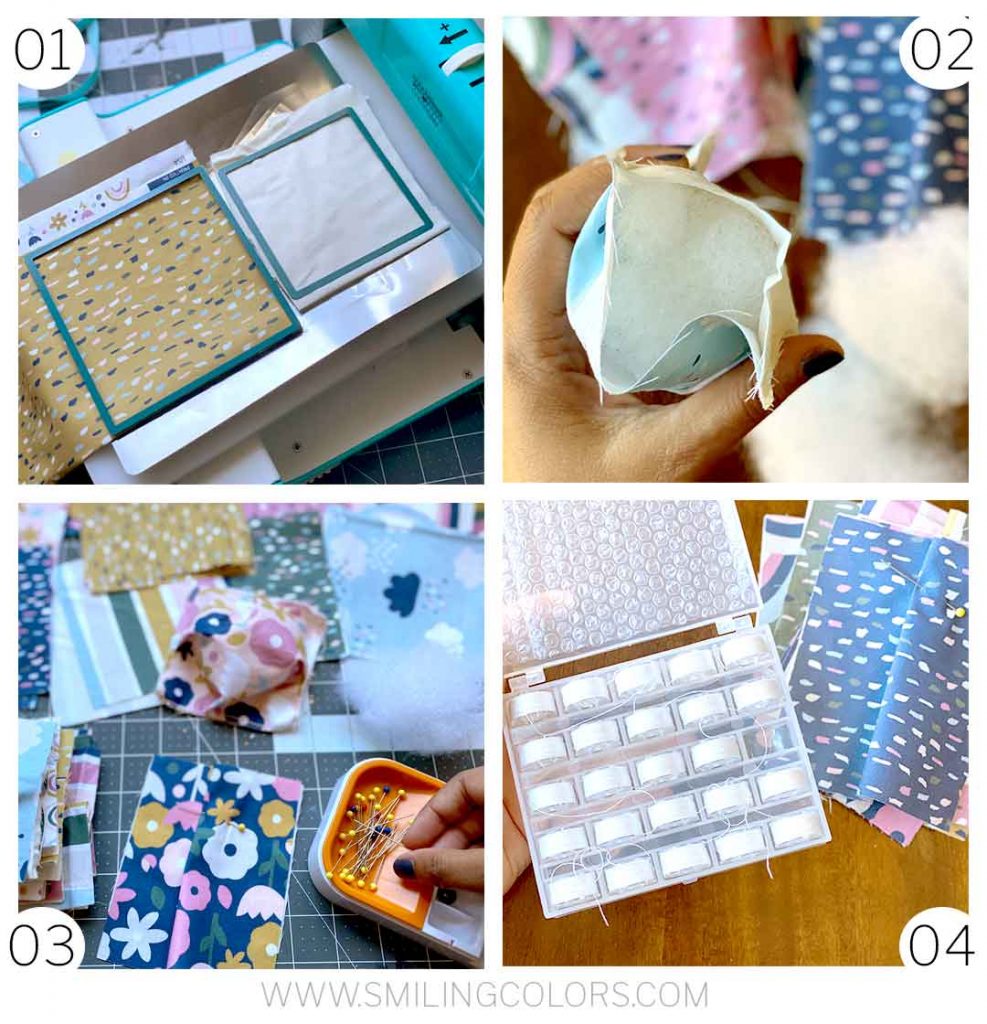
To cut the pieces of my Puff Quilt, I used the Crossover 2 Die Cut Machine. It easily die cuts layers of fabric in one pass. You can use a rotary blade and square guide instead like I did in this Keepsake Baby Clothes Quilt
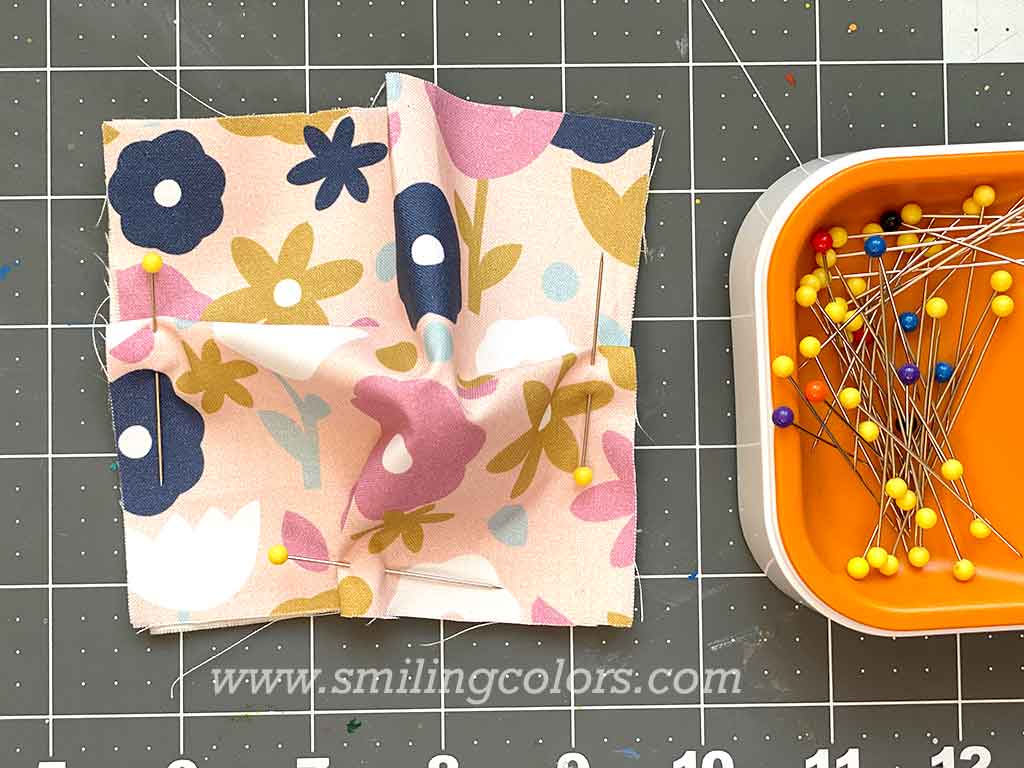
Step 2: Pin the puff blocks
Line up the 5 inch square on top of the 4-inch square, right side up. Create a pleat in the center by folding the excess fabric pin into place. Repeat this with a stack of squares. The first few squares you will definitely need to pin!
Step 3: Sewing the Puffs and filling them
I used a scant 1/4 inch seam and sewed 3 edges of the block, right side of fabric facing up! Then we stuff the block with polyfil and sew shut!
Many Puff Quilt patterns will ask you to sew the puff squares with wrong side facing each other, and then turn it inside out for a neat clean edge. I simply omitted the inside-out step to make it quicker. The end result will still be neat and tidy because we will be sewing over the messy seam while joining in step 4!

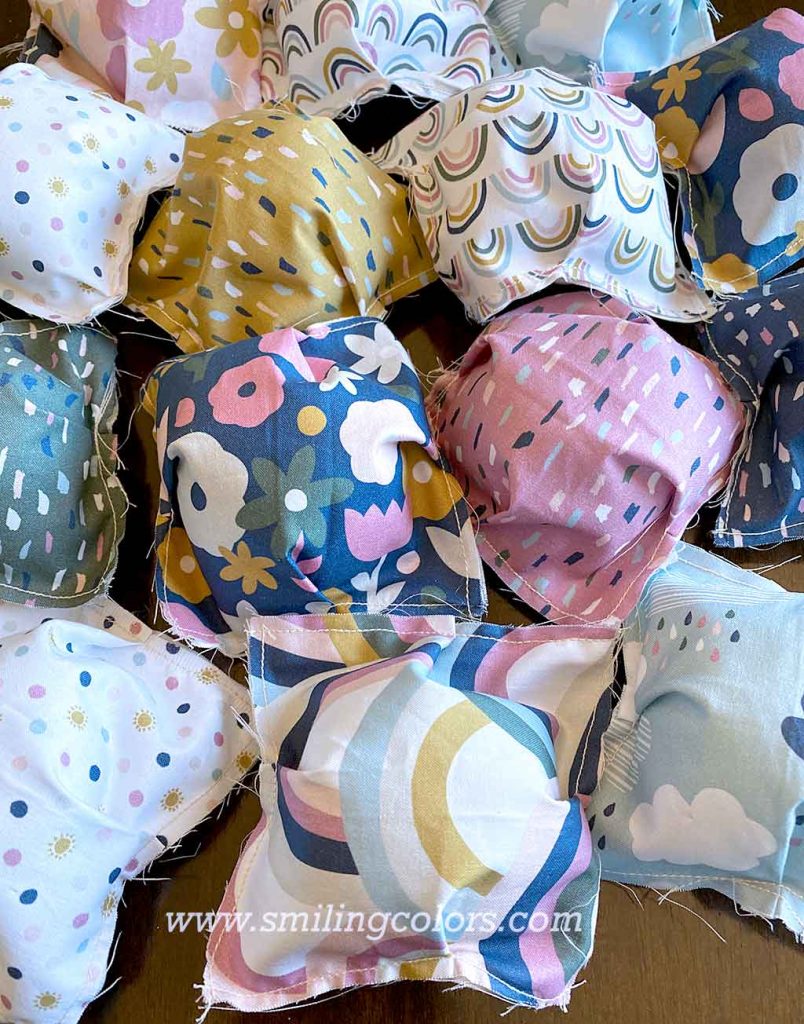
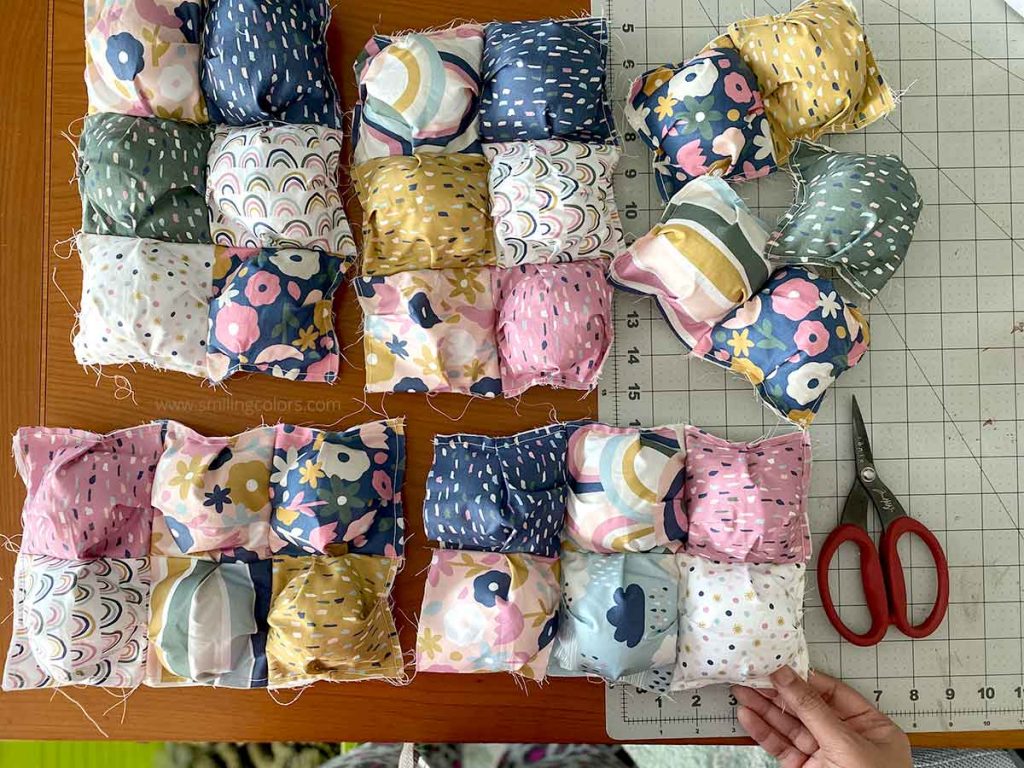
Step 4: Joining the Puffs
Place two puffs, right side facing together, and sew with a generous 1/2 inch seam. Your seam should cover the previous messy seam completely! Join 4 to 6 Puffs to make blocks:
When I started figuring out how to make a puff quilt, I sewed all 4 edges of each individual puff shut.
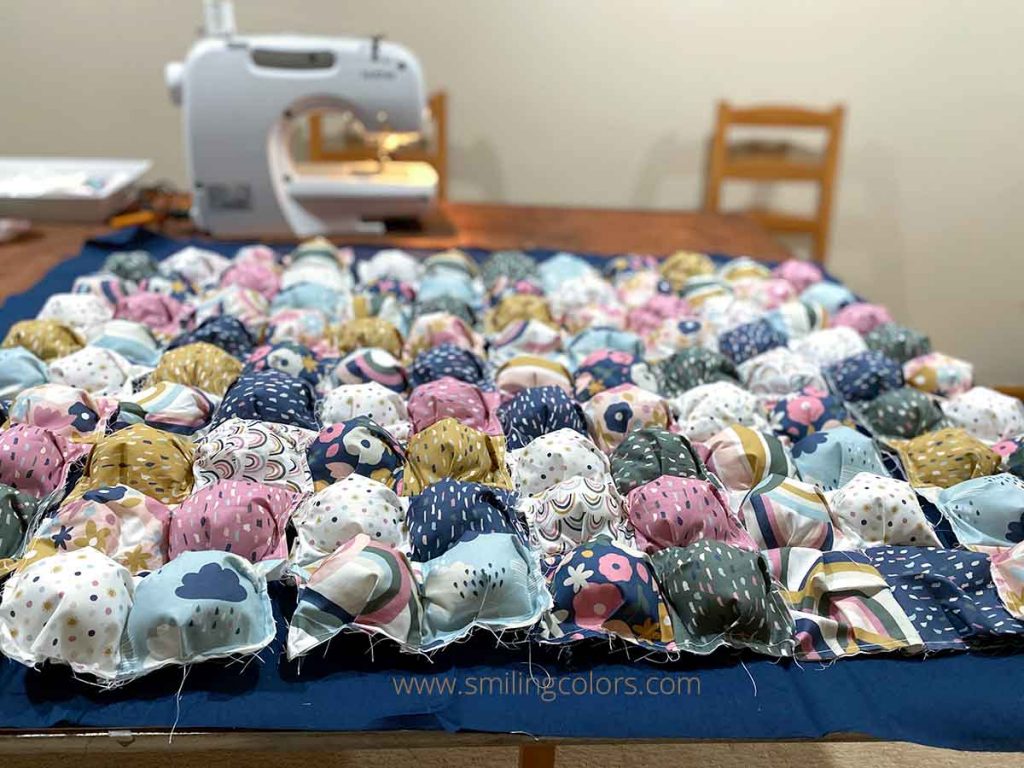
Later I figured out how to sew the puffs at the sewing machine without pinning the fabric and that was a game-changer! I was able to sew the puffs quicker and on the go. Not only that I figured out how to join two partially sewn puffs together and then fill them with the polyfil. This was easier to sew than joining the bulky puffs. Watch my video to understand the technique.
Keep in mind that your seam allowance cannot be 1/4 inch, it has to be wider to cover the initial stitch of making the puff. Factor in at least 1/2 inch seam allowance all around.
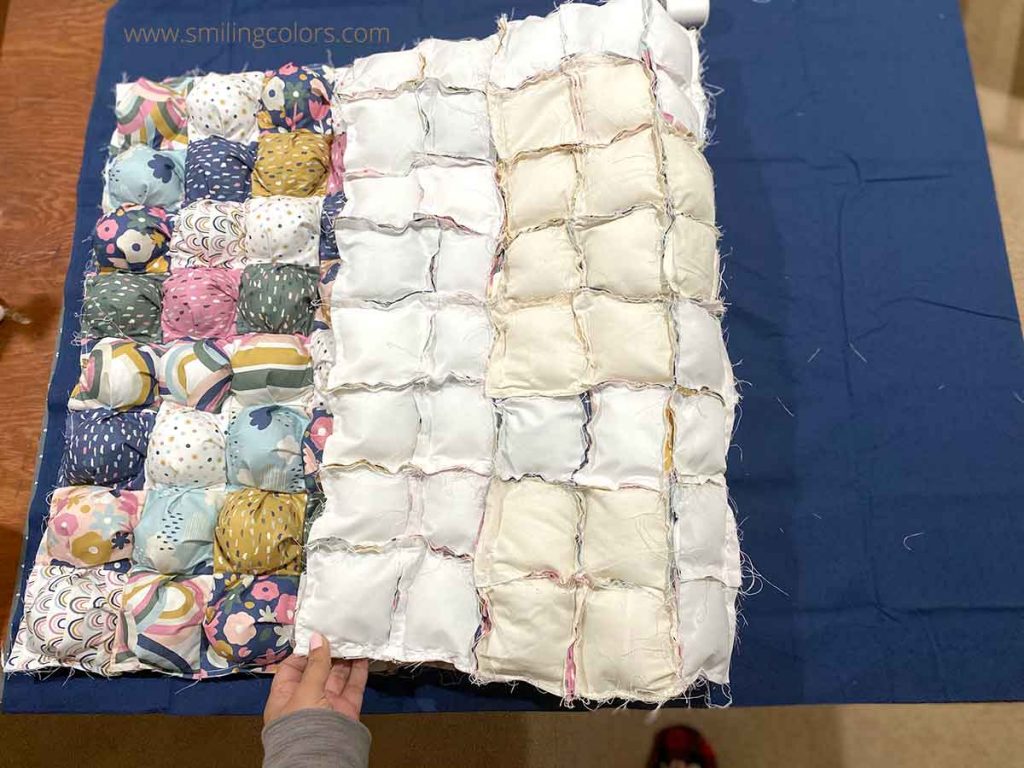
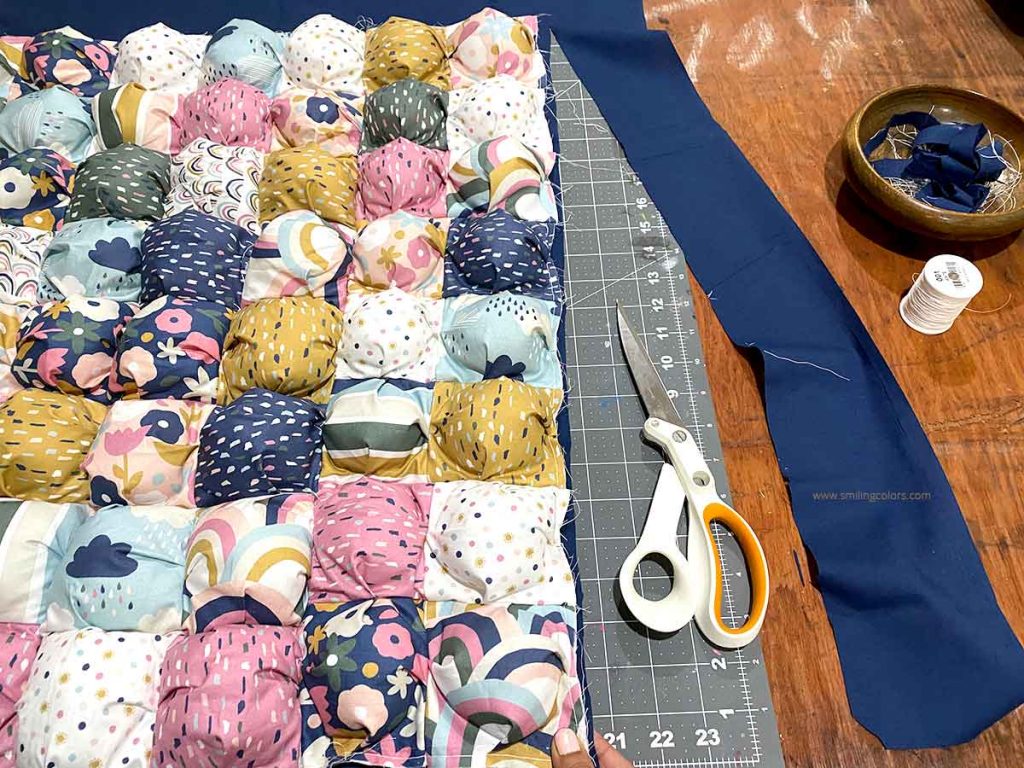
Step 5: Adding the backing + binding
I chose a solid dark blue fabric for the back of the quilt and cut it to be larger than the finished quilt size. To attach the puffs to my backing, I simply tied it between every 3 puffs. What that means is that I sewed a tiny knot every 3 puffs to attach the puff front to the backing. Trim off the excess backing fabric and then bind the quilt. For more instructions read my previous post: How to finish a Quilt in 4 simple steps
Does a puff quilt need batting? No extra layers of batting are required here.
Now that I have learned how to make a puff quilt, I am itching to make a another one in rainbow colors!
Tips on how to make a puff quilt:
Beginner? Try using a larger 7 or 8 inch square instead of the 5 inches I used.
- It is very important to not overfill your puffs!! Add just a little bit of filling. Overstuffed puffs are difficult to pass through the sewing machine.
- I know, it sounds silly, but bobbins feel like a chore to me and I buy this little organizer with prefilled bobbins!
- This is one of the most forgiving quilts to make. Although the finish looks complicated, because of the “puffiness” little stitching imperfections won’t be very visible.
- Try your best to fill each square with the same amount of filling each time for a beautiful finish.
Learning how to make a puff quilt is a great beginner project. The puffs create the most unique texture and I simply love how cute the final quilt turned out! It is one of the most unique creative projects I’ve ever tried my hand at. A Puff Quilt is perfect for those newborn photo shoots!
I hope you enjoyed learning how to make a puff quilt with me today I can’t wait to see your variations of this project! Happy Crafting!
Thank you for stopping by today friend. Follow me on social media to see my latest posts!
Tag @smithakatti #smithakatti on social media!
Love your quilt idea! I saw a similar quilt that was crocheted. I am curious about the wear and tear of the puff quilt. What happens when you wash it? How much stuffing do you use? Does it compress in time?
I didn’t really measure the amount of stuffing. The quilt has not compressed with time, but I have not washed it yet either. Yes, I have been seeing similar crocheted quilts, which would be a fun project too!