Happy Holidays friends! Today I’m popping in quickly today with a Beautiful 3D Flower Card Idea tutorial. You can easily make a bunch of cards with this idea!
Using a Die cutting machine is so addictive because it is SO easy! I love how this card turned out and how pretty and shimmery it looks.

This is not a sponsored post, but I have received products from Crafter’s Edge. Affiliate links have been used below at no extra cost to you. If you purchase using these links, I might receive a small commission. Read more in my disclosure here.
flower card idea Step by Step
Supplies used:
Flower card idea Step by Step Tutorial
Total Time: 15 minutes
I used 140lb paper, and this is super thick and yet can be die cut. 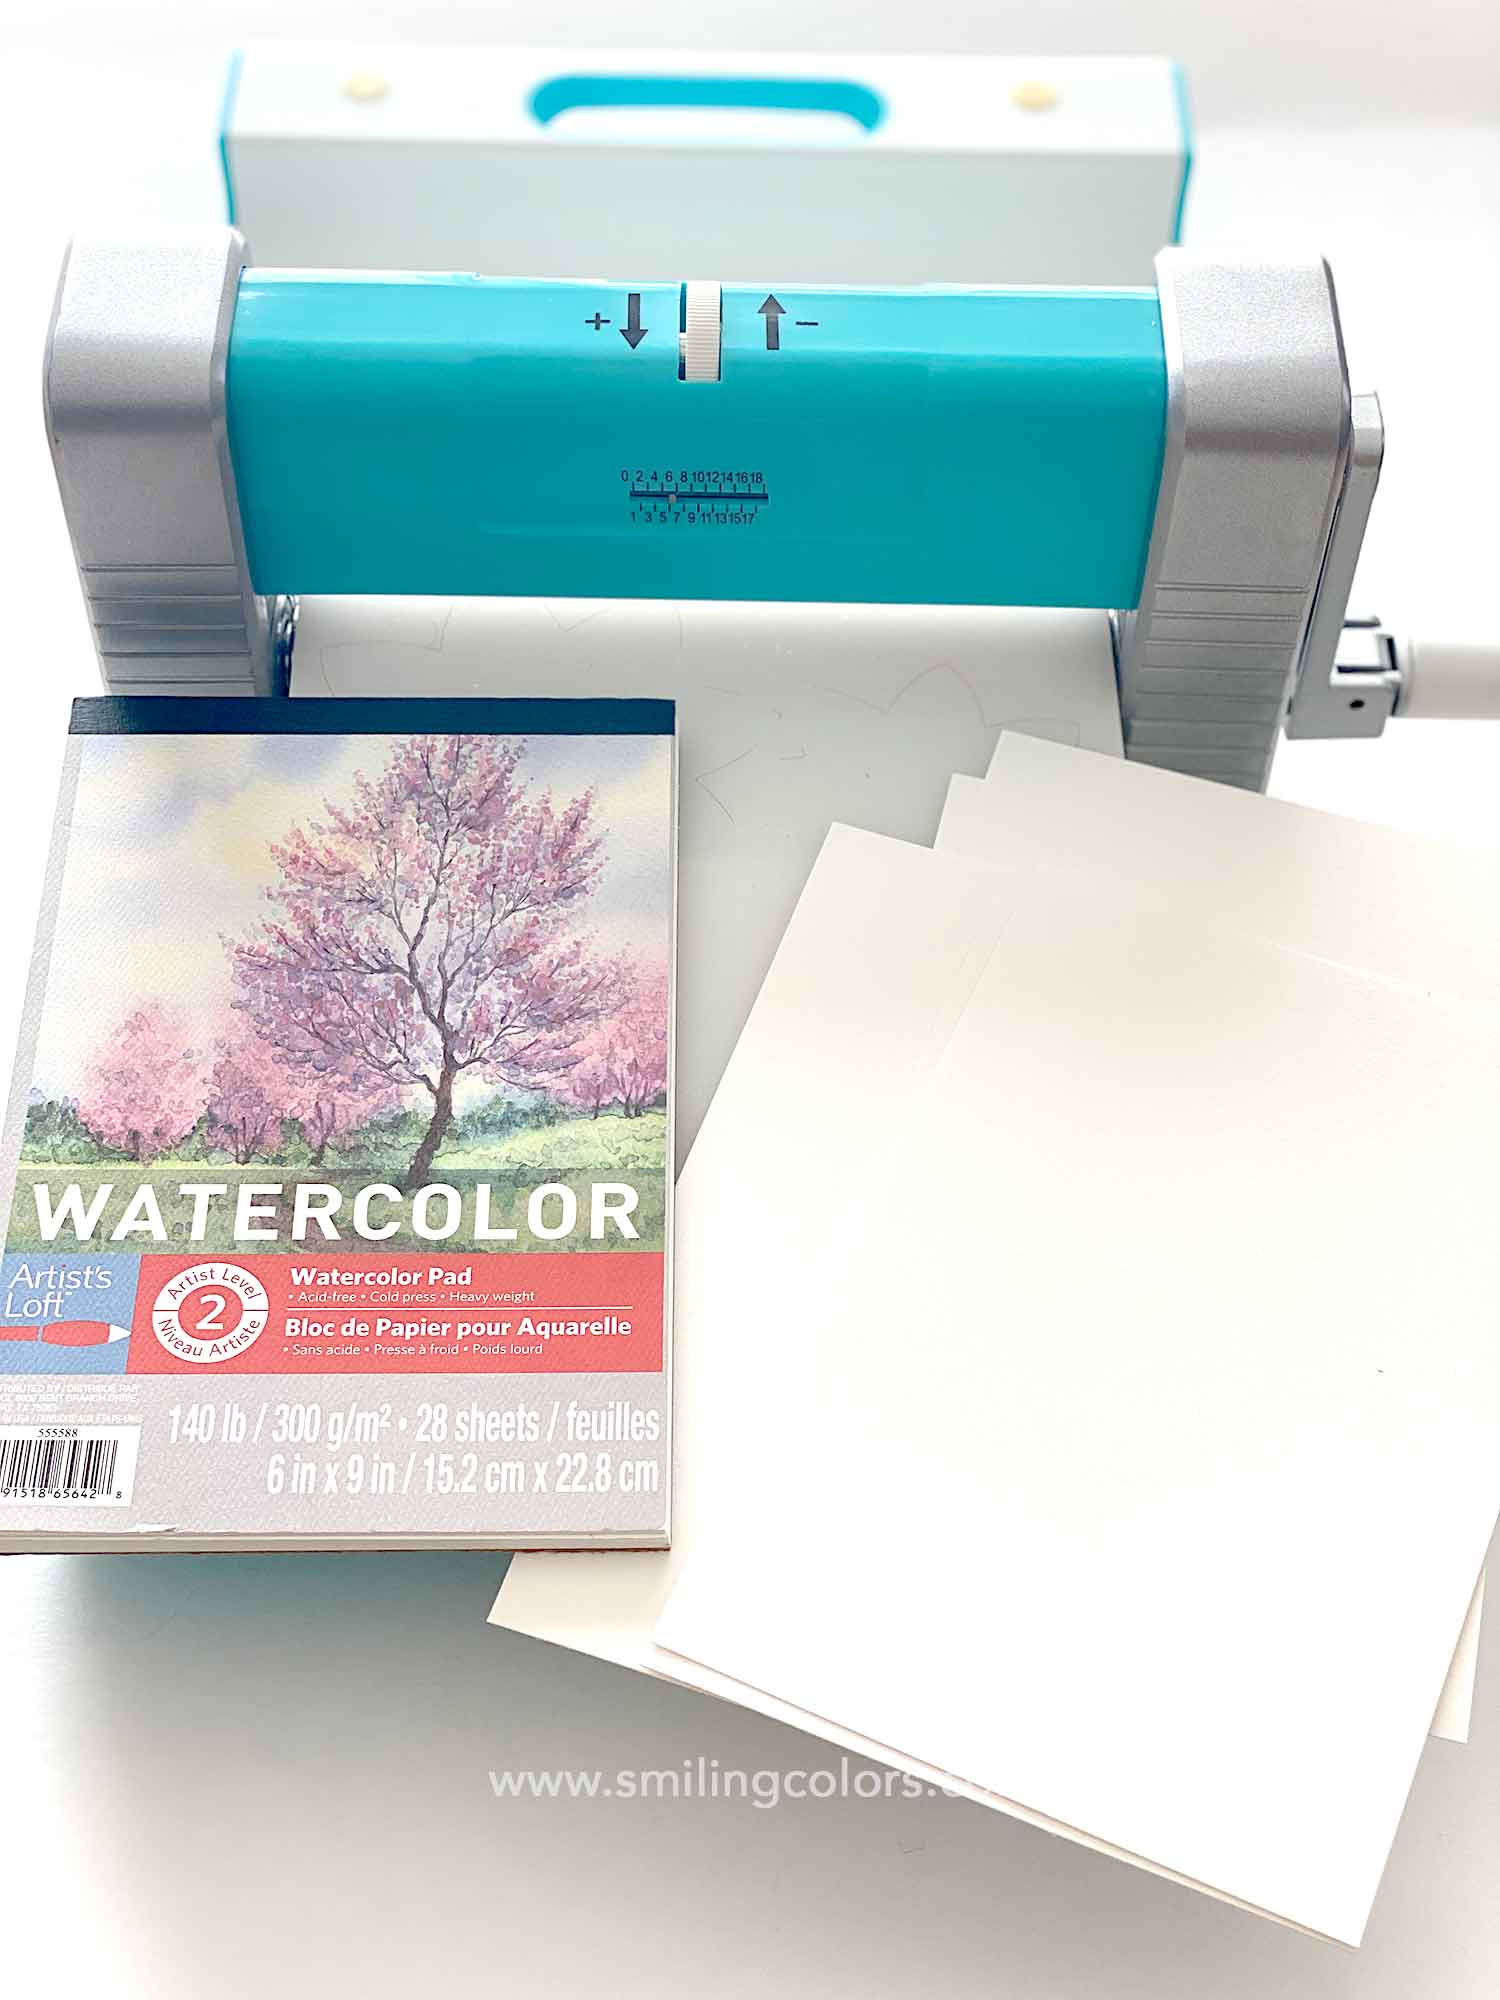
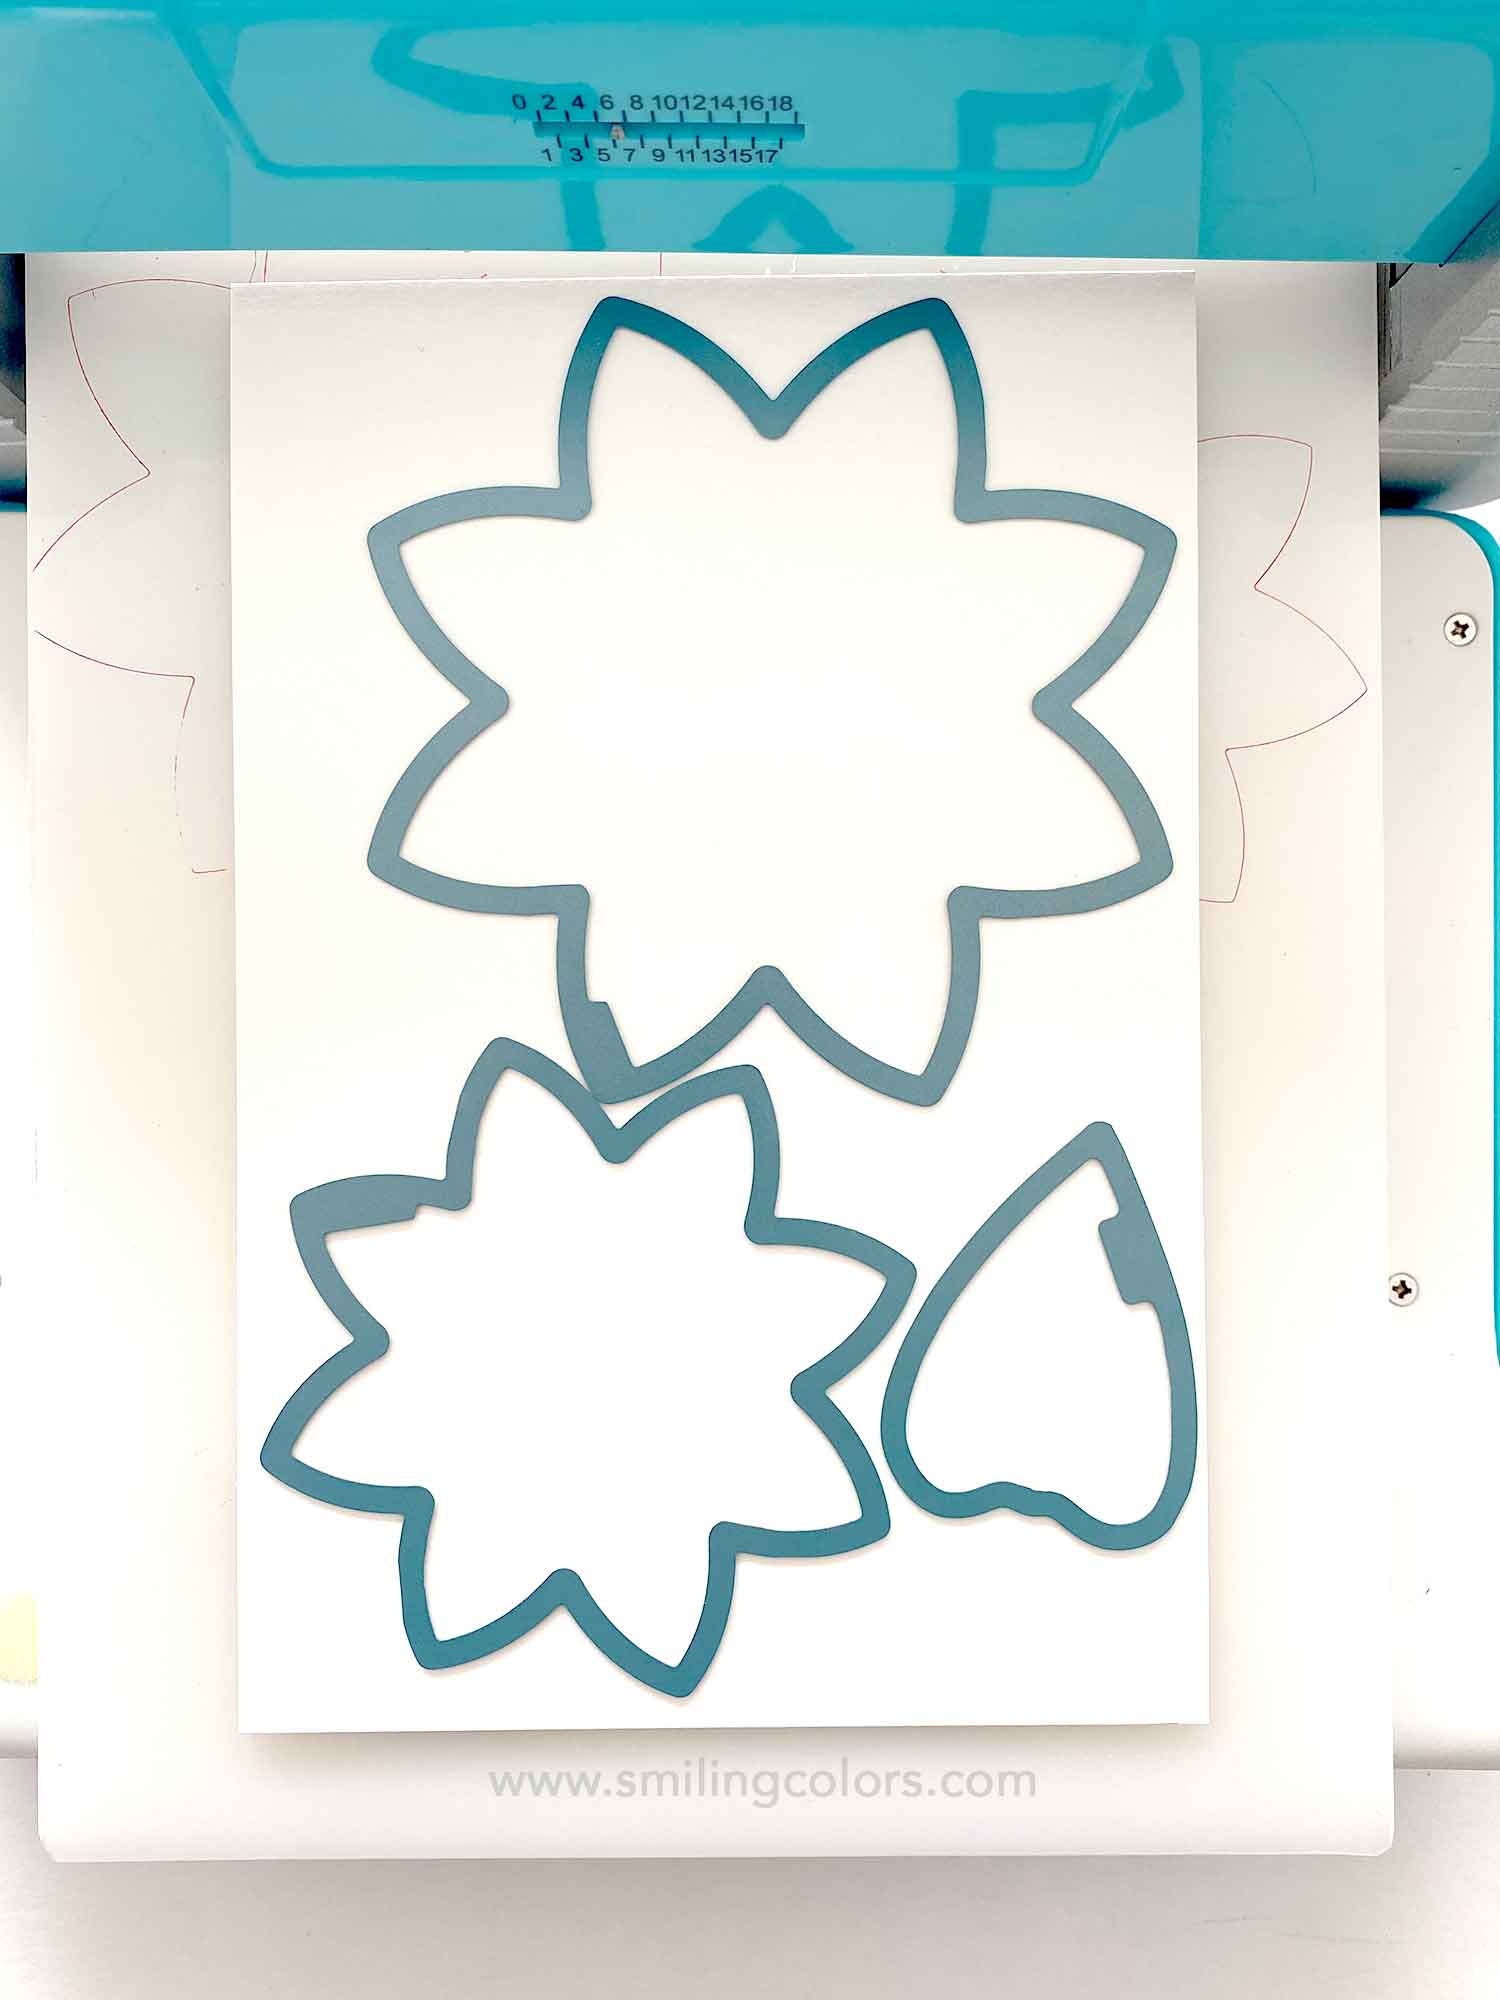
The Crossover 2 comes with a special metal shim plate that you include in your die sandwich. I find the tension of 6 to 8 works perfect for watercolor paper. After that, one run through the machine and you’ll have beautiful flowers!
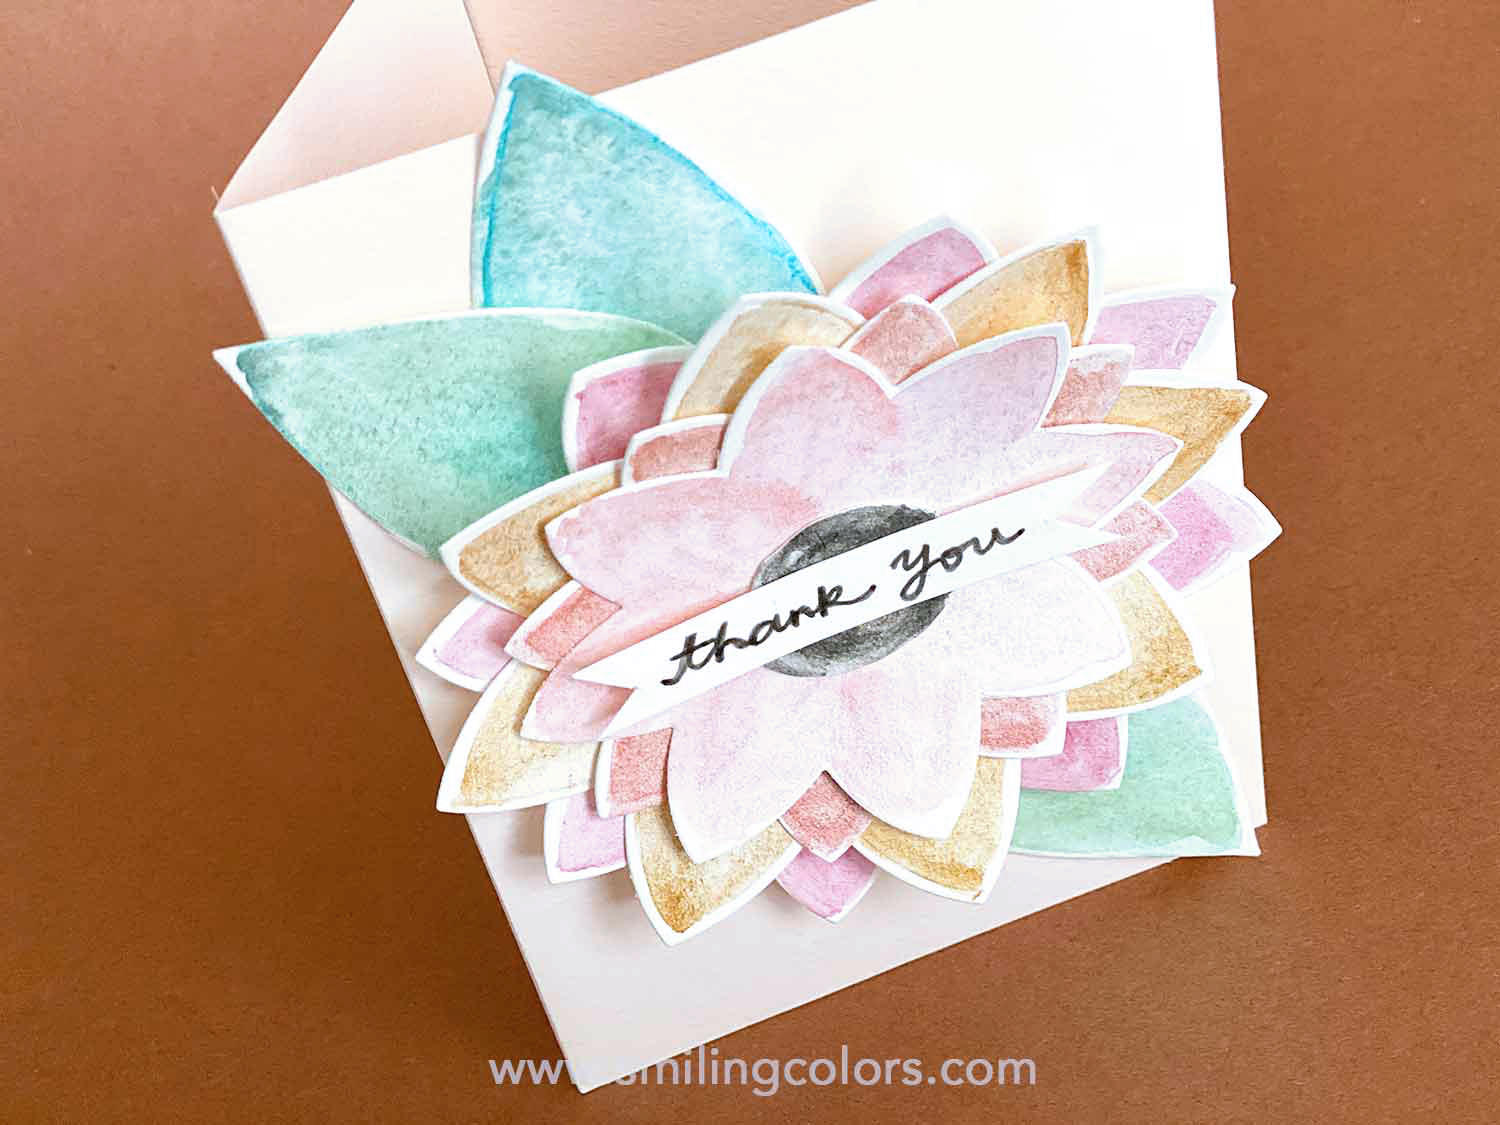
Once you have your flowers, you can choose to paint them anyway! I used these shimmery paints to get soft shiny pastel colors.
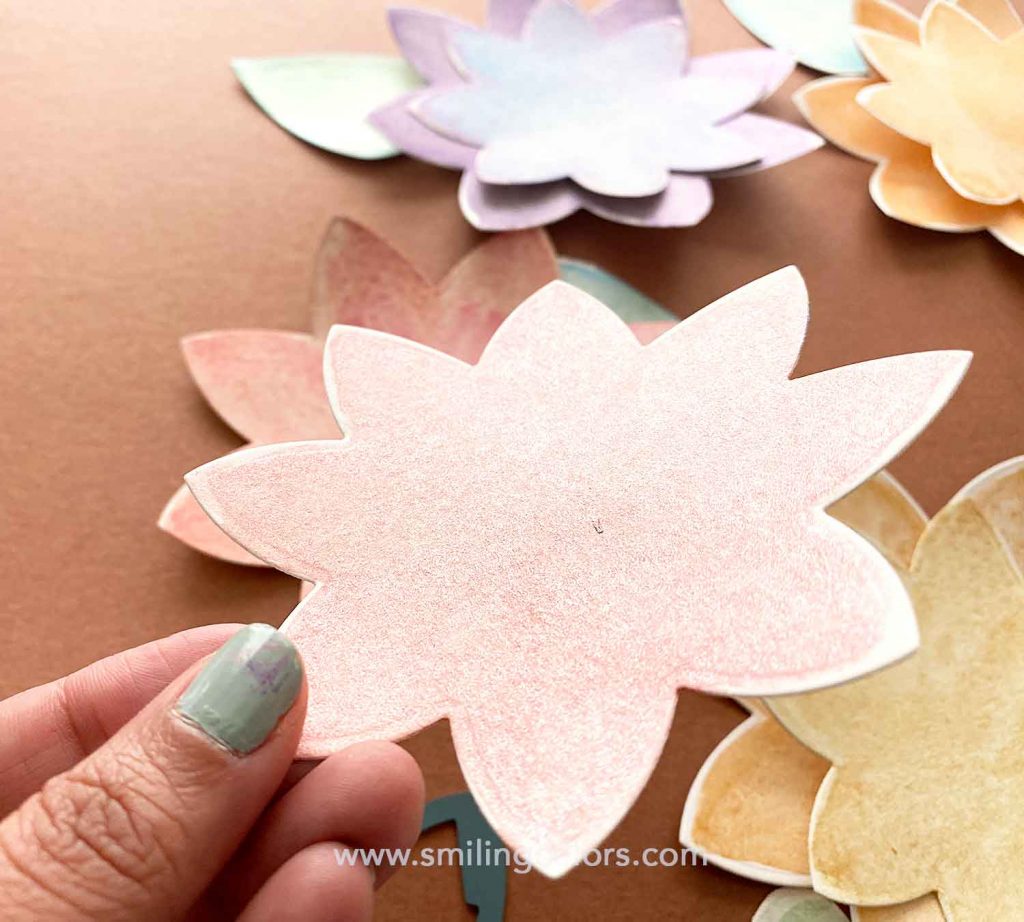
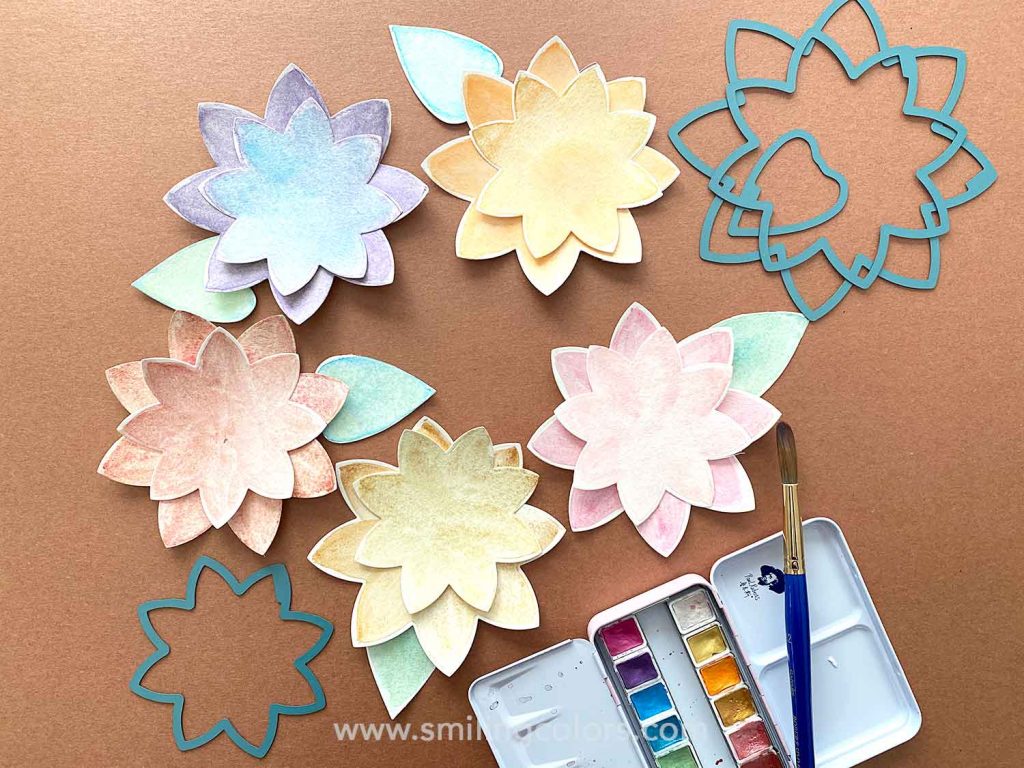
To assemble the floral cards- I used two medium and two small size floral die cuts from this set. Layer and adhere them all using a really strong tape adhesive like this one and press down firmly. Add a sentiment and done 🙂
Check out this post for more DIY Thank you Card ideas!
Holiday flower card idea
For this Holiday version, I used Dual Brush Pens in colors 845, 847, and 098. I love how easy these are to put together! I love how the Flower Card Idea turned out!

Flower Die Cut Card Video
Watch the Video: https://www.instagram.com/reel/CI6bAMJnPPr/
I enjoyed bringing this Flower Card Idea to life and especially love how the red holiday version turned out!

Inspiring you with simple doable Art and Craft ideas and tutorials that will encourage you to use your supplies, get messy and find your creativity.


I love the flowers. I’ll try this soon!