Flower Lettering or Floral Lettering is a way of drawing letters that incorporates flowers into the alphabet You fill in each letter with tiny tiny flower doodles and watch your lettering come to life!
I love sharing easy hand lettering ideas here on my blog, and today’s technique is a Fat Filler Style of lettering decorated with Flowers. It is a simple style that I love using on cards as monograms. All you need is a pen of your choice to start lettering!
ALSO READ: 30+ FREE Lettering Worksheets
How To Create Floral Lettering
SHORT VIDEO: Floral Lettering Step by Step
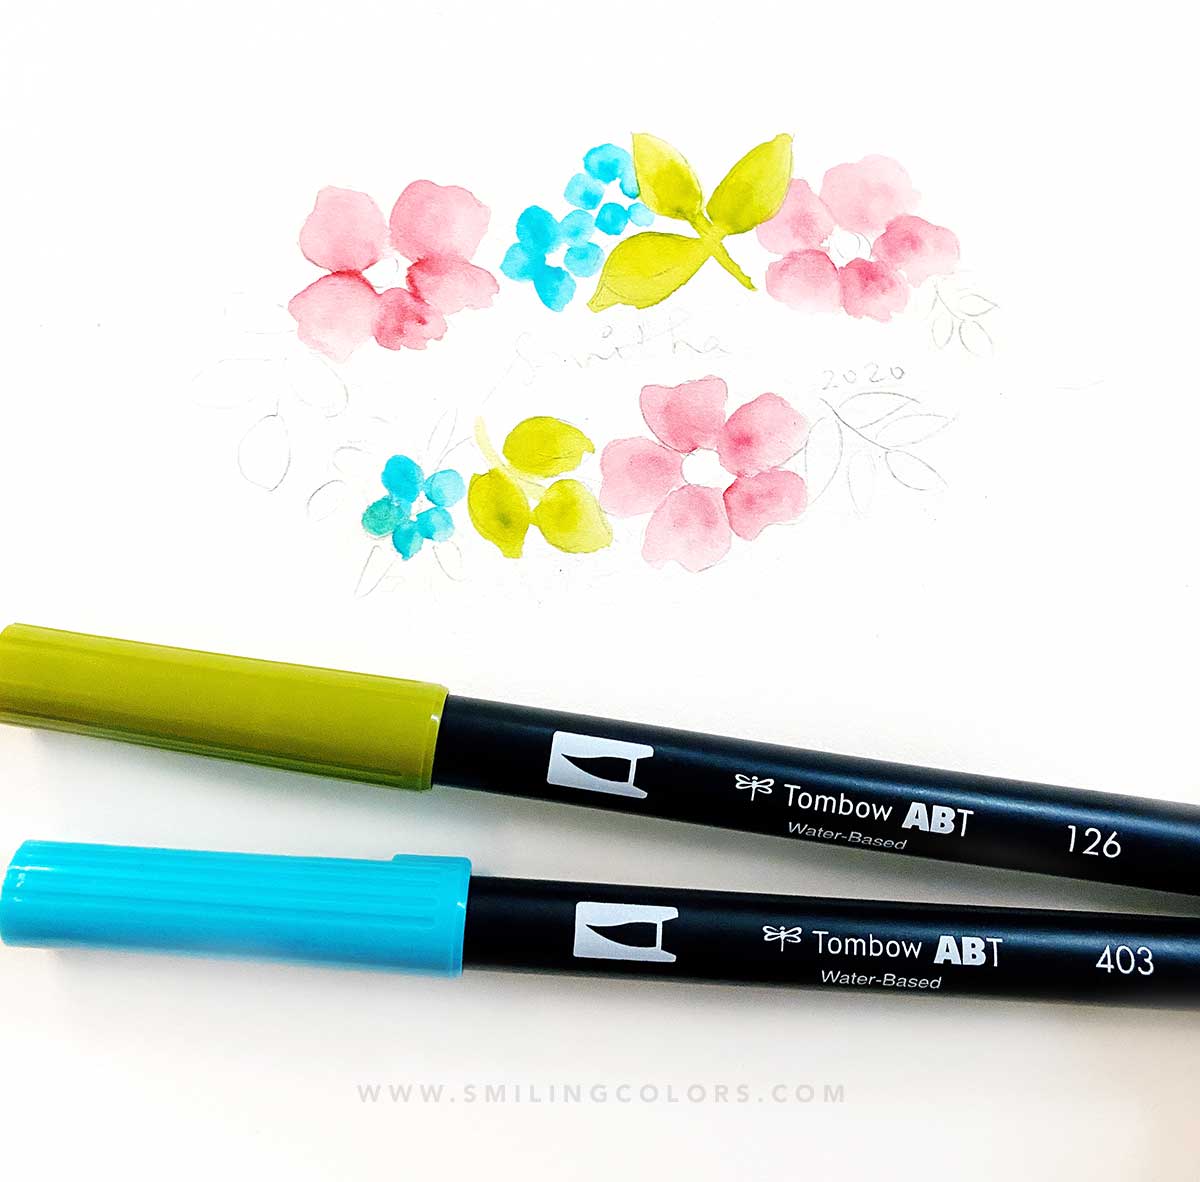
- 🌸 Start with a pencil and lightly draw your alphabet shape. I used this geometric ruler to ensure all of my alphabets were of the same height.
- 🌸 With your pencil add a small flower doodles into the thick area of each letter
- 🌸 Lightly erase your pencil guidelines until they are just visible to the eye.
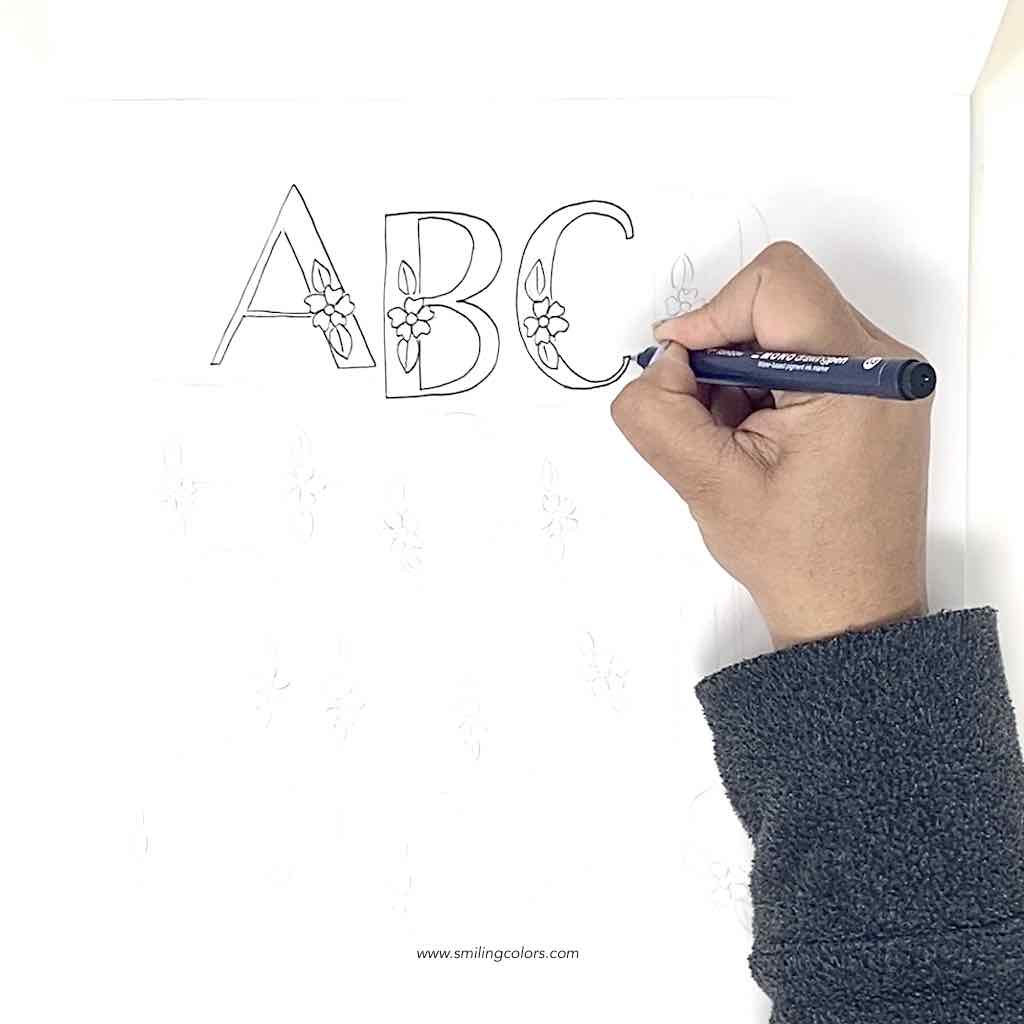
- 🌸 Switch to a black pen and first trace over the flower doodle. Then draw the rest of your alphabet around the flower.
Using a pencil allows us to easily see where the flower overhangs over the alphabet and we can trace around the flower to create beautiful Alphabets!

Then using your pen carefully draw over the flower first, and then draw the alphabet around it. Since we have the pencil guidelines, we can easily decide where the flower overlaps the alphabet.

I love how beautiful these Flower Alphabets turn out!
YOUTUBE VIDEO: Flower Lettering Video A to Z
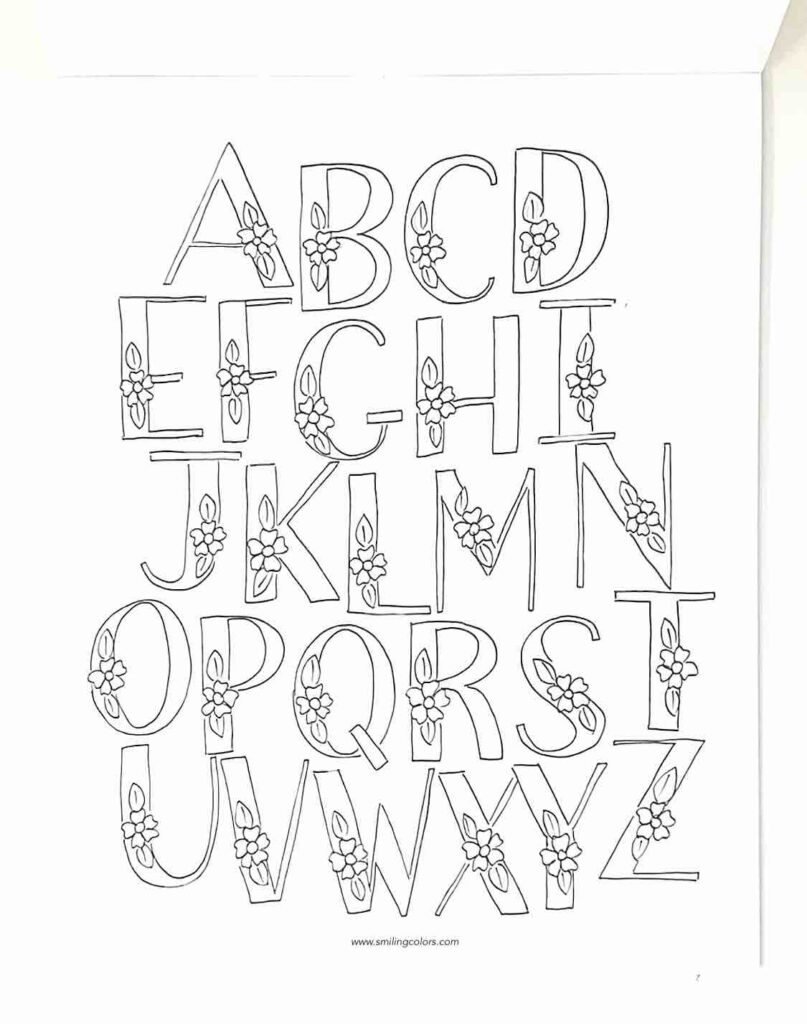
Flower Lettering Sheet:
Download Here: Print and Trace Flower Lettering Sheet

Flower Lettering BLOOM

Flower Lettering Step by Step:
Start with a pencil outline of the letters you need. I am lettering the word “BLOOM” here and drew the outline of the the letters using a light 4H pencil first onto the paper.
Once you have your letter size and placement figured out the rest is all fun! I find it super relaxing to sit down with a pen and doodle tiny flowers in – over and over again. You can fill your alphabets with tiny flowers of course, but I like to also add leaves. Draw what you enjoy and make it uniquely yours.
The different sizes of the the Drawing Pen make it easy to add details to your design. The 01 pen is great to fill in tiny spaces between your flowers, draw tiny circles or give a thin outline to any shape.


I chose to leave my Flower Lettering with simple black and white lines, but you can choose to color it in too!

FLOWER LETTERING YOUTUBE:
In my this video, I show you how to use a pen to Draw Letters with Tiny Flowers!
You can use these Flower Lettering for Monograms, or use them to write names- they look beautiful on handmade cards and sketchbook pages!

Hi I’m Smitha! I live in Minnesota with my husband and two daughters. You’ll always find me painting florals in my sketchbook. And I love the sheer joy of making something with just my hands! But my bigger love is capturing it all on camera Read more.
Thanks for stopping by today! If you learnt something from this tutorial, do share this post with a friend or on social media! Tag me @smithakatti #smithakatti I’d love to see what you create!
INSTAGRAM, TWITTER, BLOGLOVIN, FACEBOOK, PINTEREST, YOUTUBE