A Simple Book Making technique that you can easily use for a Handmade Book with a step-by-step video tutorial included. Supplies needed are just basic office items, no fancy gadgets required.
Book Making can seem daunting, but once you try it you will see that it can be as simple as you make it. On this blog, I have previously shared Staple Binding, Hot Glue Book Binding, How to Make a Zine and DIY Sketchbook Tutorial. Today let’s explore another handmade book idea that is a basic Book making with String Technique.
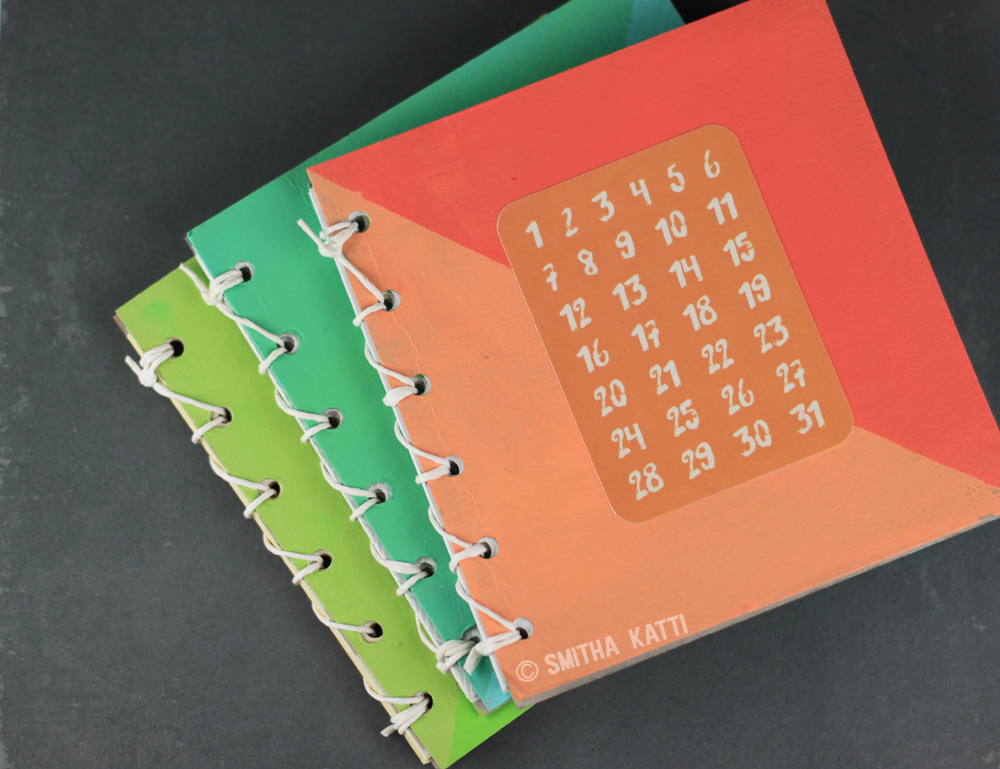
Today, I am sharing a favorite topic of mine- simple book making. I love making handmade books and these turned out super cute and are really very simple to make. My tutorial walks you through the steps.
Book Making with String Youtube:
See How to make a Handmade Book by clicking the video box below or To watch the video in HD on YouTube click the video box below and enjoy.
Simple Book Making Tutorial
Today, I have no written tutorial for you- just the video on how to make it. I hope you will watch and leave some feedback for me! This picture might make it look daunting, but this is really a simple book making with string technique that is easy to master!
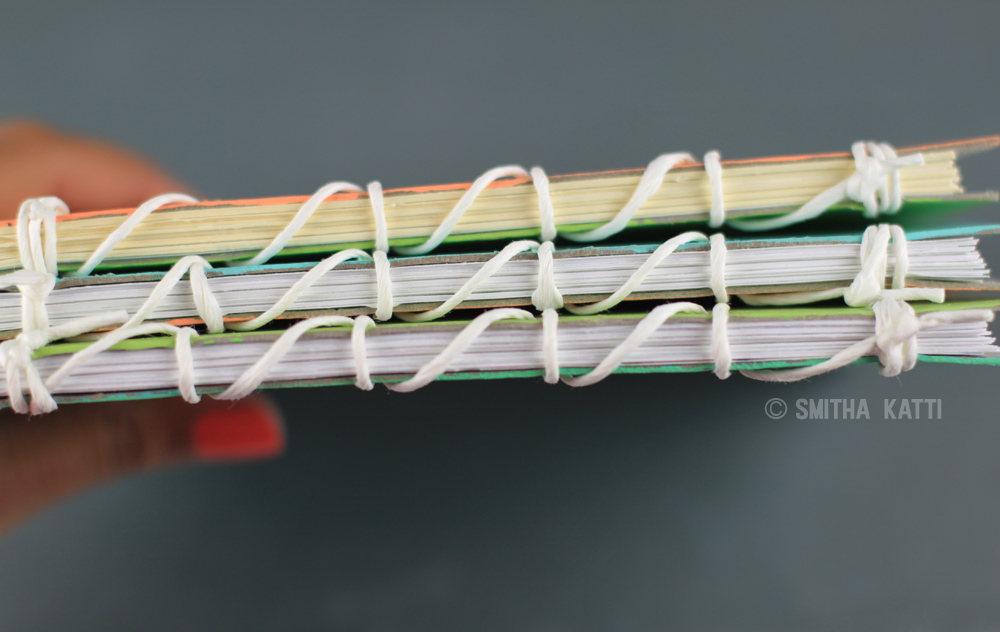
Handmade Book Supplies used:

- Deco Arts Americana’s Multi surface Satin acrylic paints – in colors Chartruese, Inch worm, Peach silk, Shrimp, Waterfront and Coastal Waters.
- A large flat paint brush
- Different scrapbooking papers, these are 6 by 6 inches in size (a fun way to use up your 6 inch paper pad stash!)
- 3 Project Life cards for the cover of the books. Or use any 3 by 4inch sized sticker or photo that you have on hand.
- A pair of scissors
- A hole punch
- Some twine– In the video I have used an Ikea Onska thread, which I cant find online anymore. I would recommend using a Leather Sewing Waxed Thread instead.
- A stack of white cardstock sheets (also trimmed to 6 by 6 inches)
- Decoupage glue
- Painters tape
- Chipboard or card board sheets for the book covers
All done!
And here is a look at the finished books! I love how the simple book making with string in white contrasts against the colors and truly I just love any hand bound book period. And I like making things in multiples- since I already have all the supplies out. I couldn’t just make one and so I made three books.
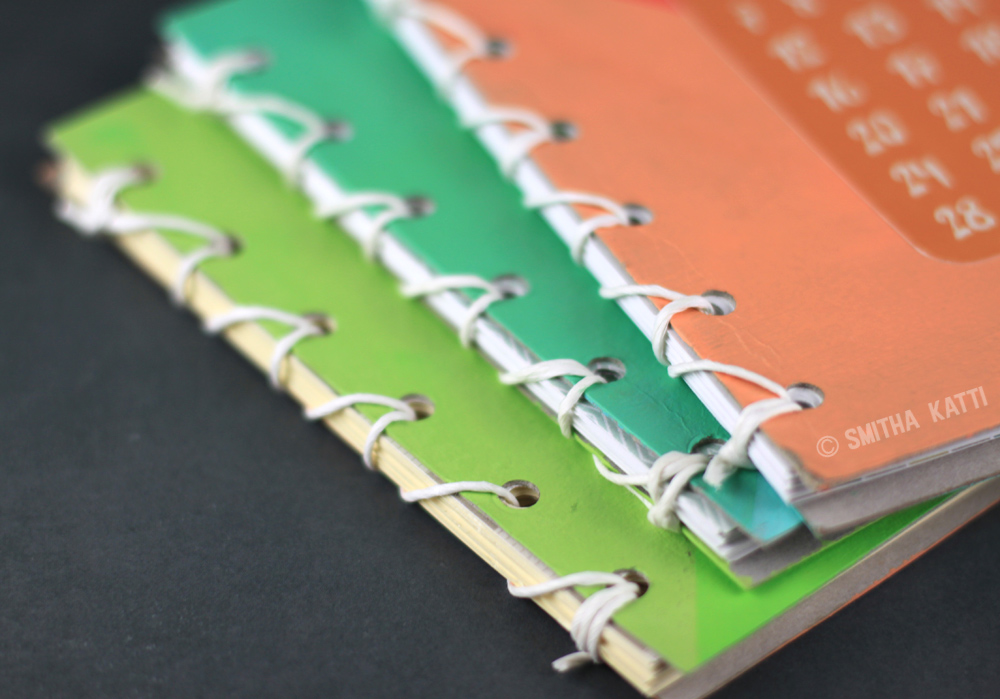
I simply love the look white against the colors! If you prefer you can also use a different colored string.
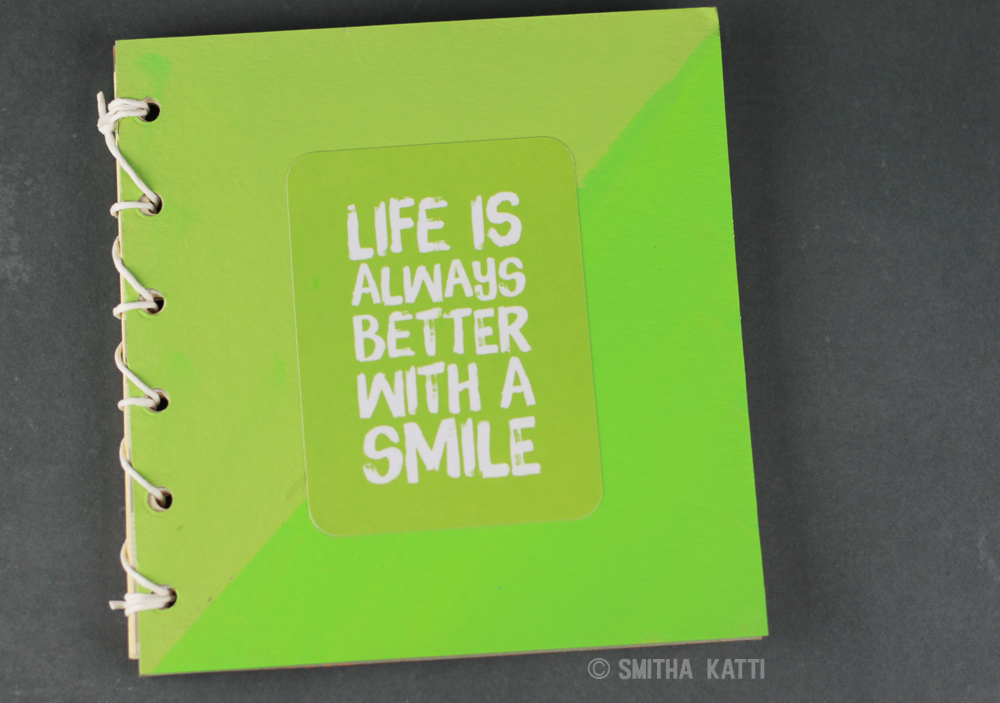

Measure out your holes, mark them once, check them twice to make sure they are all equidistant and perfect! The beauty of the handmade book will shine only when the holes are aligned neatly, and nothing is out of place.
Book Making with String is one the prettiest ways to make a book, the seam of the book looks so elegant, pretty and fancy even.
If you feel that this design I used here is a bit difficult, in my previous Handmade Journal post, I have further simplified the design yet the finished book looks stunning!

how to Tie a book with yarn
- Step 1: First start off by trimming your chipboard down to measure 6.5 by 6.5 inches. You will need 2 per book- one square for the front of the book and the other for the back.
- Step 2: Mark two dots along the edge of the chipboard, each dot is 1 inch from the edge closest to it. These will mark where we need to punch for the edging.
- Step 3: Using a hole punch, punch out the two holes where we marked. Repeat this on the other chipboard piece as well.
- Step 4: Choose papers for the inside of the book, and punch out holes in them as well. The inside papers should be 6 by 6 inches in size and I am using a mix of white cardstock and patterned papers today. You can use regular printer paper instead. Once you have everything punched, pull the yarn through the back chipboard, all of the papers. and then through the front chipboard.
- Step 5: Tie the yarn into a knot. And then tie another knot to create a strong double knot here. Repeat this for the other punched hole.
- Step 6: Using a sharp pair of scissors trim off the excess yarn.


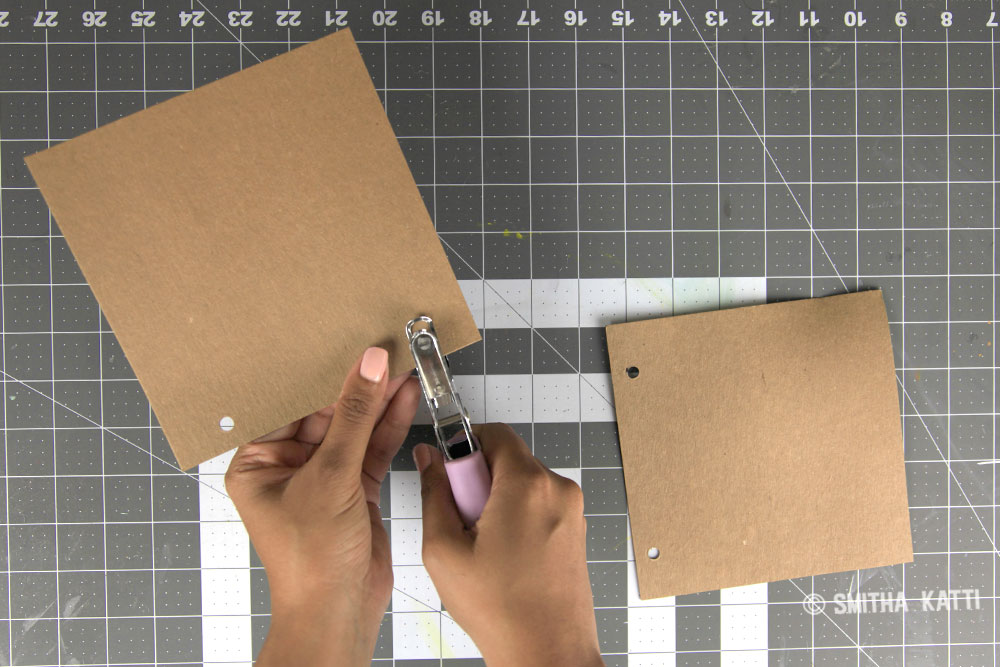
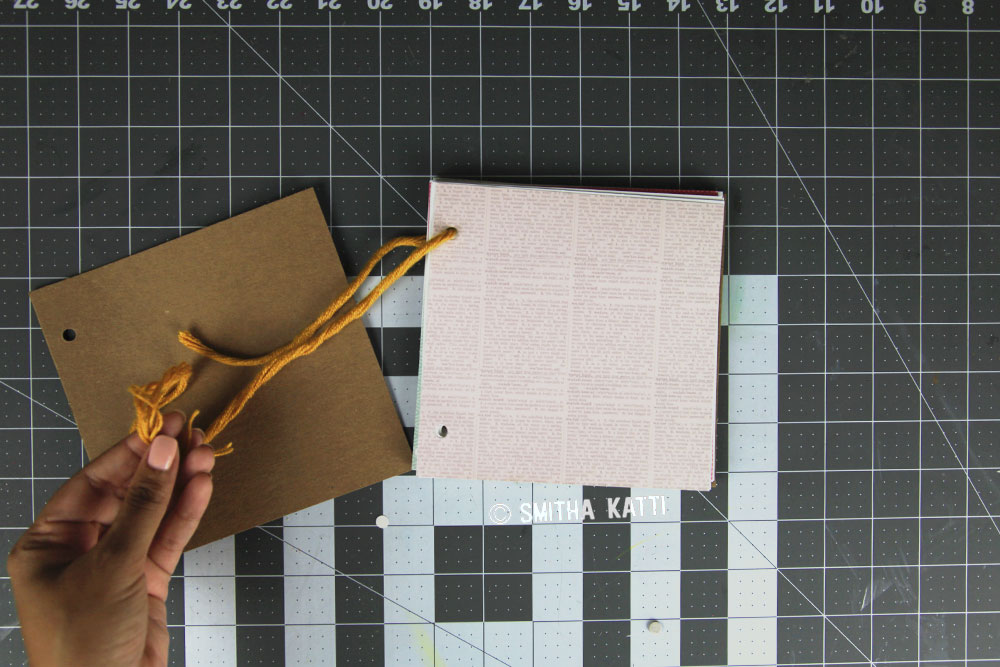
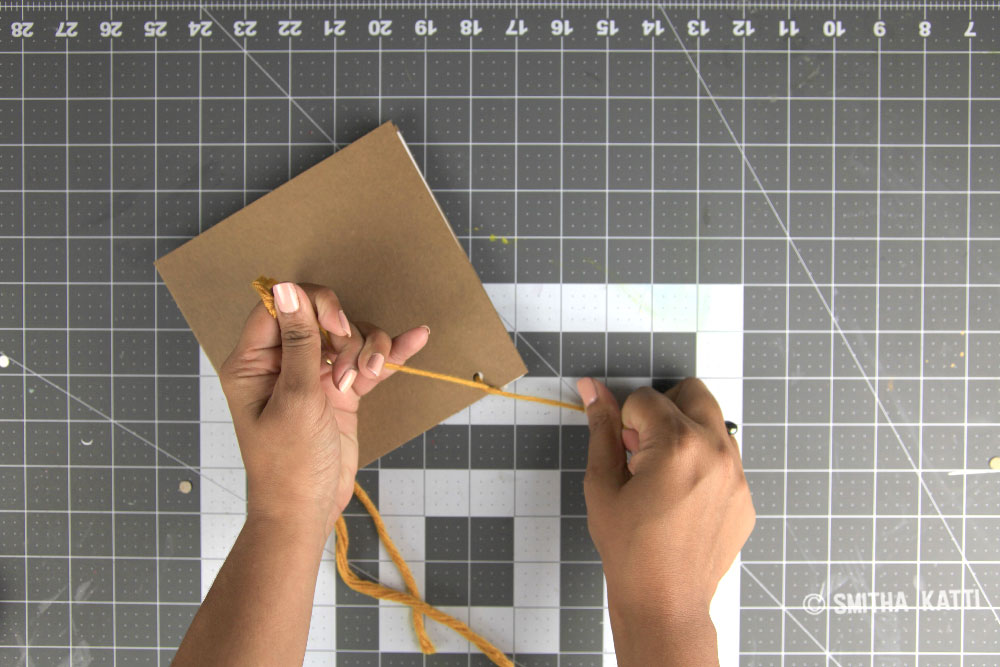

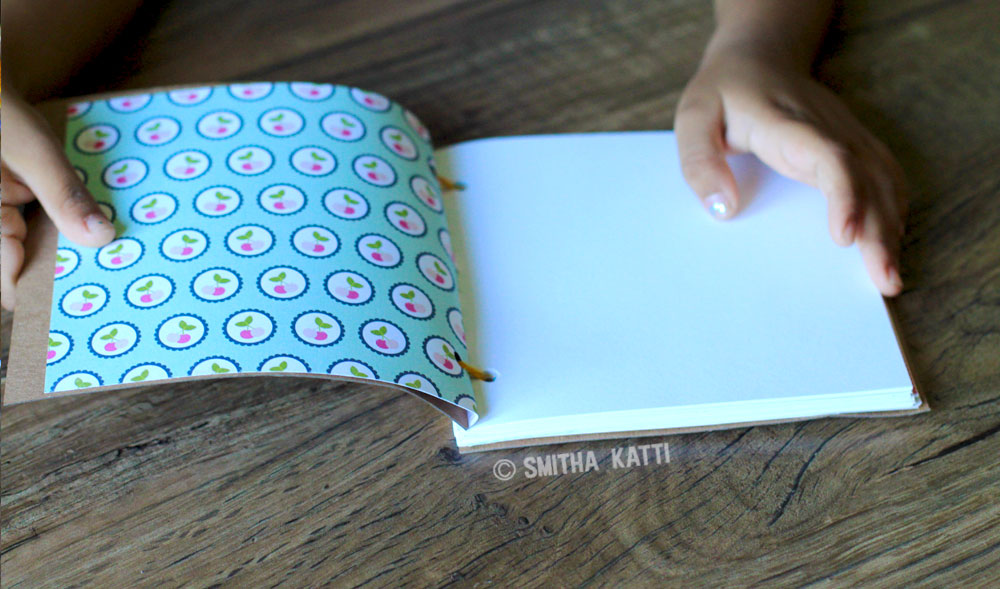
Now the book is ready and its the fun part! Decorate and personalize the book front in any which way you would like. Let your creativity shine here!


Hi I’m Smitha! I live in Minnesota with my husband and two daughters. You’ll always find me painting florals in my sketchbook. And I love the sheer joy of making something with just my hands! But my bigger love is capturing it all on camera Read more.
Thanks for stopping by today! If you learnt something from this tutorial, do share this post with a friend or on social media! Tag me @smithakatti #smithakatti I’d love to see what you create!


I enjoyed your book making video. I love simple book making techniques. Thanks for sharing:)
So glad you stopped by today!!!
Wow, these are pretty fabulous! 1. I love the colors. and 2. This would make the most perfect gift for art journalers!
I love those colors too! Thank you for stopping by!
Very nice video. I did leave a comment because I would be the klutz who does the lacing wrong.
I can see beautiful results with a multicolored ribbon or lace binding, too!
A beautiful book makes list making and journaling more of a pleasure.
Even a wishlist for more crafting supplies!
Laura, I did the lacing wrong once myself- I had to undo it and move forward. So glad you liked the books!
LOVE making mini books!! I love the binding technique you used!! Definitely going to try it!! TFS!
Glad you liked it!
A great way to get more organized in the new year!
Does it matter what kind of twine you use? I love this project. I haven’t even started thinking about what to make for the holidays. I love making something for my kids teachers, they might be getting these this year!
I would use a strong twine, or if it’s a thinner twine maybe double it up!
wonderful idea
These are fantastic! Now to gather my supplies!! Tfs
Pretty cool idea for the book!! I’m glad I found your blog. TFS!
Glad you liked it Priti!
Thanks for the detailed instructions for binding these! I love how you did them. The project can be as simple or as fancy as you want, but that binding is terrific!
Yes! You can make this as simple as as fancy as you want 🙂
BEAUTIFUL books, LOVE the covers and binding!!!
THANK YOU for sharing your CREATIVE INSPIRATION and video, it was very informative and I look forward to making some too 🙂
Glad you loved the books!
I am going to make a book for my kid..thanks for the awesome tutorial..☺
Aww, that lacing makes the books so special. I gotta see your video a couple of times to get it right!
Carmen L
I’ll do such lovely book, thank you for sharing!
Thanks for sharing! This is a great present idea!
I’m going to have to give this project a try.
such a seriously awesome gift idea! love how they came out as well 🙂 thanks for sharing this!
I love the binding! I’ve never seen that technique of binding homemade books before.
How many pieces of 6 x 6 paper did you put on the inside of these books? Would 10 pieces be enough? Thanks!!
I’ve put about 20 to 30. But you can use how many you have!