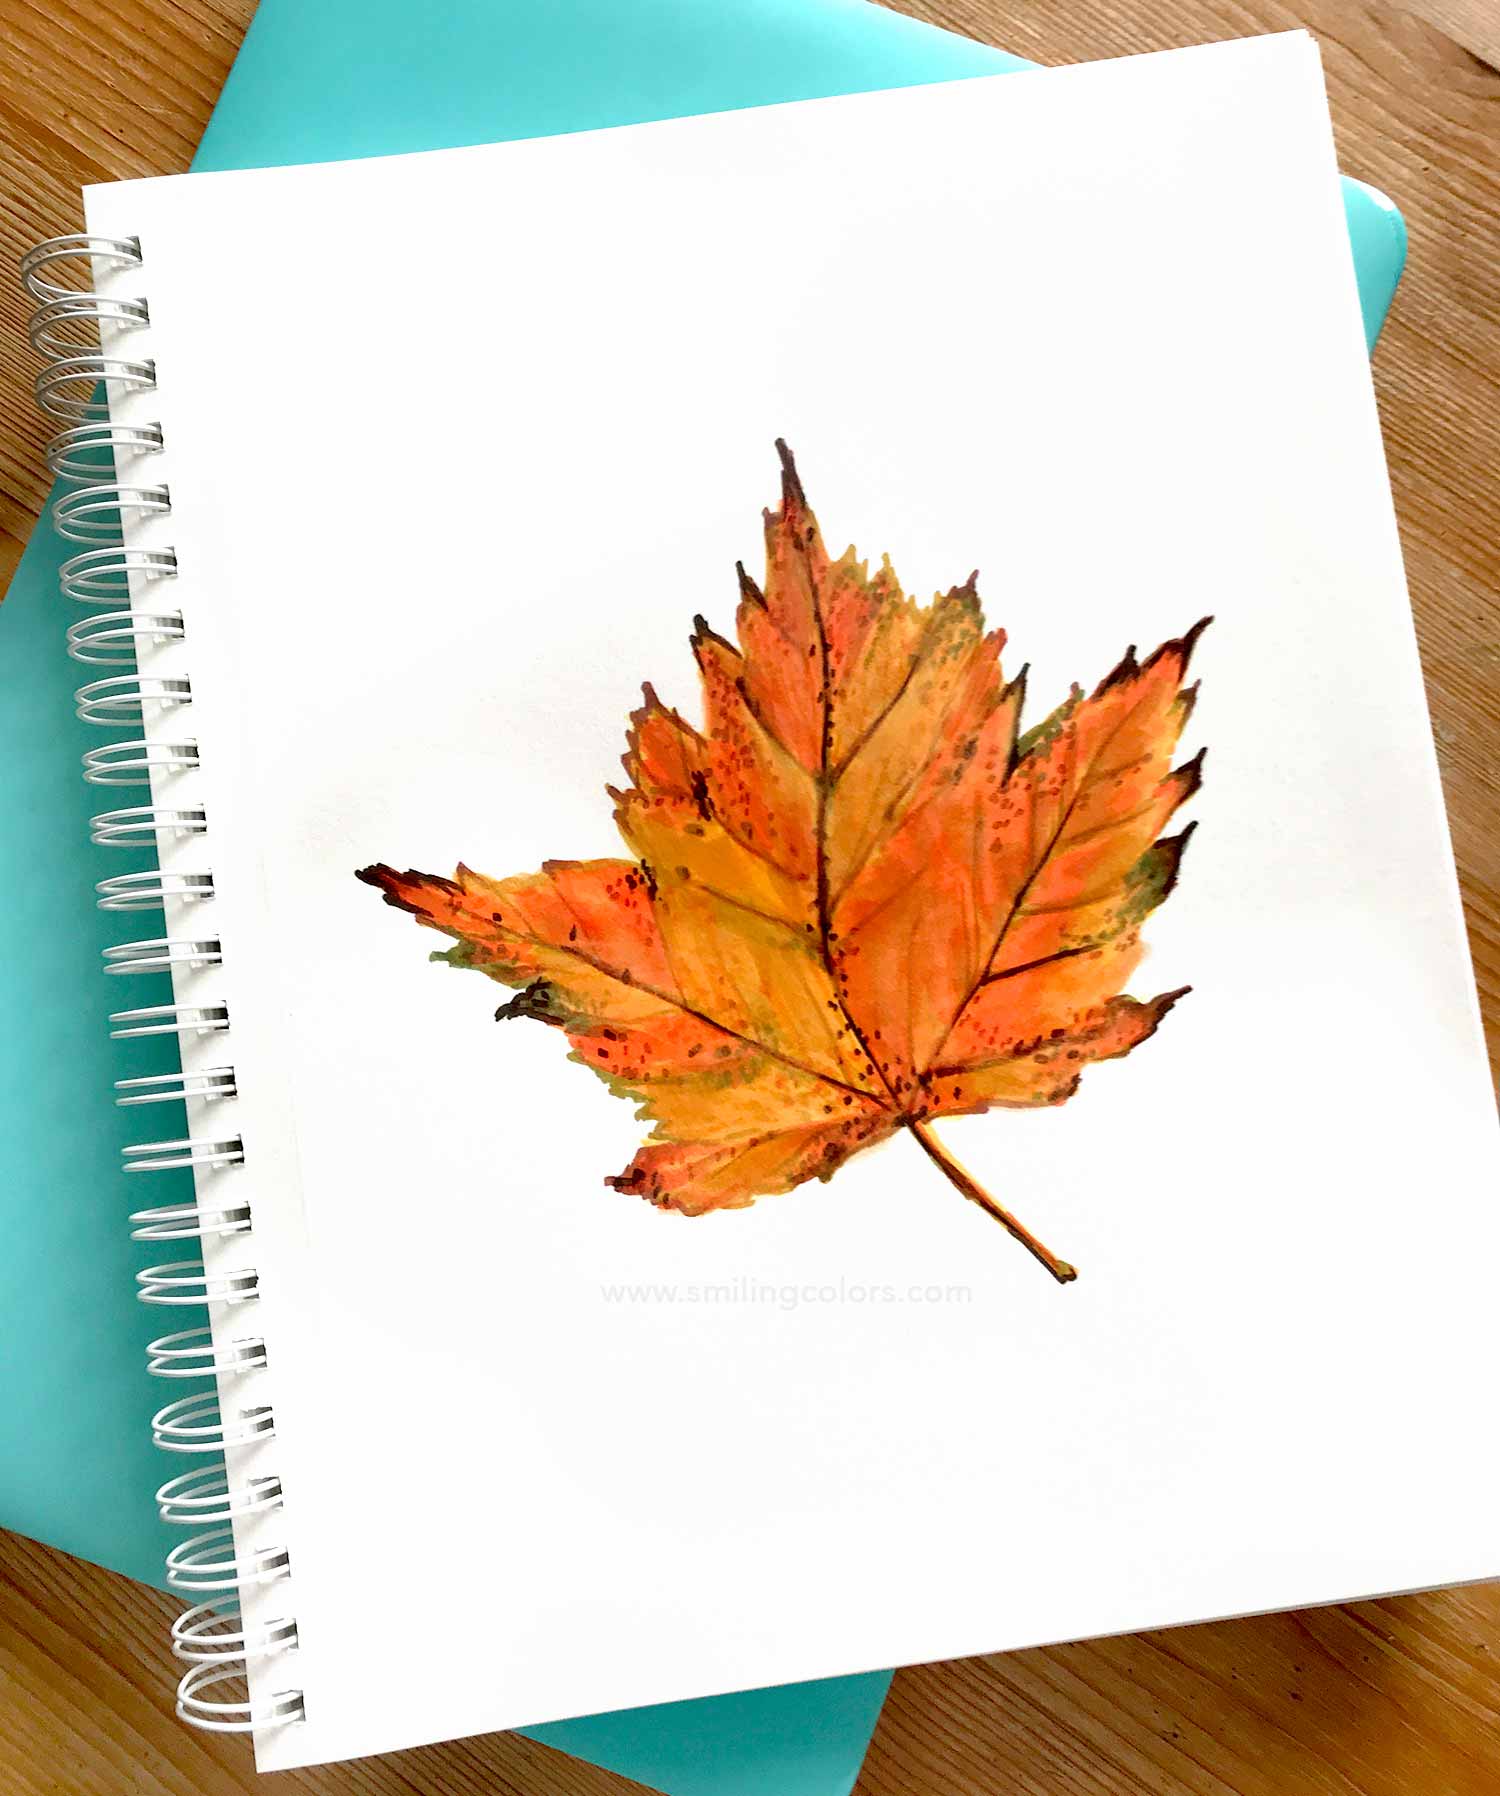
Fall is in the air. Today, I’ll show you How to Draw a Maple Leaf Illustration step by step. Let’s capture those beautiful leaf colors in our sketchbooks!
Affiliate links have been used at no extra cost to the reader. You can read my full disclosure here.

Maple Leaf Drawing Short video:
Watch the Maple Leaf Drawing video: https://www.instagram.com/tv/CFfMtHHHjfM/
How to draw a Maple Leaf step by step
Reference Images can be found here: 7 Maple leaf photos: Colorful leaves of autumn
Step by step tutorial for how to draw a maple leaf
1. Draw the outline shape of your maple leaf.
Use a pencil or a light yellow marker and draw the leaf shape outline. The maple leaf shape is very identifiable so take your time to add tiny jagged line edges to make it more realistic.

2. Add veins to the leaf shape using a darker orange color
Using a darker orange marker draw in the leaf vein.
Then start layering color onto the leaf- Add a medium orange shade unevenly around some of the veins.

3. Add darker areas and bolder veins
Using a medium brown marker, add darker spots here and there. Make the center leaf vein and a few others bolder by going over with this brown color.

4. Flood the entire leaf with yellow
Now using one or two shades of yellow, fill in the entire leaf with color. Layer this color on top of all the orange and brown as well.

5. Define the leaf outline and tips
Using a dark ochre or light brown marker, go over the leaf veins and all of the jagged edges of the leaf. Use a green marker to add a few darker areas.
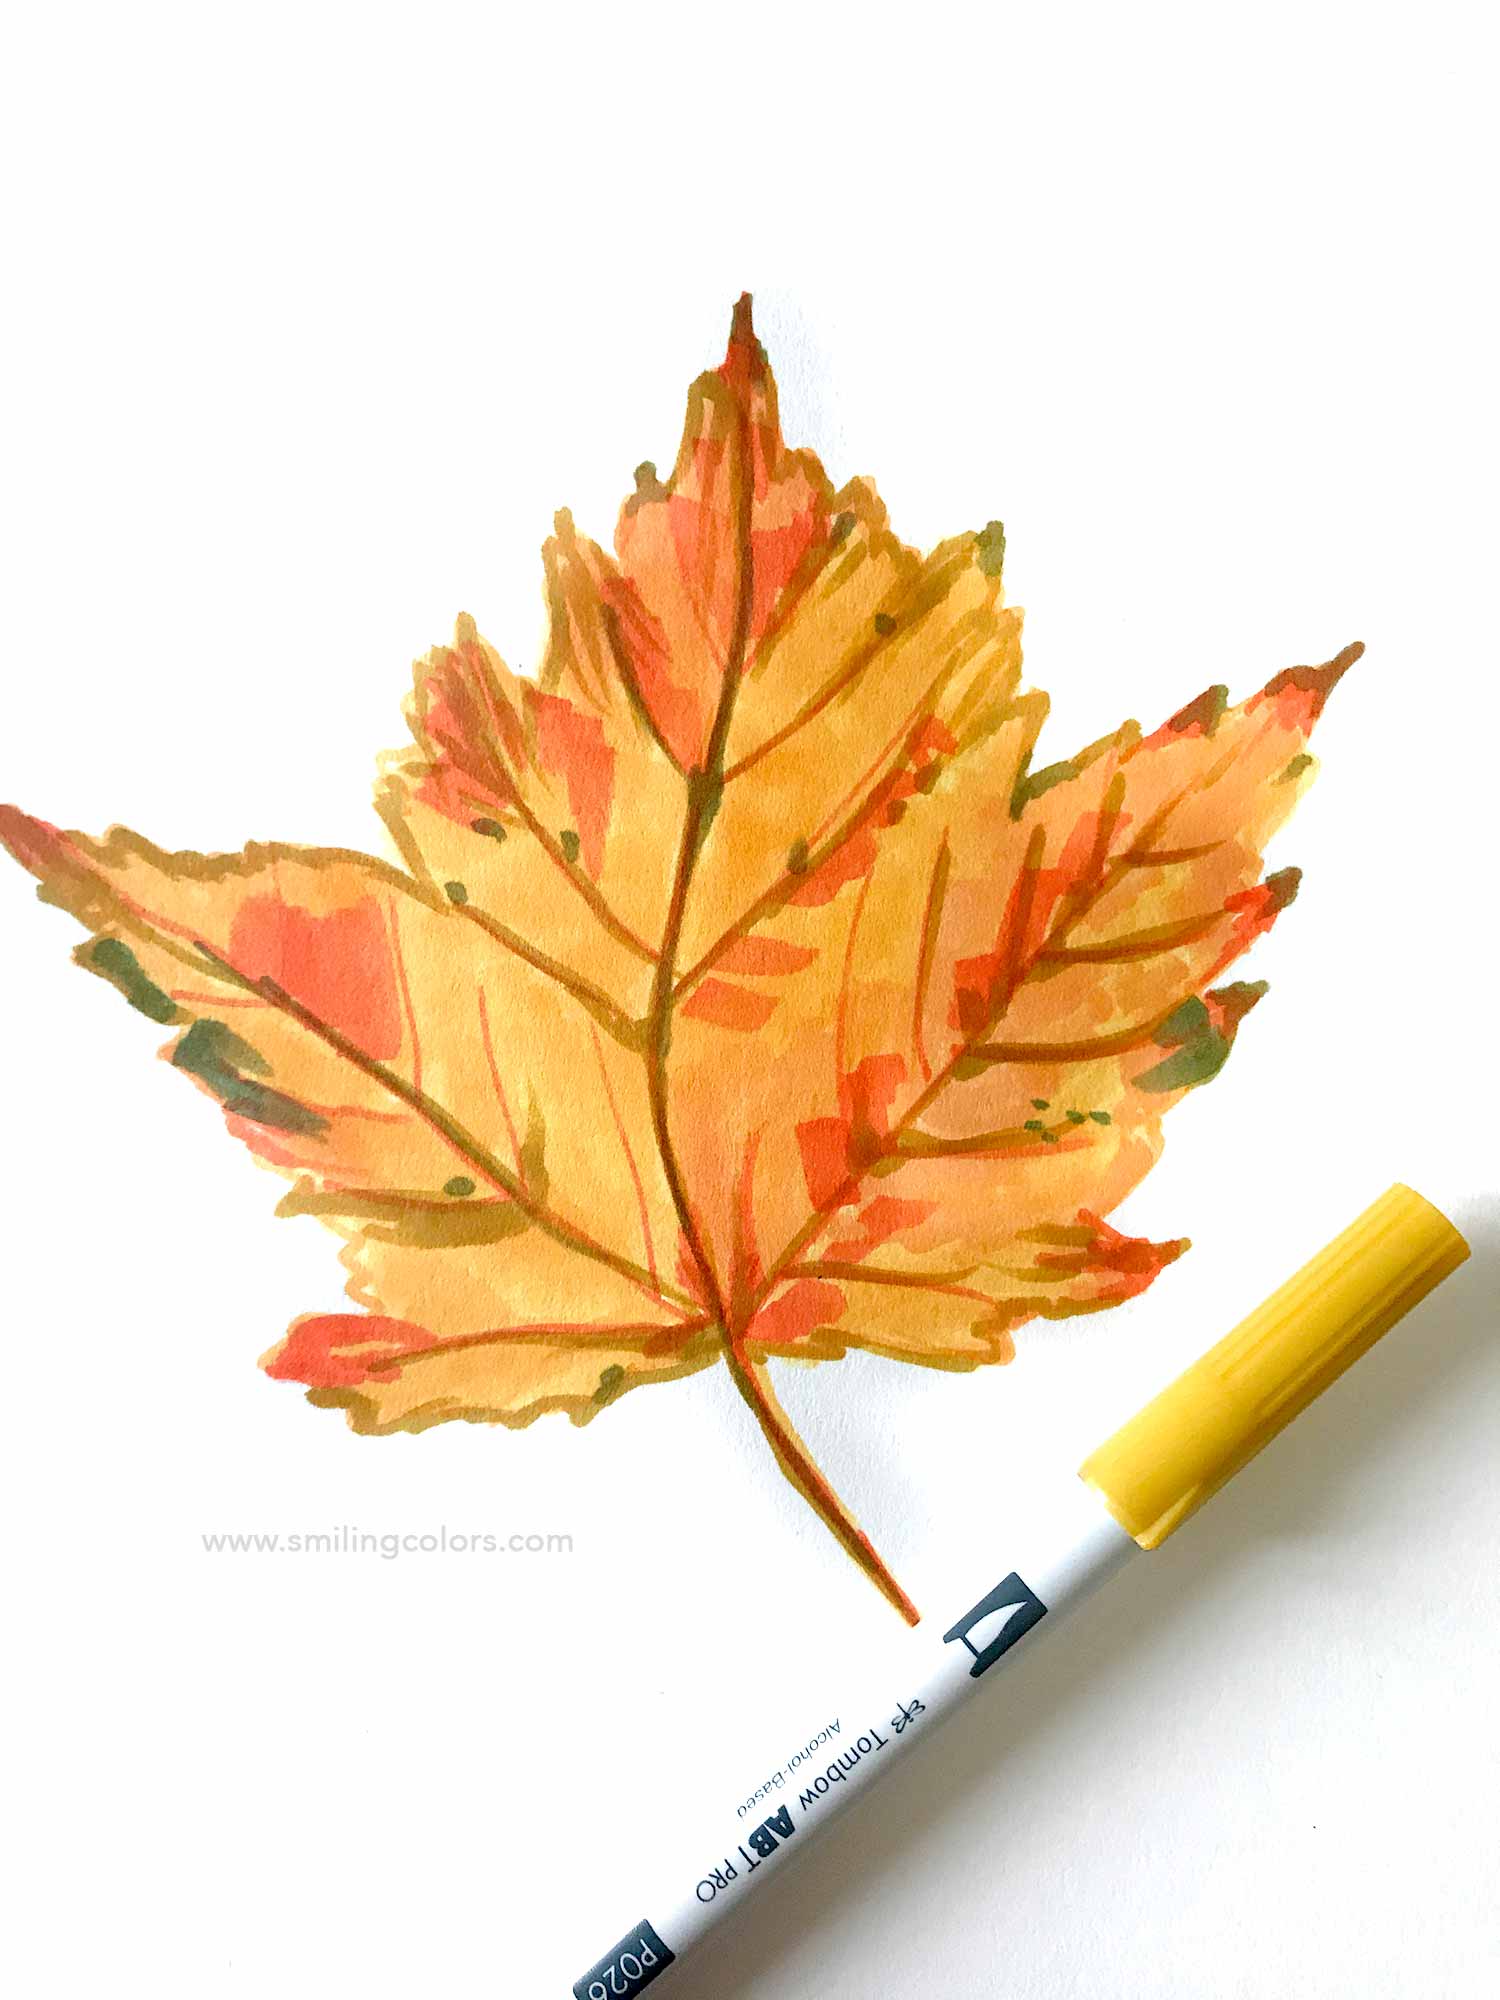
6. Add more orange and then those tiny details
Using an orange marker, color a few of the large areas and then blend all of the colors with a medium yellow color.
Using a tapping motion add small clusters of spots using the green, brown, and then orange markers.

And all done!
Finish off the illustration by using the brown marker to emphasize a few of the leaf tips and veins. notebook decoration ideas
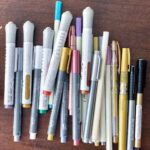
Supplies used
I’ve listed the art supplies I used for today’s Maple Leaf Drawing below

- Sketchbook: The pages have a smooth vellum finish that is great for blending alcohol marker colors. The sketchbook I used here is 9 by 12 inches in size.
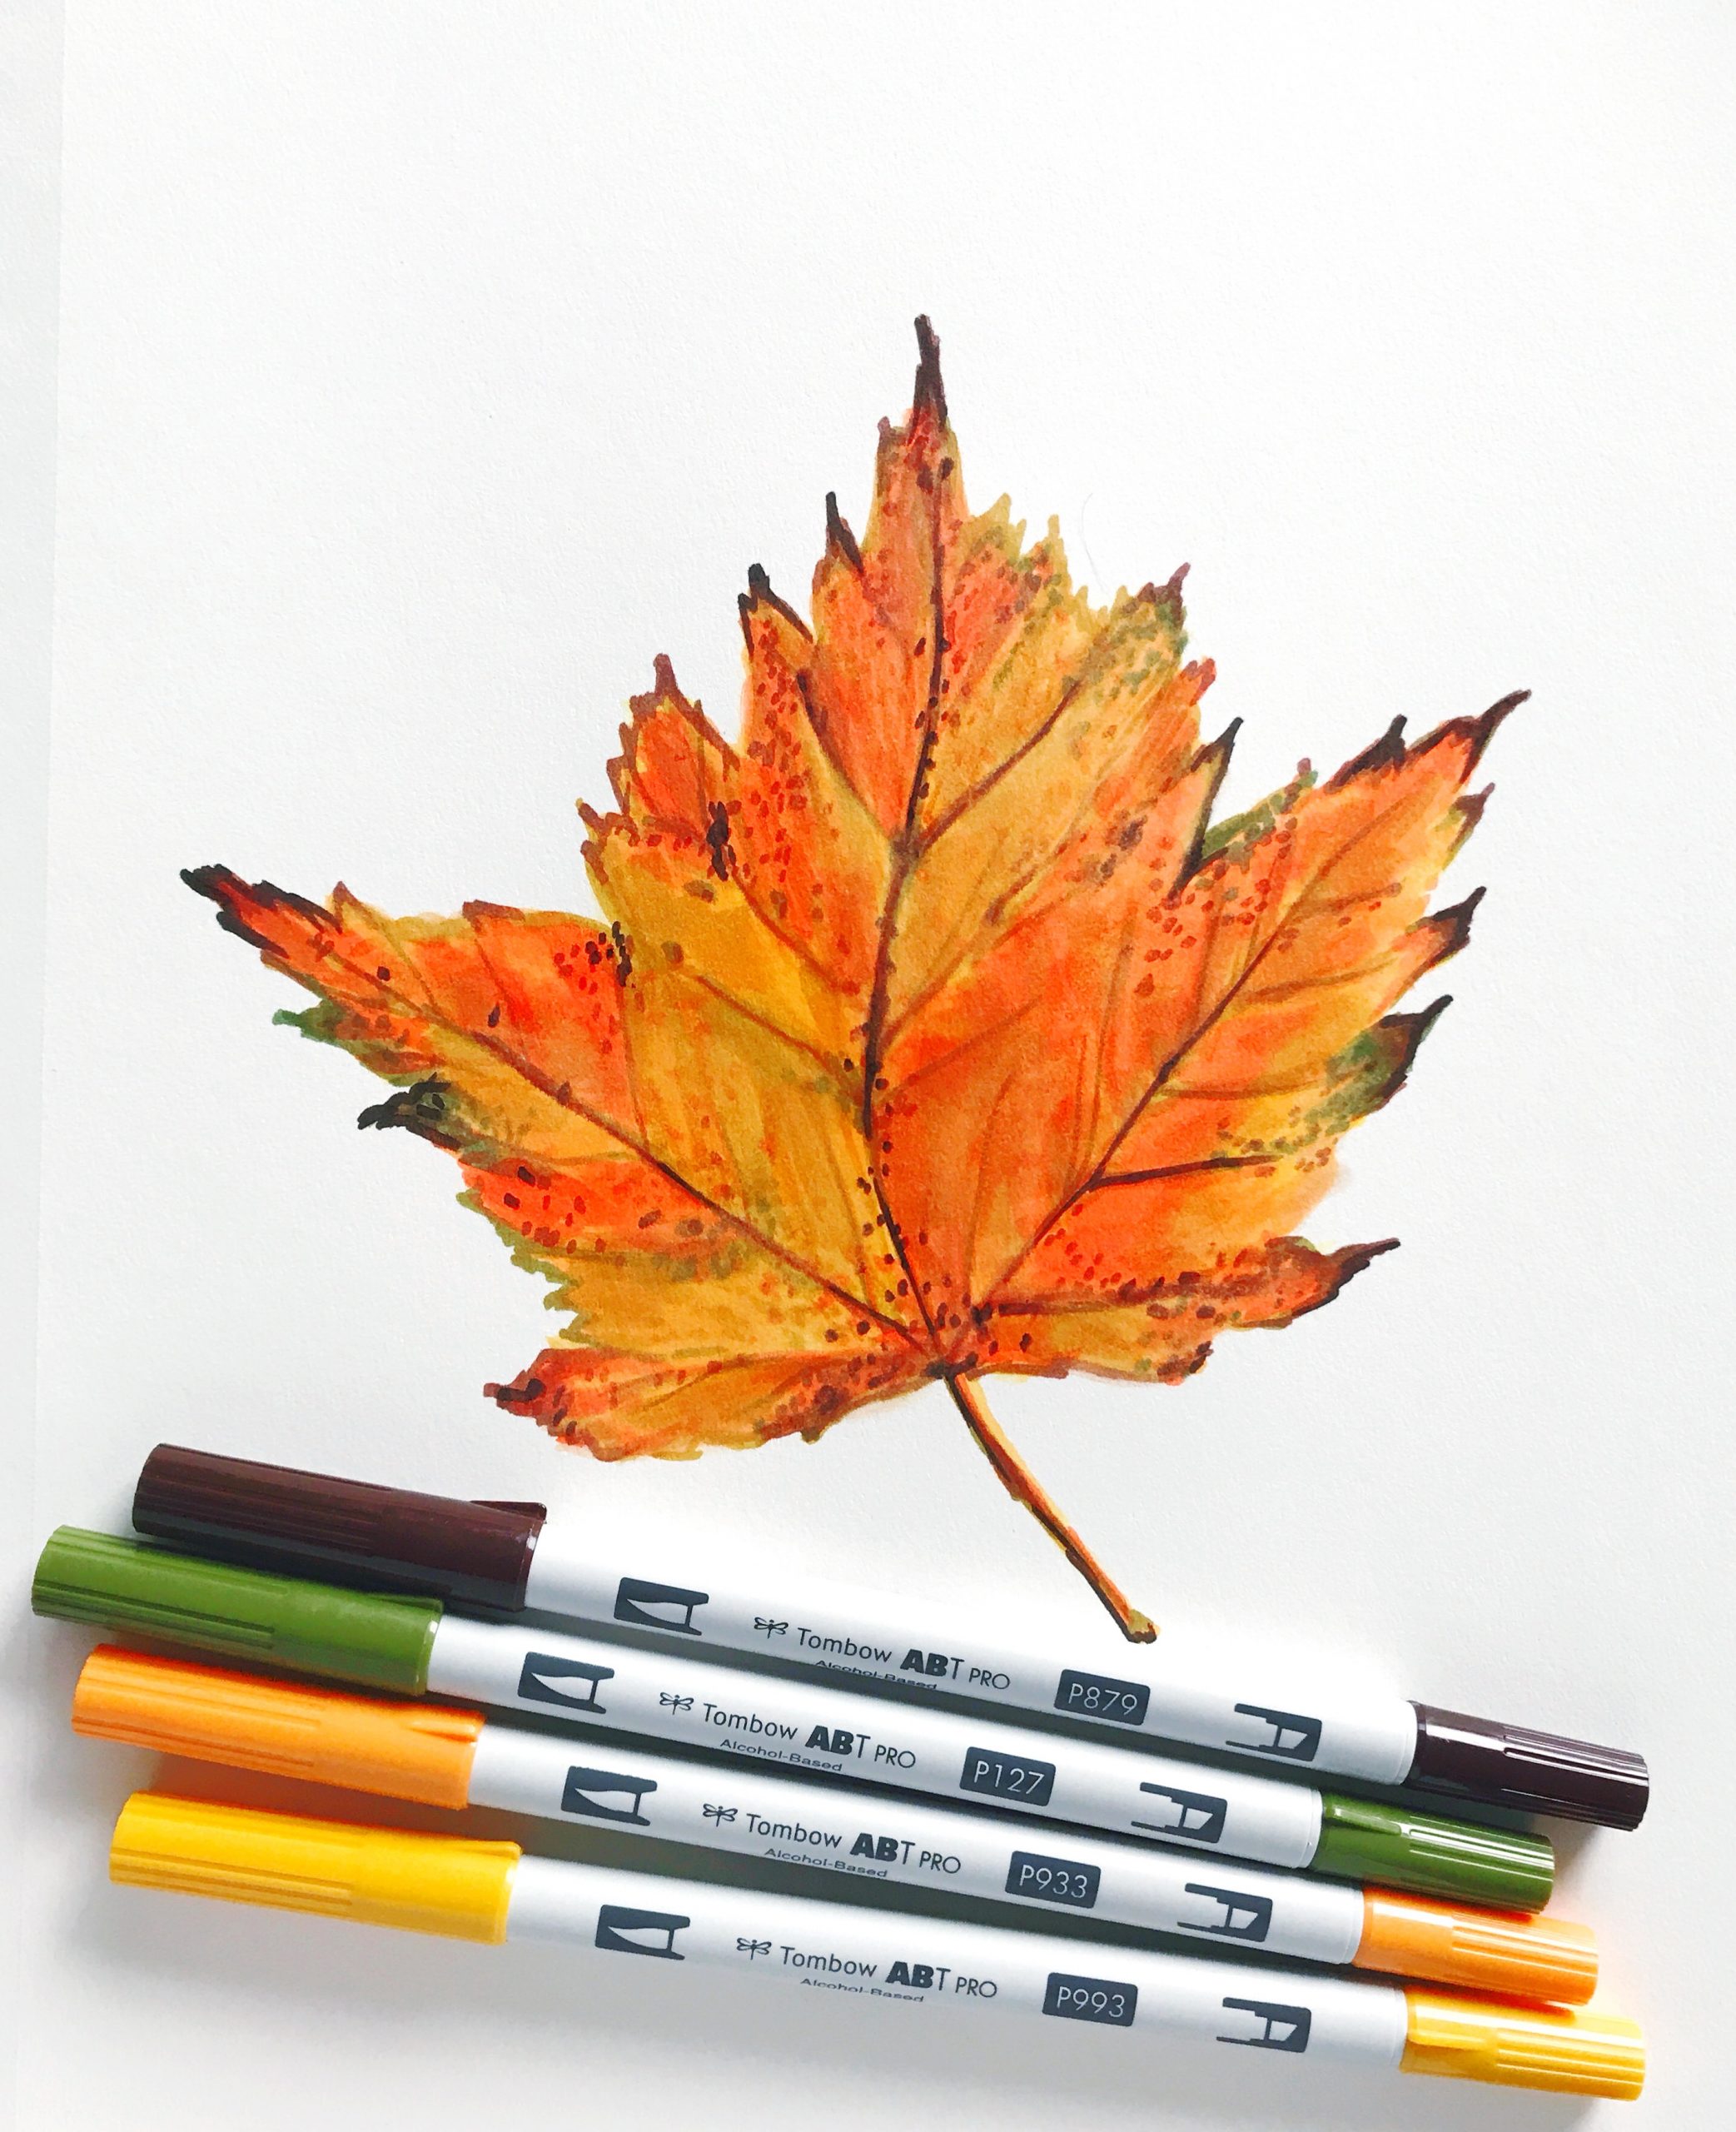
- ABT Pro Markers: I love these Markers that allow for slow blending and shading. The Marker Color numbers have been shown in the above photograph. The colors P879, P127, P933, and P993 have been mainly used. The other lighter colors are great to have to create a soft blending.
Conclusion: how to draw a maple leaf
I thoroughly enjoyed bringing the vibrant of colors of autumn into my sketchbook! I live in Minnesota and Fall has the be the most beautiful season here. I loved capturing the essence of Fall/ Autumn with this How To Draw A Maple Leaf Tutorial in my sketchbook. I hope you enjoyed this How To Draw a Maple Leaf Tutorial.
Fall is in the air, and it is my favorite season of all. Everything in nature is inspiring and I love sharing Fall Craft ideas like Leaf Drawing Step By Step Tutorial, Fall Inspired Cake and 20+ Fall Leaves Images To Inspire You To Draw!

Inspiring you with simple doable Art and Craft ideas and tutorials that will encourage you to use your supplies, get messy and find your creativity.