I’m sharing easy ideas on how to make place cards at home today. Place cards are one of those simple touches that instantly elevate your table setup. Whether you’re hosting a wedding, a holiday dinner, or a special weekend brunch. They help guests feel welcomed, organized, and add a personal handmade touch that store-bought cards just can’t match.
Affiliate links have been used at no extra cost to the reader. You can read my full disclosure here.
How to make place cards video
What Size Should Place Cards Be?
There’s no one “right” size for place cards, but a classic guideline is around 2.5″ by 3.5″. This size is big enough to write a guest’s name clearly but small enough to not overwhelm your table décor. Feel free to mix shapes like hexagons, circles, or leaves for unique flair!
how to make place cards 4 ways
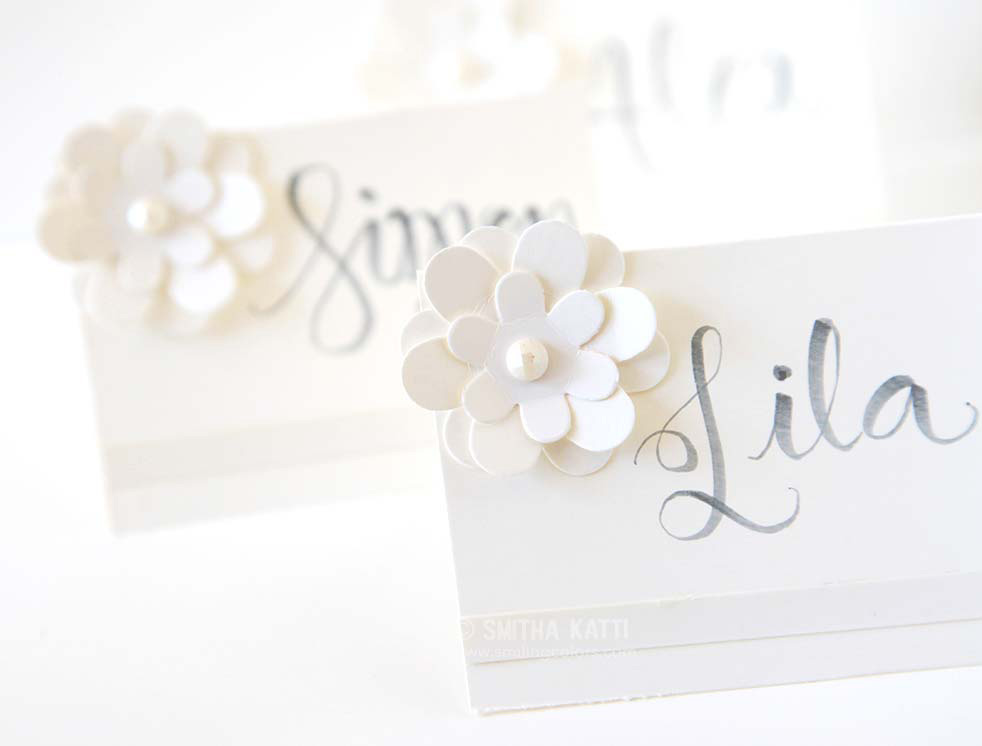
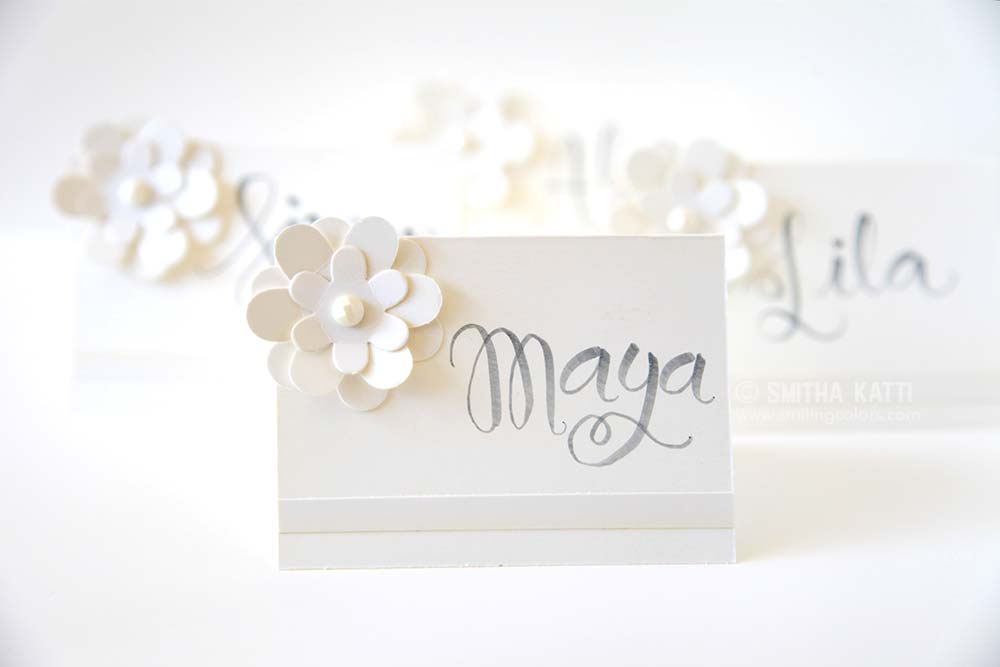
1. Elegant Wedding Place Cards
Watch the video tutorial here: https://youtu.be/F6R3OdGAEqU
What You’ll Need:
- Cardstock base
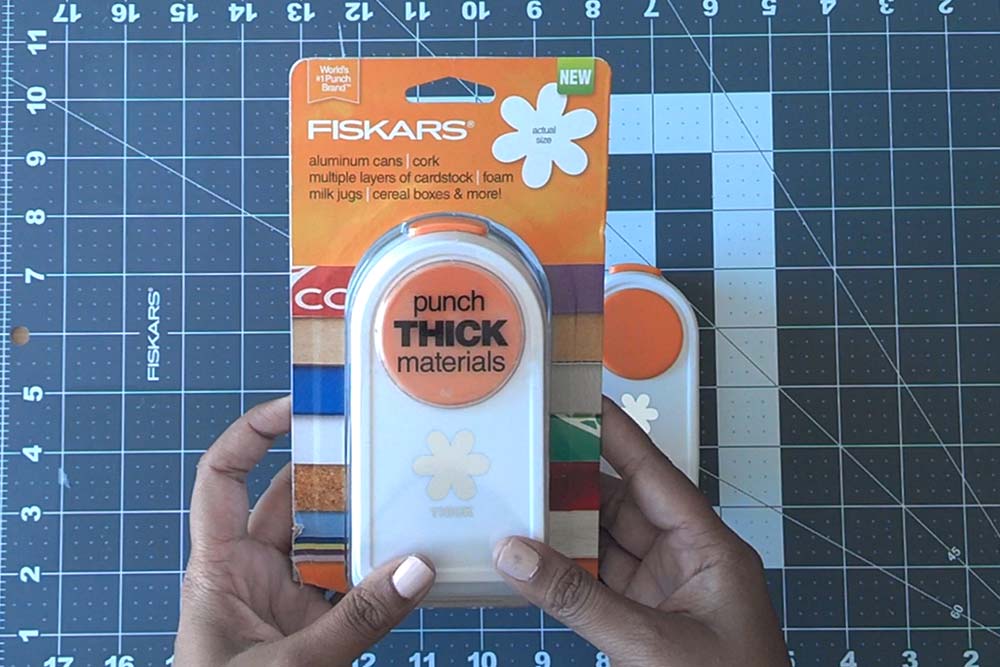
- Floral punch (like Fiskars Thick Punch -Floral Frenzy)
- Calligraphy pen
- Adhesive pearls
How to Make It:
Punch out floral shapes in matching cardstock layers, stack them for dimension, and finish with a pearl in the center. Add graceful calligraphy names for that polished wedding look
ALSO READ: 5 easy Flowers Make with paper!
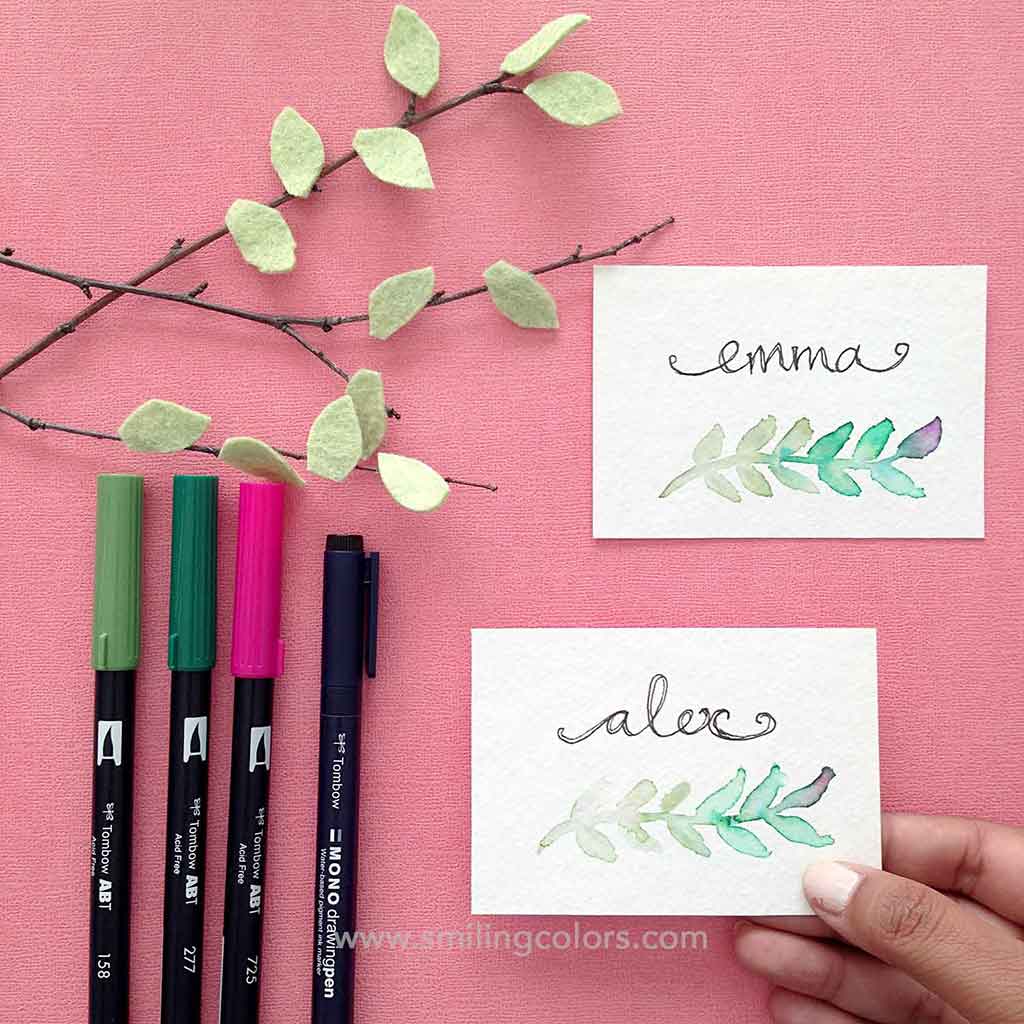
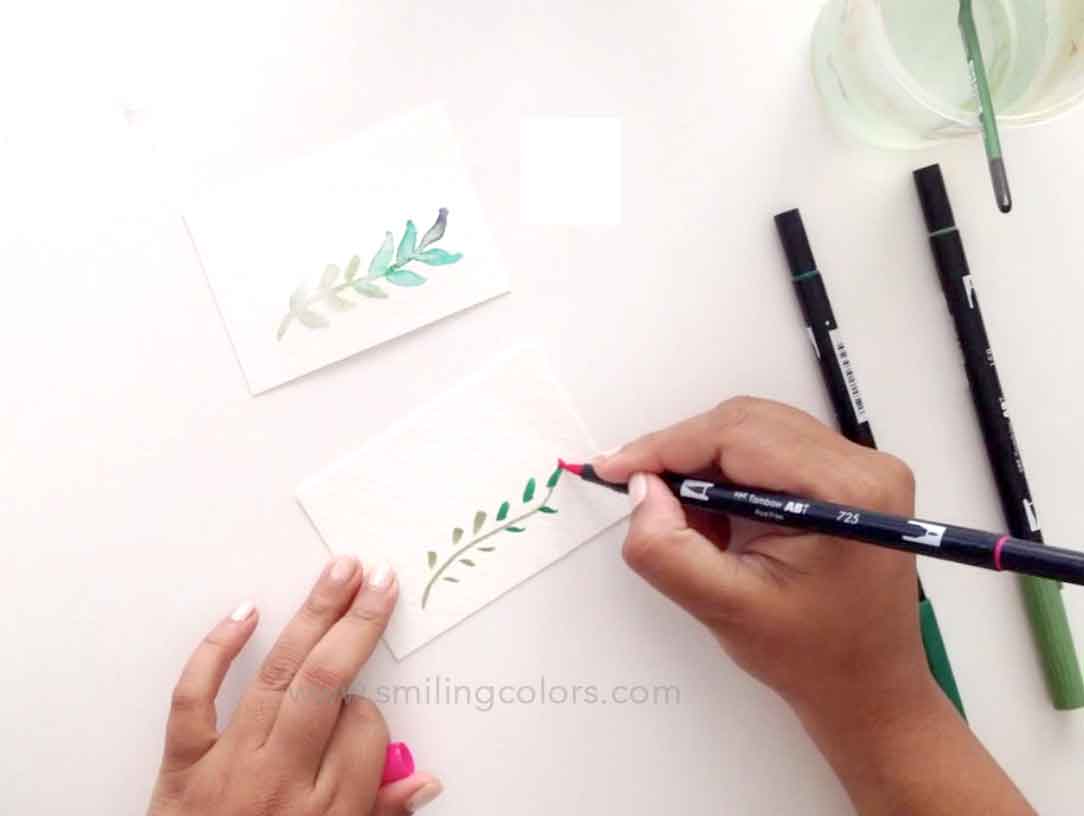
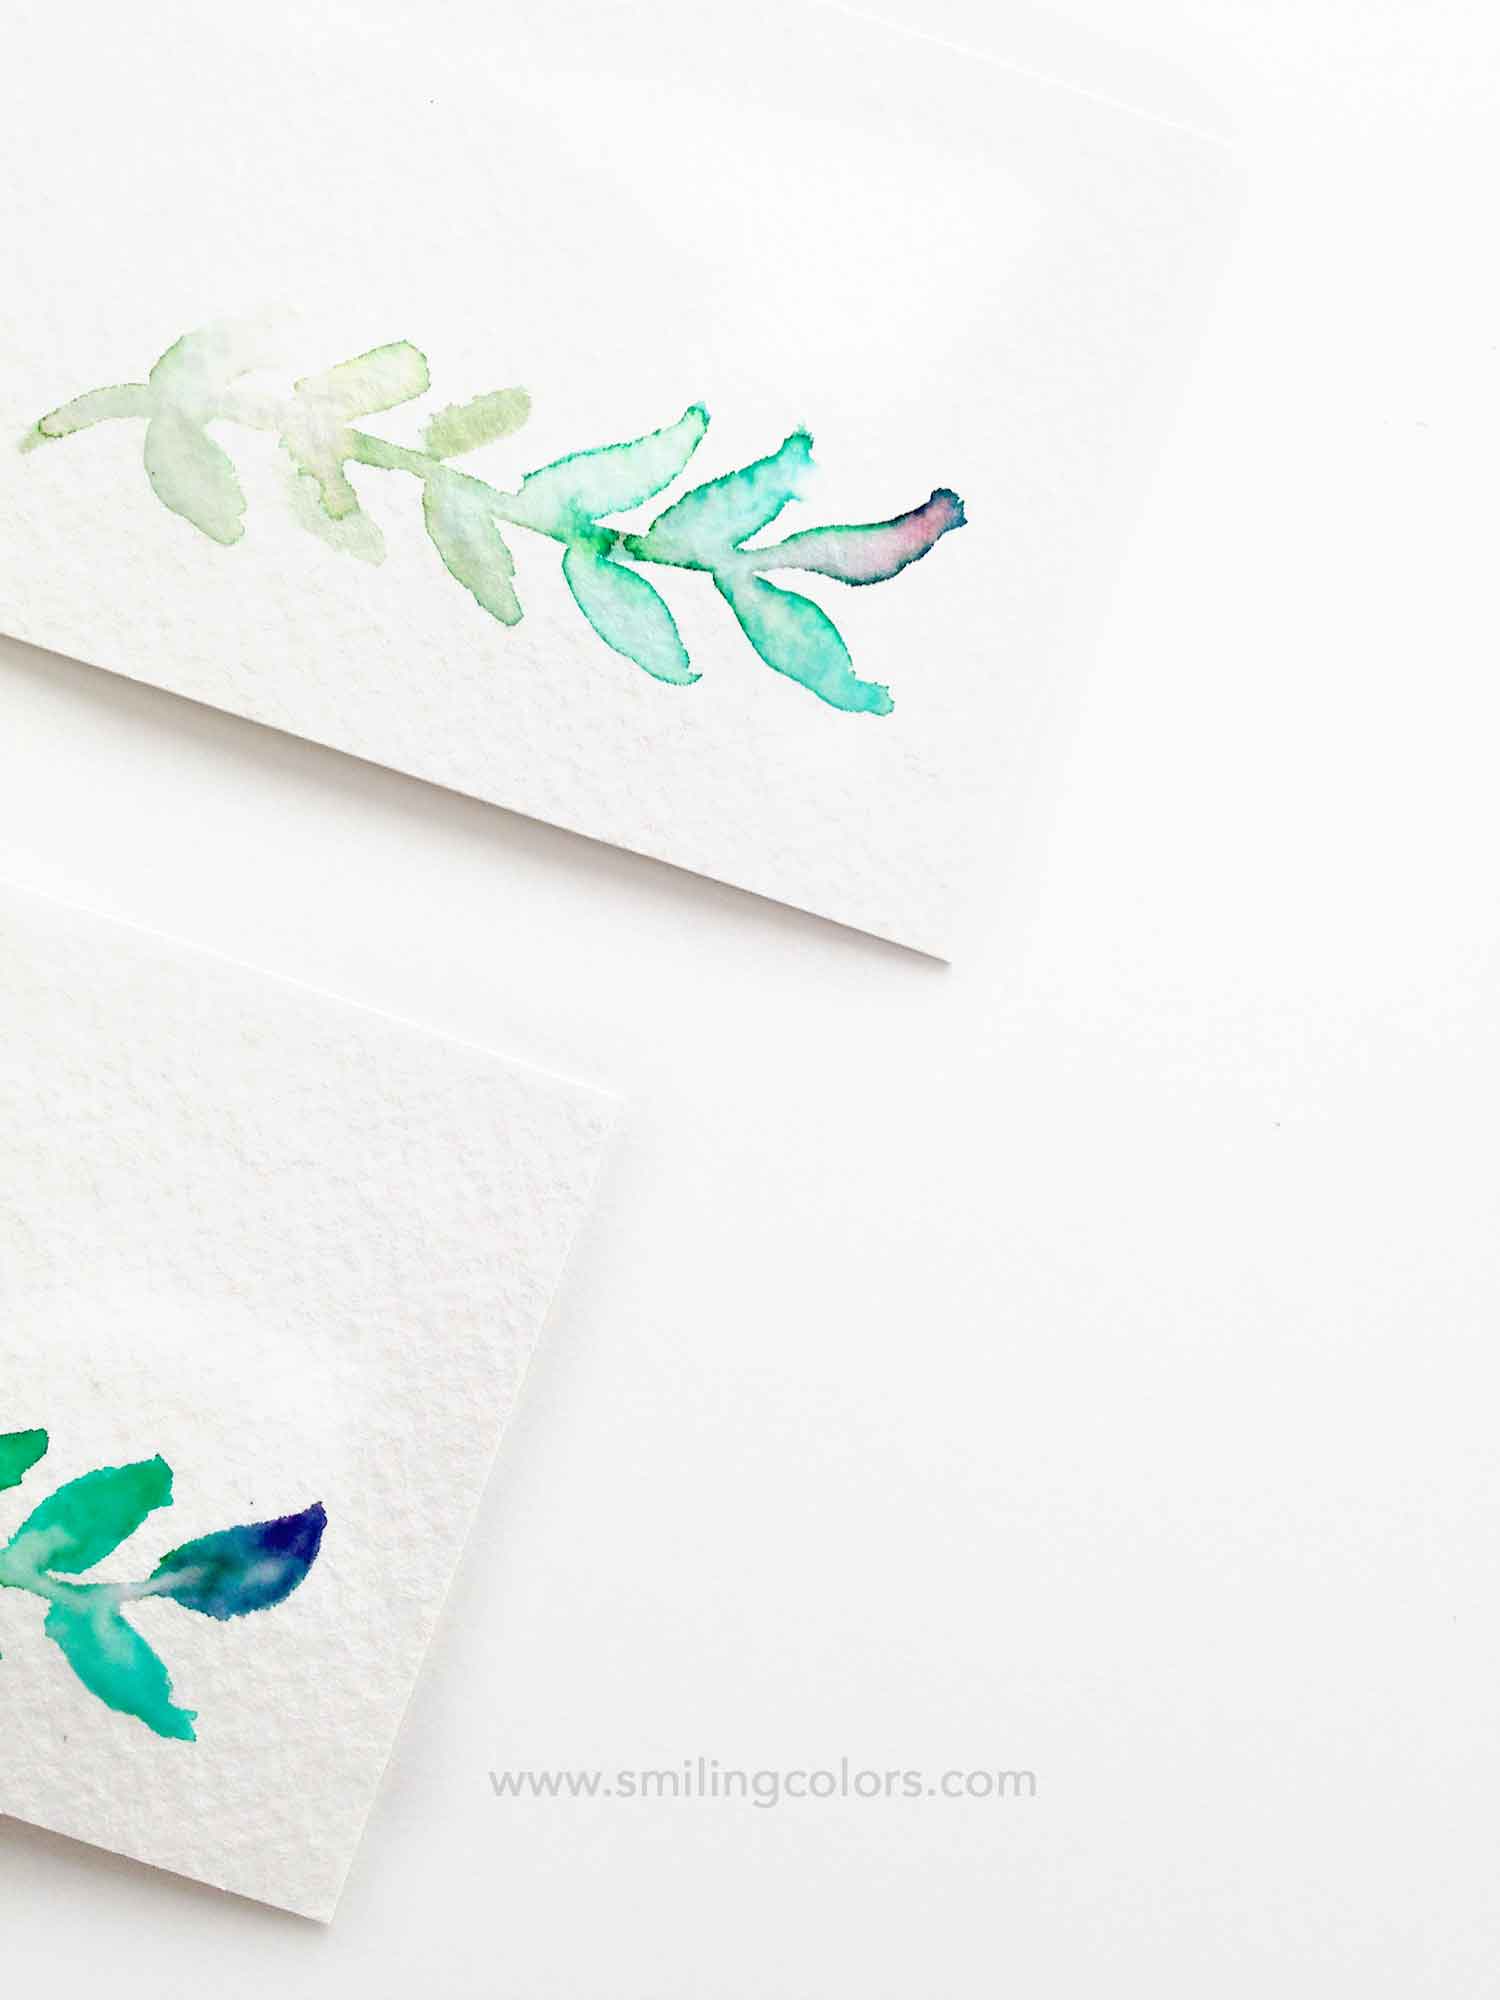
Rustic Watercolor Place Cards
Watch the Video tutorial here: https://youtu.be/xQkDG0Hb3Yg
What You’ll Need:
- Brush pens
- A paintbrush + water
- Watercolor or mixed media paper
- Fine tip drawing pen
How to Make It:
Let your brush pens paint a loose leafy branch, then soften it with a touch of water. Once dry, hand-letter each guest’s name above the design. This look is relaxed, artsy, and perfect for rustic or garden-style gatherings. Explore more ideas on how to paint watercolor leaves in different styles.
Keep in mind that this is watercolor paper that might have some texture on the paper. In fact, you can go over your name twice with the pen if your lines were shaky to create your own funky font style

Gold-Edged Glam Place Cards
Watch the video tutorial here: https://youtu.be/hSwbsPC5760

What You’ll Need:
- Card base
- Tape runner or adhesive
- Foil sheets
- Pen for lettering
How to Make It:
Apply a thin strip of adhesive along the edges and press the foil sheet on top. The result? A luxe metallic border that shimmers under candlelight. For a fancier look, try gold leaf application. Add names in a simple handwritten font to complement the elegance.


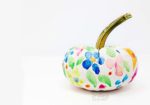
4. Fall / Autumn Pumpkin Place Cards
Watch the video tutorial here: https://youtu.be/pJWxJxv1-EA

What You’ll Need:
- Brush pens + paintbrush and water
- Burlap paper
- Adhesive
- Small Brush Pen
How to Make It:
Draw half-pumpkin shapes with brush pens, soften them with a damp brush, then cut a burlap base to adhere on cardstock. Add lettered names with the small brush pen for a festive fall flair.


Tips for Making Place Cards with Ease
- Plan ahead: If you’re making lots of cards, cut all the bases first so you can focus on decorating.
- Assembly line style: Craft with friends or family, it’s faster and more fun!
- Dry time matters: Let glue and paint fully dry before stacking cards to avoid smudges.
- Make extras: Always make more cards than your guest list, that way if you make a mistake you have a back up.
Conclusion:
Place cards are a great personal way to make your guests feel welcome- be it a wedding or any Holiday gathering. If you are having a large party, I hope hit how to make place cards tutorial helps you.

Great DIY place card ideas! These handmade methods can definitely add a unique personal touch to weddings or special occasions.