Learn how to apply gold leaf in this step by step tutorial today. This is such an easy way to add a wow factor to your paintings or paper crafts! I’ll also answer all your commonly asked questions in this post!
If you find yourself looking for ways to take your Easy Flower Paintings to the next level, I think you will enjoy learning how to use gold leaf in art.
The Gilded look is super satisfying to create and will never fail to wow you! It is not difficult, you just need some patience to wait for the glue to dry.

What is Gold Leaf
Gold Leaf or metal leaf are super thin sheets of copper that can be colored any color- gold, silver, or bronze. These sheets are thinner than a fraction of a micron and easily take the shape of anything they adhere to. These delicate sheets of metal packed within protective paper sheets.
What kind of glue do you use for Gold Leaf?
The best glue for gold leaf on paper is this Metal Leaf glue which is made especially for metal leafing projects.

What do you use to apply Gold Leaf?
To apply the glue you can use the convenient nozzle attached to the bottle. If you need more precision in your application use an old thin paint brush instead.
How to apply Gold Leaf Step by Step:
Supplies you will need:
- 🌸Metal Leaf Pack by ArtMinds
- 🌸Metal Leaf Adhesive by Craft Smart®
- 🌸An old paintbrush to apply the adhesive
- 🌸A dry square paintbrush for burnishing
How To Apply Gold Leaf Tutorial:
- Apply the Metal Leaf adhesive onto your artwork wherever you want the gilding. You can use the applicator nozzle or an old paintbrush for more control.
- Let dry for about 60 minutes. The adhesive will dry clear and tacky.
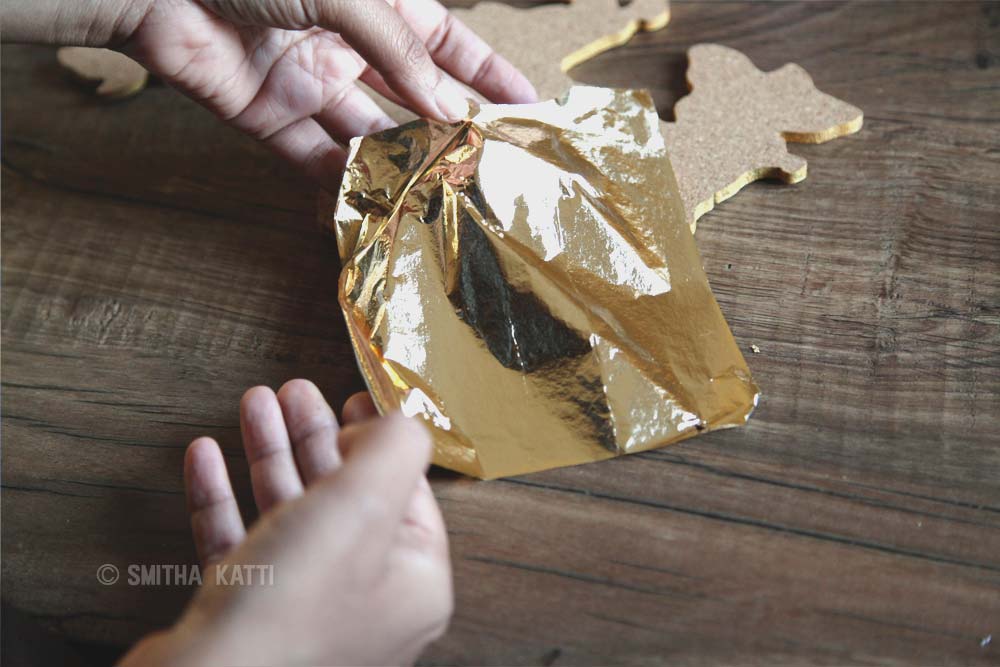
- Carefully peel and apply the Metal Leaf onto the dried adhesive. Do not apply Gold Leafing onto wet glue.
- The metal leaf will be attracted by the glue and naturally settle onto the glue. Let it sit on the glue for another 60 minutes.

- Grab a dry brush- preferably one with a straight edge like a square brush that has soft bristles.
- Burnish the Gold Leaf into the adhesive with soft strokes of the dry paintbrush. It will only adhere to the areas where there is adhesive, the rest will dust off.
- Shake off all of the excess leafing
- And that is how to apply gold leaf, your artwork is ready!

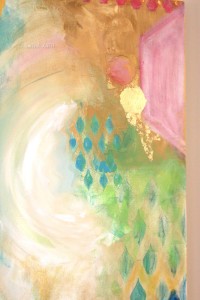
I absolutely love how the gold leafing enhances my Ganesha Painting below. It takes a few easy steps, but once you learn how to apply gold leaf you will enjoy the process!

Enjoy the Video tutorial: https://youtu.be/mmKlHoW352c
More ideas for you to try!
- DIY World Map Wall Art Tutorial
- Acrylic on Canvas: My biggest wall art piece ever!
- How to make Place cards in 4 different styles
how to use gold leaf in art FAQS
If you have any questions about this technique, please leave a comment below!
Can you use normal glue with Gold Leaf?

Yes, any white glue like Elmer’s Glue or Mono Liquid Glue can be used, as I show in this video tutorial https://youtu.be/qV-r_kWKfyc
Can you use spray adhesive for Gold Leaf?

A spray adhesive can easily be used for larger projects as I did in this DIY Wall Map Art Tutorial.
How long do I leave Gold Leaf on Glue?

Approximately 30 to 60 minutes should work. This drying time will vary based on the adhesive you are using.
how to use gold leaf in art?
Applying gold leaf onto acrylic paintings is SO satisfying and creates the most unique artwork. The best advantage is that you can use the wet paint as an adhesive.
How To Apply Gold Leaf To Furniture?

Gold Leaf can be easily added to furniture using adhesive or putty! I explain it step by step in this DIY Nightstand Makeover
Does Gold Leaf need to be sealed?

Paper projects will not require sealing. On larger art pieces, I use this sealer made specifically to protect leafing on my DIY World Map Wall Art
Conclusion: Is Gold Leaf better than Gold paint?
In conclusion, yes gold leaf is way better than gold paint. Gold Paint often is created with a black base and will lose its luster and color over the course of time. Gold leafing lasts forever and the gilded look adds an easy sophistication to your (paper, plastic, metal, canvas, or even wood) projects.


Hi I’m Smitha! I live in Minnesota with my husband and two daughters. You’ll always find me painting florals in my sketchbook. And I love the sheer joy of making something with just my hands! But my bigger love is capturing it all on camera Read more.
Thanks for stopping by today! If you learnt something from this tutorial, do share this post with a friend or on social media! Tag me @smithakatti #smithakatti I’d love to see what you create!