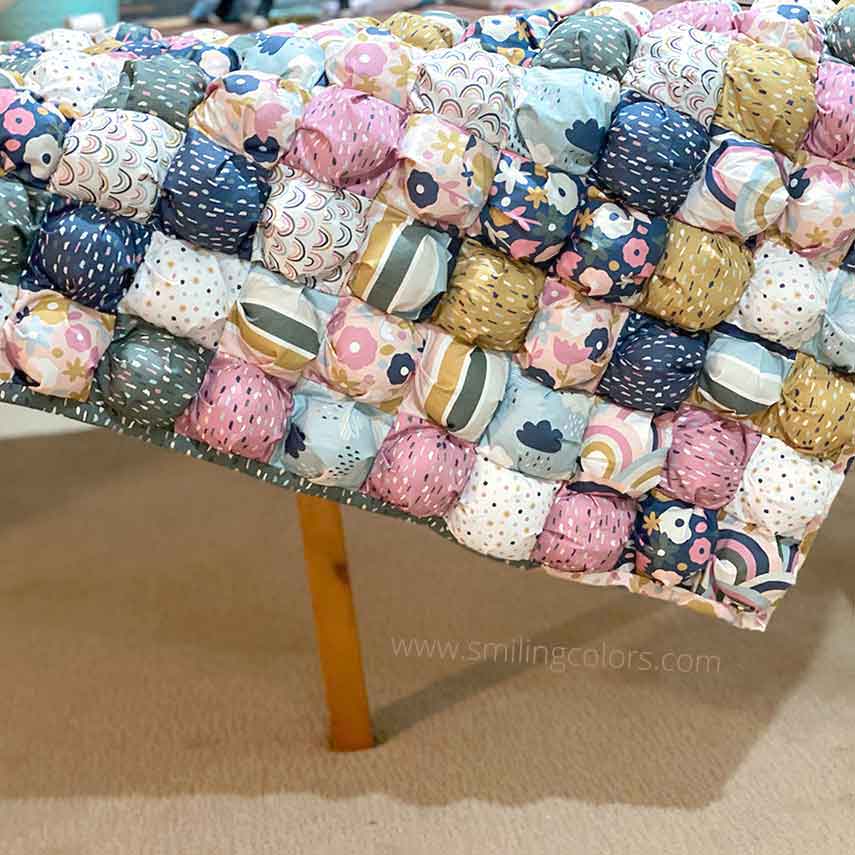
This crochet planned pooling blanket has a beautiful argyle color pattern created using just variegated yarn skeins that are carefully worked to control the color repeats to form the geometric pattern.
My guide explains what planned pooling in crochet is and will help set you up for success with your project. It’s a unique crochet technique that can feel a bit challenging at first, but it creates stunning, eye-catching results once you get the hang of it.

Materials Needed:
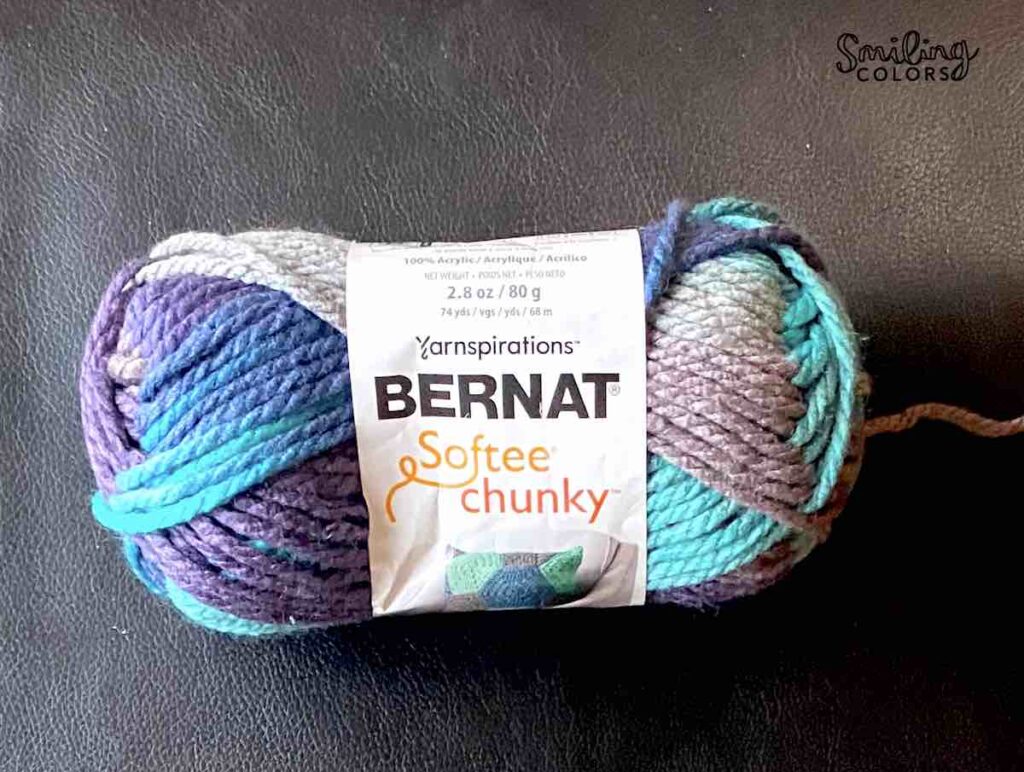
- Bernat Softee Chunky Yarn in the color Shadow, 6 skeins or more
- Size N crochet hook.
Stitches Used:
Here are a few helpful guides if you are an absolute beginner that teach you How To Make A Slip Knot, How To Start A Crochet Chain, and How To Single Crochet.
I’m using the moss stitch crochet today. This is one of my favorite stitches and I’ve used it before in this Moss Stitch Crochet Scarf and Free Crochet Headband Pattern. The moss stitch is crucial for the colors to work- the chain space between stitches lets us manipulate the color pattern.
Crochet planned pooling blanket Pattern
I have done the calculations for my starting chain with a lot of trial and error (refer to my previous What Is Planned Pooling In Crochet? post to see it) and this is what best.
Start with a chain of 80. (38+38+4= 80). The color pooling appeared with 38 stitches + 38 chains (one per stitch) and turning chain 4.
Row 1: sc into 4th chain from hook, *ch1, sk one chain, sc into next chain* till the end of the row.
Row 2: Turn, chain 2, *sc into ch1 space below, skip next sc* repeat till the end, sc into turning chain of previous row.
The first few rows you may not see a pattern developing right away, but maintain the 3 teal, 4 dark brown and 4 sand color as best as you can.

Here is how the crochet planned pooling blanket looks after the first skein. You can see the argyle pattern developing slowly.

When adding a new skein mid-row, make sure you are adding it in the correct color order and follow these easy ways to join yarn to keep your join neat and secure.

Here is how it looked 3 skeins in.

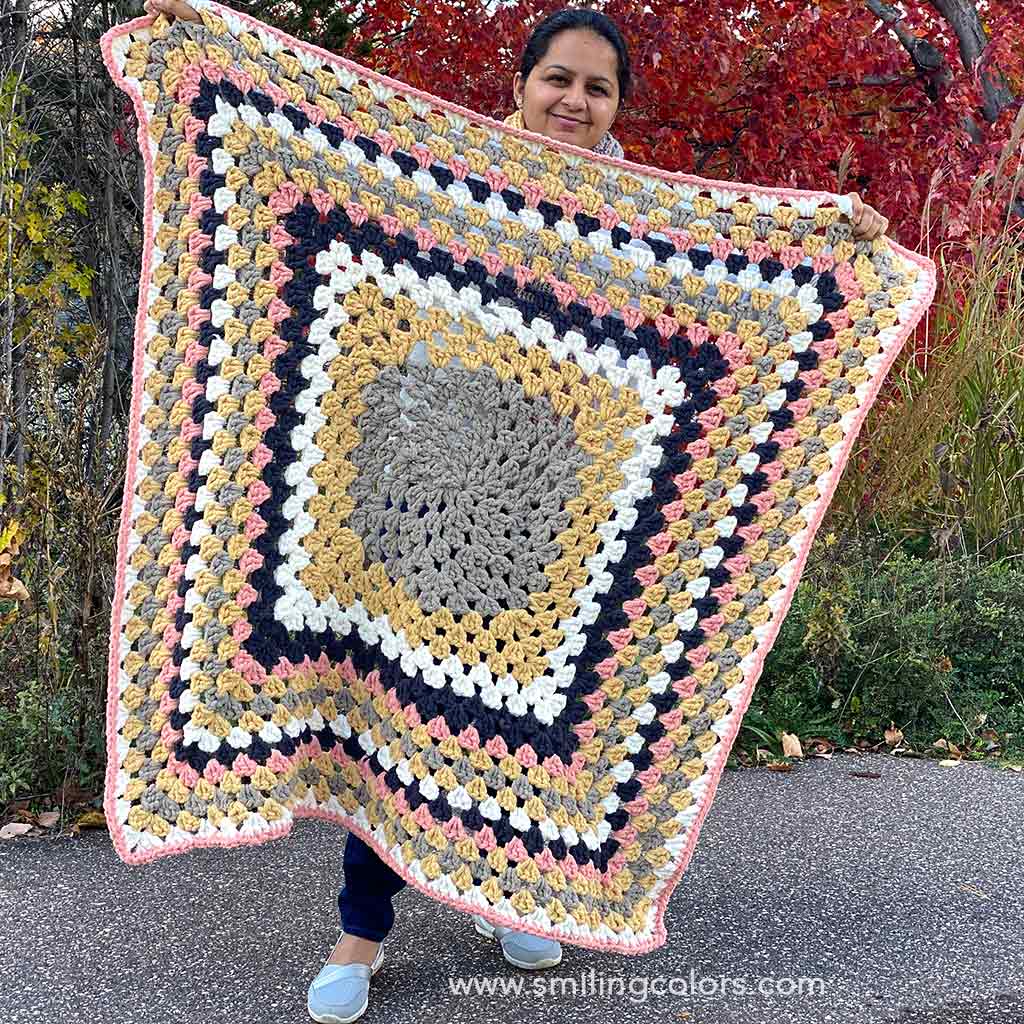
All done! I used 6 skeins of yarn and the finished blanket measures 27 inches wide and 25 inches tall. I would have liked to make it longer, but the when I reordered the yarn, the color batch did not match at all. So instead I will add a border around this blanket.

NOTES:
- My biggest mistake was not buying enough yarn of the same lot. I bought 2 packs of this 3 pack of Bernat Softee Chunky Shadow Yarn for a total of 6 skeins. I would have liked to used 3 more skeins to make a bigger blanket but all the yarns I ordered afterwards looked so different in color! I would suggest you buy this 6 pack of Bernat Softee Chunky Shadow Yarn to begin with.
- I used 6 skeins of yarn for this blanket- and each skein had the color distribution a little different. In one skein I had to make really tight teal colored stitches. In another I used to have teal color left over after the required stitches, so I would rip out a few stitches and crochet loosely to end the color where it needed to be.
crochet planned pooling blanket
This crochet planned pooling blanket looks like magic but really in the end it all about counting your stitches 😉
My finished crochet planned pooling blanket is chunky and the argyle pattern just makes me happy.
If you want to start with a smaller project, try this Crochet Skinny Scarf Pattern instead which has a much easier color arrangement. It is a great beginner project and quick to complete.


If you are looking for more crochet home projects check out these free crochet blanket patterns or try something new from my crochet stitch library today. Happy Crocheting!