Ganesha Card Tutorial with Markers
Here is a simple Ganesha card tutorial with markers that is super fun to paint. A Ganesha greeting card can be gifted for any festival or occasion, and this is an easy tutorial that even beginners can try.
For more project inspiration across clay, canvas, and paper, explore my complete roundup of easy DIY Ganesha craft ideas for home
ganesha card tutorial with markers
Here I am using water based markers for my Ganesha. These markers are great for so many techniques, and you can explore more in this how to use watercolor markers post.
If you want to practice your pencil proportions and pen line art before applying marker washes, check out my step-by-step guide on how to draw Ganesha step-by-step in a sketchbook
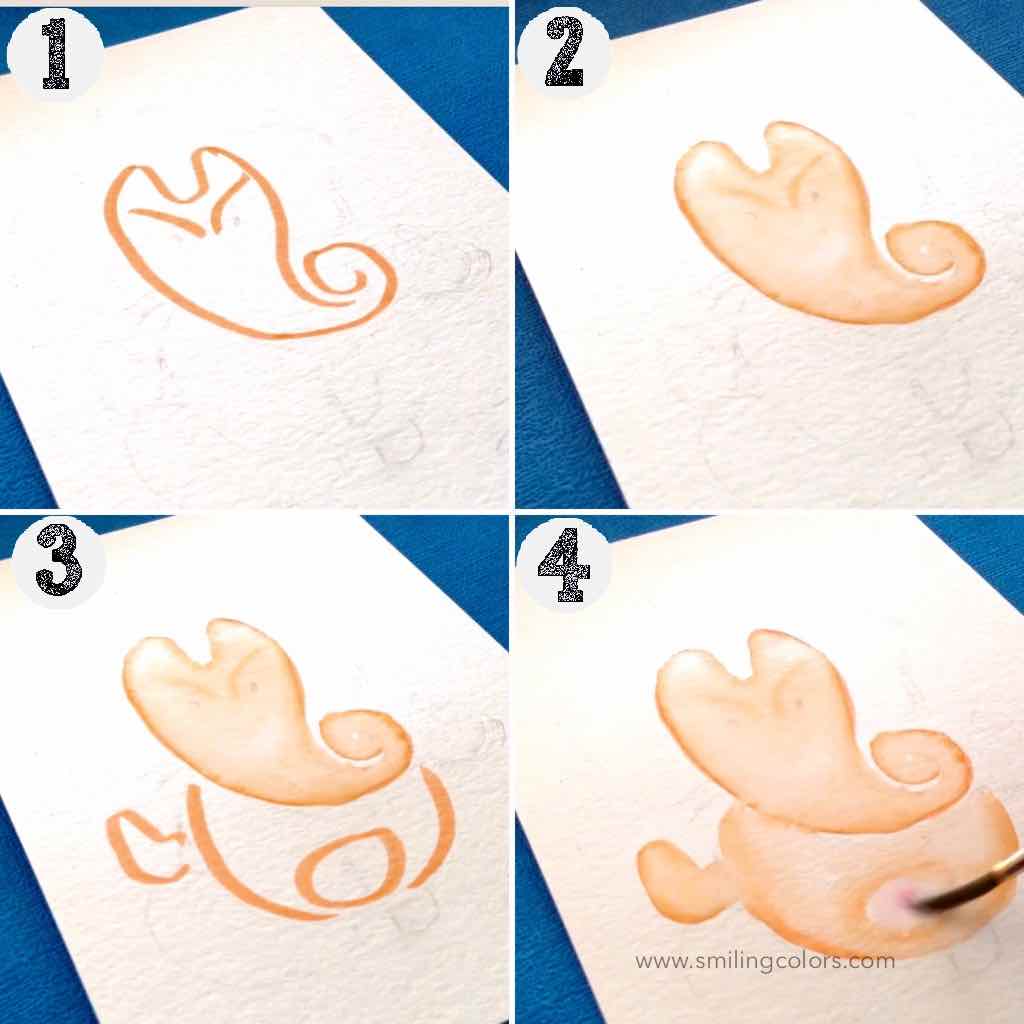
- Begin with the face shape. Using a skin tone color, draw an oval shape, which ends with a swirled trunk of an elephant. Mark where the eyebrows and eye center will be.
- Paint over the marker with water, gently dragging the color and water to meet in the center.
- Add a stomach and palm shape next.
- Paint with water again, adding a little bit extra water to the center of the tummy and slight hint of pink if needed.
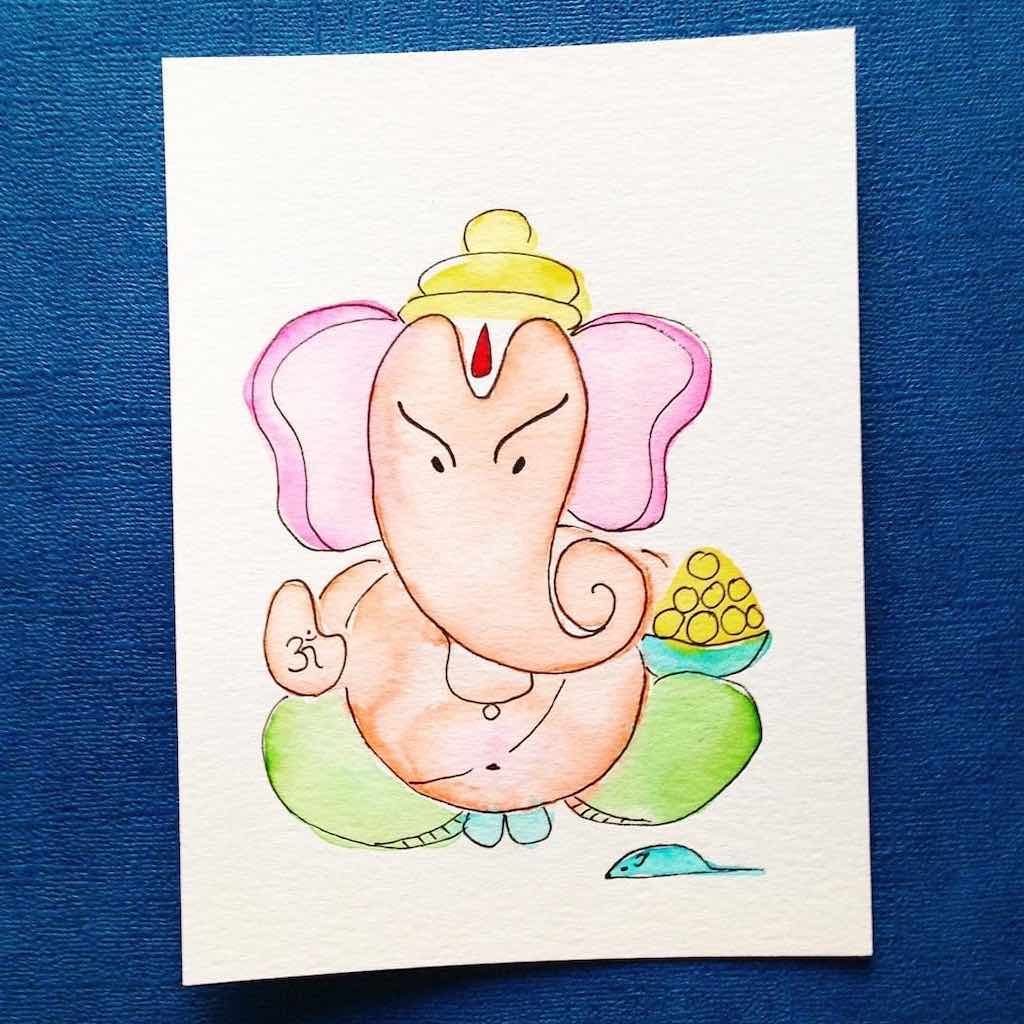
- Using a pink color, add two symmetrical ears. The ears should be large and dramatic.
- Draw in and paint the thighs with a green color.
- Using a bright orange color, draw the prasadam and crown. You can use gold here instead if you have it.
- Finish off by adding touches of blue design to the plate holding the prasadam, the feet and painting a mouse at the feet of Lord Ganesha.

Let dry. Go in with a fine black pen and carefully outline using a black pen. Here are a few tips showing what pen to use with watercolor for best results.
Want to take your Ganesha craft a step further? Try making a Ganesha from air-dry clay. It’s a wonderfully hands-on project, and you can keep the sculpture simple or add as many little details as you like.