Colorful Watercolor Ash Leaf Branch Painting
Hello friends! Today we are going to be painting a watercolor ash leaf branch together. This is simple shape, and with the color depths you can paint something really beautiful in a few simple strokes.
New to painting greenery, check out my master guide on How to Paint Watercolor Leaves for foundational brush control techniques, wet-on-wet tips, and color mixing basics.
Supplies You’ll Need:
If traditional watercolors feel intimidating or messy, you’re going to love this technique. We’ll be using water based brush pens directly on dry watercolor paper and blending them out with a damp brush. It’s quick, easy, and creates stunning, realistic autumn colors! If you have not tried this before, here is my guide on how to use watercolor markers.

- Watercolor Sketchbook (with thick, heavyweight paper)
- Tombow Dual Brush Pens (Yellow, Olive Green, Light Green, Brown/Dark Brown)
- Round Paintbrushes (Size 6 and Size 12)
- A cup of water & paper towels
- Pencil & eraser (for a light outline)
Watercolor Ash Leaf Branch Tutorial Step By Step
Use Browse a pencil to sketch a simple branch with opposite leaf pairs and a single terminal leaf at the top before painting. You can browse these fall leaves images to use as reference photos and this leaf drawing tutorial has many step by step examples!
Tip: If your pencil lines are dark, take an eraser and dab them lightly so they are barely visible before you begin watercoloring.
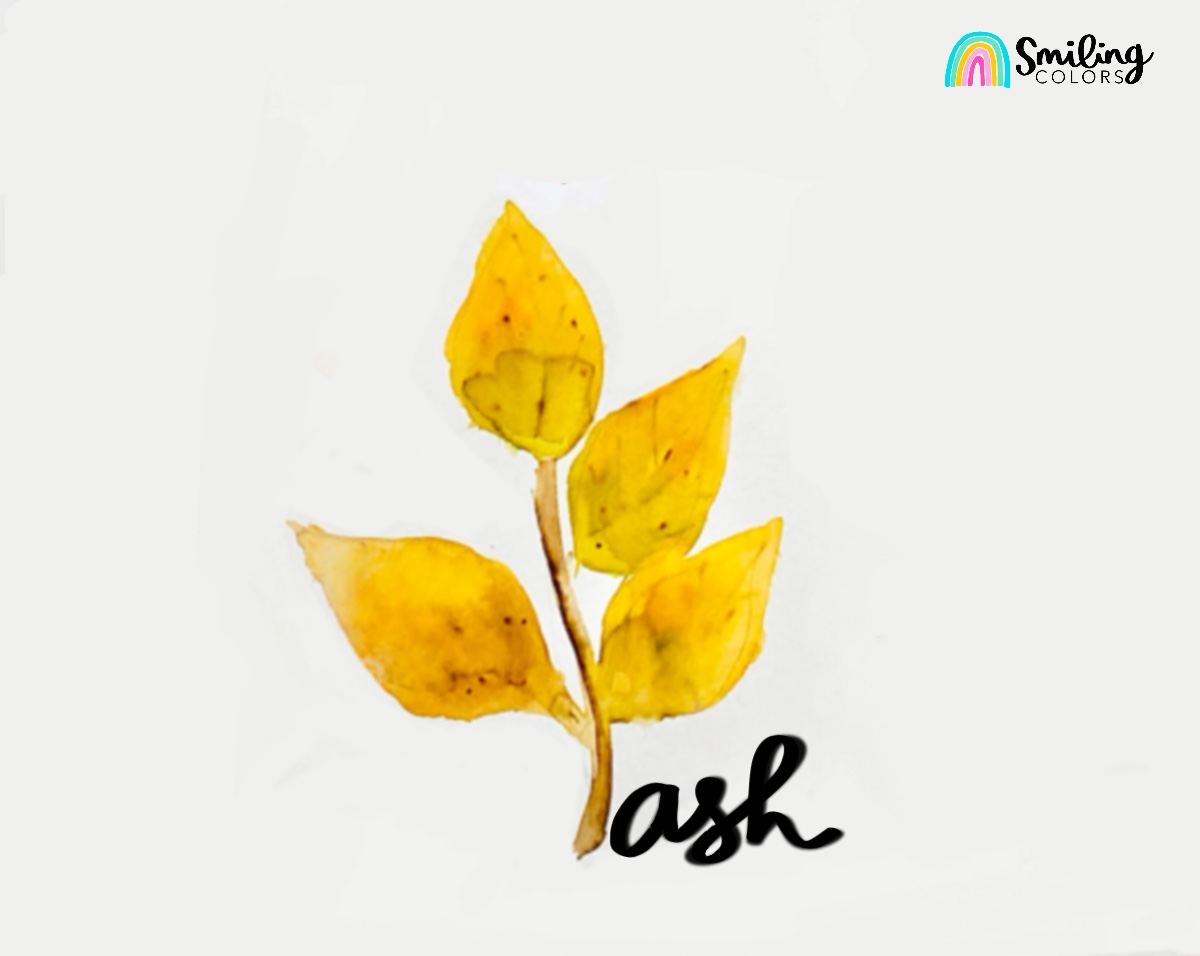
Step by step tutorial showing how to paint an ash leaf branch in watercolor
-
Step 1: Lay Down Your Base Colors (Work Fast!)

We work on dry paper leaf by leaf (or two at a time):
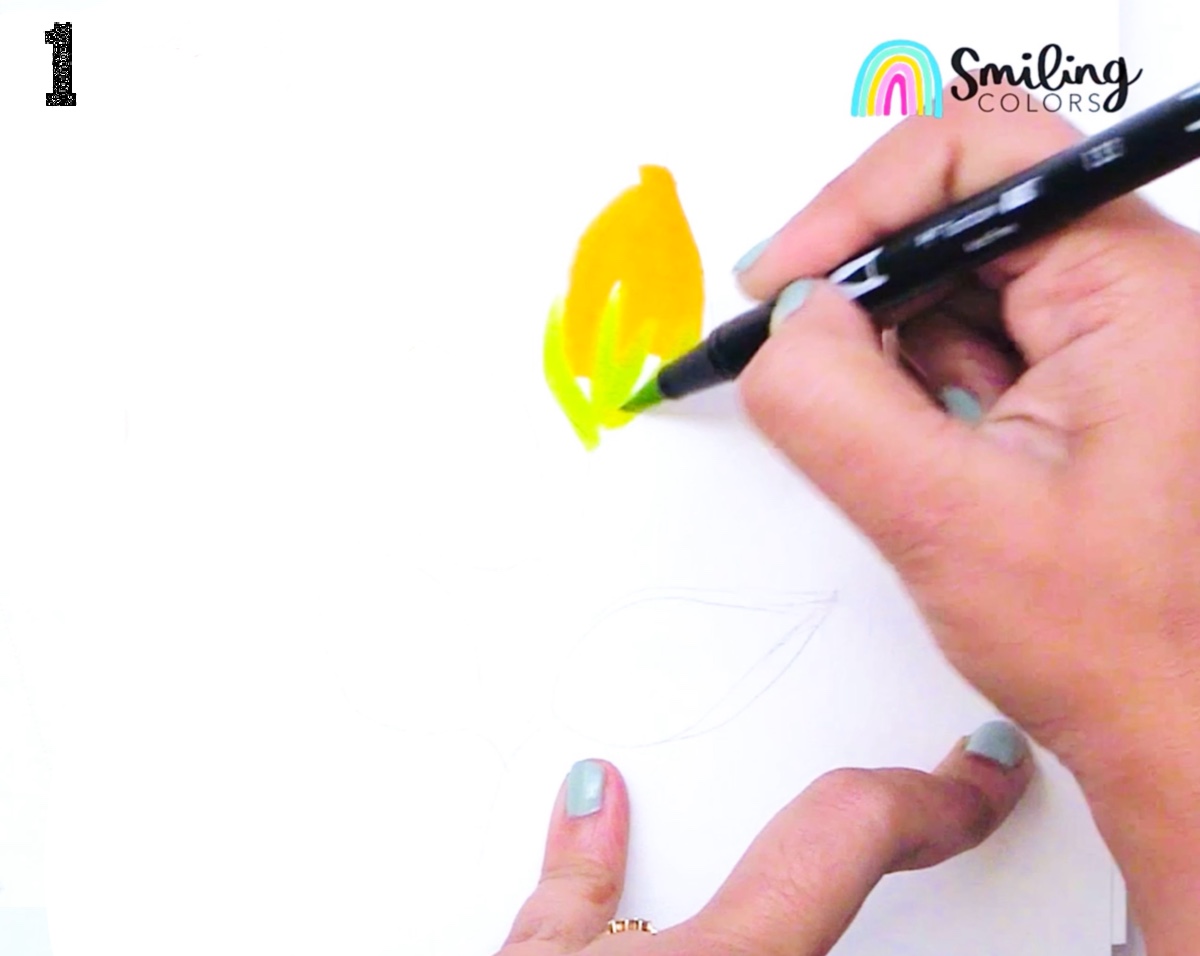
Yellow Base: Fill about two-thirds of the leaf with your yellow brush pen. Don’t worry about being neat or filling inside the lines perfectly—just get the pigment down!
Green Accents: Add green strokes at the base of the leaf or near the tip. -
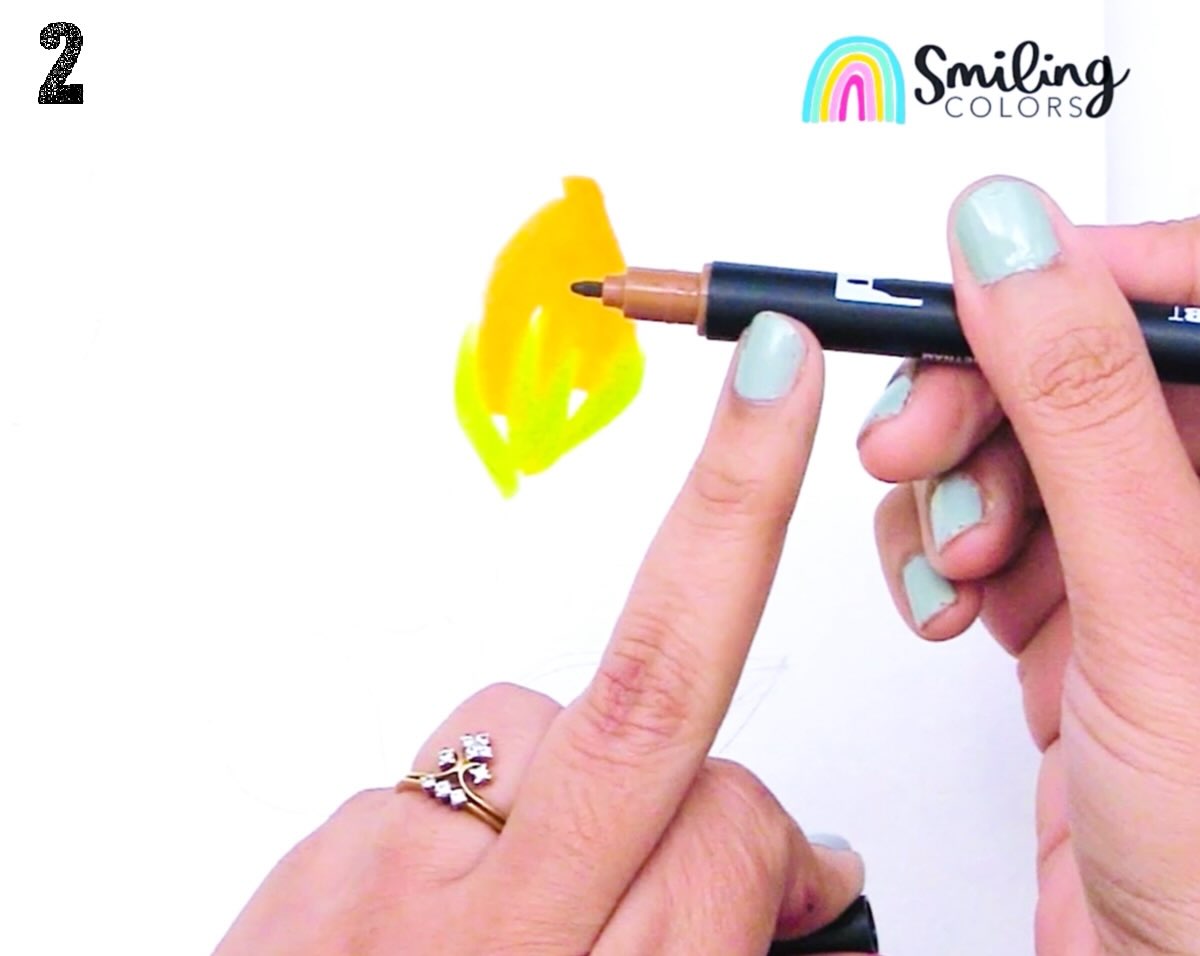
Step 2: Add small Brown Specks
Using the fine bullet tip of your brown pen, gently tap back and forth to add realistic speckled dots.
Key Tip: Work quickly! Apply the marker pigment to the paper and blend immediately before the ink fully soaks into the paper fibers. -
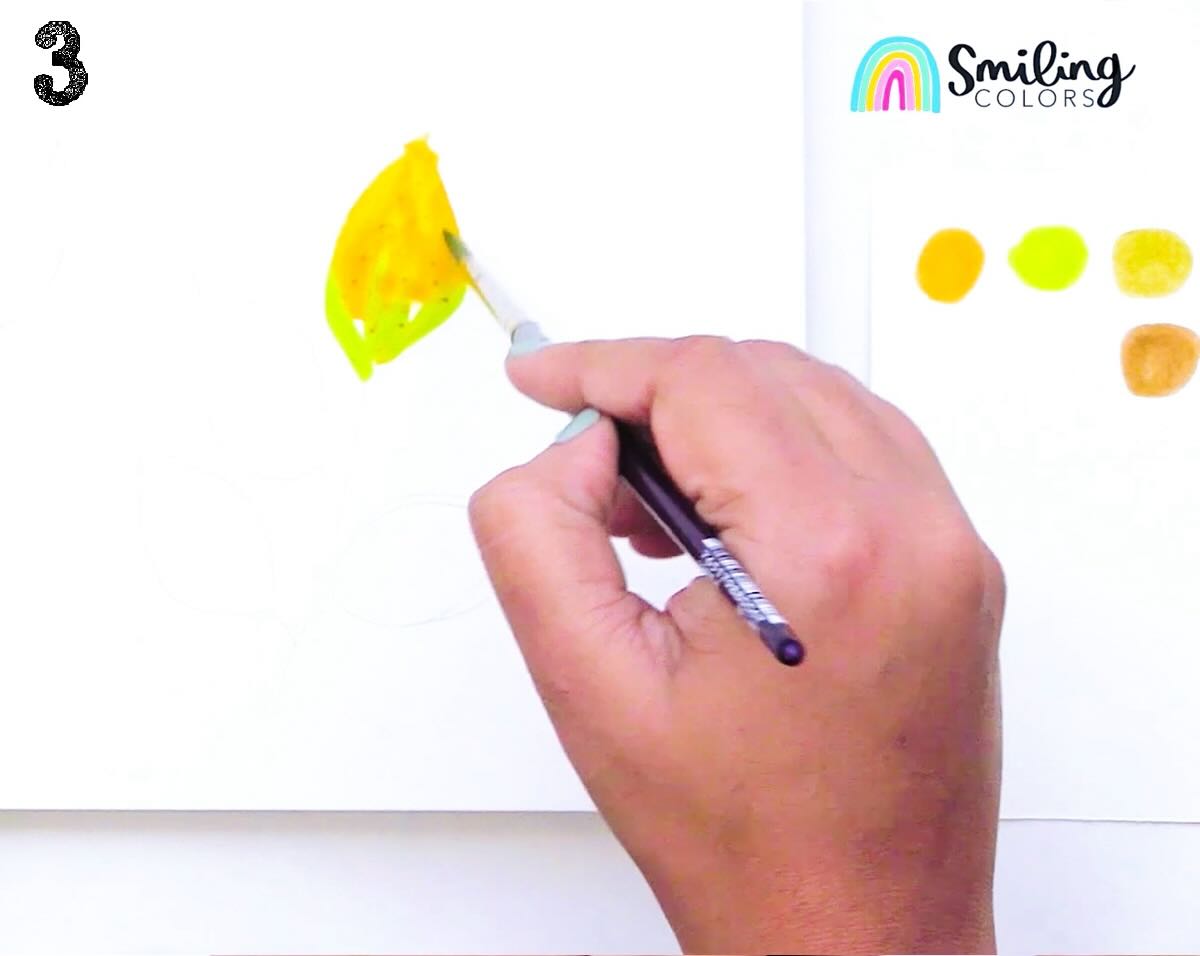
Step 3: Blend with a Damp Brush
Dip your round paintbrush into water and swipe the excess water along the rim of your cup. Your brush should be damp, not soaking wet. (If it’s too wet, the colors will turn into one flat wash and lose their lovely variation!)
Always blend the lighter color first: Bring your damp brush to the yellow section first, then flick the brush into the green area to softly merge them.
Shape the leaf: Use the tip of your paintbrush to define the crisp, pointed leaf edges and smooth curves. -
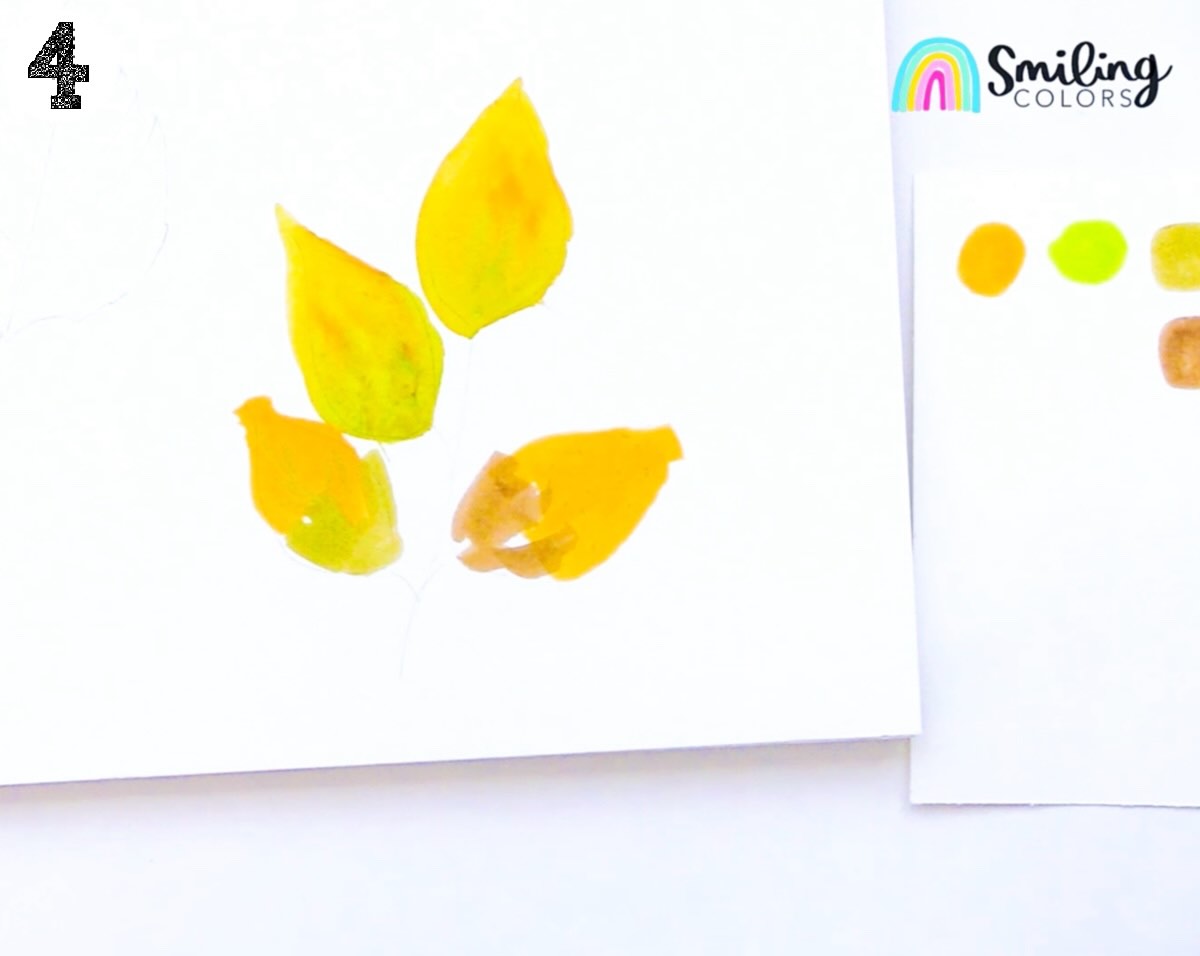
Step 4: Add Variation to Each Leaf
Repeat the coloring and blending process down the branch. To make the branch look natural, vary the color distribution on each leaf:
Add a splash of olive green to the top tip of one leaf.
Place brown tones at the base with green dots over top on another. -
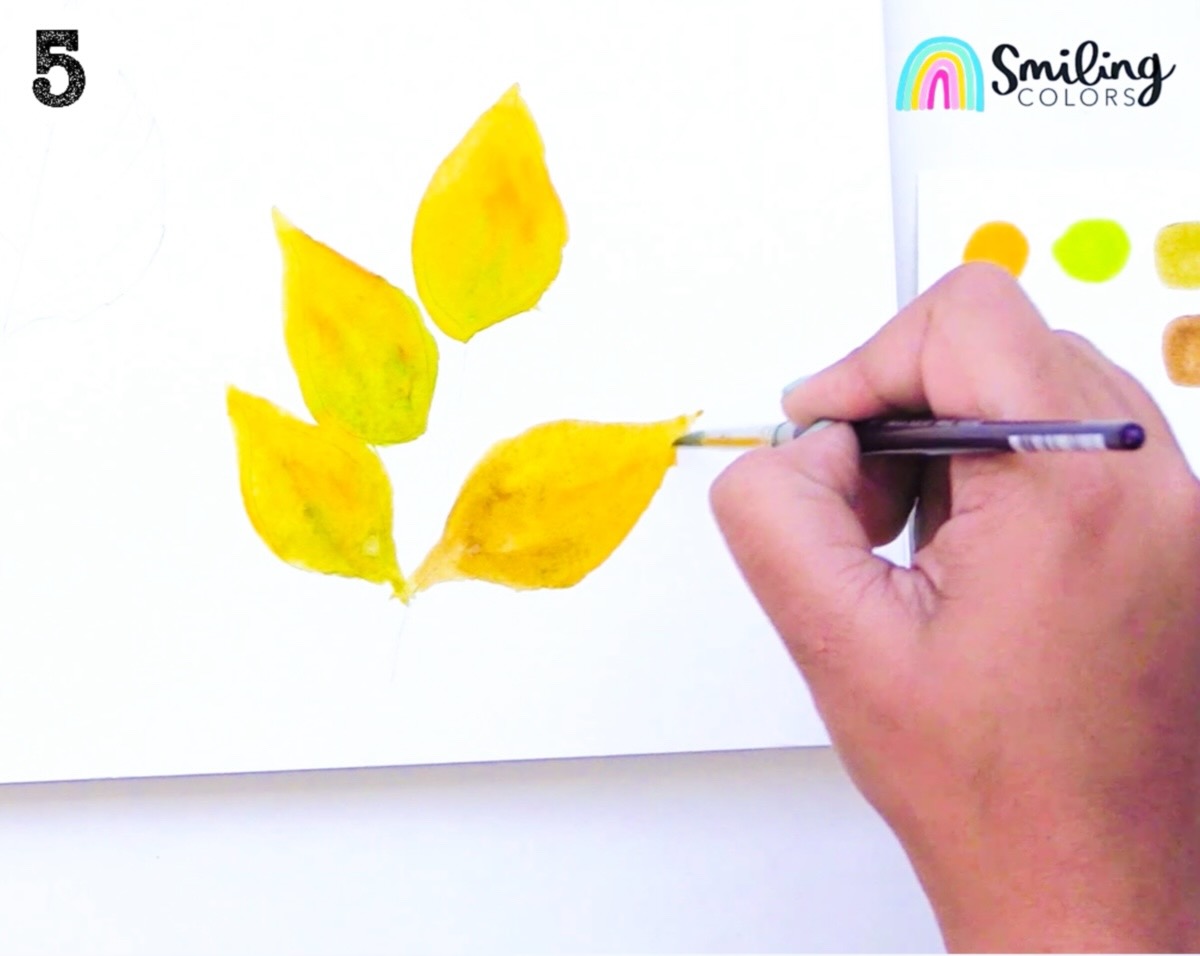
Step 5: Define and Shape all of your Leaves
Always shape your leaf, give it neat curved edges and a pointy tip with your paintbrush and water. Do not do this while applying marker to the paper.
-
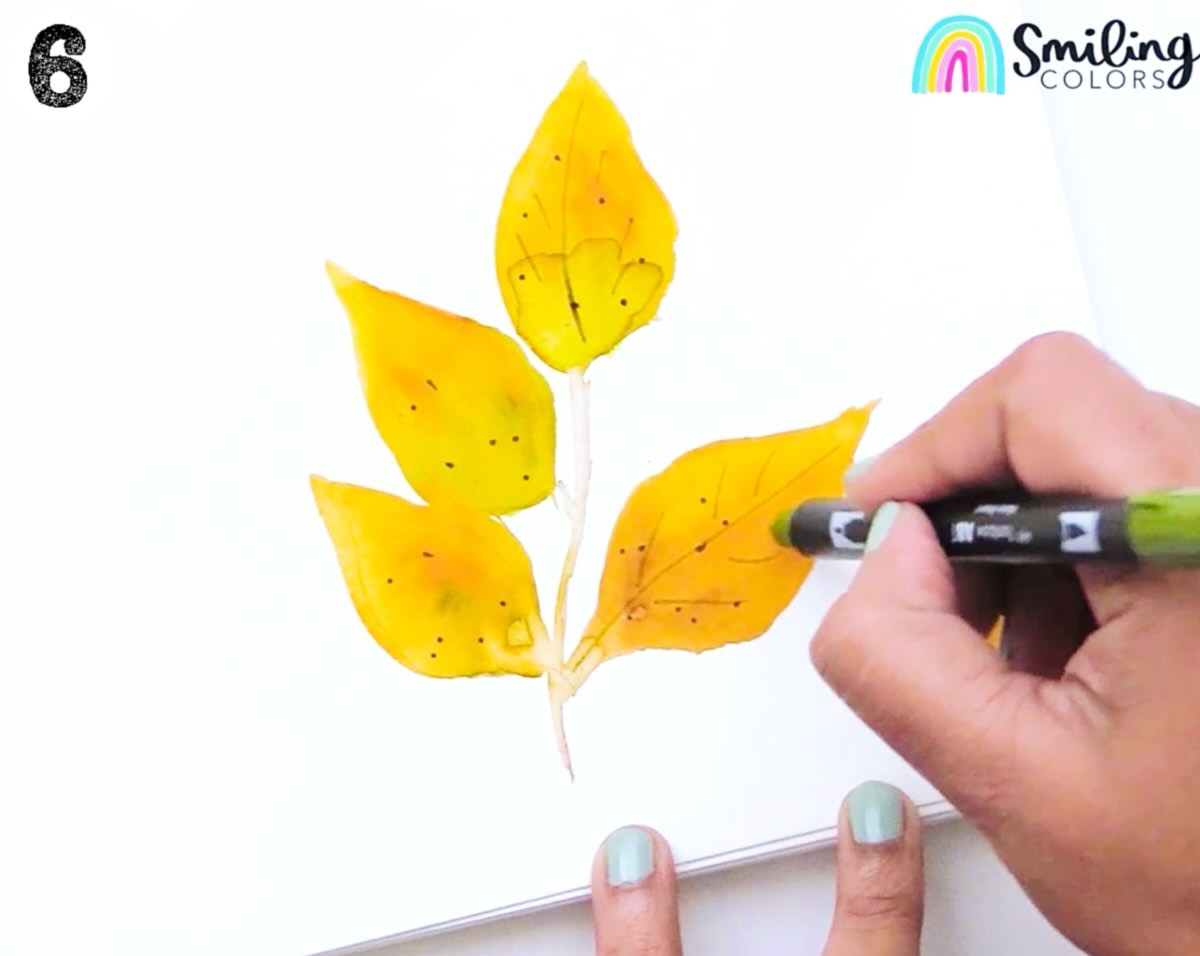
Step 6: Paint the Stem and Final Details
Connect the Branch: Use the fine marker tip of your brown brush pen to draw the connecting stem lines between the leaves. Lightly touch the lines with a damp brush to soften the edges.
Add Veins & Texture: Once the leaves are almost dry, use the darkest brown fine tip to tap a few more dots and draw delicate leaf veins.
Quick Tips for Botanical Realism
- Play with Seasonal Color Palettes: Try painting the same branch layout in deep rustic oranges, or fresh spring greens!
- Always Vary Leaf Sizes: Make the leaflets near the base of the branch slightly larger than the leaflets near the tip to create natural perspective and realistic growth.
- Avoid Perfect Symmetry: While ash leaves grow in opposite pairs, angle a few leaflets slightly upward or curl the tips to keep the painting from looking rigid or mechanical.
Watercolor Ash Leaf Branch Video
Hop on over to Youtube and enjoy this watercolor ash leaf branch video. Or click the video box below
Keep Painting: More Easy Leaf Tutorials
If you enjoyed this watercolor leaf branch tutorial, building a full autumn leaf collection is a fun next step. Here are a few step by step guides to help you practice different leaf shapes
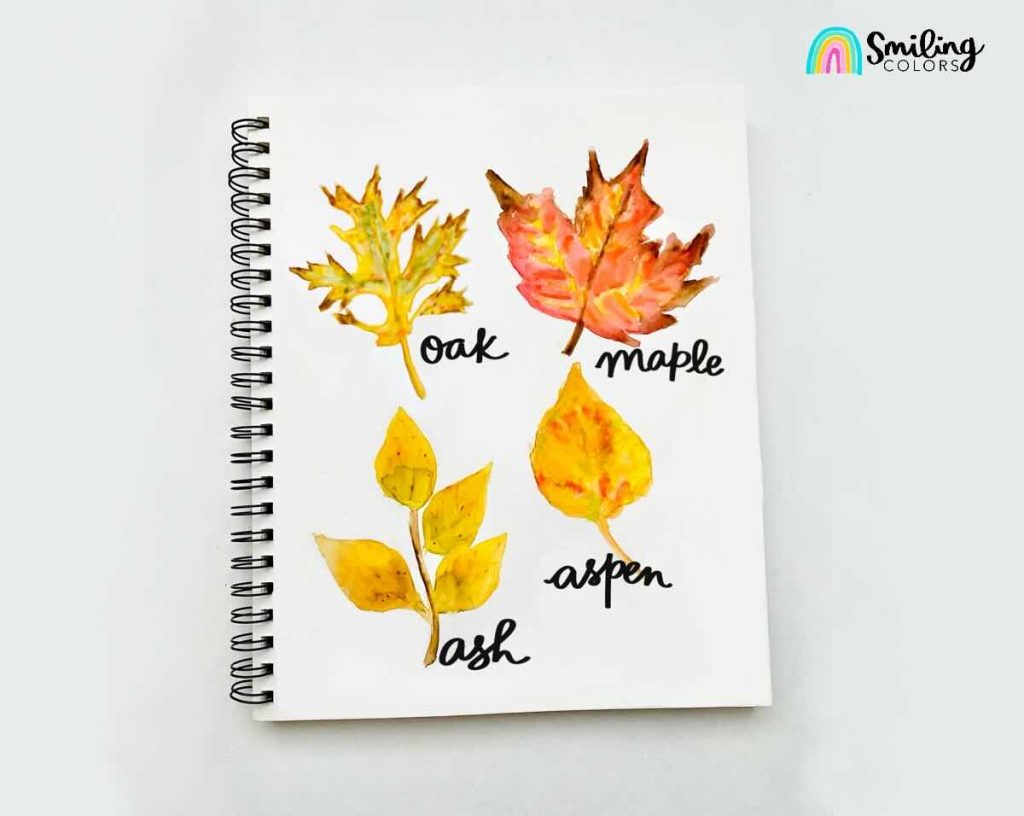
- Watercolor Maple Leaf Tutorial – Learn how to blend vibrant reds and golds on multi-pointed leaves.
- Easy Watercolor Oak Leaf – Practice painting rounded lobes and deep, earthy autumn tones.
- Watercolor Aspen Leaf Tutorial – Master delicate heart-shaped leaves with bright golden washes.