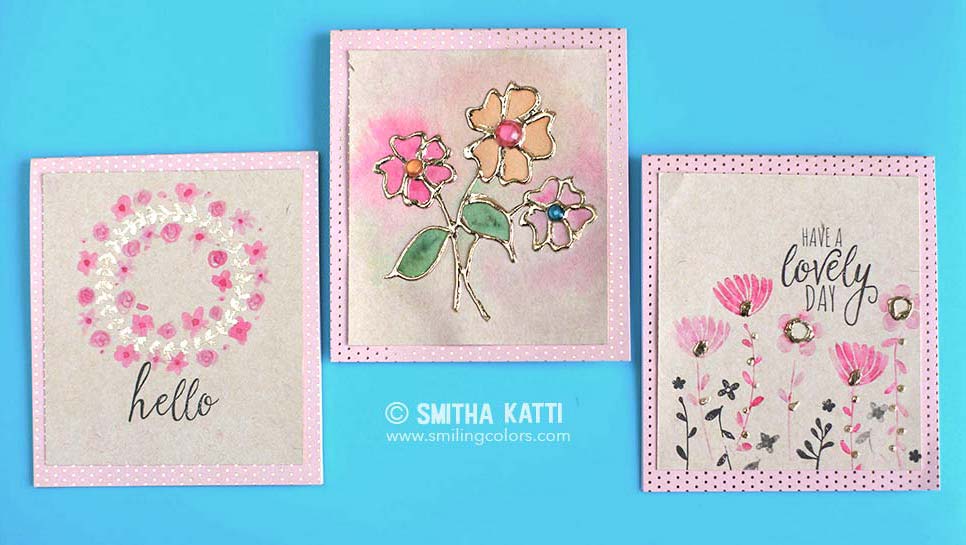
You don’t need a fancy laminator or any special equipment for Gold foiling on paper! Today I’m sharing 5 easy ideas using just glue that will make your cards look special.
Gold foil sheets are made to be heat reactive and are slightly stronger than the uber-delicate Gold Leafing. Gold Foiling often calls for a laser ink printer + toner but today I’ll make it super simple and instead use just glue that we all have at home already.
ALSO READ: The Best Tombow Adhesives: What glue to use when?

gold foiling on paper VIDEO
In this how to tutorial video I show how I add gold foil on paper and then watercolor onto that paper too! Click the video box below or watch the video in HD on YouTube, by clicking HERE
What glue do you use for foil?
I have used the MONO Multi Liquid glue here, it dries tacky to the touch an easy to use with gold foiling.
How to Foil without a Laminator
We are adding gold foiling on paper using no heat- just some plain old glue. To see how these cards were made, watch the video above 🙂
1. Gold foil by stamping with glue


Make your own glue ink pad– Fold a paper towel, mist a little water onto paper and then squeeze some glue onto it. Using an old credit card press glue into the moistened paper. Remoisten and add more glue as needed upon use.
- Press stamp onto the glue ink pad. If you need to you can press the glue ink pad paper itself onto the stamp to ensure even coverage.
- Stamp glue design onto cardstock. Let the stamped image dry for a minute.
- Trim and place a piece of gold foil, shiny side up onto the stamped image.
- Burnish the foil using a dry paintbrush.
- Lift foil at one edge and carefully peel to reveal the gold foiled stamped image.
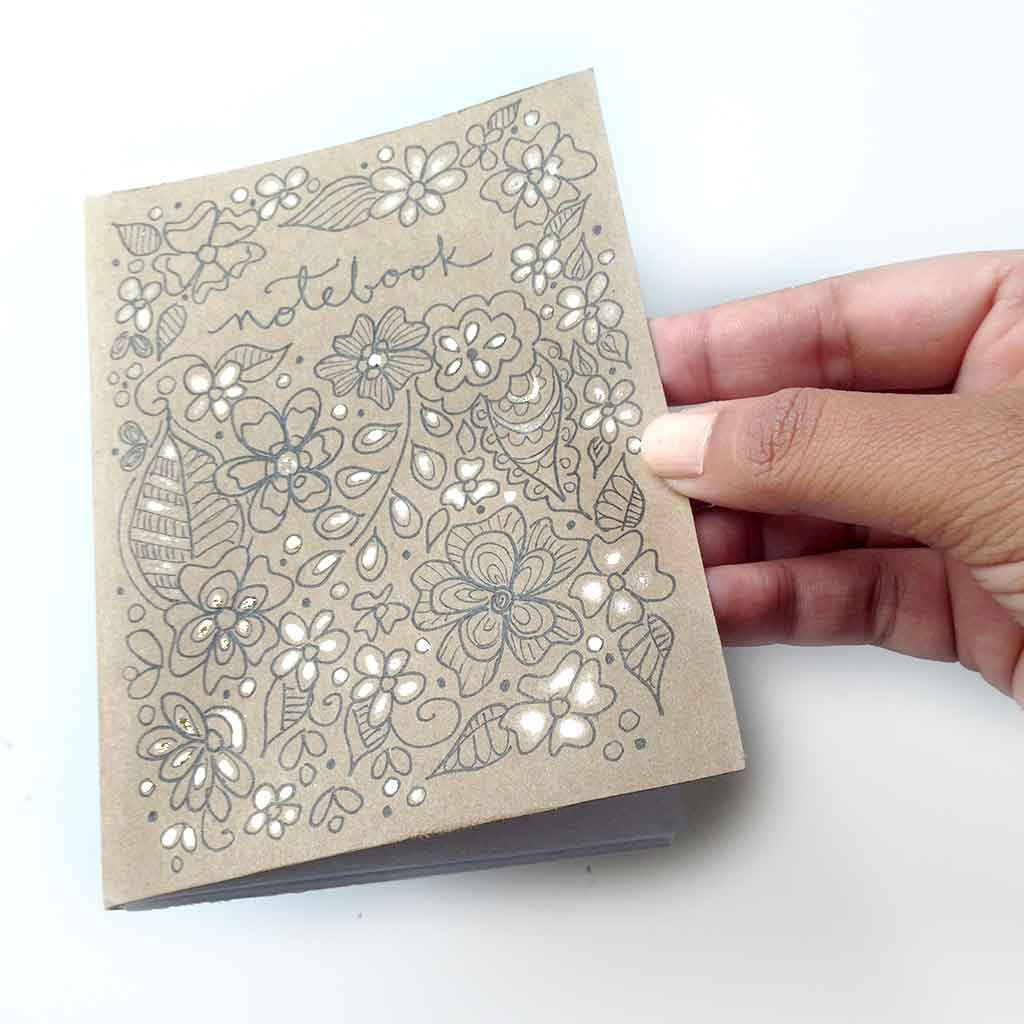
2. Foil glue art
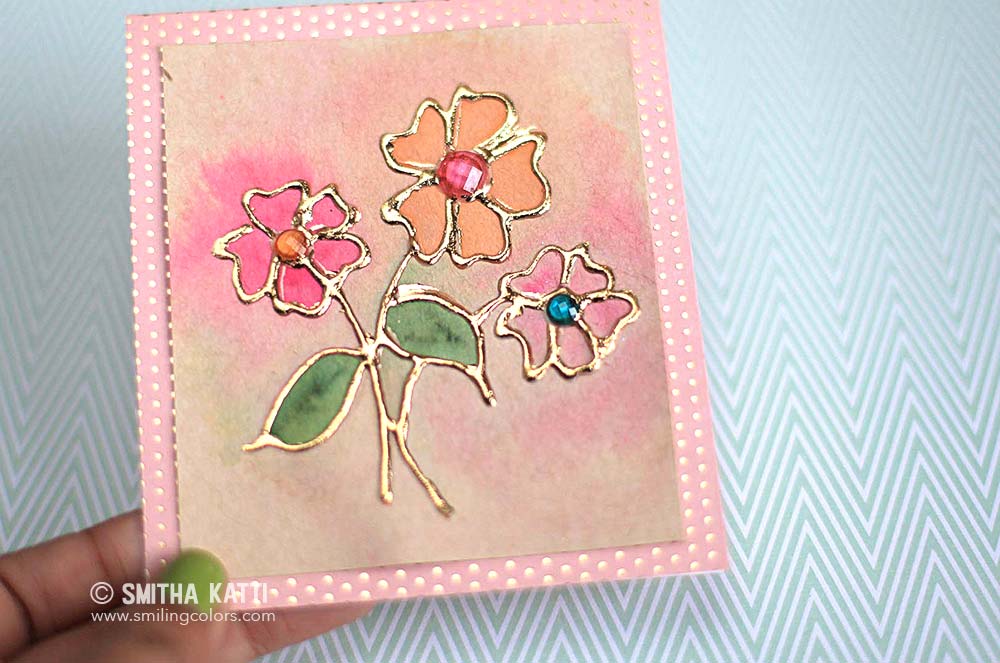

- Doodle a few flowers and leaves onto a piece of cardstock using a Dual brush pen that is close in color to your cardstock.
- Using the fine tip of the Tombow Mono Multi Liquid Glue, carefully draw over the doodle. You can skip the marker step and directly doodle with just the glue if you are comfortable with that.
- Optional, add gems to the center of the flowers while the glue is still wet.
- Set aside and let dry till the glue gets tacky and turns clear from white.
With this particular glue, you can easily let it dry for unto 12 hours and the glue will remain tacky.
- Once the glue has dried, its time to color. This is the best beginner cheat water-coloring ever. Using the Brush pens or watercolors on a brush add color to the flower petals and leaves. Now mist with just water generously all over the flower till the color pools and overflows over the glue lines.
- Once the color has dried, press a gold foil sheet, shiny side up onto the cardstcok. press down firmly and evenly all around.
- Lift carefully from one edge and peel off to reveal the gorgeous gold foiling.
- Press foil again over any areas that haven’t got complete coverage.
If there ever was a ta da moment in crafting- gold foiling would be it.
3. Glue Pen for foiling


- Using a Glue Pen for foiling, add small doodles all over your card or paper.
- The ink of the pen is a transparent glue and can be seen easily while tilted to the light
- Let the glue dry for a minute
- Trim and place a sheet of gold foil on top and burnish
- Lift gold foil slowly to reveal the gold detailing!
4. ADDING SMALL GOLD ACCENTS
I love this method- it is so easy to add just a hint of sparkle to any stamped image.
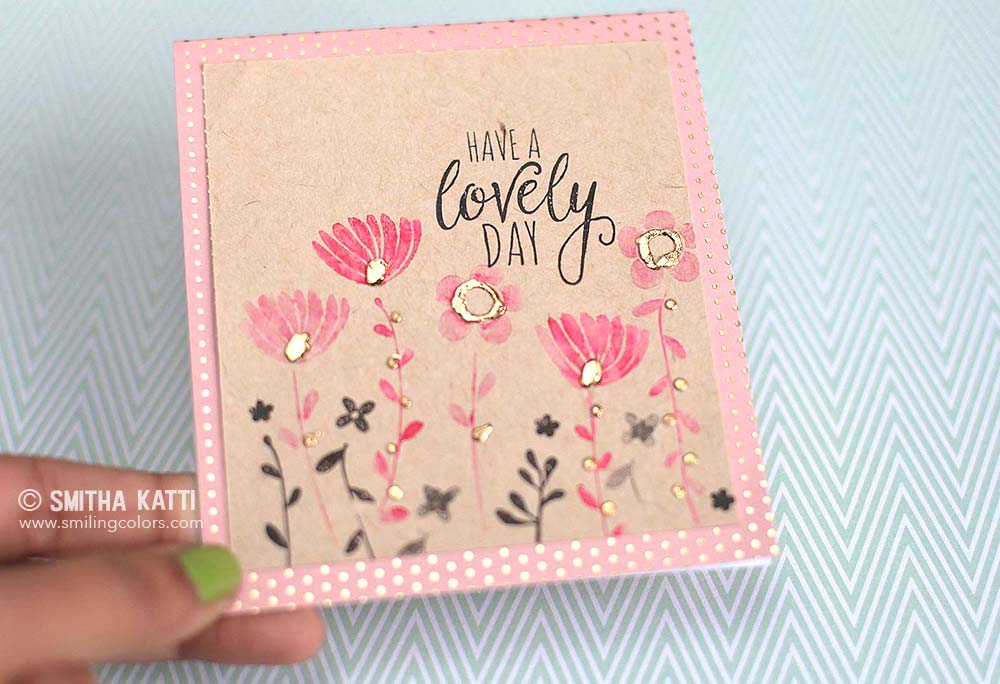
- Place stamp onto a stamp block and color over the stamp using a Tombow dual brush pen.
- Stamp onto cardstock.
- To give it a watercolor feel, pick up some water onto your paint brush and move the color around to define the flower a little better.
- Repeat this with different flowers and different colors. I used just two shades of pink for this card.
- Once all the flowers are stamped, using the Tombow Mono Multi Liquid Glue or any other white glue draw in the flower centers.
- Add a few dots of glue near the leaves too as highlights.
- Put this aside and let dry for at least an hour or until the glue is just tacky to the touch.
- Trim the gold foil sheet and place on top of the tacky glue with the shiny side facing up.
- You can see that I am reusing the left over foil from the last card, there is no need to waste that.
- Press foil firmly onto the paper using your finger or a dry paintbrush.
- Lift foil up carefully from one edge to reveal the foiling.
- If in any area the foil didn’t cover completely, simply press the foil onto that area again and only the exposed glue areas will re-foil.
5. Foil Lettering
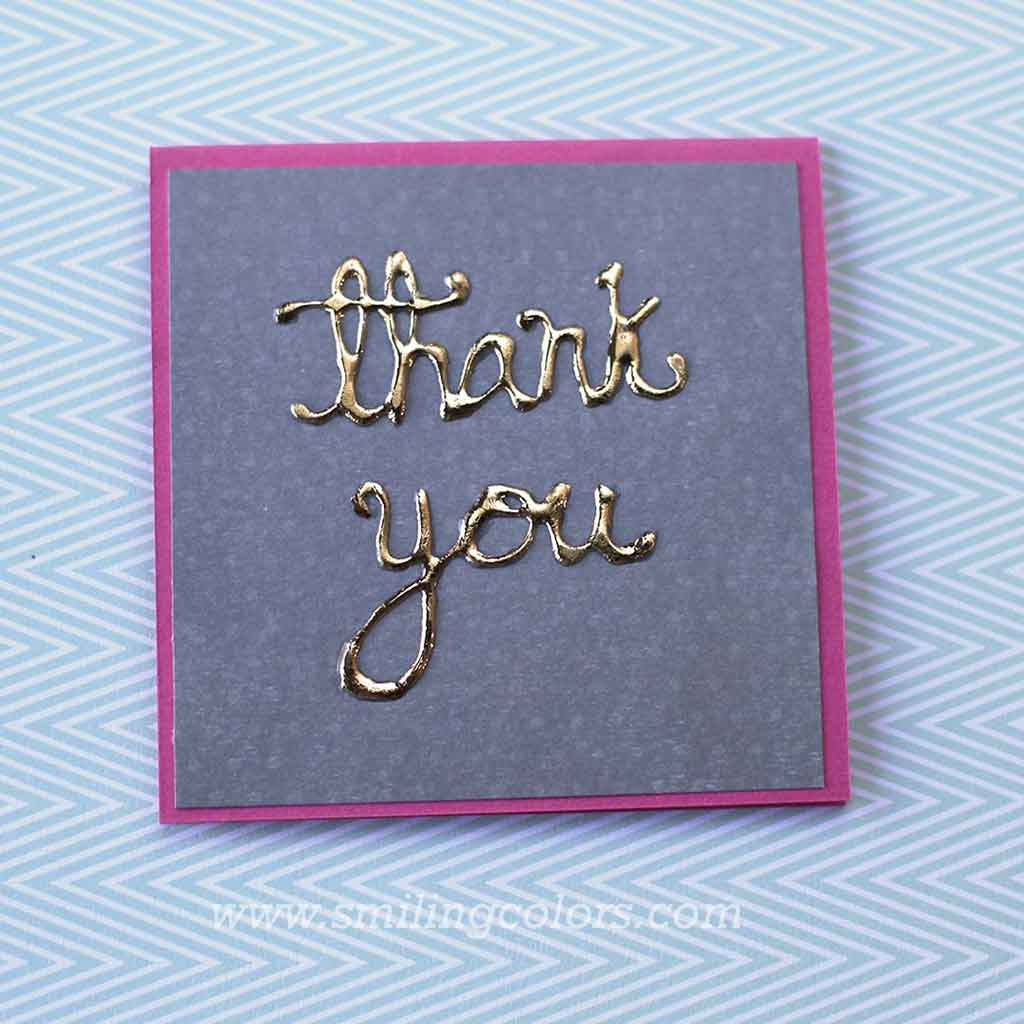
For easy Foil Lettering, first write out words with the glue. Go slowly when writing with glue and apply even pressure to the bottle so that the glue flows out of the nozzle evenly without any spurts. Let dry and then cover with foil.

GOLD FOILING CONCLUSION:
Applying Gold foiling on paper can be as easy as adding glitter. All I have used is glue and some waiting time. The Glue pen adds just a slight texture while the liquid glue adds a raised texture. Either way Gold Foiling adds a beautiful touch to any handmade card!


Hi I’m Smitha! I live in Minnesota with my husband and two daughters. You’ll always find me painting florals in my sketchbook. And I love the sheer joy of making something with just my hands! But my bigger love is capturing it all on camera Read more.
Thanks for stopping by today! If you learnt something from this tutorial, do share this post with a friend or on social media! Tag me @smithakatti #smithakatti I’d love to see what you create!


These are all so pretty! Love the gold! Thanks for joining us at the Waffle Flower Challenge!
Thanks for the foiling tips! and for joining us at Waffle Flower Crafts challenge:)
They all are gorgeous! Thank you for the video tutorial how to use foil!
Just, incredible tecniques! Your three cards look amazing! Congratulations!
I looooove all that gold foil. So pretty! Thanks for playing with us at the Waffle Flower Crafts challenge.
These are so pretty!
Love this soooo much. Something I think I can do for a change. Thank you forever!!