Using Fabric Markers is the best and quickest way of writing on fabric. You can easily customize T-shirts, bags, or any fabric of your choice with your imagination!
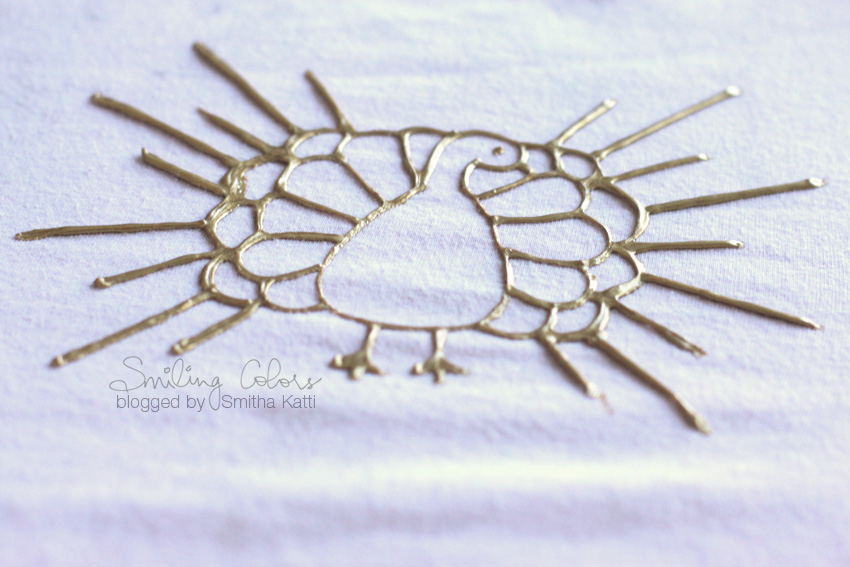
When it comes to Writing on Fabric you can use Fabric Markers for the best and quickest results. You can also explore using Dimensional Fabric Paint to Hand Letter on T-Shirts for a textural look and feel.
best pens for writing on fabric
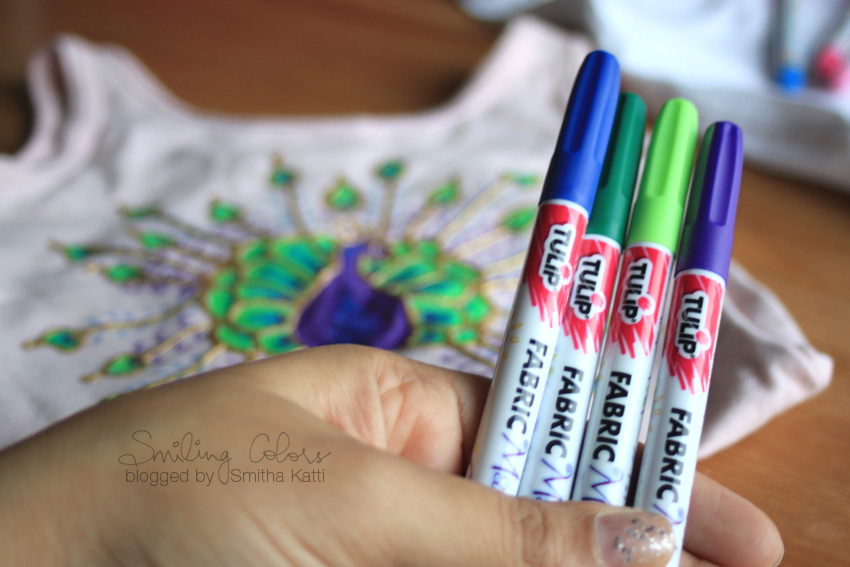
You always want to use pens specifically made for fabric like these Tulip Fashion Markers Fine Writers. The ink in the markers is Non Toxic so kids can easily use them too.

how to write on fabric
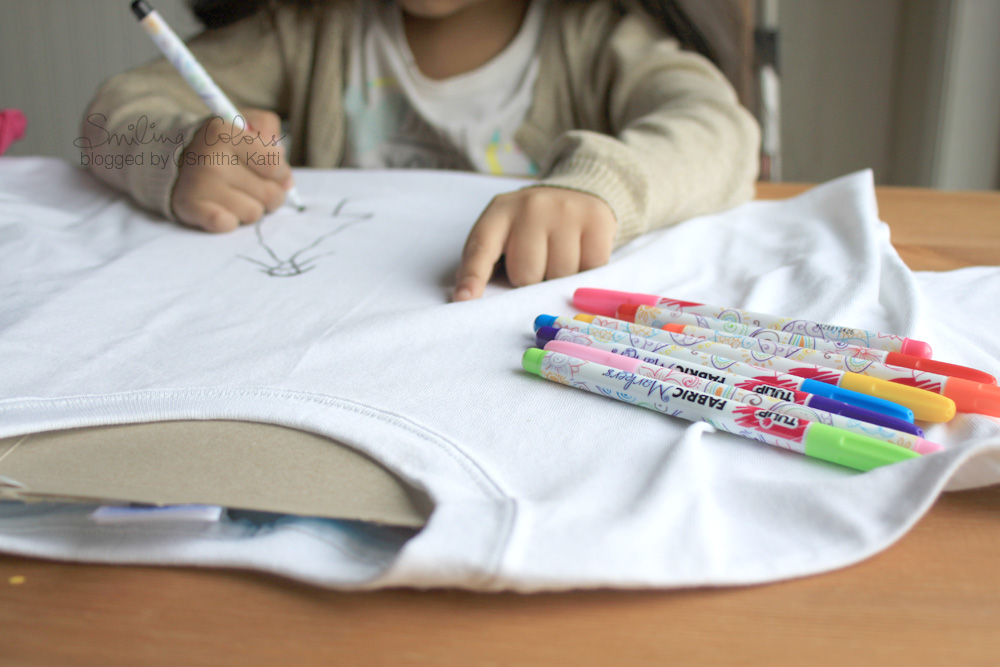
Here is a craft idea fun for kids – all you need are fabric markers, a white T-shirt and their imagination. Writing on fabric could not be easier!

The fun in this project is that you get to spend crafty time with your kid. The beauty of this project is that you will be surprised at what they draw and it will surely be special.
I had my girl draw something on a T shirt for dad. This made a cute Father’s day gift for sure! And Dad wore it as his pajama shirt and the girls loved it!
TIP: Cut out a cereal box and place it inside the T-shirt to make sure that the marker does not bleed onto the back of the T-shirt.


Do fabric markers need to be set?
Using Fabric Markers is very easy- you simply draw your design and then iron on the back of the fabric to heat set it in place. Some markers don’t even need heat setting- make sure to read the manufacturers recommendation. These Tulip Fabric Markers have ink that dry quickly and permanently without heat setting
Writing on Fabric With Dimension:
You can draw, doodle, write and even layer colors easily with Fabric Markers.
Step 1: I used this Dimensional Tulip paint to freehand a peacock design here. I just took the bottle and drew the peacock using the bottle nozzle. Draw slowly for best results.

This was on a Saturday, while my husband was drinking his coffee at the kitchen table as I crafted there (because all good crafting takes place in the kitchen right?) He was so startled when I started to paint the peacock without drawing it first. So maybe you should use a pencil and lightly sketch out the peacock before. And then use the dimensional paint to go over the sketch just to be safe.
Step 2: Let it the dimensional paint dry. Walk away from it for a while because you want it to be good and dry. Next, use the Fabric Markers to color in the peacock feathers. The marker color does not bleed much, and the color is absorbed by the fabric very nicely.

Step 3: Add some final touches with some paint dots.
Step 4: Let dry for 12 hours and iron on the reverse side to permanently embed the fabric paint


Hope these give you some craft ideas for these rainy spring days! I especially love giving my kids a blank white shirt with Fabric Markers to see what they can create and then wear 🙂

Hi I’m Smitha! I live in Minnesota with my husband and two daughters. You’ll always find me painting florals in my sketchbook. And I love the sheer joy of making something with just my hands! But my bigger love is capturing it all on camera Read more.
Thanks for stopping by today! If you learnt something from this tutorial, do share this post with a friend or on social media! Tag me @smithakatti #smithakatti I’d love to see what you create!


