Making your own Cute labels is easier than you think! This post has 5 creative ideas for DIY label making beginners. Start organizing today!
Pull out your paper crafting stash, markers, and I’ll show you how to easily make labels right at home! You can choose which style works best for you!

1. Doodle Florals to Make Labels that are pretty

- Trim a piece of cardstock or heavier watercolor paper and then doodle a frame around that with your pen.
- These flowers are super simple to draw and add color too.
- Add a hand lettered word and your label is ready!
- Adhere this onto your bin with some removable tape runner adhesive.


2. Make Labels colorful with just cardstock!
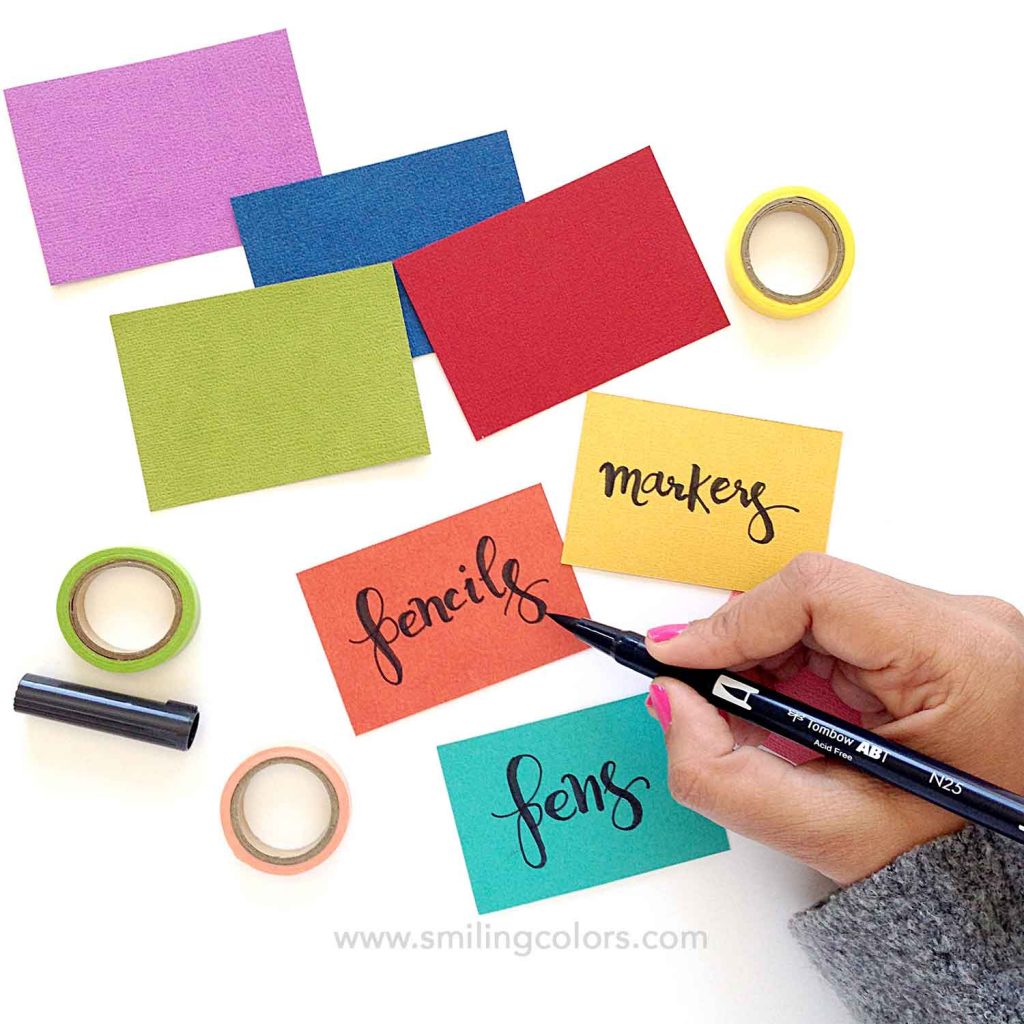
These colorful labels were made by just trimming down cardstocks and layering them!

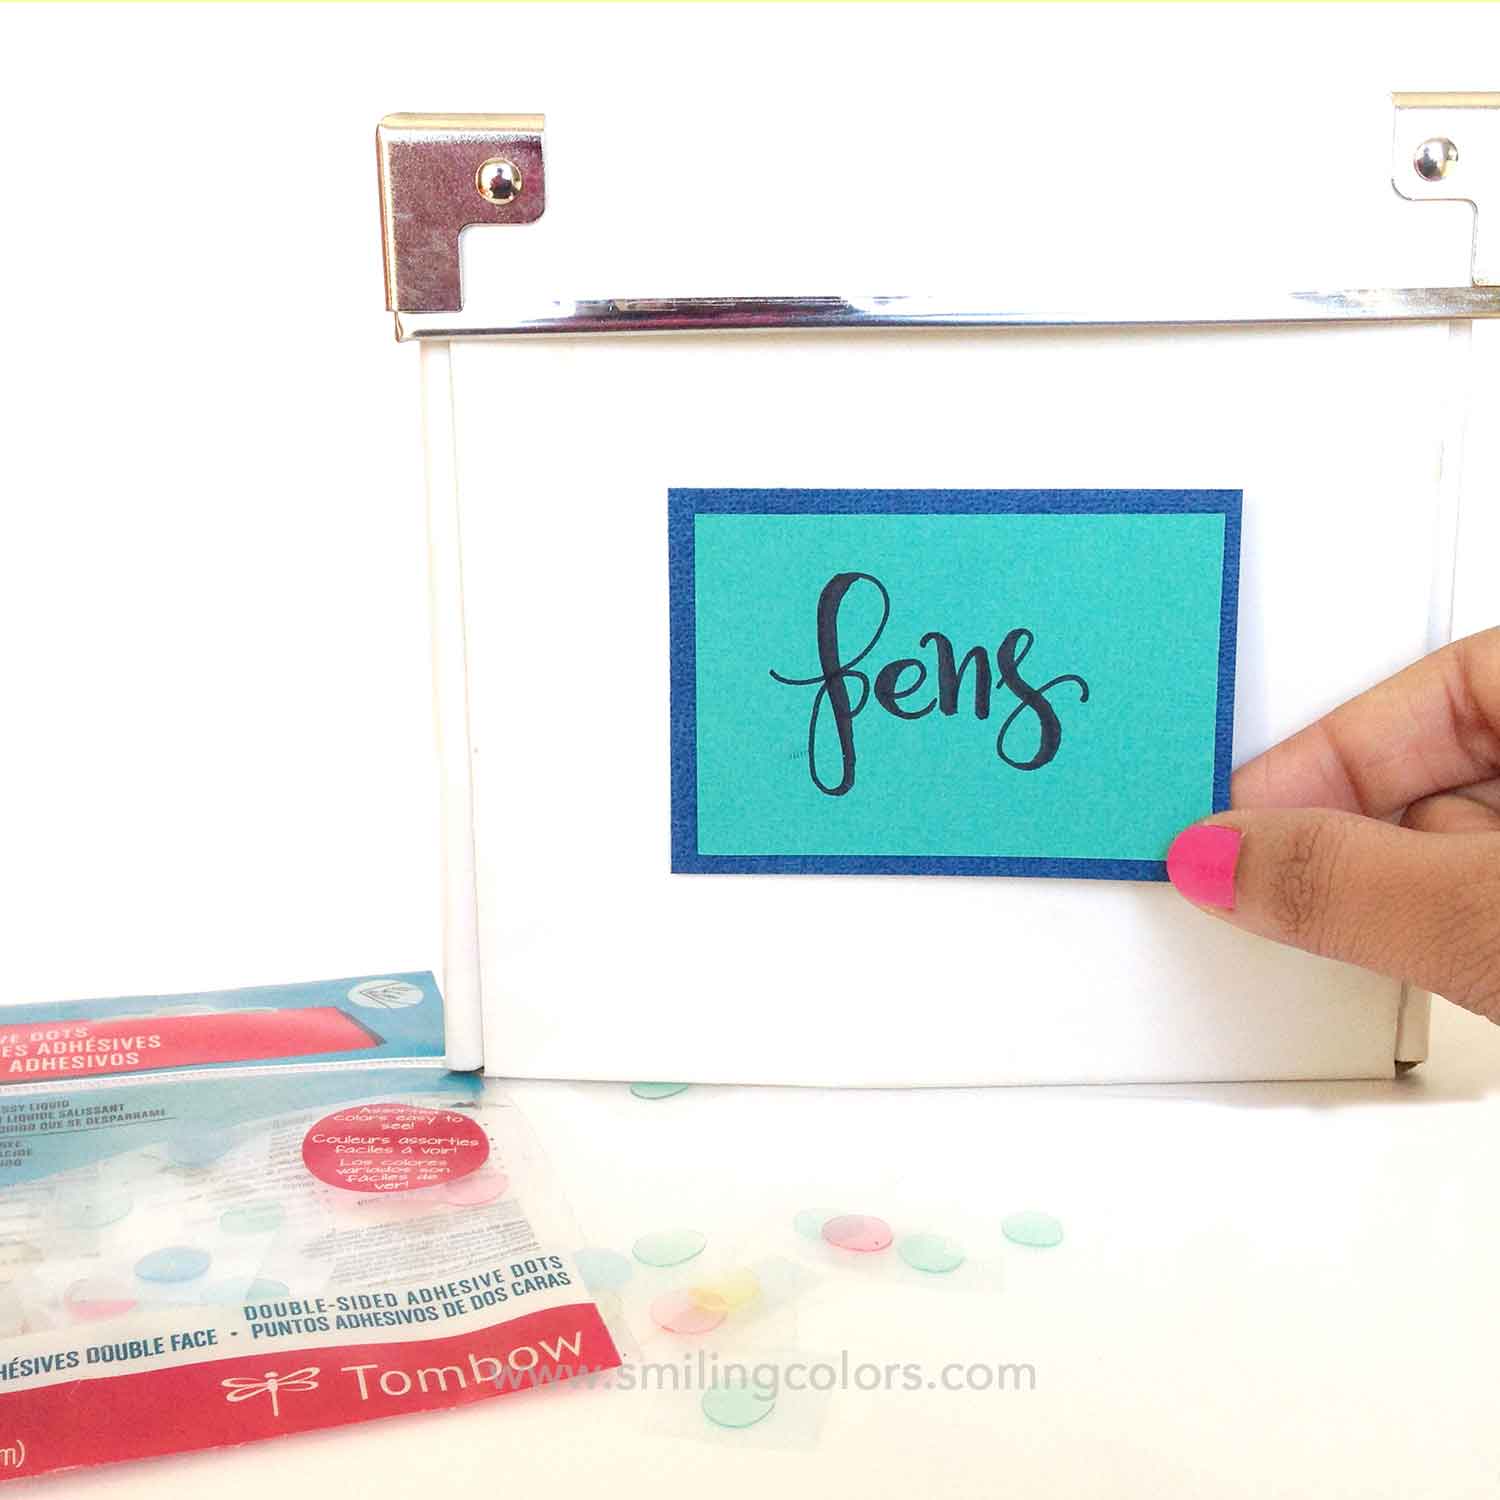
I used the Tombow Permanent adhesive + to stack my papers and then used the adhesive dots to add the labels onto my boxes.
The labels are bold and bright and absolutely brighten up my space! Also, I can now tell my little one to put the marker back into the yellow labeled box!


3. Make labels in a fancy shape using a paper punch
I love how these look- the scallop design is pretty and yet useful. I recently reorganized my work space and these white boxes, which I bought at ikea by the way, look great here.

Watch the how-to tutorial for these DIY cute labels by clicking the video box below or To watch the video in HD on YouTube, click HERE
4. Use a Label Maker for neat print.

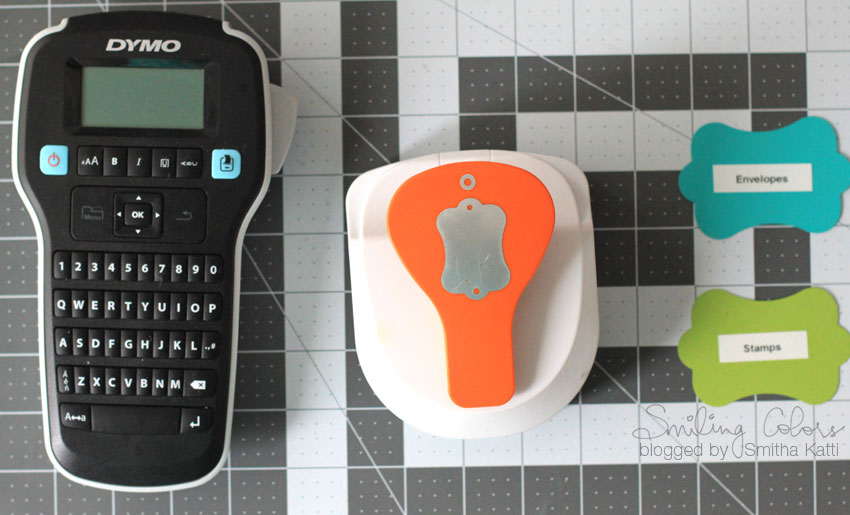
Another essential thing for keeping your space organized is a label maker! I bought it about 8 months ago and cannot get enough! I like to put the printed labels onto pretty tags that I punch using the Fiskars Tag Maker Punch.

5. Use pretty stickers that add shimmer to your labels!
These labels below, simply make a smile and I love walking past them in my craft room. They encourage me to always put my scissors and pens back where they belong. And yay for me for finally using up my favorite gold thicker alphabet stickers


Very cute labels. I love to organize. Stylish punch. Thanks..