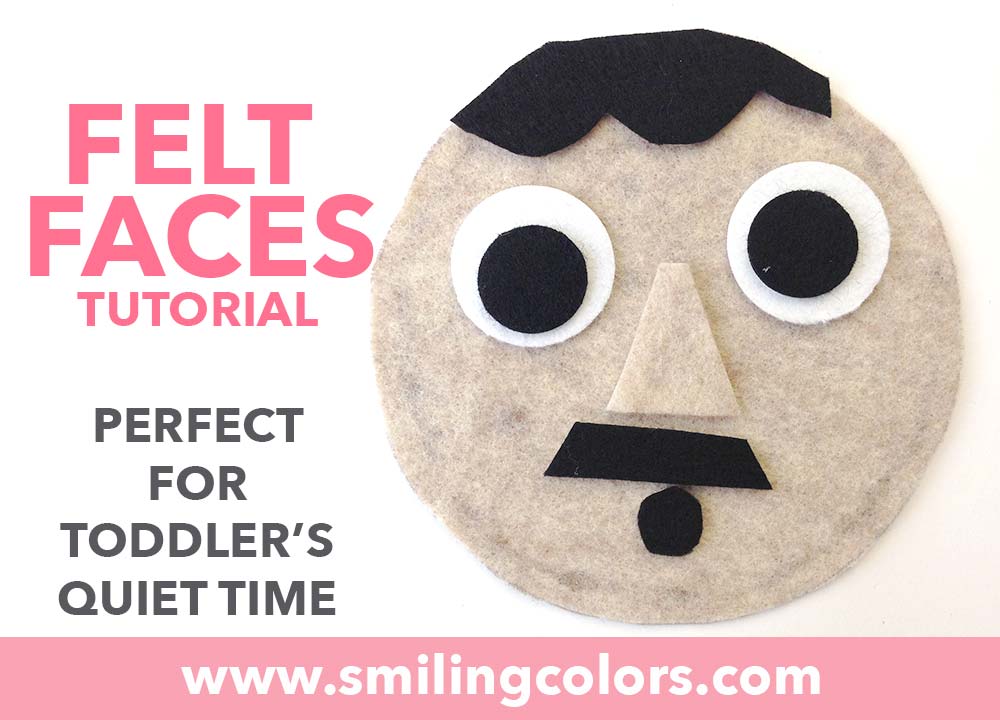
It will take you less than 30 mins to put together this bag of Felt Faces, and it will then keep your kids busy for hours and hours! This is a fun kids quiet time activity, and lets them explore different emotions and facial expressions.
This is a super cute recycled craft idea because you can use cereal boxes to keep the felt stabilized. Make sure you check out all of my previous Felt Craft Ideas for more inspiration!
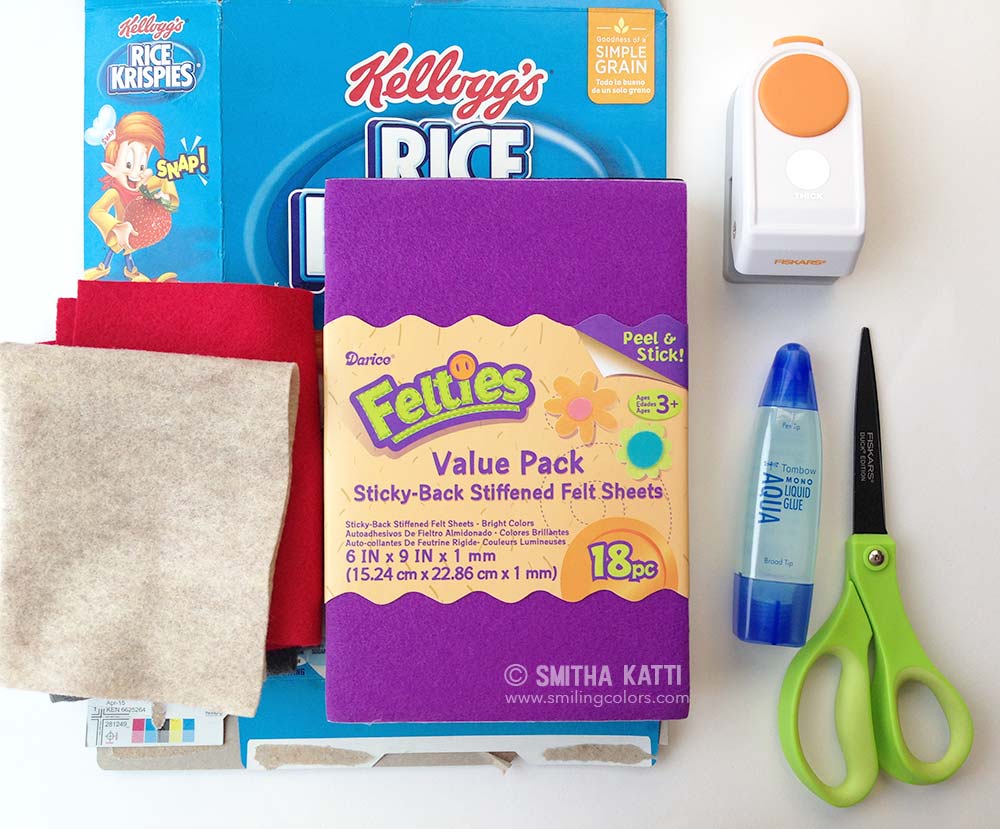
Supplies you will need:

How to make Felt Faces:
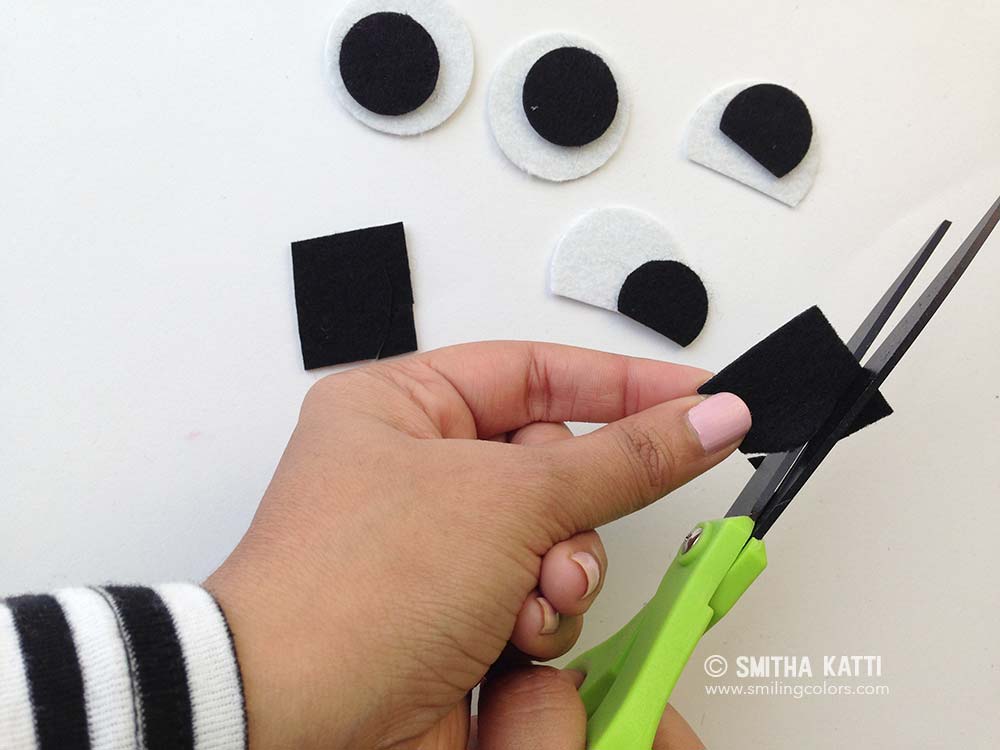
1. To make the eyes for the faces: Punch circles out of black and white felt (which has been stiffened, see supplies above) using the Fiskars thick circle punch.
These are special punches that have been designed to punch thick materials- don’t try this with your regular punches. If you do not have this punch, try Die Cutting Felt into the shapes you need. Or just use a pair of scissors to cut out the shapes.
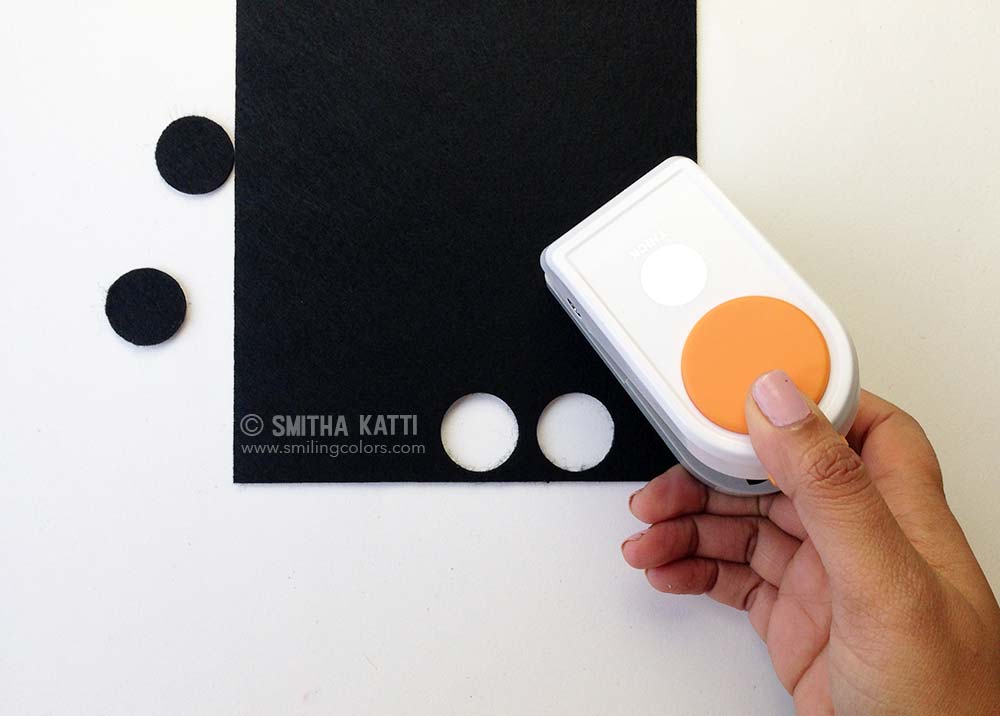
Make sure that the felt has a paper back to stabilize it before punching. If you place regular craft felt in these thick punches, it will get stuck (I have made this mistake and jammed a punch!).
2. Cut out different shapes for the eyes, some half circles, some ovals, and maybe some small squares. I used the Fiskars Non Stick scissors here- because the felt has a sticky back and paper, this scissor makes cutting easy.
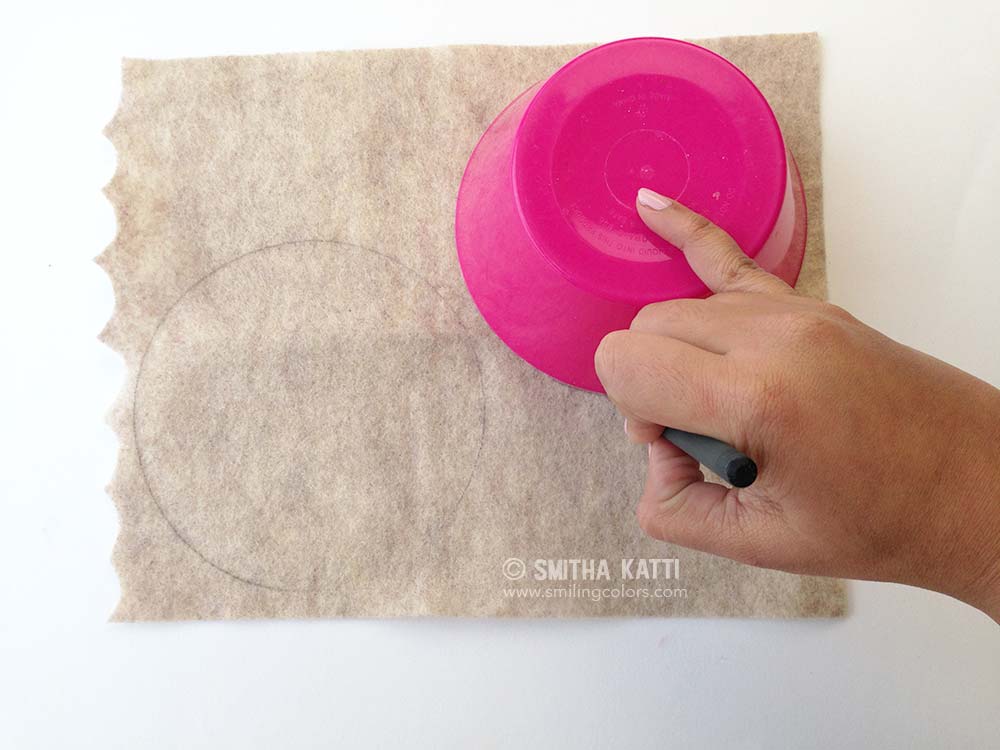
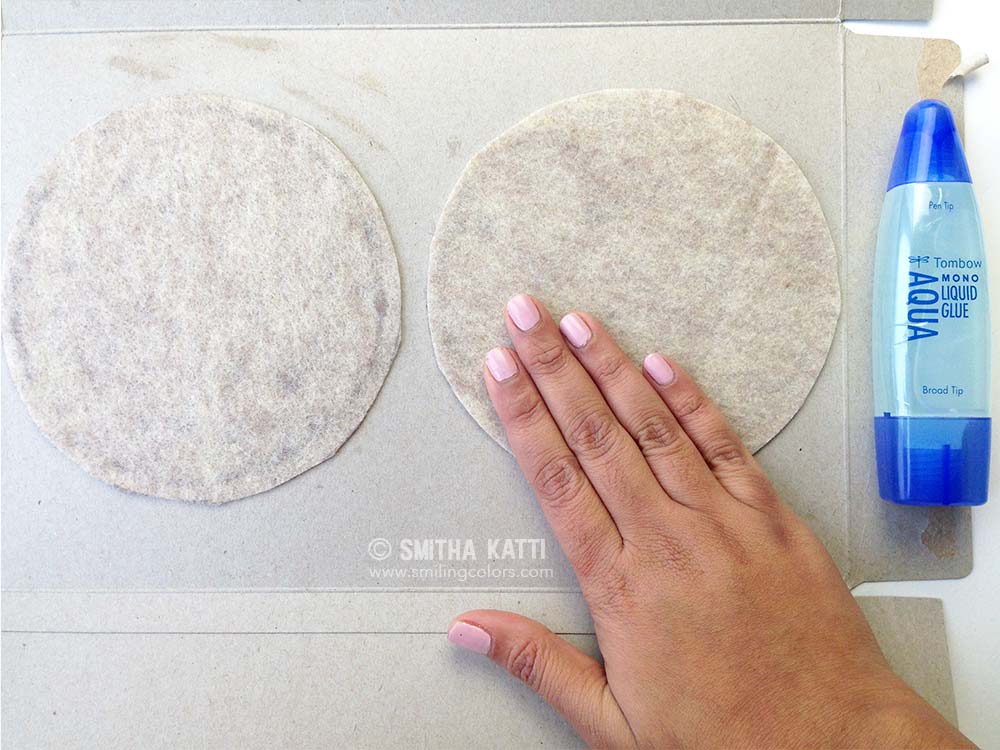
3. For the face, I am using inexpensive craft felt sheets. Trace a large circle for the face. Using a sharp pair of scissors cut out the felt circles that will make the faces.

I have made these Felt faces before, and they tend to fray after multiple uses. To avoid that, I am giving the felt some sturdiness by adhering it thin cardboard from a cereal box using a strong liquid glue. I have more details about glues in my previous post How to glue Felt together.
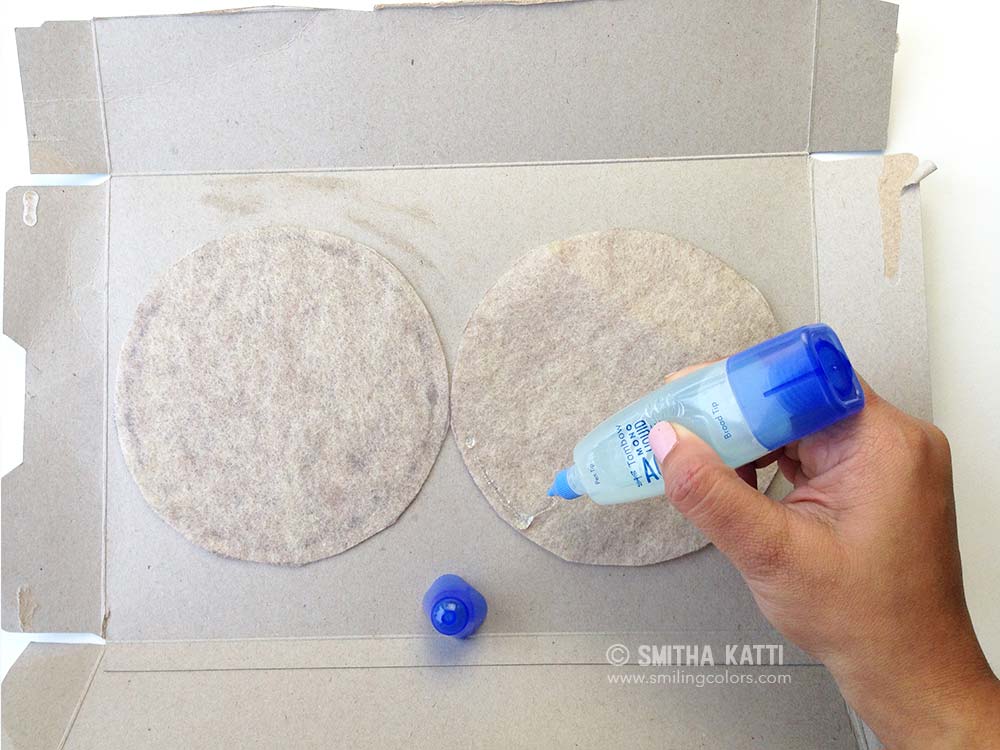
Press down the felt firmly to adhere and let dry for a few minutes.
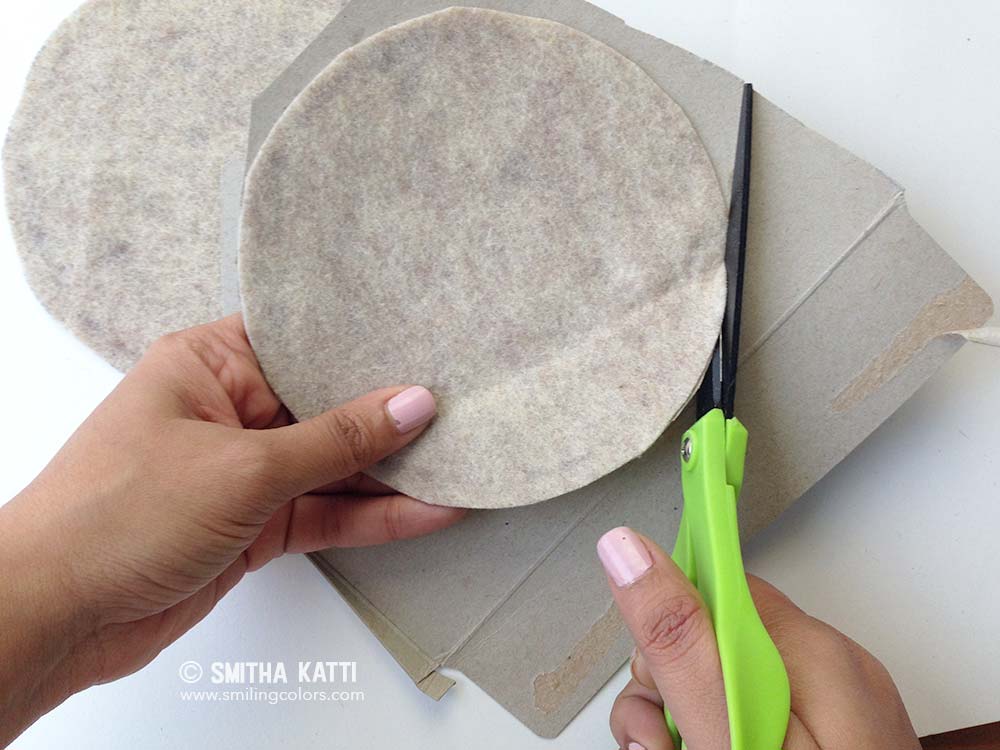
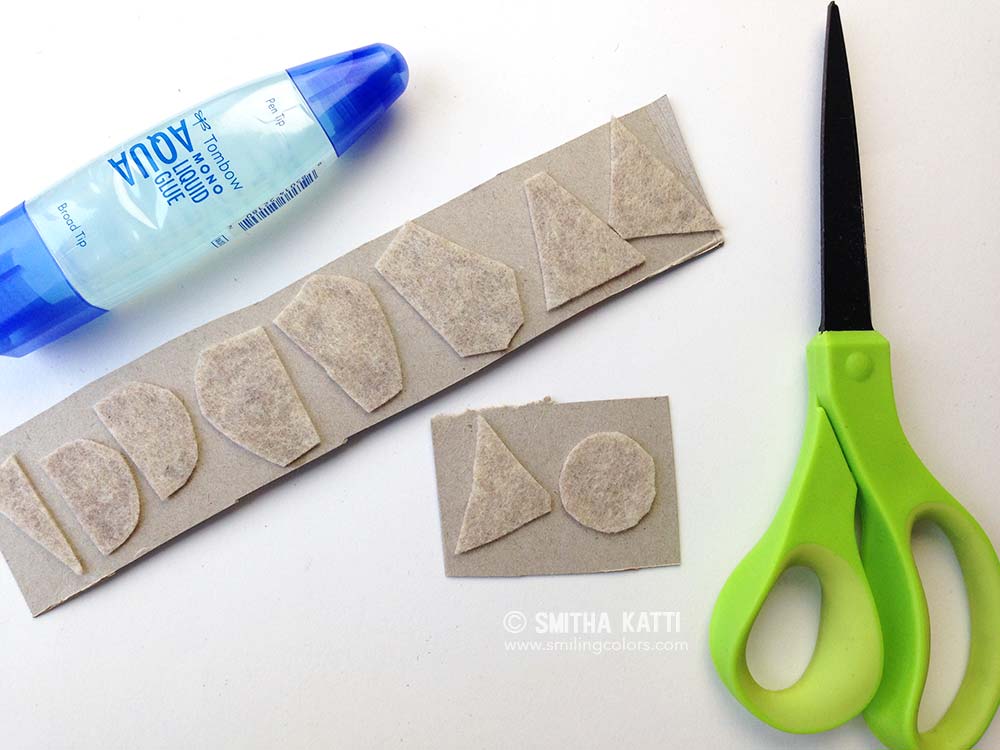
Carefully trim around the circle, and now we have our face bases ready.
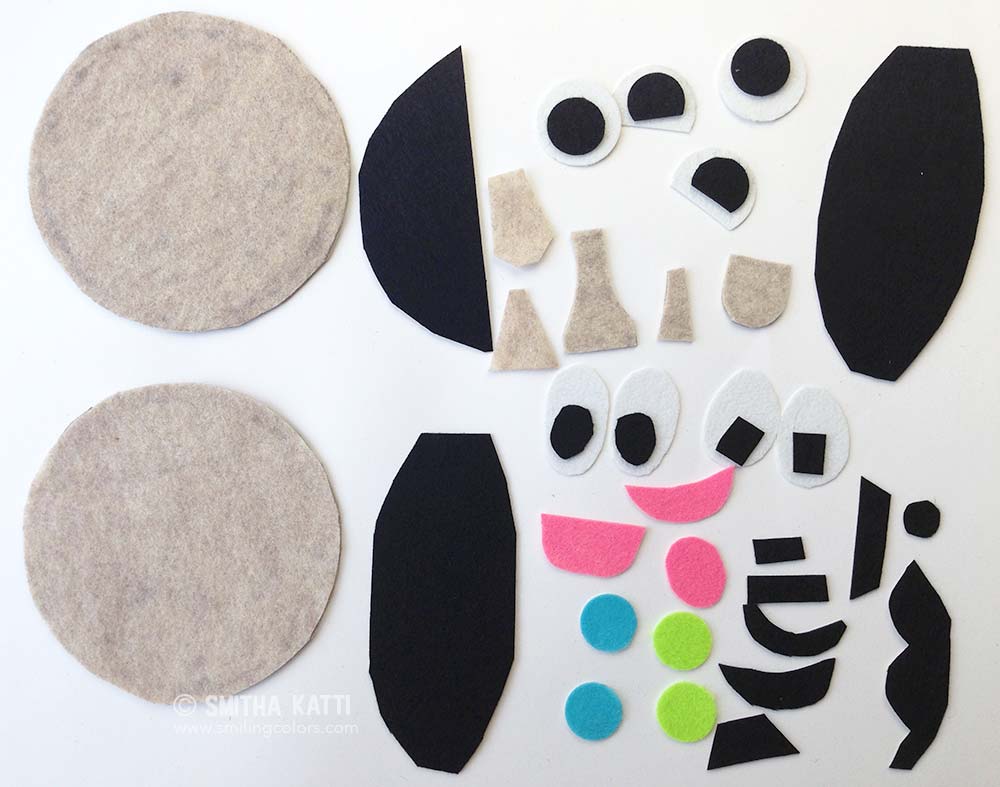
For the smaller parts of the face, like the nose and ears, I cut out different shapes and adhered them onto the cardboard, and later cut them out similarly.
And here below, I have all the pieces cut out- eyes, noses, lips, hair etc.
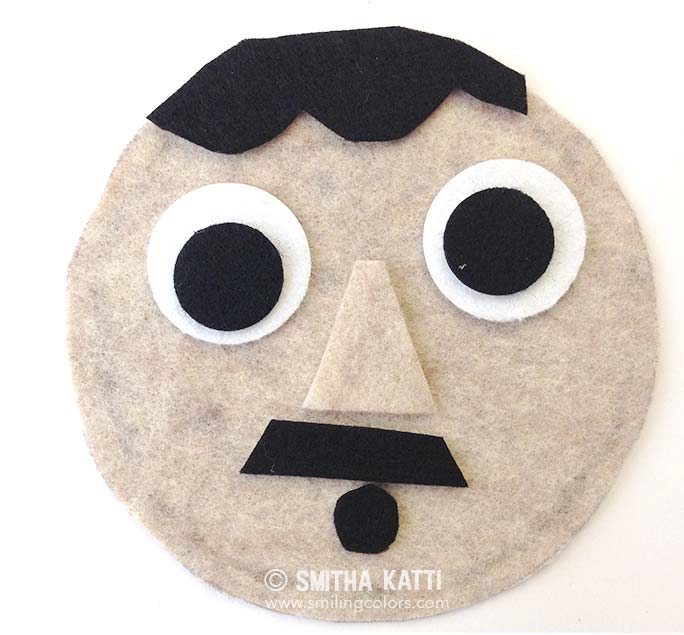
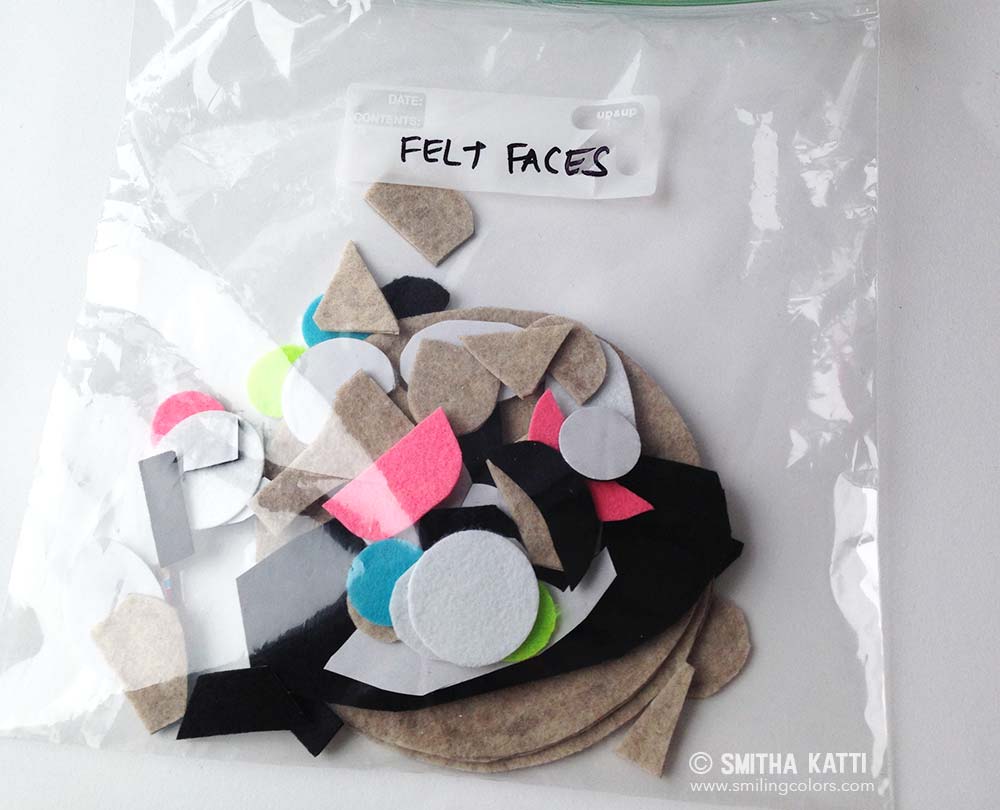
Kids quiet time Felt Faces Bag is ready!
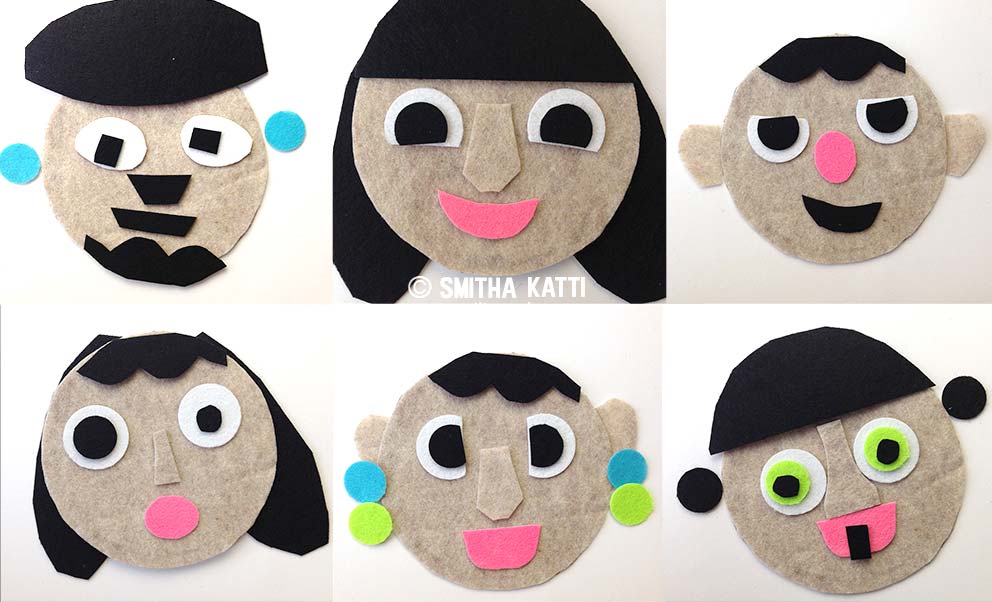
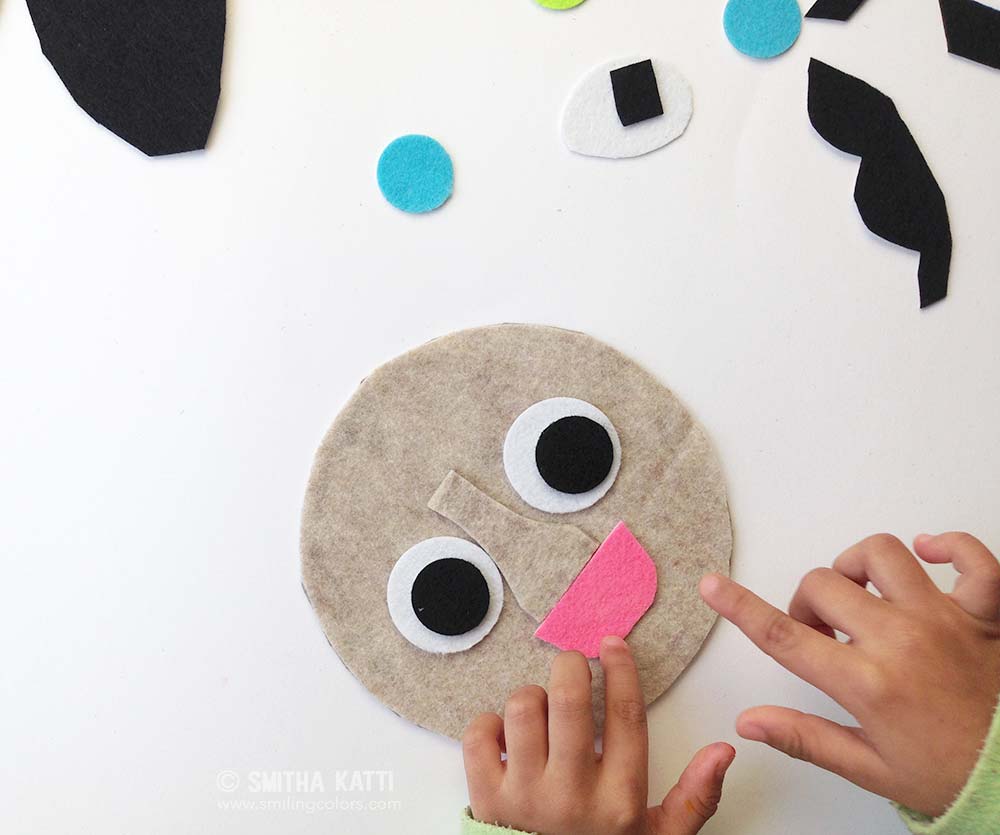
Once you have the pieces cut out your kids quiet time activity is ready- the faces you can make these will make your kids giggle!!
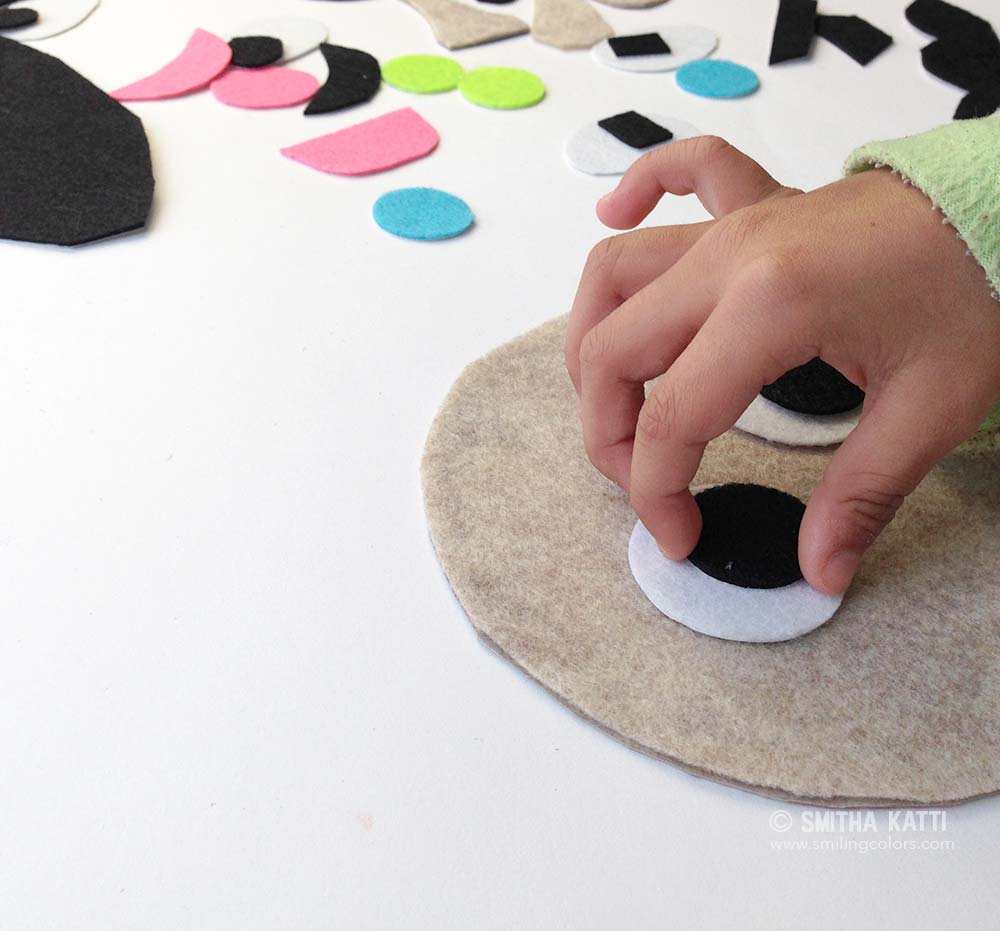
My daughter has been playing with these Felt Faces all week now. The colors and shapes here are simple and the kids love mixing and matching them to make unique faces of their choice.
This Felt face below is my favorite though. There is something too cute about those big black eyes.
When you are all done playing, keep the pieces of the Felt Faces together in a Ziploc bag. You can carry this around in your diaper bag or handbag too!
More Felt Tutorials:
- Can You Paint On Felt?
- How To Make Felt Coasters
- Felt Strawberry Coasters Tutorial
- Even More Felt Tutorials For You To Try!
More Toddler Art Craft Ideas:
- Fail Proof Recipe for Cinnamon Playdough
- Homemade Finger Paint for Toddlers
- Sponge Painting for Kids: Easy Art idea!
- EASY Indoor Winter Activity: $3 to keep small kids busy
- 2 easy Fathers Day Craft ideas for preschoolers
Find more Toddler Activities by following my Pinterest board! Follow Smitha Katti’s board Toddler Activities on Pinterest.
Did you find this tutorial for Felt Faces helpful? Please do leave a comment below.


This is so cute! I’m participating in this challenge too. I like how durable you made the pieces so they would withstand a rough toddler. Great craft.
I LOVE this!! I will have to make something similar for my son I think! He will love it! Thanks for the inspiration 🙂
These face are adorable! I love the colors you chose. Did you find the pieces could stay in place with the cardboard there? I am going to make this kind of felt center for my two-year old preschool class, and I wonder if I should use cardboard or not. Thanks for your advice!
I liked the cardboard, because the pieces were stronger and lasted longer for travel. But if this were for a class, you could skip the cardboard!