Today I’m transforming a plain T-shirt, and let’s explore how to use iron on vinyl with your in Cricut machine
Heat transfer vinyl or iron on vinyl, has adhesive that is heat activated and is a great option for customizing T shirts. Today I will walk you through, step by step and show you how to use iron on vinyl. Check out all of my T shirt makeovers to get more inspiration for your next DIY.

affiliate links have been used at no extra cost to you. I also received product from Happy Crafters for this post. I LOVED the quality of their product and am hence sharing this post.
Supplies you will need:
Here is a look of the supplies I gathered:
- A soft cotton T shirt
- Heat Transfer Vinyl sheets- I used the Mint Glitter heat transfer glitter by Happy Crafters
- A cutting machine, I am using my Cricut Explore Air 2
- An iron
- A soft kitchen towel that is clean
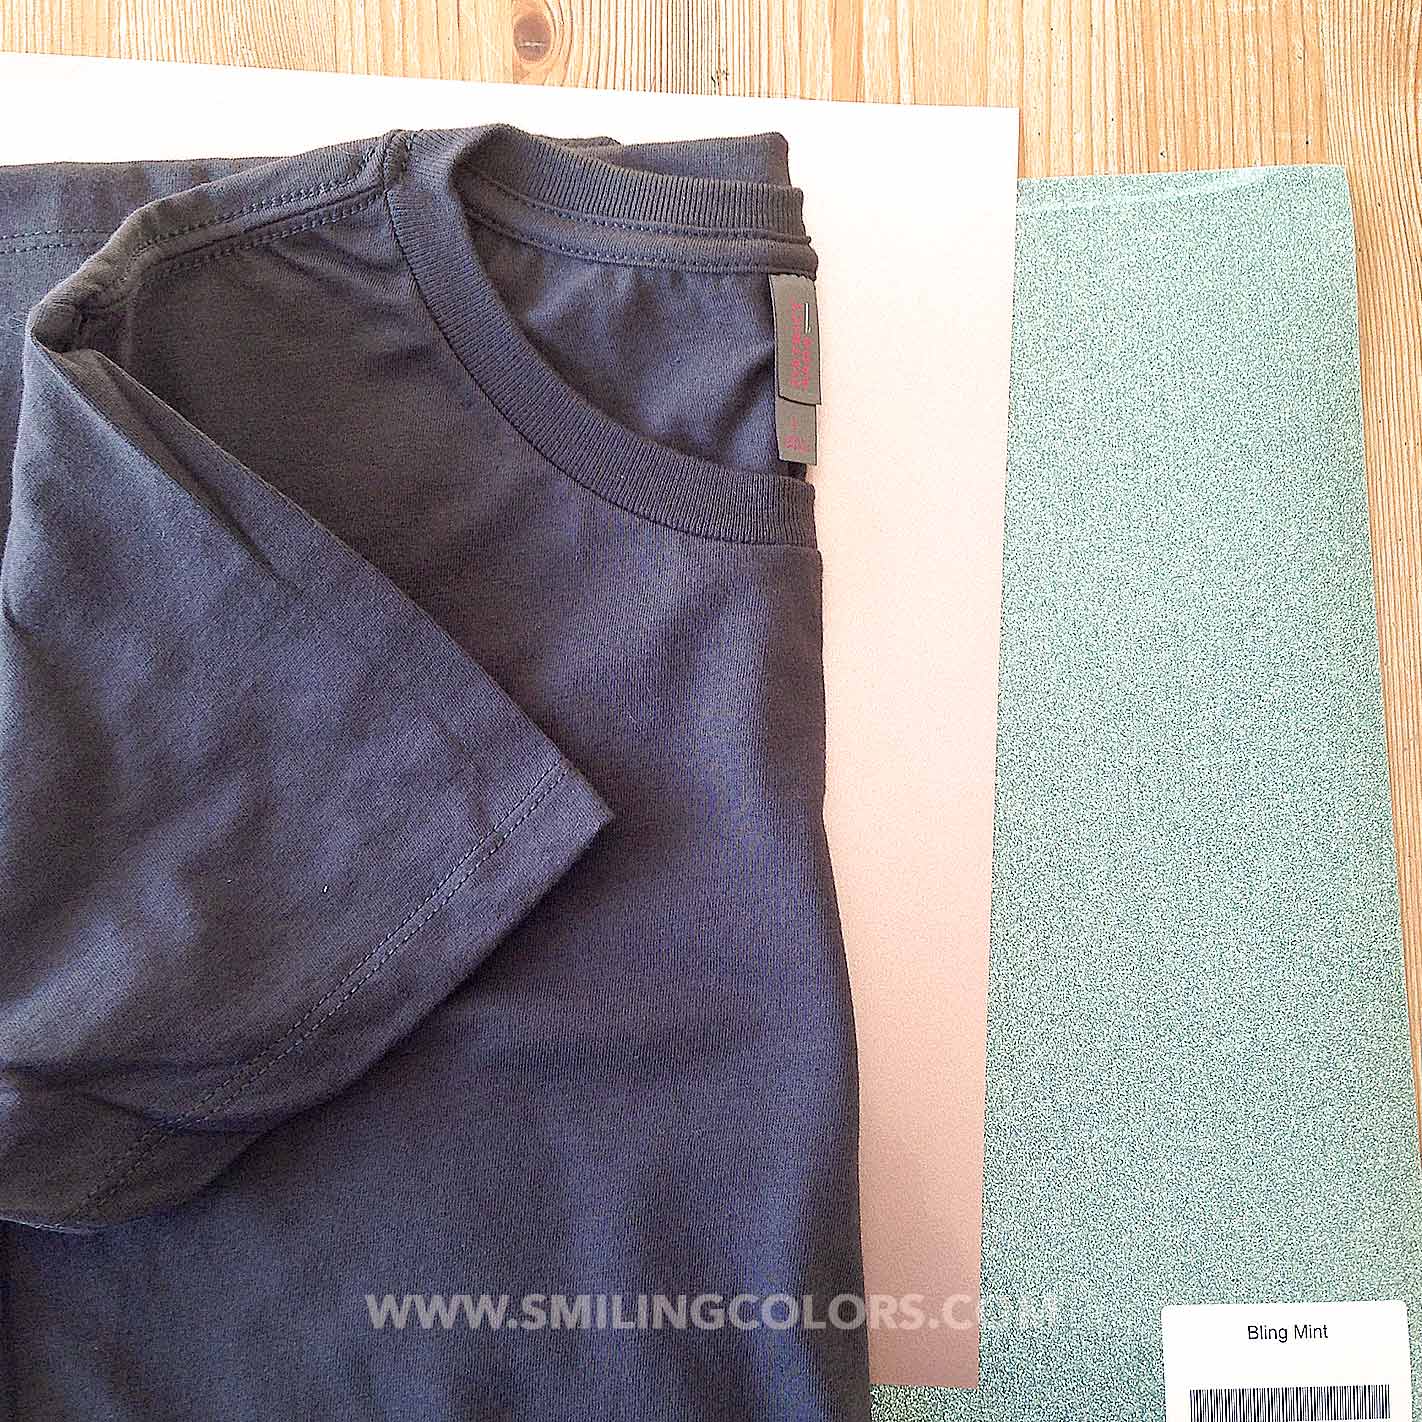
How to use Iron on vinyl in your Cricut:
1. Select or make your design in Cricut Design Space
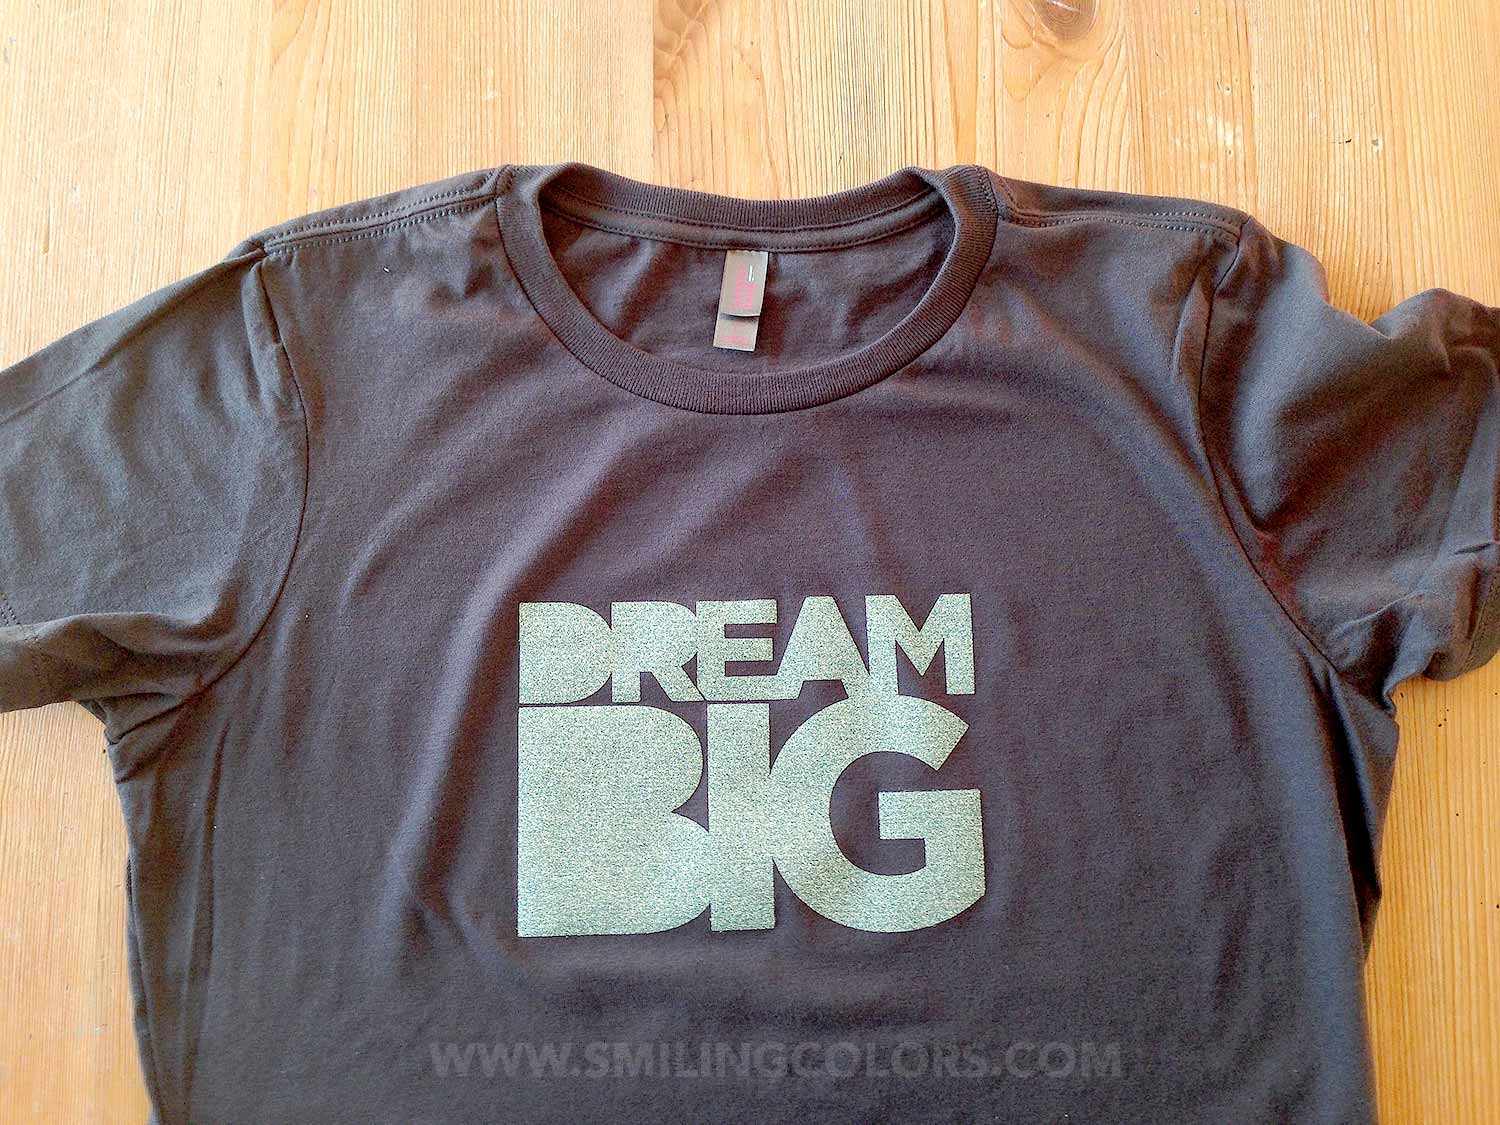
Start by choosing your design. I am using this a storage bag design here because it was the right size for a shirt. And I loved the typography here for my Dream Big T shirt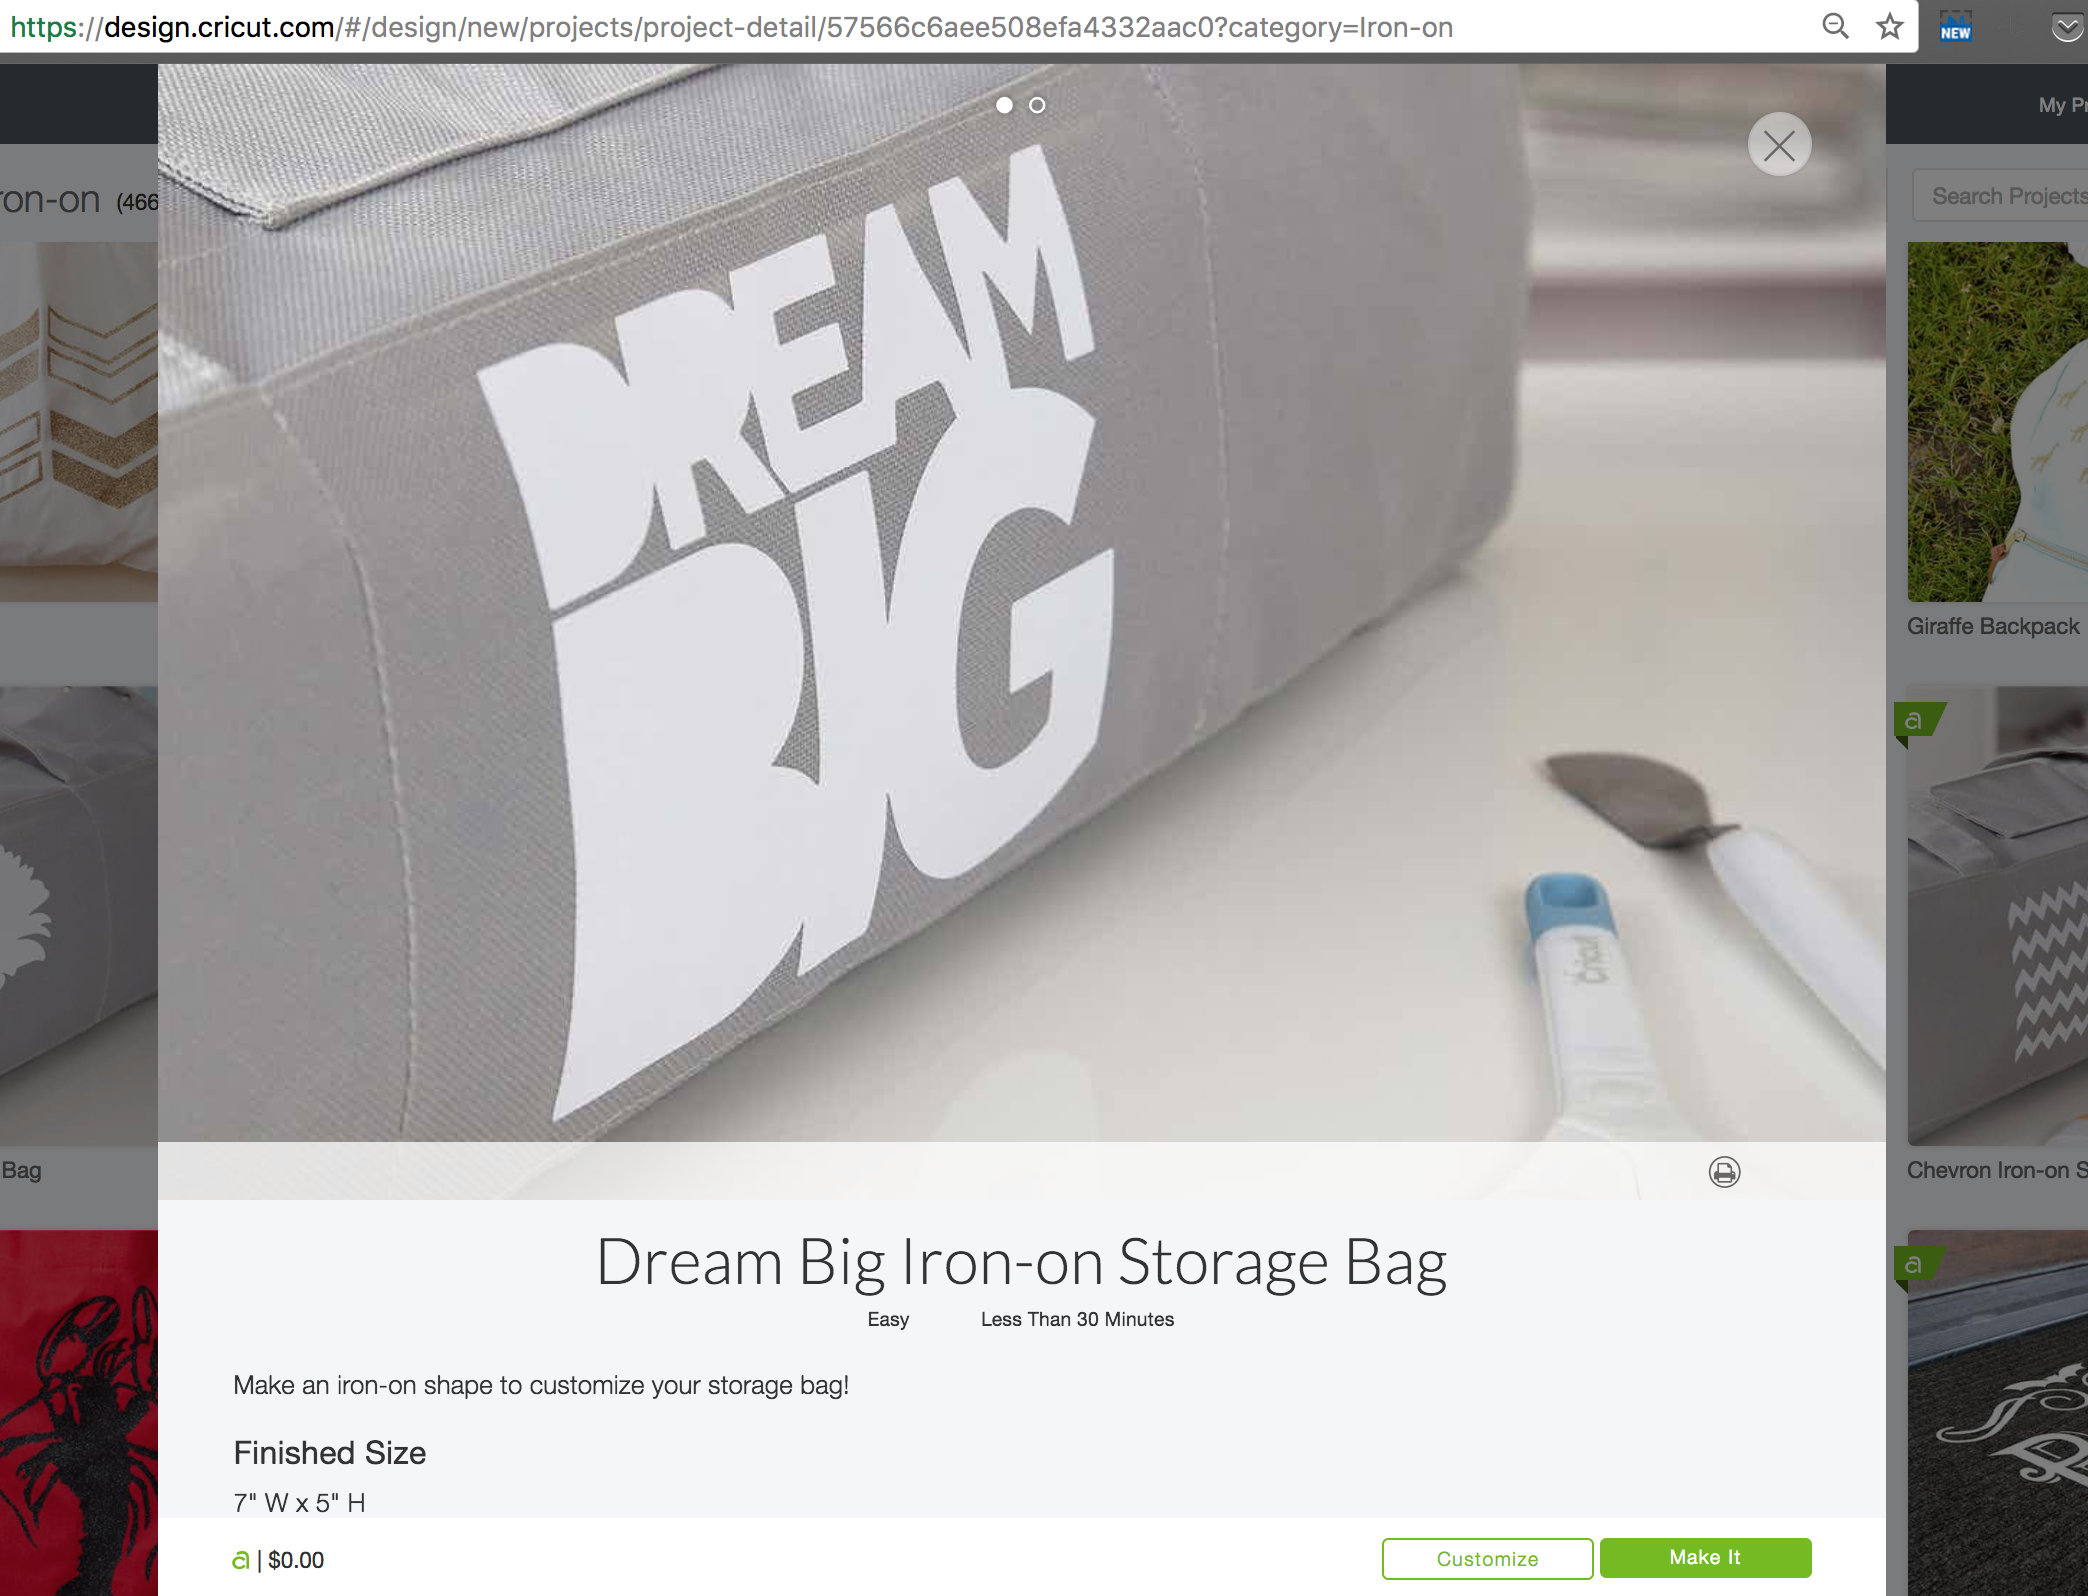
2. Mirror your design
Once you are in Cricut Design space, before you hit cut MAKE SURE that you have MIRRORED your design. If not you will end up recutting and wasting your vinyl. 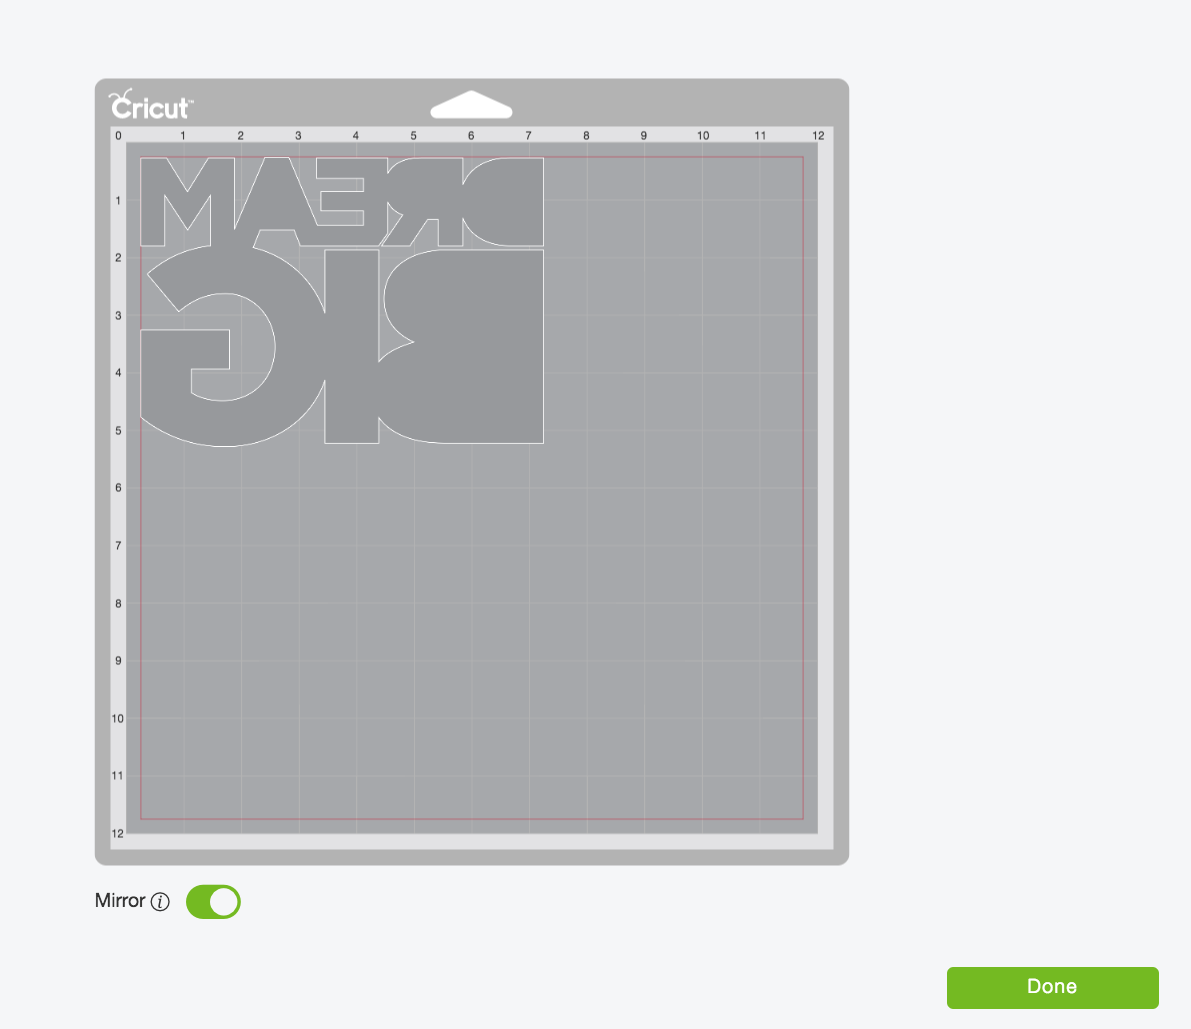
3. Select the appropriate setting
For my glitter vinyl, I chose the Iron-on setting on my Cricut Explore Air 2 and it worked perfectly!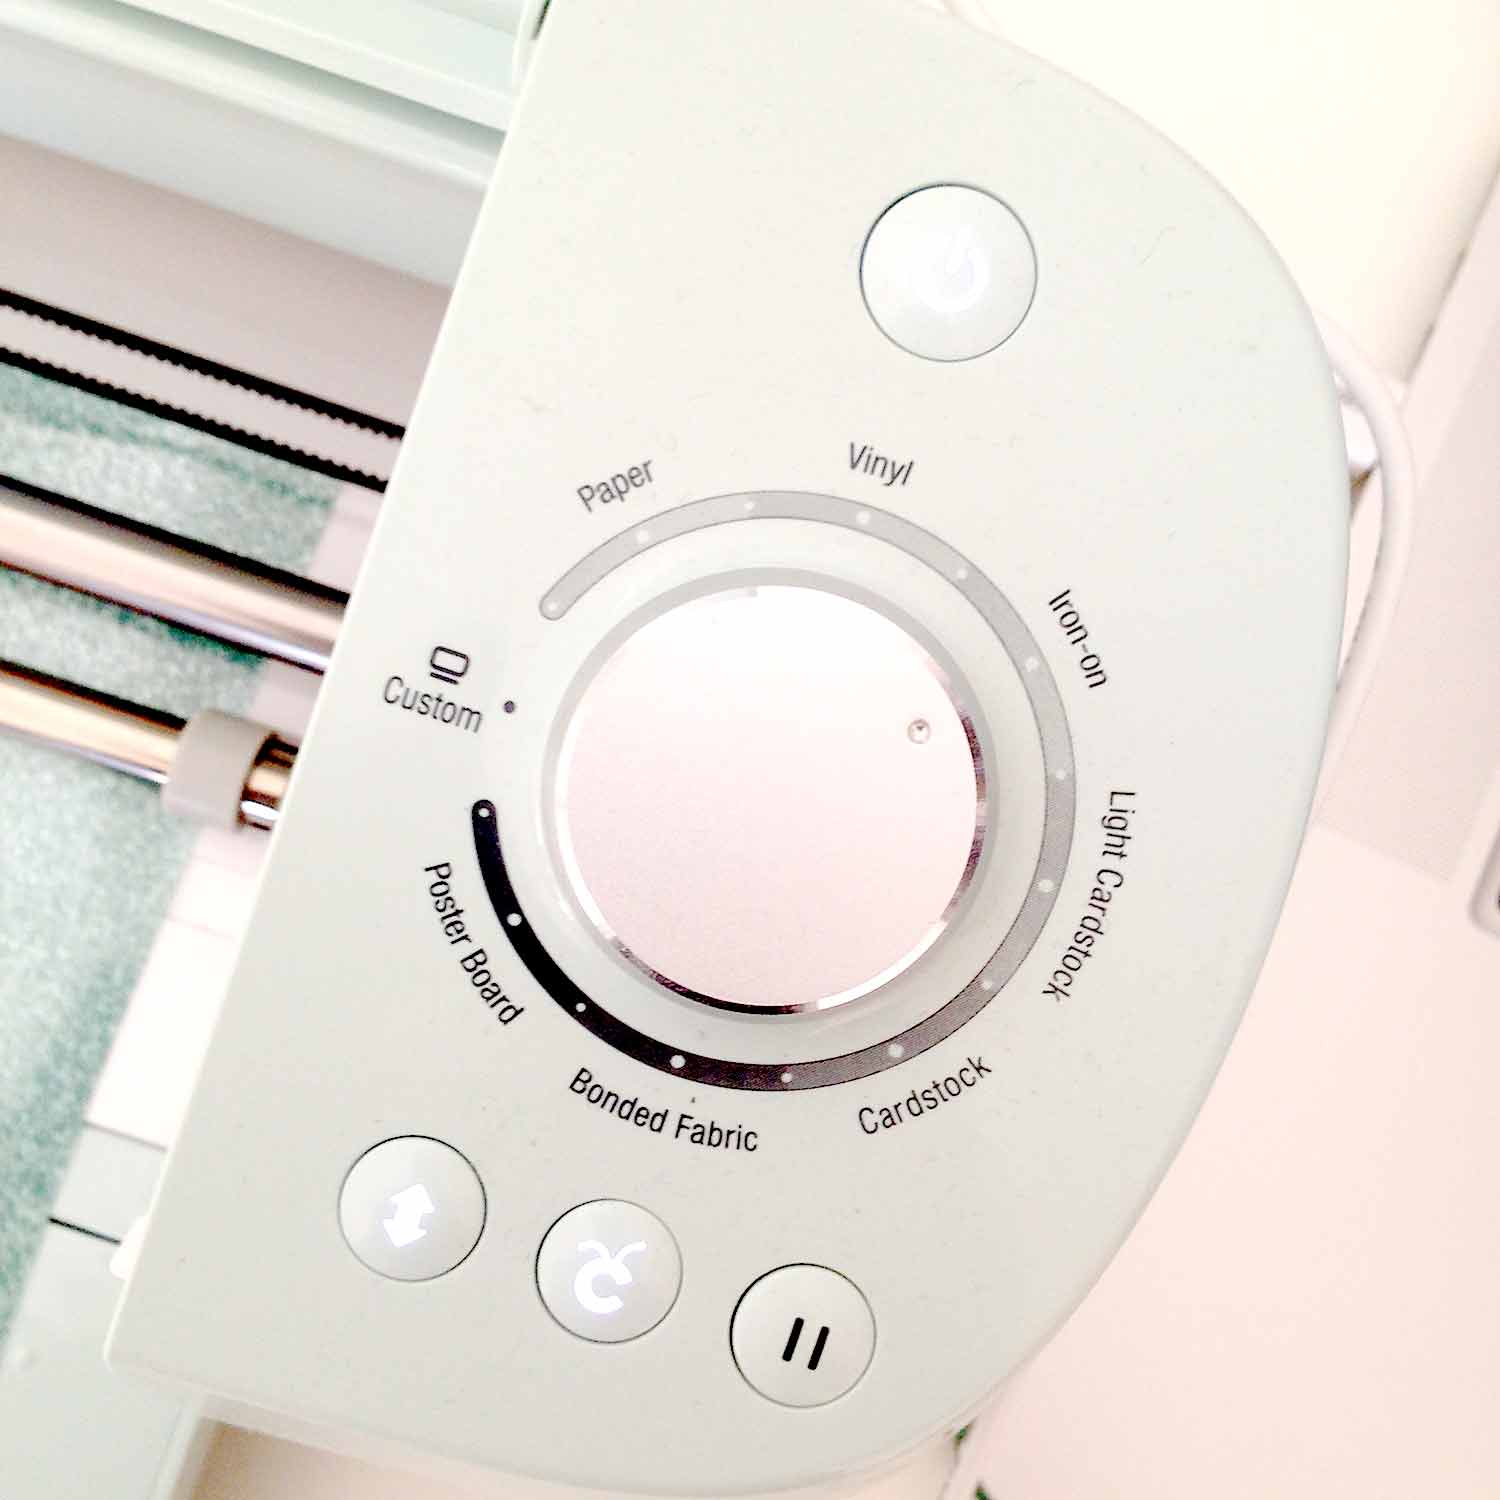
4. Which side of iron on vinyl goes down?
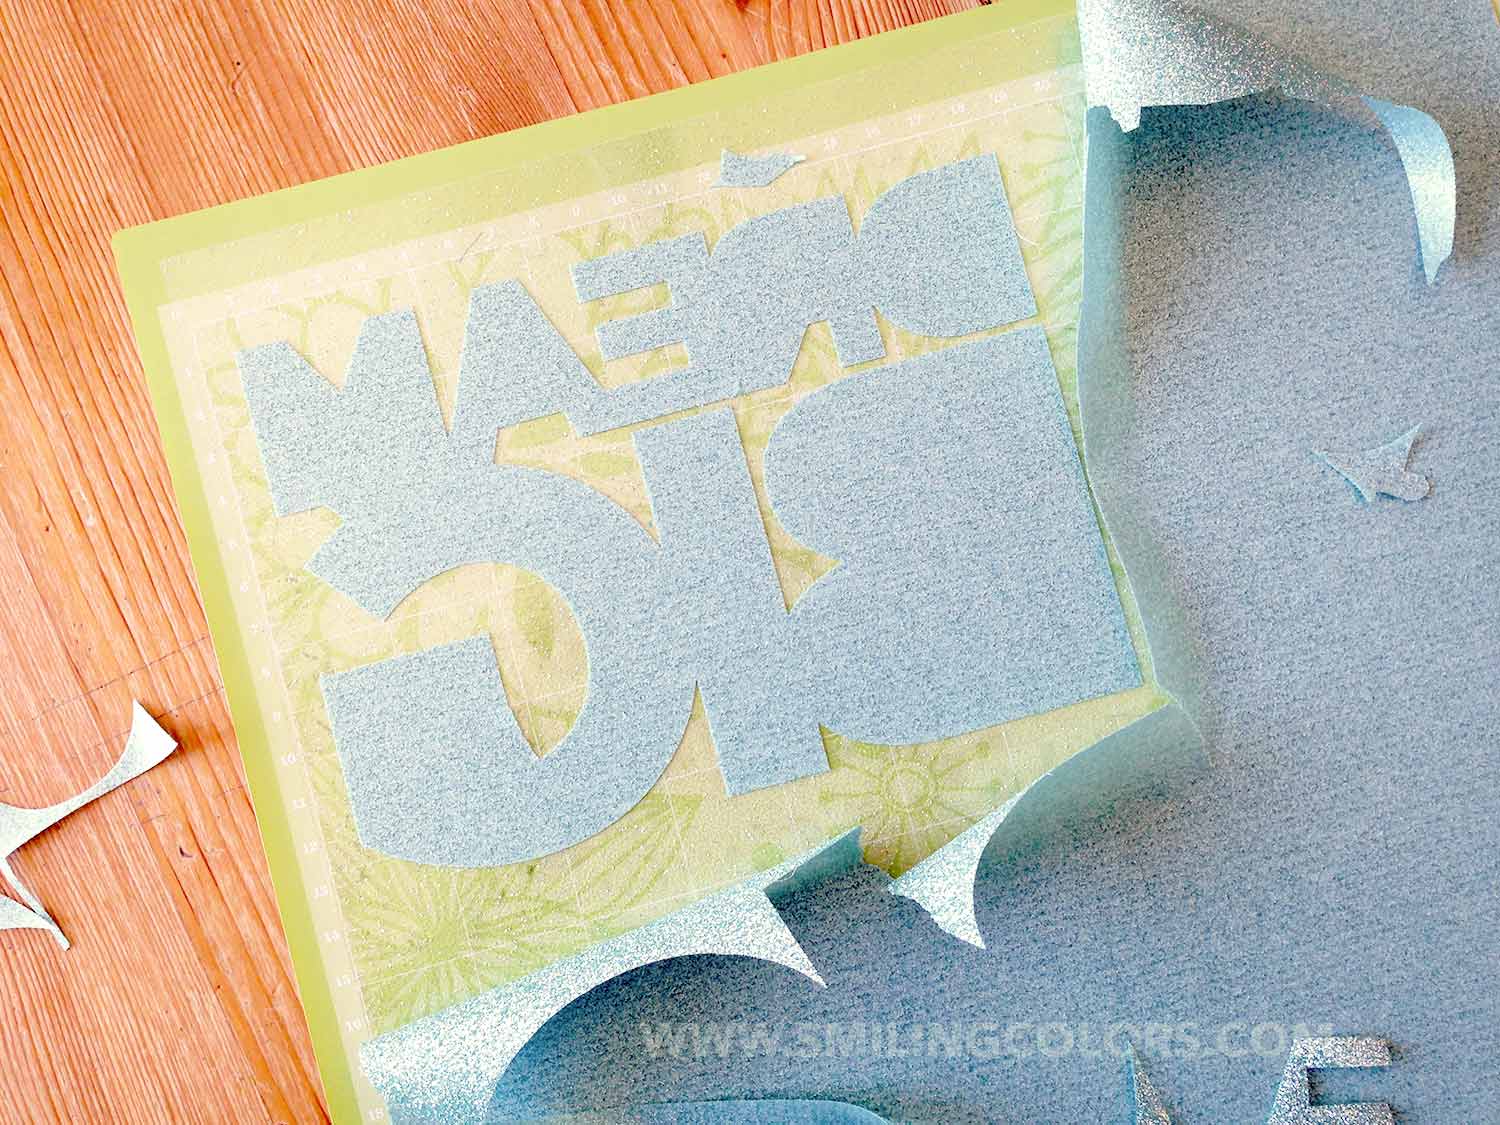
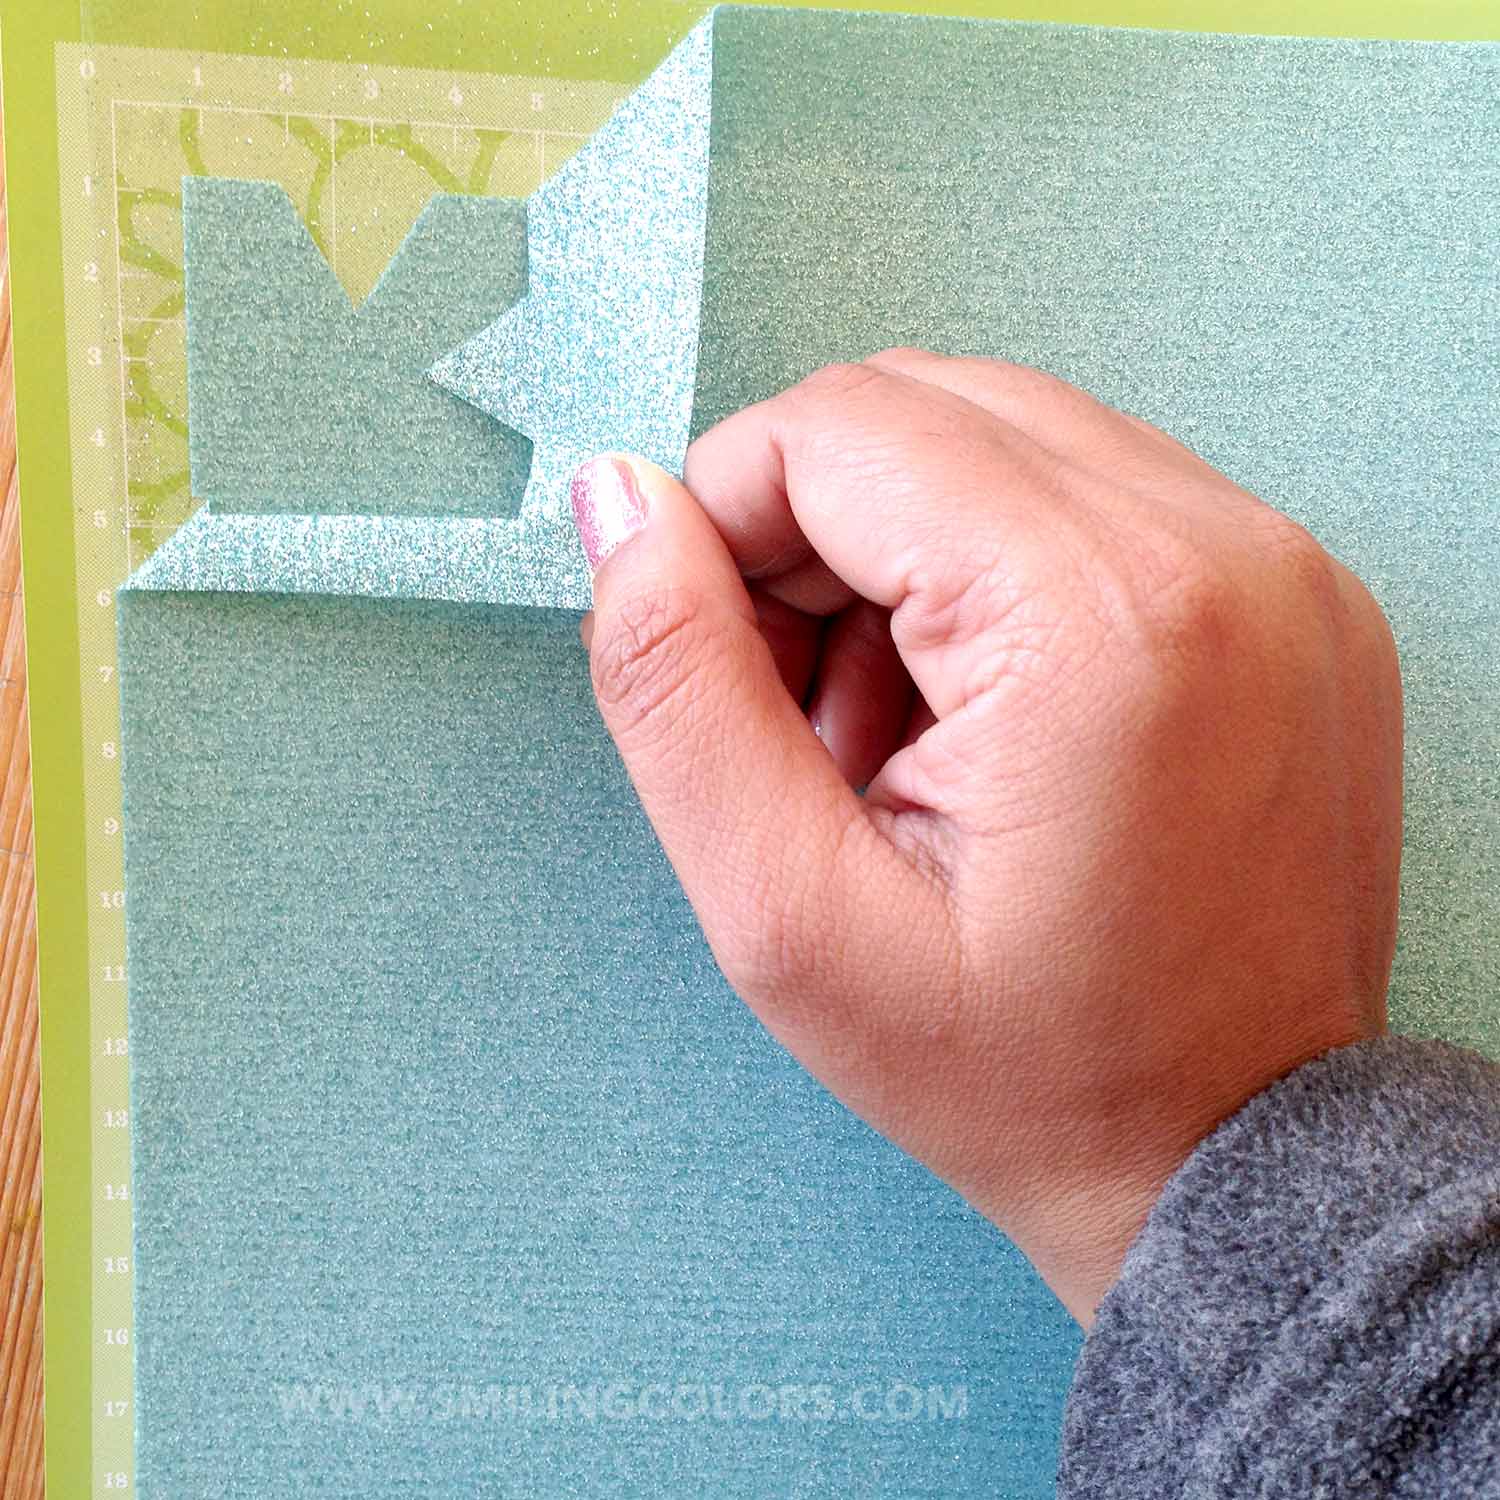
Place your heat transfer vinyl onto the cutting mat right side down. Here that was glitter side down (the glitter side will also have a protective film on it). After the machine has cut your design and then slowly start peeling off the excess.
5. Weed the cut design
Go slower than you need, and carefully peel off the vinyl to reveal your design. Trim around the design using a pair of scissors.
Using a weeding tool, carefully remove the small bits. I didn’t have too many to weed out, this was a super simple design. Part of the reason why I chose this
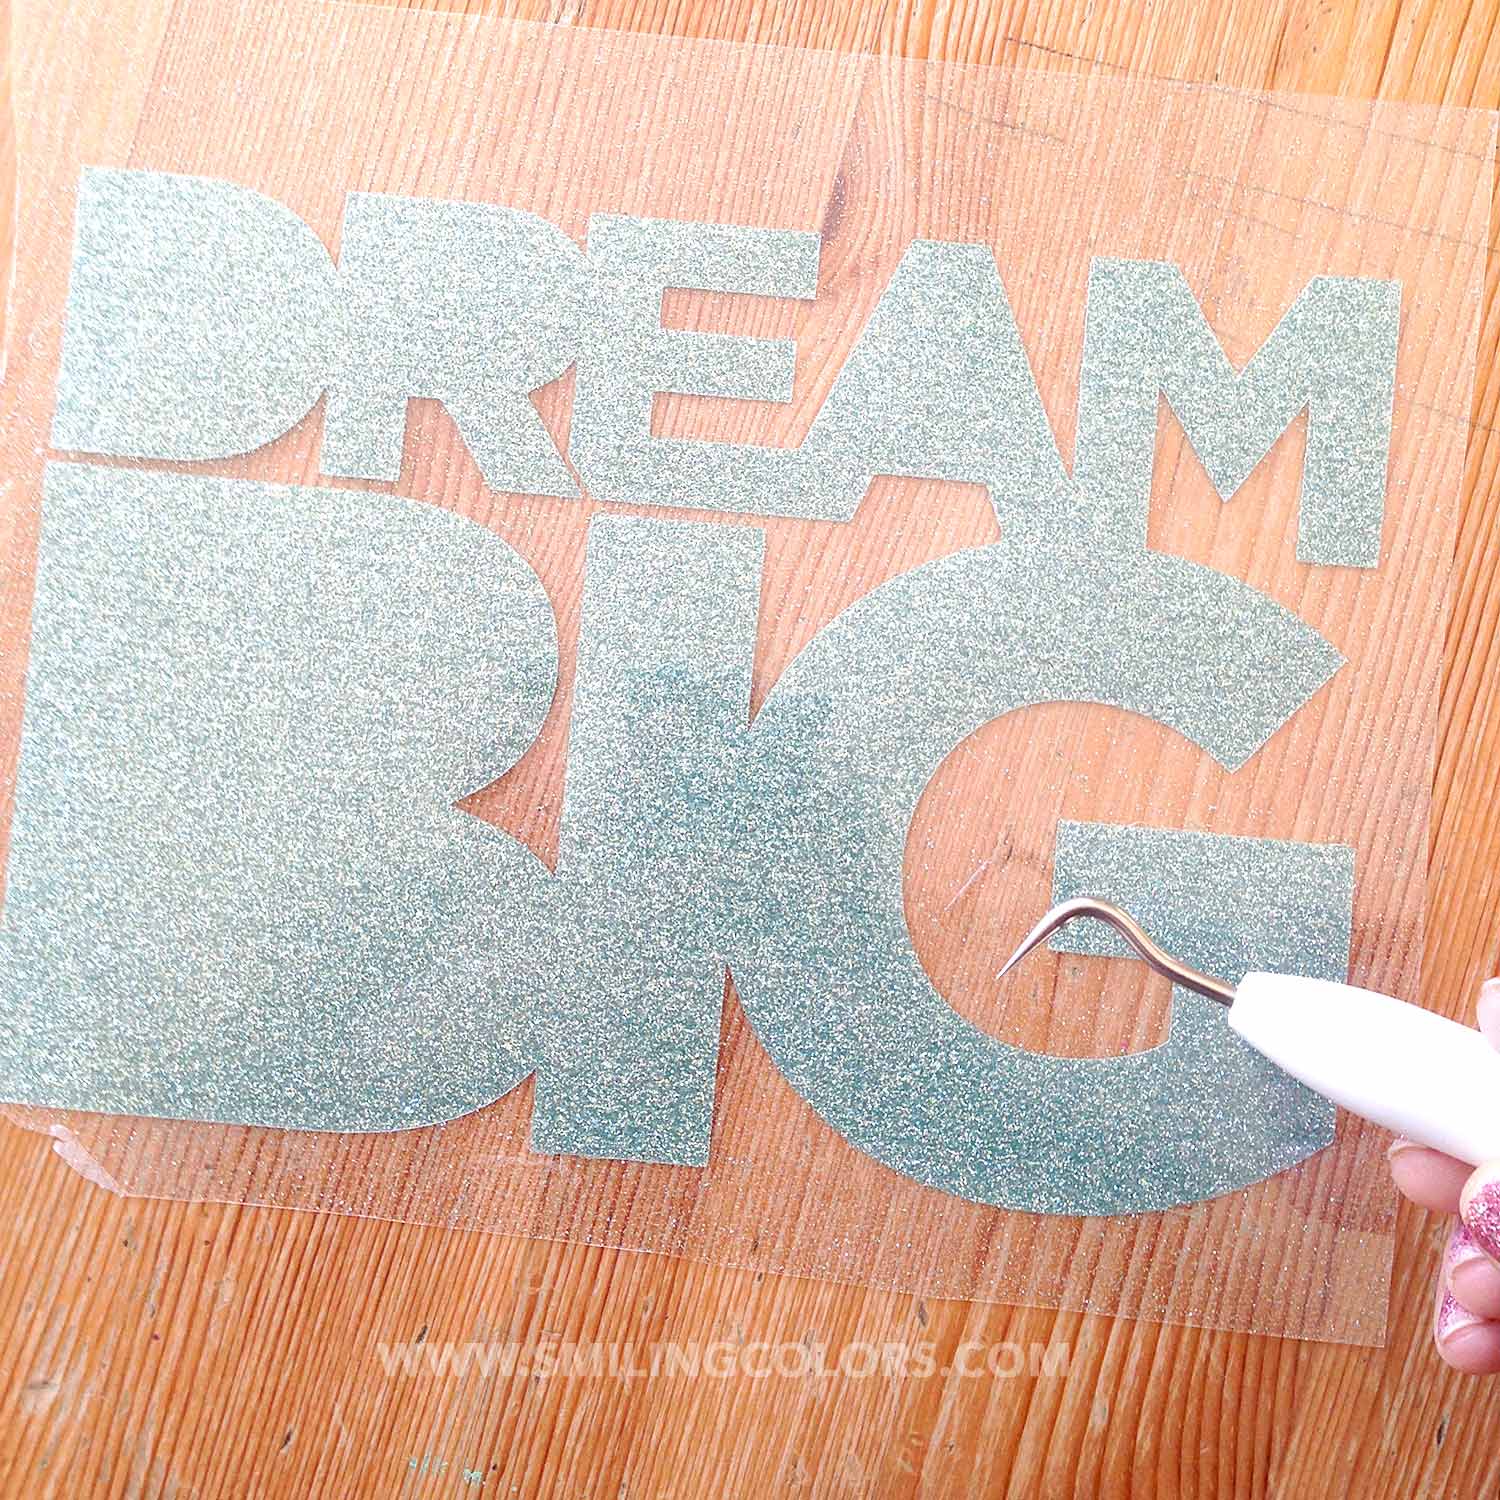
6. Do you iron directly on the vinyl?
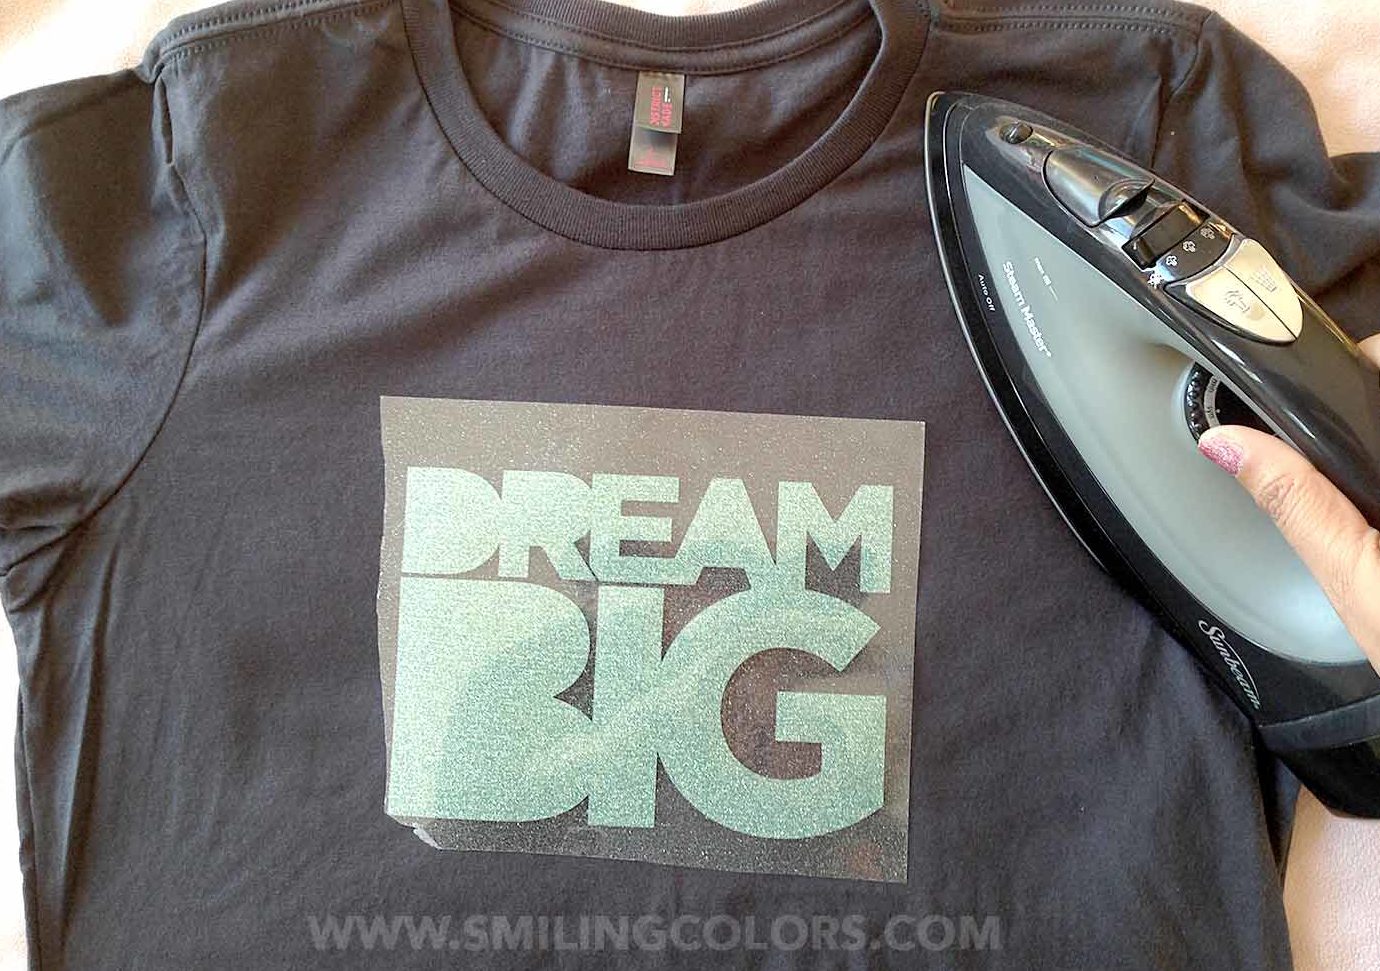
Lay your T shirt on a heat safe surface and iron over the area where you intend to place the vinyl. This is just to warm up and heat and fabric to improve the vinyl adhesion. 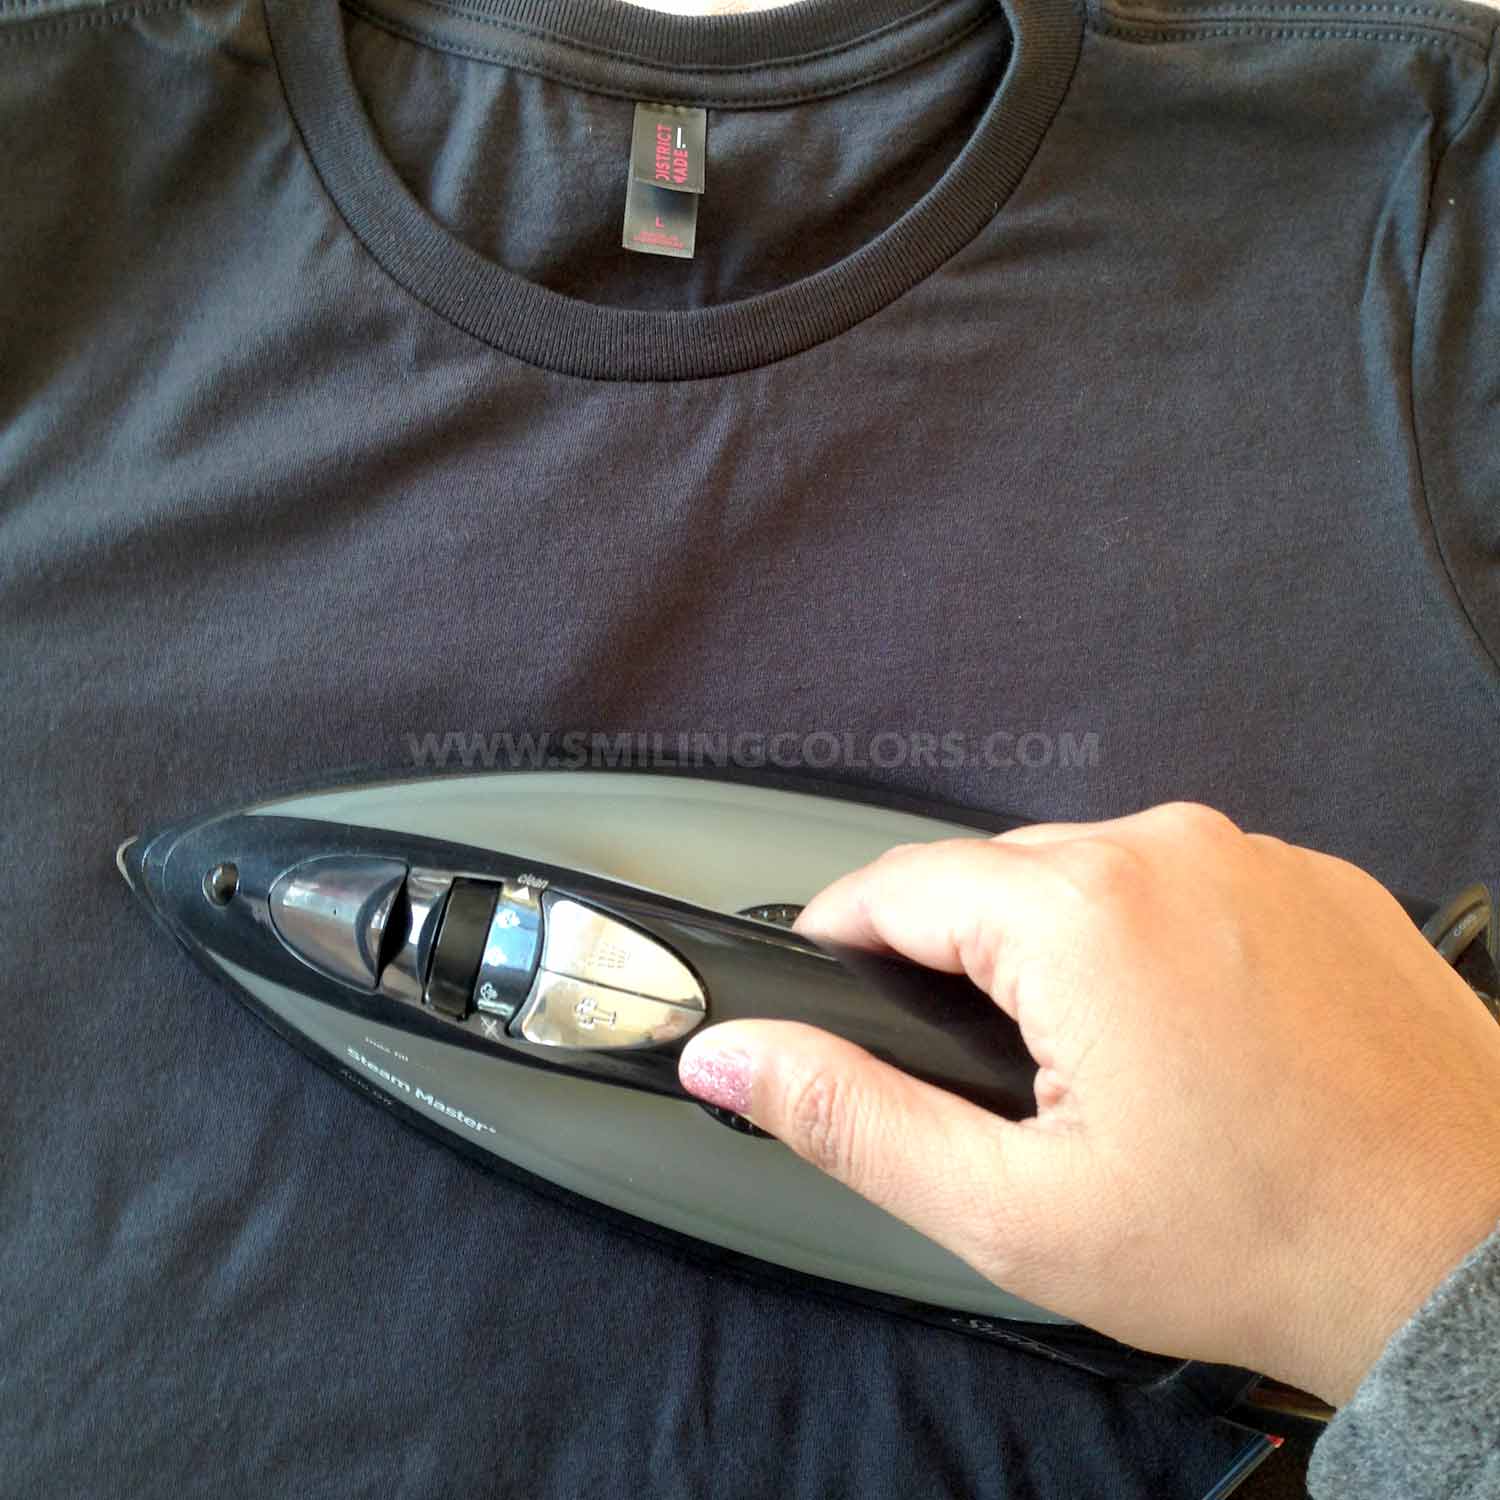
Place the glitter vinyl cut onto the center of your T shirt. Take a second to make sure it is aligned properly.
Place a soft clean kitchen towel on top of this and iron for 25- 30 seconds over each letter.
7. Peel to reveal your transfer!
Once you have finished ironing, carefully peel up one corner to check if the the vinyl has adhered. It not, place the kitchen towel back and iron some more. 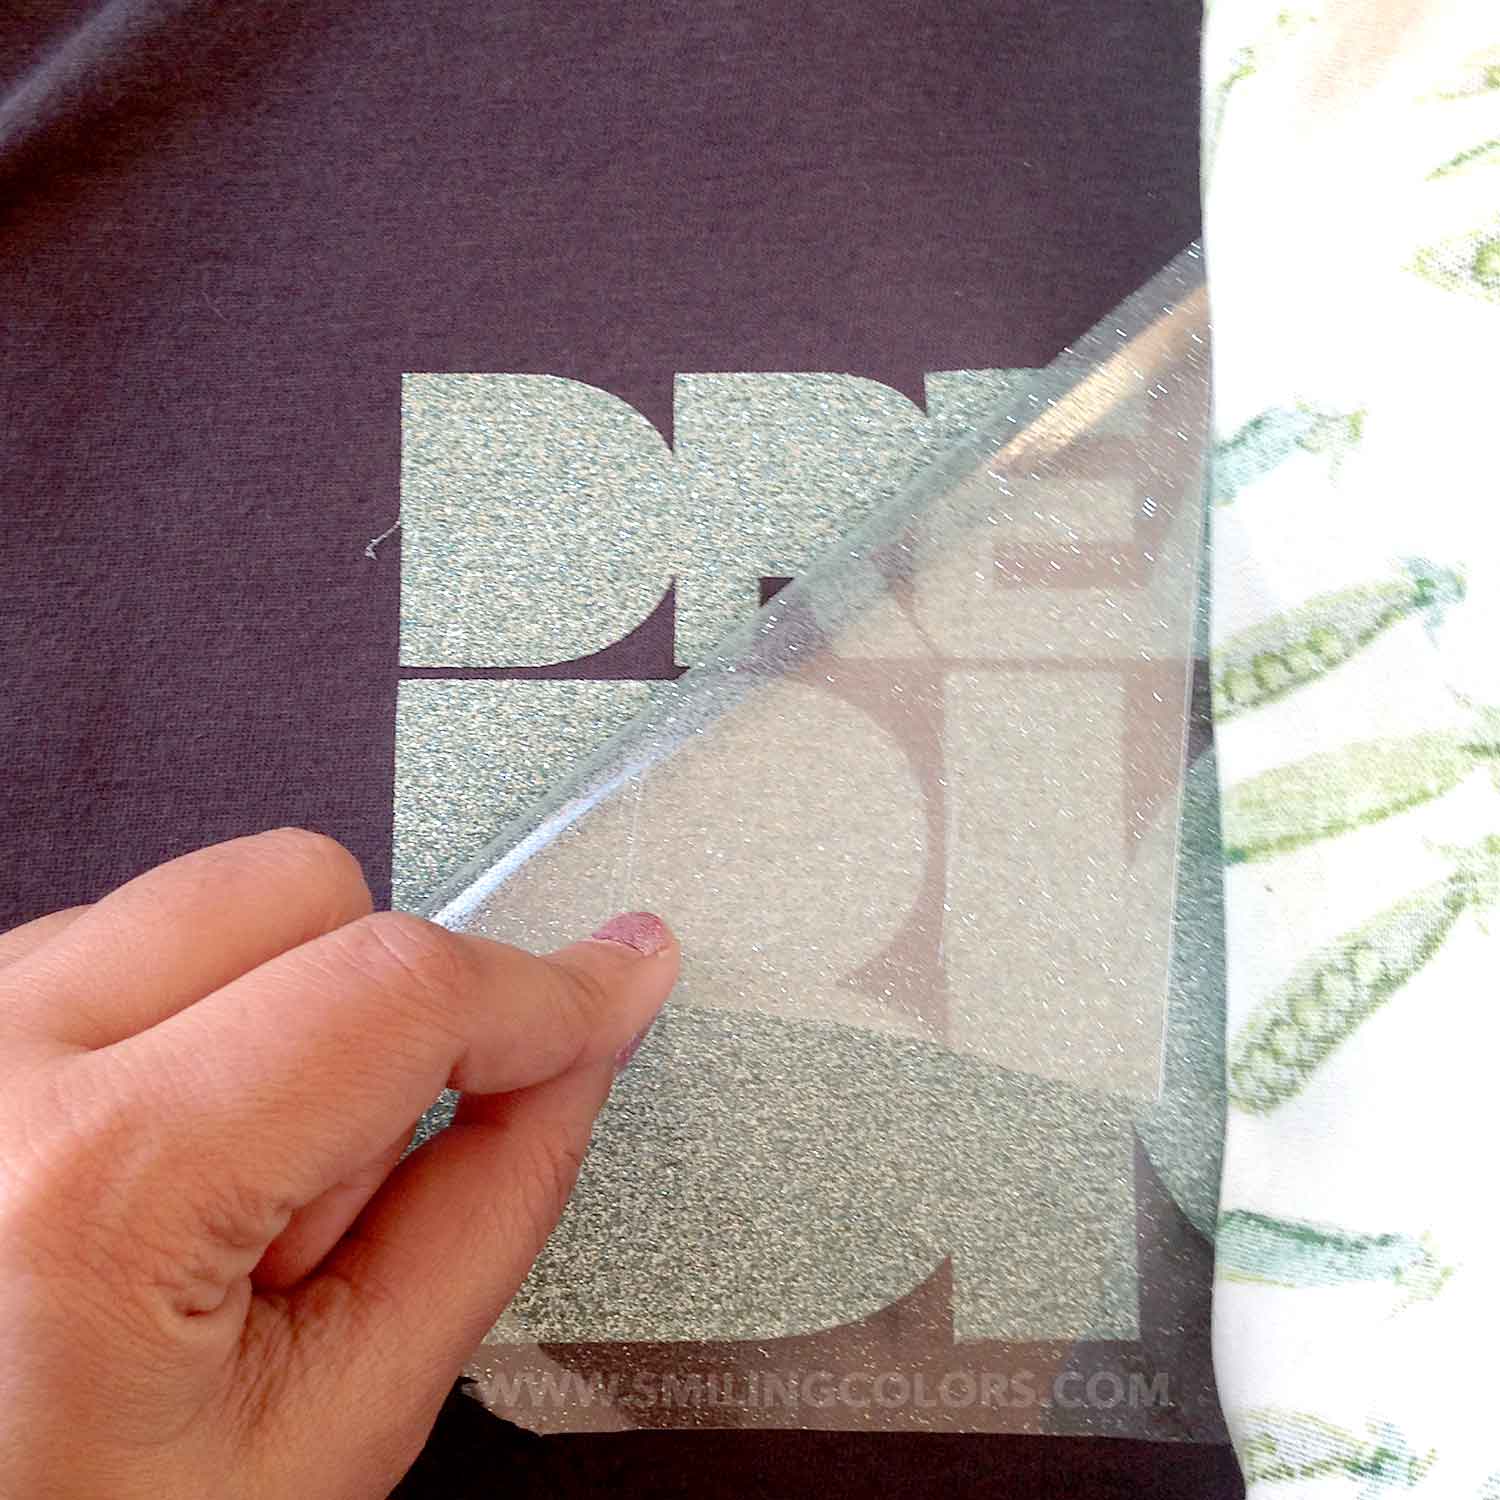
Peel off the protective sheet completely to reveal the design. Turn the shirt inside out and iron on the back side as well.
More T Shirt DIYS:
- Lettering on fabric Video Tutorial: Create your own Custom T shirt
- How to Reverse Applique: Alter a T shirt in 4 steps
- How to Tie Dye shirts and make a party of it!
Conclusion: How to use Iron on vinyl
I absolutely love how this T- shirt turned out and am brimming with more ideas to personalize my kids stuff now. Who knew learning how to use iron on vinyl could be so easy?
I hope you enjoyed todays EASY T-shirt Makeover! Step by Step Heat tutorial showing you how to use iron on vinyl on your in Cricut machine to customize a plain T shirt. See you in the comments!

Hi I’m Smitha! I live in Minnesota with my husband and two daughters. You’ll always find me painting florals in my sketchbook. And I love the sheer joy of making something with just my hands! But my bigger love is capturing it all on camera Read more.
Thanks for stopping by today! If you learnt something from this tutorial, do share this post with a friend or on social media! Tag me @smithakatti #smithakatti I’d love to see what you create!




This t-shirt is adorable! That is one of my favorite sayings. I love the green glitter! Pinning!
Thanks Jenny!!
Loving the green glitter! This is an awesome project and such a fun quote. That font is great too!
I loved the font too! Thanks for stopping by Heather!
Try adding a weeding box around your image before cutting, you won’t waste any vinyl as you weed that way. 🙂
that is such a great tip Kit!! Thank you!! Now that you mention it, I went duh, why didnt I think of that?
Great tutorial!! How was I not already following you in IG?! I am now! Love the videos!
That font/ design looks fantastic and I love that the letter centers don’t have to be weeded, too. Very cute shirt!
Love the message and the glitter vinyl!
Such a fun project! Step by step tutorials are definitely helpful! Love those earrings btw. 🙂
Thank you Swetha!
What a fun project! I should do matching tees for the girls!
My girls have already asked me to make them matching T shirts! It should be fun 🙂
This is such a cute t shirt. I’ve been wanting to get a vinyl cutting machine for a while now. This is pushing me towards it…
You can use scissors to cut the vinyl too. You don’t need a fancy machine.
That really does looks super easy and I love the weeding tool you have. And I need to go pick that too
The right tools really help the project go faster!
I love this shirt! ANd you make it look so easy!!