Today I’m sharing a few ideas using paper scraps to make your scrapbook pages colorful! Don’t throw away any pretty paper!
As Paper Crafters, we all have a paper stash. Many of us also have a bin filled with scrap pieces of paper, those tiny bits that are just too pretty to throw away but never make it onto a scrapbook page ever again. Today I’m pulling those out to create a few fresh, new accents to use on my pages.
Check out more scrapbooking posts How To Make A Disney Scrapbook and 10+ Easy Colorful Scrapbooking Ideas + free ebook!
Using Paper Scraps in Scrapbooking
First, I trimmed scraps of various papers and adhered them onto a plain white paper using archival-safe glue. These scrap paper strips can be as narrow or as wide as you want and can be monochromatic or span a palette of colors. You can see that I chose a totally colorful option here below.
ALSO READ: Tombow Adhesives: what glue to use when?
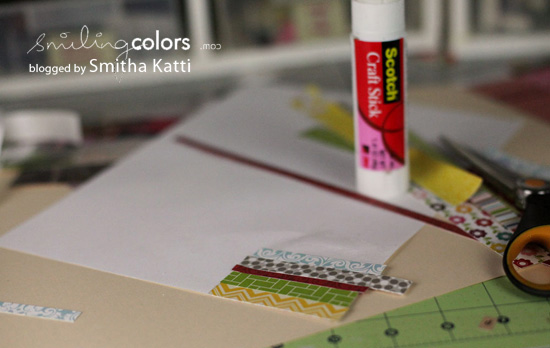
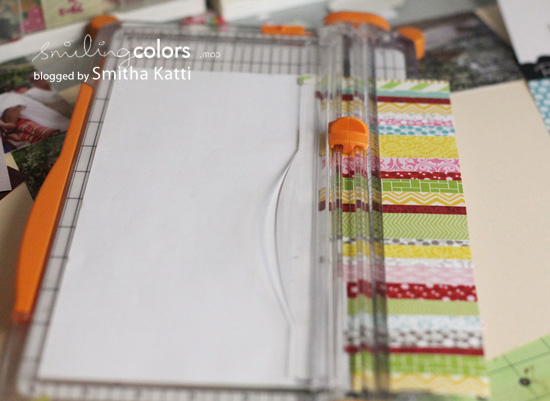
After I had adhered a whole row down, I trimmed it using a paper trimmer to form a long strip.
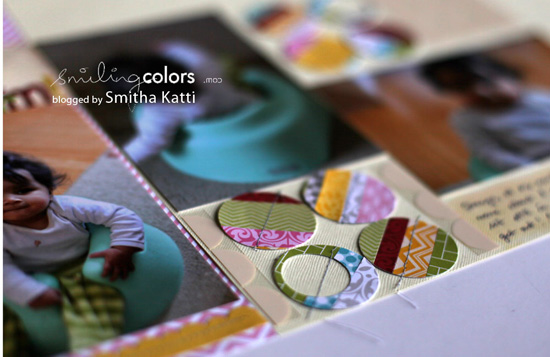
While this could be used as a border all by itself, here I chose to punch out evenly spaced circles and use it as a border to frame small embellishments. I chose a circle punch, but you could totally use any punch in any shape to amp up your border here.
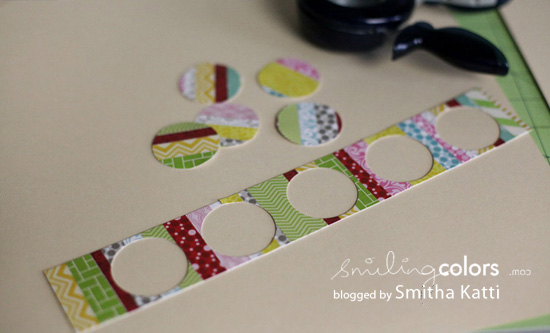
I love the pop of color this border provides, and yet since I punched out a major portion of it, the colors are not too overwhelming.
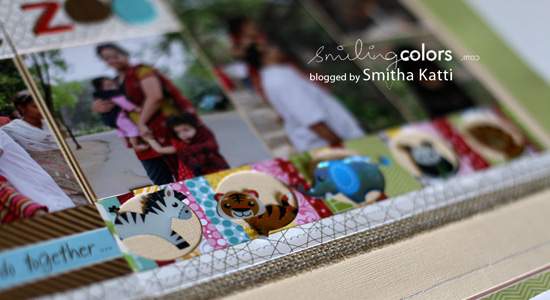
Here’s a look at the layout I created using it. I placed the border beneath my photos and used it to frame some animal stickers.
Now, those scrappy circles I punched out were perfect to use as embellishments to create another quick fun layout.

Using Paper Scraps in Card Making
Adhere different Paper scraps onto a card. Have fun choosing paper patterns for this and making the card front unique. Add some stitching on top to finish off the card
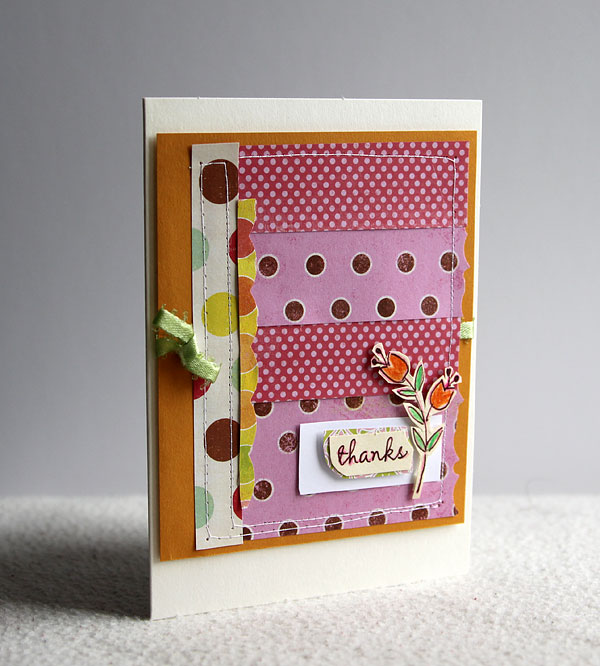
Trim paper scraps to measure 2 by 1 inch in size, and create a grid on your card front

This card measures 3.25 by 7 inches. It’s a uniquely long size that allows you to place different paper scraps trimmed on the front.

Using a small pair of scissors, cut oblong petals from your paper scraps. Arrange and glue these onto your card front forming a floral pattern.


Hi I’m Smitha! I live in Minnesota with my husband and two daughters. You’ll always find me painting florals in my sketchbook. And I love the sheer joy of making something with just my hands! But my bigger love is capturing it all on camera Read more.
Thanks for stopping by today! If you learnt something from this tutorial, do share this post with a friend or on social media! Tag me @smithakatti #smithakatti I’d love to see what you create!


Great idea on using all those scraps I’ve accumulated but can’t bear to throw out!
love this!! such a good idea. i love the way the animals are “peeking out” of your frames, too!
Such a fun tutorial! Thank you for sharing!