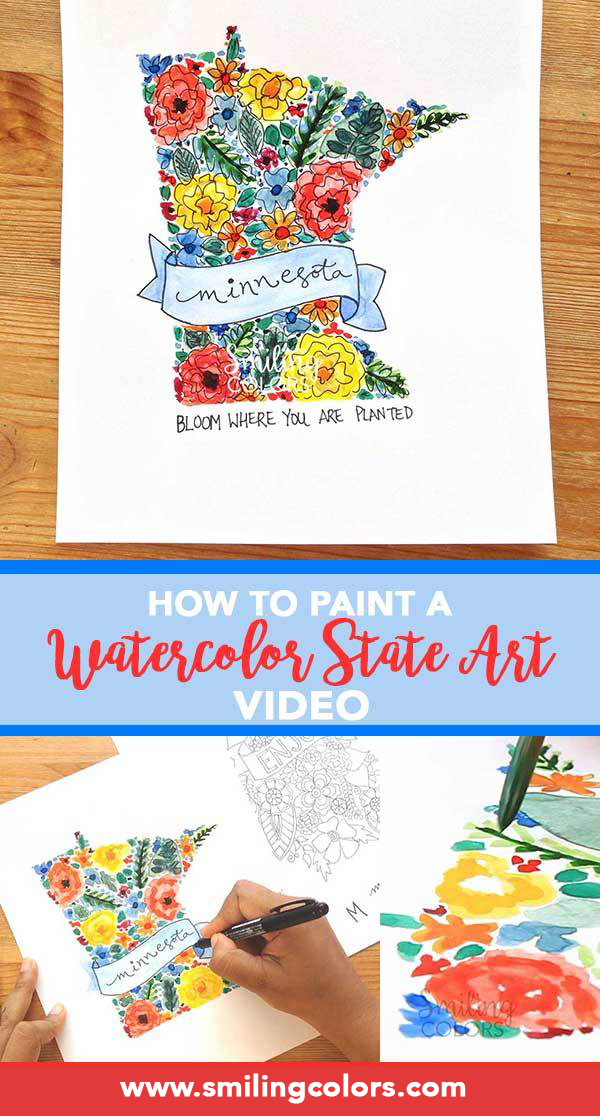
Let’s paint a colorful Watercolor State Art in this step by step tutorial with video! I’m creating a Minnesota State Art Painting, but you can of course create one of your own for any state of your choice!
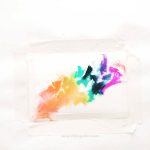
Looking for more easy watercolor ideas to try? Try this Watercolor Salt Technique that is extremely popular on my blog!
Pin this tutorial here
How to Make a Watercolor State Art:
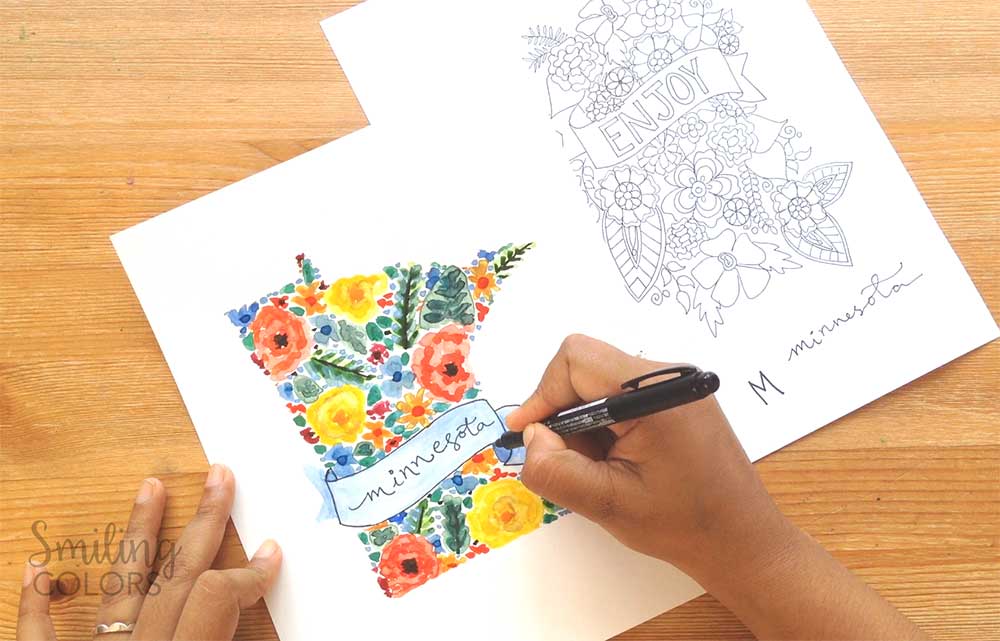
- Print out an outline of your state onto a 8.5 by 11 inch paper.
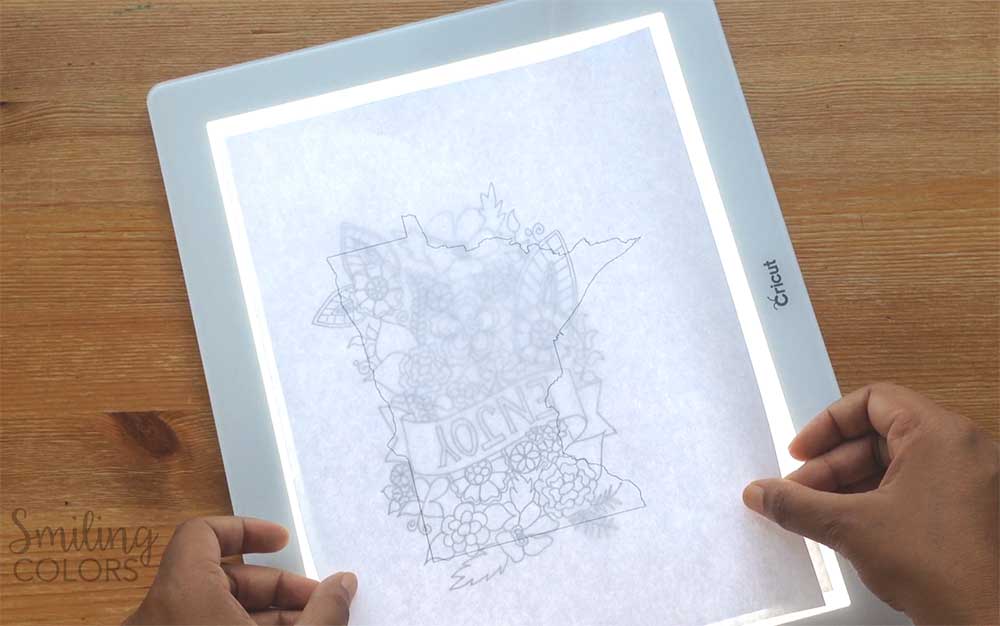
- Trace the state shape onto mixed media paper, using a lightbox like the Cricut BrightPad. For more tips, read this post How to Use a Lightbox For Tracing Designs
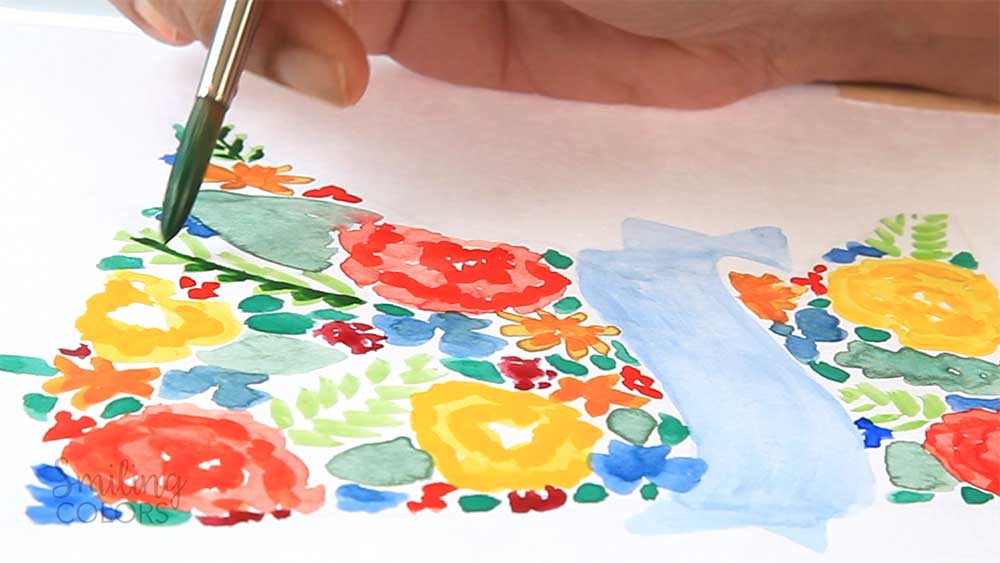
3. Fill in the shape of your state with Watercolor Flowers in colors of your choice.
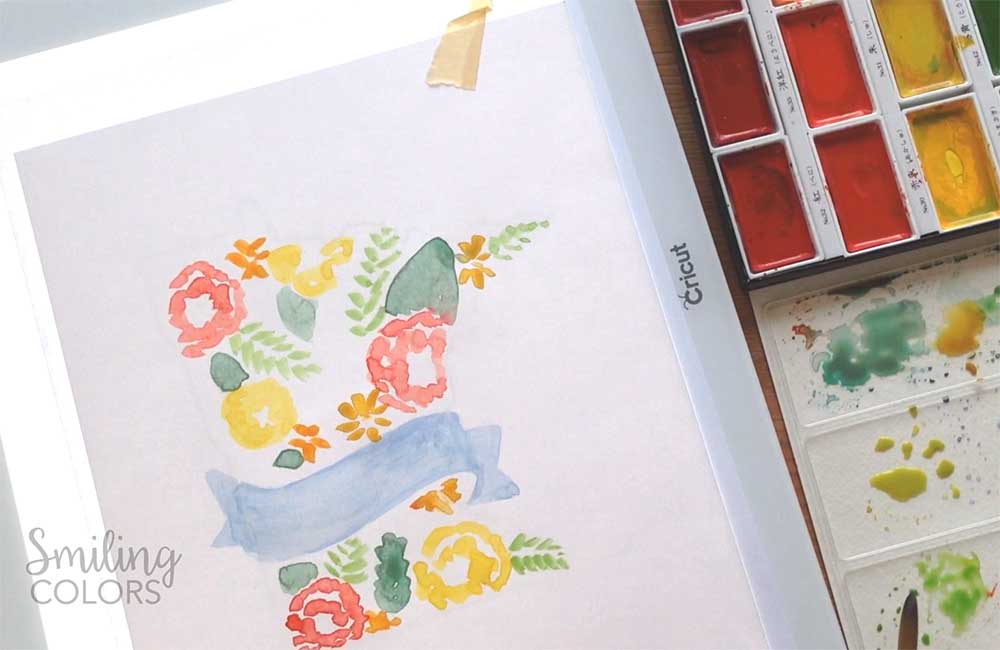
The watercolors I used are the Gansai Tambi watercolor cakes and look at how bright the colors turn out! A good quality paintbrush makes so much of a difference! Find a link to this paintbrush in the supplies listed below.
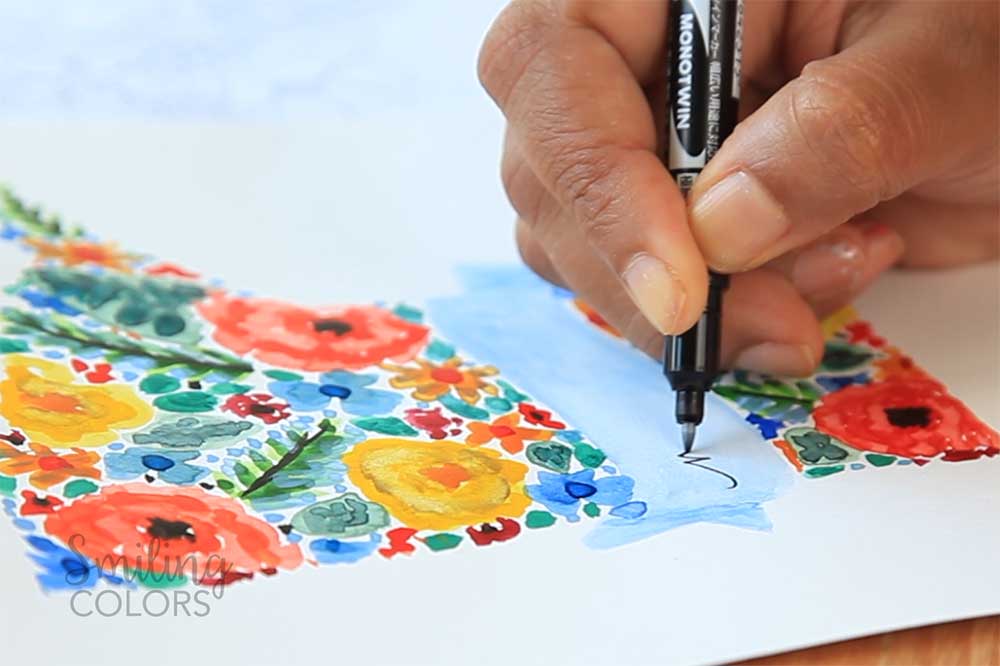
I also did a bit of hand-lettering on my Watercolor state art piece. I used the MONO twin permanent marker for this. It is waterproof and great for adding details on top of watercolored areas.
DIY Watercolor State Art Video:
Click here to see this Watercolor Painting Tutorial on YOUTUBE. While you are there, don’t forget to subscribe to my channel!
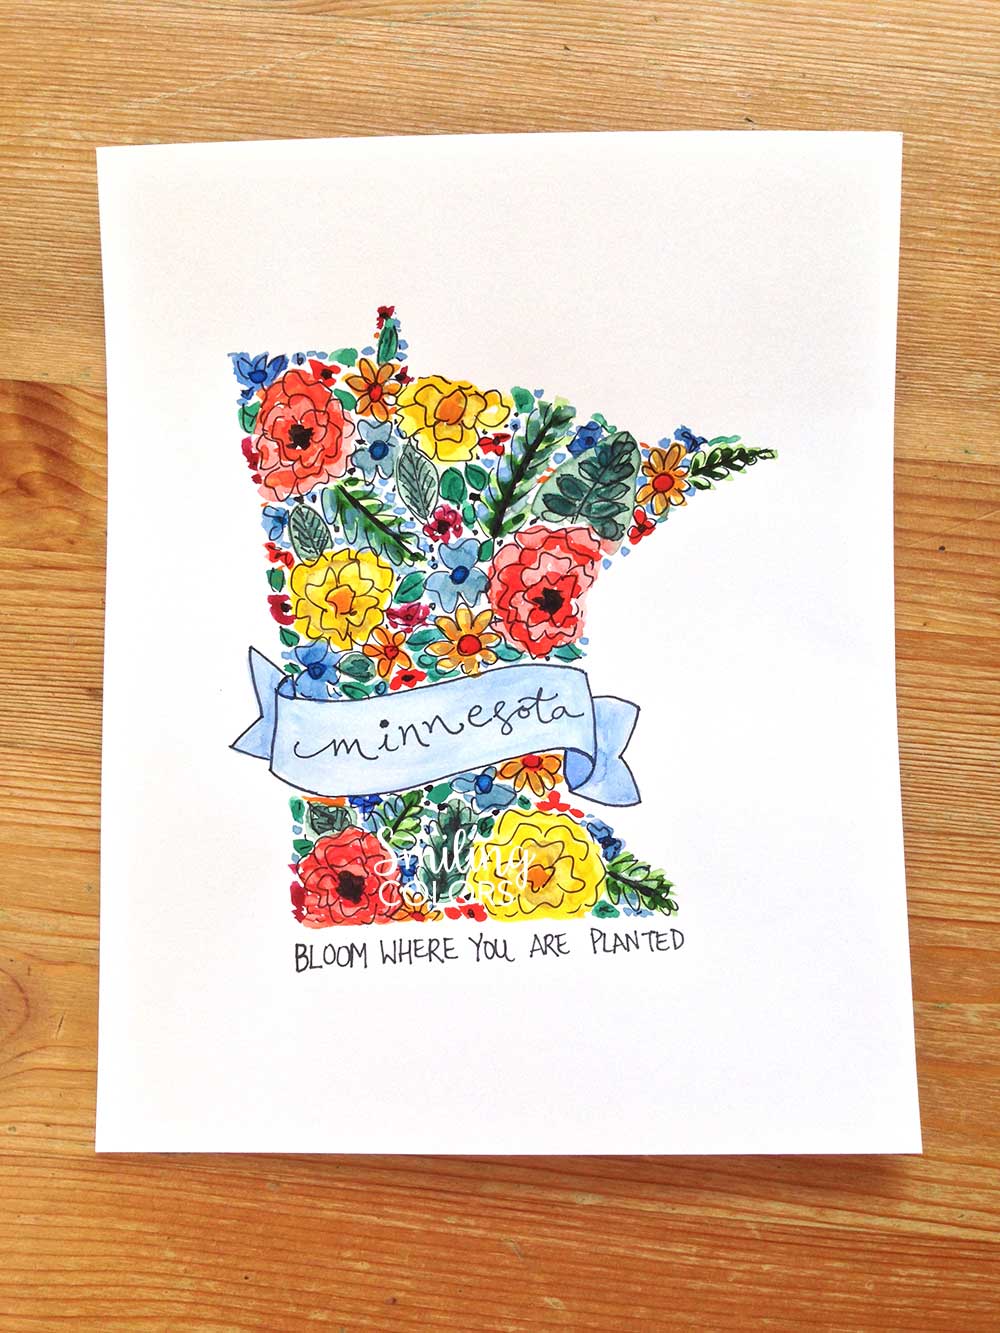
And here is how the finished piece turned out! I love it and I especially love how colorful it is. People always associate Minnesota to be the cold state, but really you can surround yourself with flowers all year long if you want too.
I added the “Bloom where you are planted” beneath because it seemed very fitting. I have called Minnesota my home for the past 11 years and really cannot think of any other place I’d rather be.
When I thought of making a DIY Minnesota state art piece, I knew immediately that I wanted to use watercolors. So I filmed my creative process today and am sharing this DIY watercolor state art video with you all! I hope you enjoyed this Watercolor State Art tutorial today!

Hi I’m Smitha! I live in Minnesota with my husband and two daughters. You’ll always find me painting florals in my sketchbook. And I love the sheer joy of making something with just my hands! But my bigger love is capturing it all on camera Read more.
Thanks for stopping by today! If you learnt something from this tutorial, do share this post with a friend or on social media! Tag me @smithakatti #smithakatti I’d love to see what you create!


Hi, I’ve nominated you on my blog for the Blogger Recognition Award!!