I love drawing and painting flowers and in today’s post, I’m sharing an easy step by step tutorial showing you how to draw a Succulent that even you can recreate!
I’ve previously shared a Leaf drawing step by step tutorial that you all loved. So I’m hoping this How to draw a succulent tutorial will make you pull out your pen and paper and start drawing right away!
ALSO READ: EASY STEP BY STEP TUTORIAL FOR SIMPLE FLORAL DRAWINGS WITH PRINTABLE GUIDE
You can start drawing on any paper with any pen or pencil. Enjoy
Thank you for Pinning this post!
How to draw a Succulent:
Step by step photos showing you how to draw a succulent
Total Time: 6 minutes
Starting in the middle of your page, doodle three overlapping shapes to form the center of the succulent. Typically the leaves are thick and round so keep all the lines curved and try not to create any pointy edges
Now we need to build more layers that will be appearing from beneath our center. Draw one leaf shape and then draw the adjacent ones slightly beneath the first. Keep overlapping the leaves and at the same time make each leaf a little larger in size than the previous one. 
After the first two rounds of leaves, start adding three leaves each time as seen below. 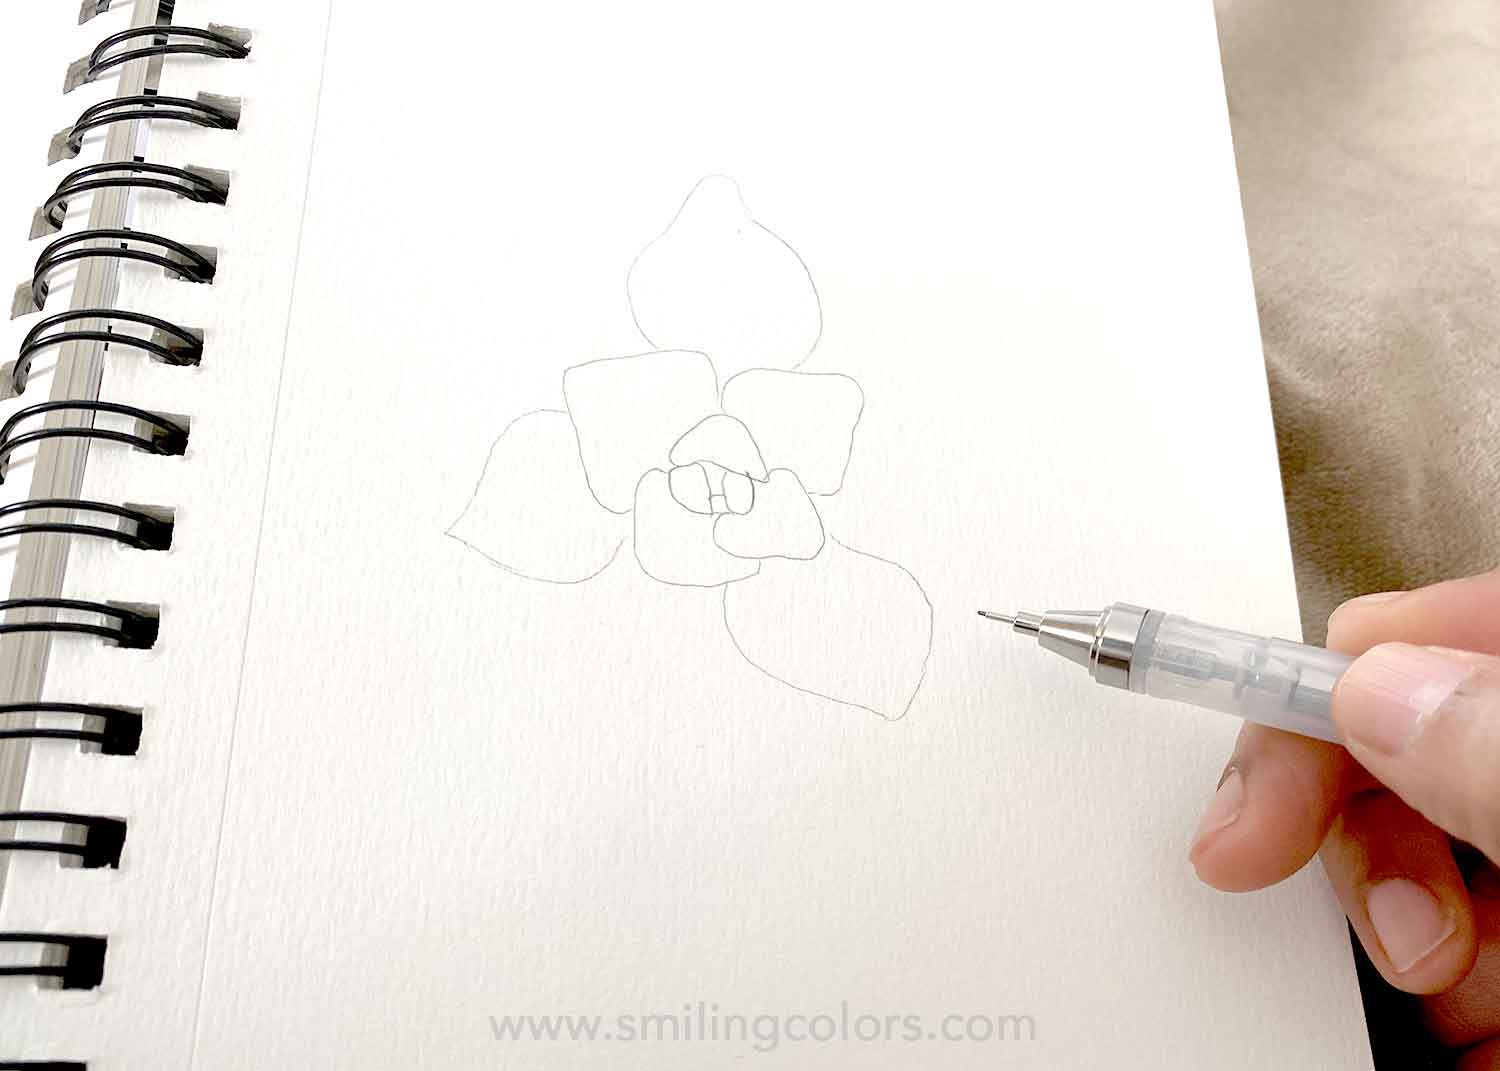
Repeat the previous step over and over again drawing more and more leaves in between and beneath the previous ones till you have a drawing that fills your page!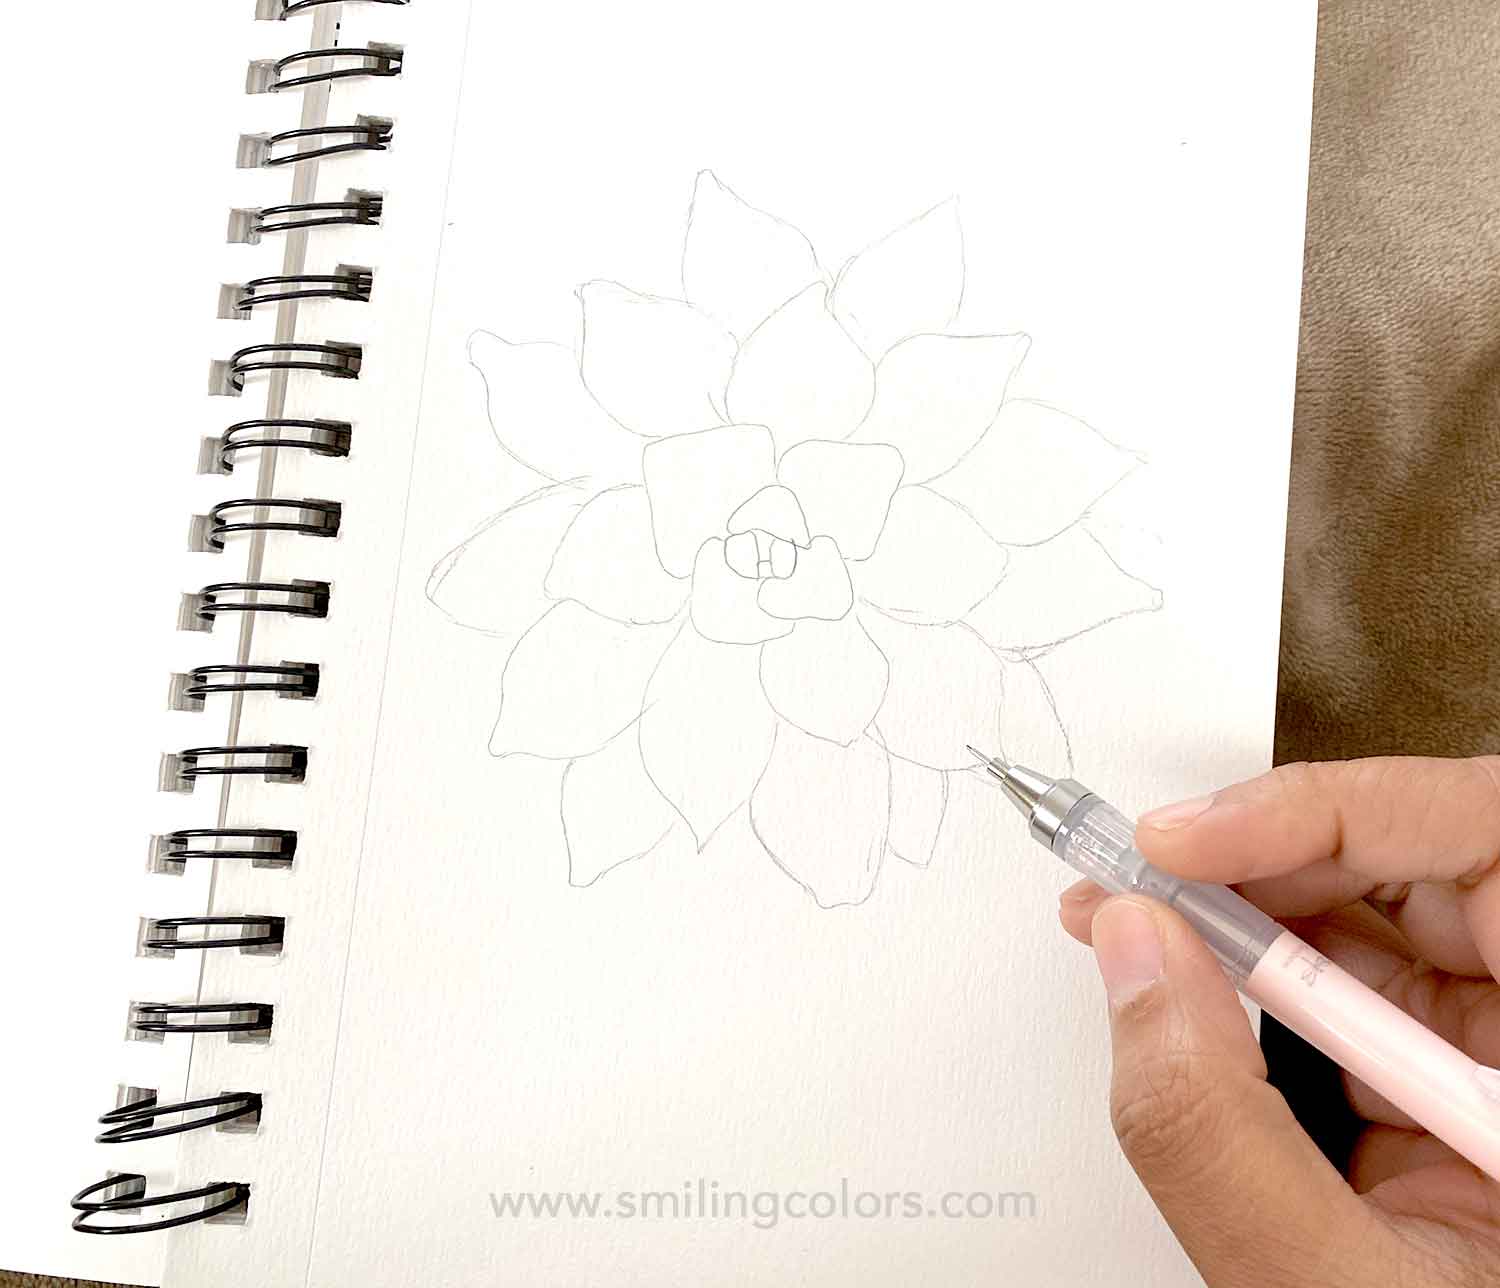
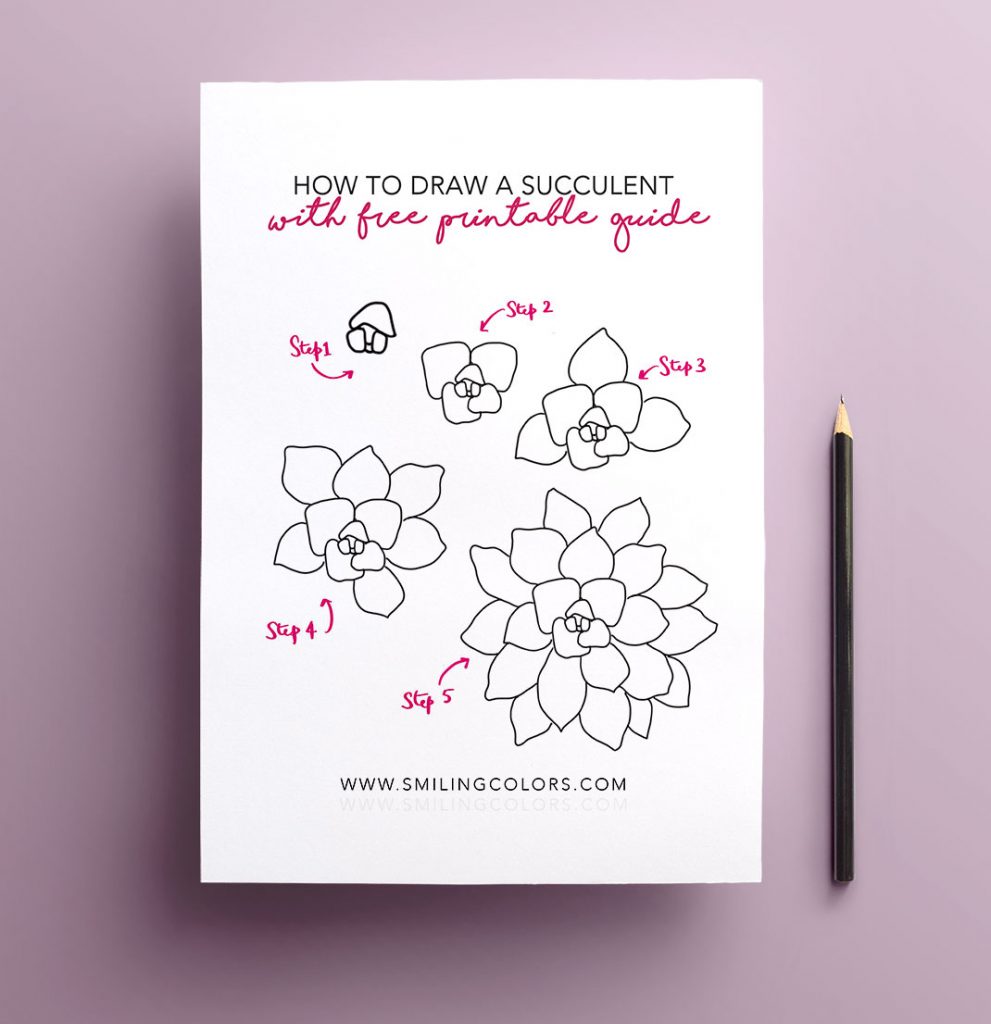
Click here to download a printable guide for the succulent
So there you have it! Simple 5 steps to draw a succulent or ghost plant in your sketchbook!
Watch me draw flowers and more flowers! Follow my YouTube channel HERE:


