If you’ve ever wanted to knit but felt overwhelmed by all the needles, yarn types, and stitches, I’m breaking down everything you need to know in today’s learn to knit for beginners post just for you.
I grew up watching my mom making colorful blankets from yarn. I was fascinated, and learnt how to knit as a teenager and today, making and sharing knitting patterns for blankets and throws is my happy place.
This start from the scratch guide will start your learn to knit journey from your first stitch to last. No previous crafty experience needed.
Is it possible to teach yourself to knit?
Yes! You can absolutely learn to knit yourself. Just remember to be patient.
But also, look at your local library, friends circle or family to see if you can find someone to help you learn to knit. Knitting is one of those crafts that feels so rewarding once you understand the basics well.
Learn to Knit for Beginners:
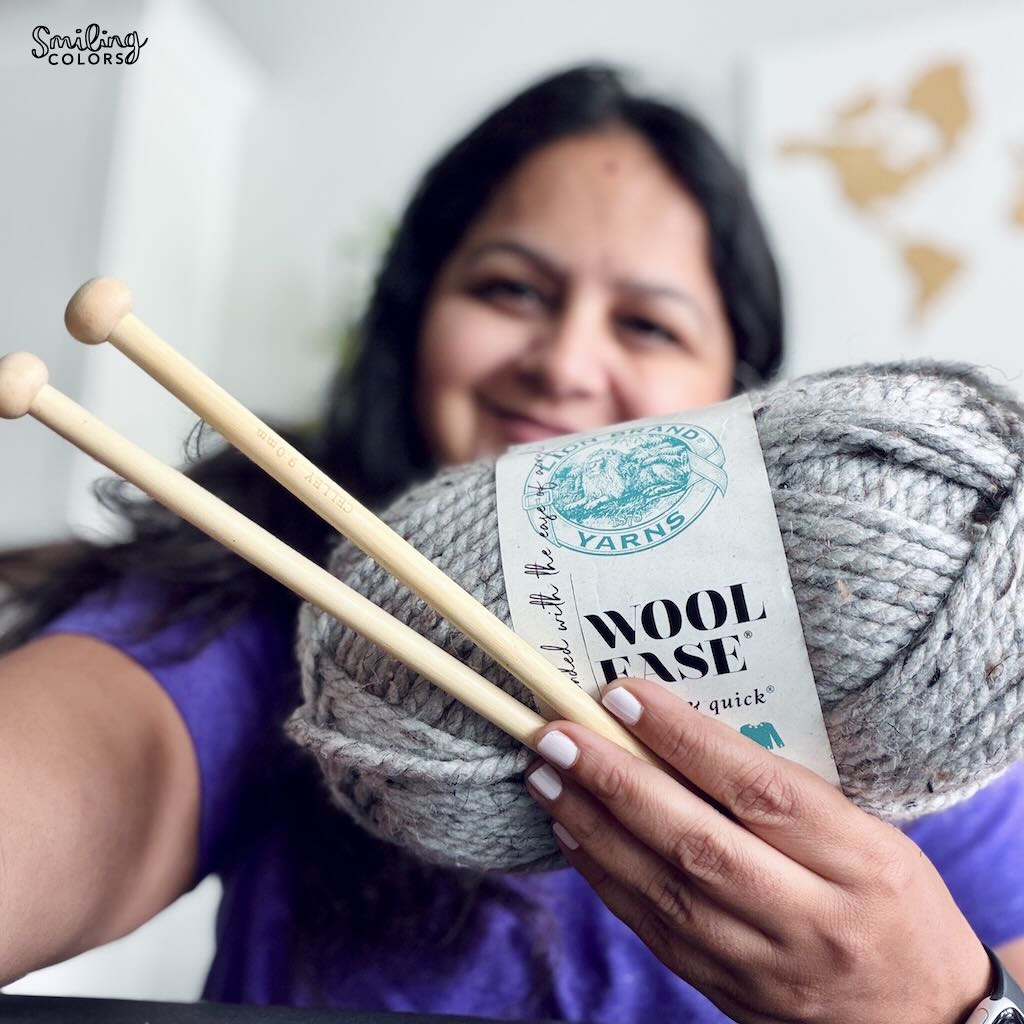
Materials Needed:
You only need a few simple supplies when you learn to knit- I answer that and more here – What do I need to start knitting? Essentials for Beginners. Honestly, you just need a yarn that you like and the right needles.
knitting terms for beginners
Every knit project starts with two needles and a ball of yarn. Here are the most common knitting terms you will hear.
- Cast On: This is the term used for making your first stitches onto the left needle.
- Knit: This is the most basic stitch in knitting and the first one you will learn. You will hold one needle in your left hand and another in your right hand and the stitches you casted on will switch hands one by one.
- Purl: The purl stitch is another quintessential stitch that is the reverse of a knit stitch.
- Stitch: Each new loop of yarn on your needle
- Cast Off: This is the term used to neatly secure your stitches and take the last stitch off of the needles.
- Gauge: Number of stitches per inch
- Increase: Adding stitches to make your piece wider
- Decrease: Reducing stitches to make your piece narrower
Knitting Abbreviations Often Used
- RS = Right Side- The front side of your project
- WS = Wrong Side – The back side of your project
- K2tog = Knit two stitches together. This is a popular decreasing method
- YO = Yarn Over. This is a popular increasing method that creates a small hole and lacy effect.
Little Tips From Me to You
When you start to learn to knit, be gentle with yourself. Do not compare your first day of knitting, to video tutorials on instagram or the internet. Don’t get bogged down with the types of knitting needles, different fibers or try making a sock. Keep it simple and enjoy
- Your first project doesn’t need to be anything. A simple little wonky square is perfectly enough to learn on.
- Go at your own pace, slow and steady is perfect. Remember, new skills take time.
- Thicker yarn is your best friend when you’re learning.
- If possible use bamboo needles, these make pulling the yarn loops easier.
- Your tension will look wobbly at first. Totally normal. Everyone’s first project turned out wonky. It is only with time and practice that you will learn how to create steady even stitches.
You’ve Got This
Knitting looks complicated from the outside, but truly, once you try it, it feels natural so quickly. And there’s something really joyful about watching your stitches grow row by row.
With just a little patience, some yarn in a color you love, and a pair of needles, you’re well on your way to knitting your first cozy square (or scarf, or whatever feels fun). Sweaters, cables, mittens are for more experienced knitters don’t focus on that now. Start simple with these easy knitting stitches for beginners