I love painting a Mixed Media Canvas, adding layer upon layer of color and texture to paint something that emotes what I am feeling. Today I’m sharing 6 Mixed Media Art Canvas step by step tutorials that you can easily follow along!
If you enjoy Mixed Media Art make sure to check out all of my posts in this series- Mixed Media Journaling, Mixed Media Card Making, Mixed Media Heart, Mixed Media Bookmark and How to fill a Mixed Media Sketchbook with Rainbows.
mixed media art ideas:
1. Mixed media on canvas quote art
Make a DIY Canvas Quote Mixed Media Art that will motivate you every day! Time to pull out your paints and get creative 🙂

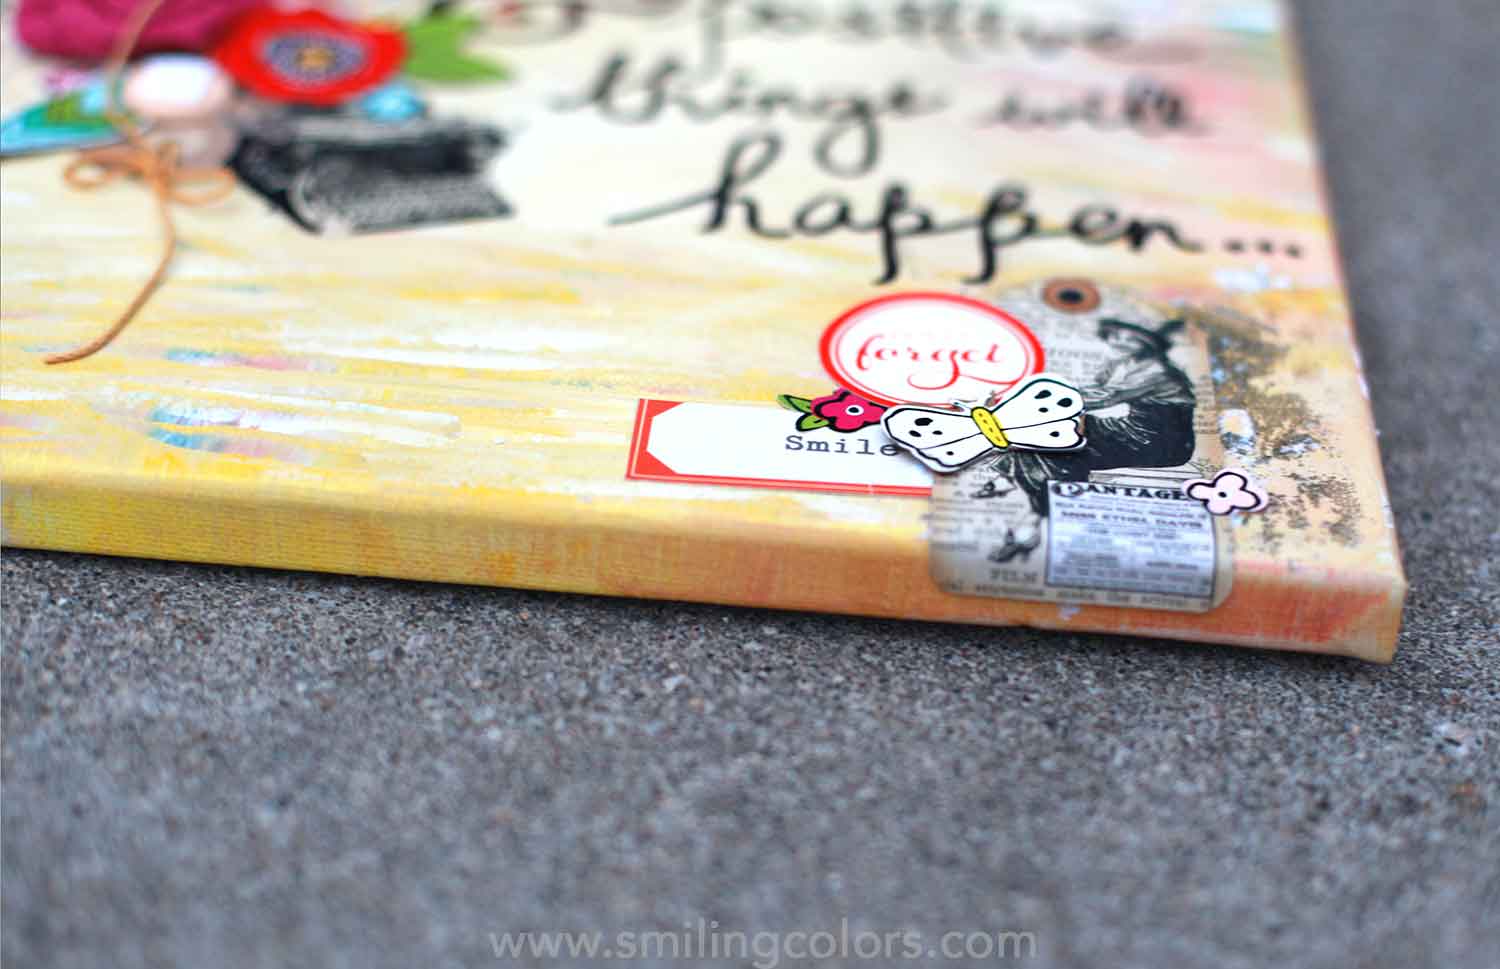
If you have not painted a Mixed Media Art before, this one is pretty simple to make. I took my scrapbooking supplies (and my new embossing paste) and brought them all onto this canvas.
Supplies used: Chipboard, mod podge, twine, paint, canvas, cardstock, embossing paste, gold embossing powder, sharpie, pen, letters, stickers.
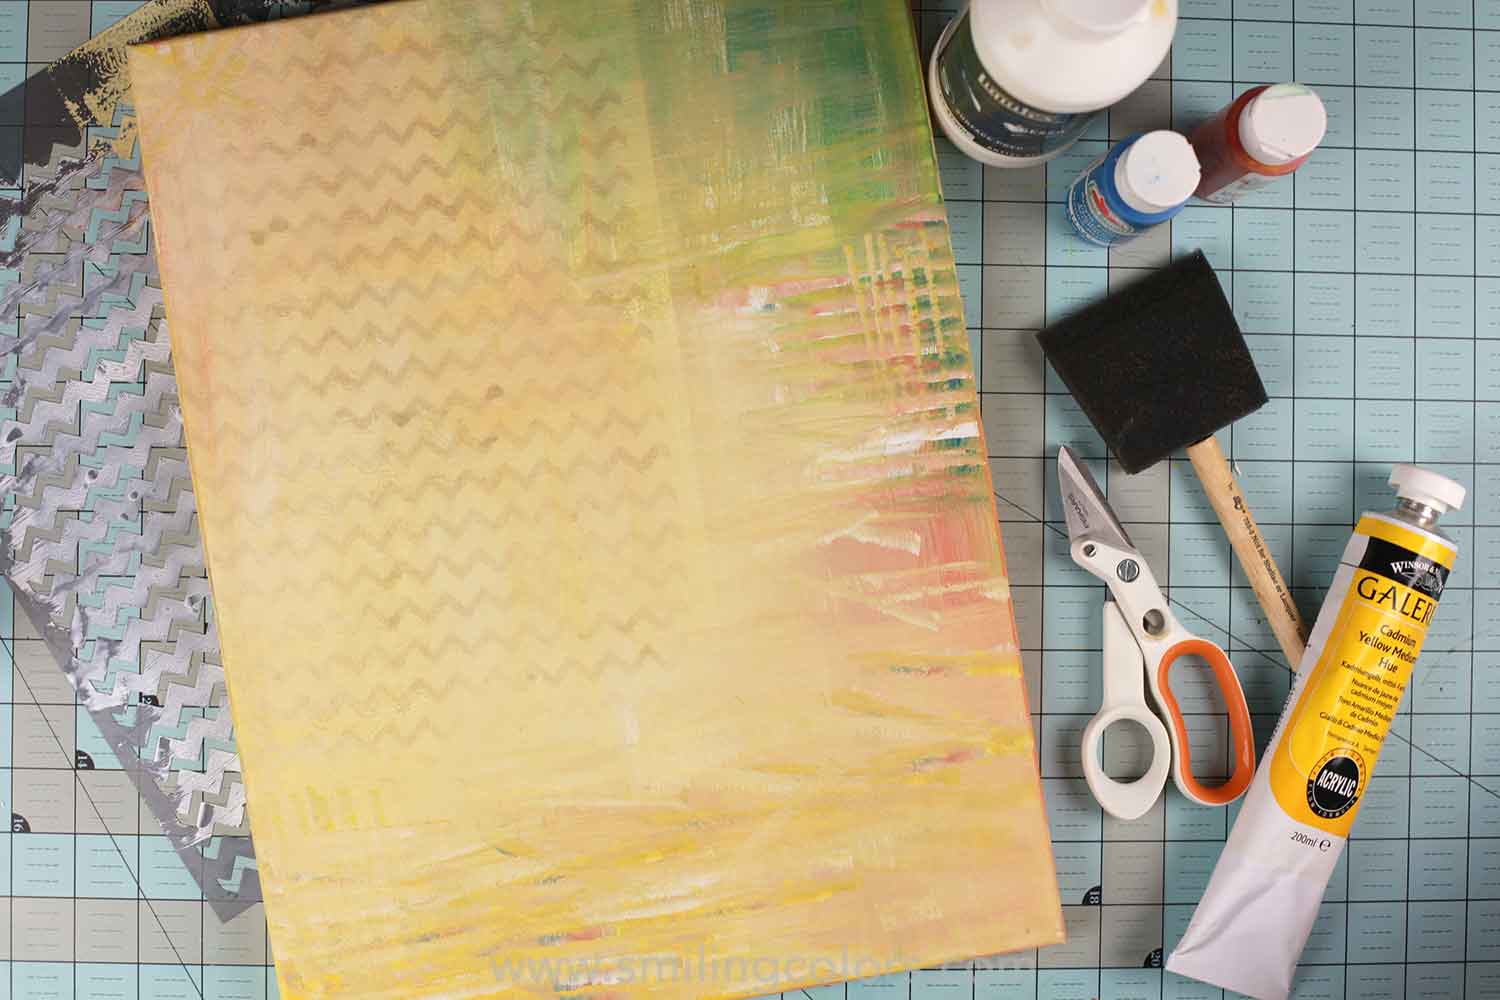
Step 1: I started by painting the whole canvas with a few colors of acrylic paint. I used a basic sponge brush and light strokes- this paint layer did not have to be perfect, so I let the paint strokes show. Next, I used some glimmer mists and a mask to add some pattern to a few areas of the canvas.
Step 2: Once the background dried, I started adding the title letters and embellishments. A fun way to add dimension to simple stickers is to add them to do some cardboard or chipboard and cut around them carefully using a Micro Tip pair of Scissors.
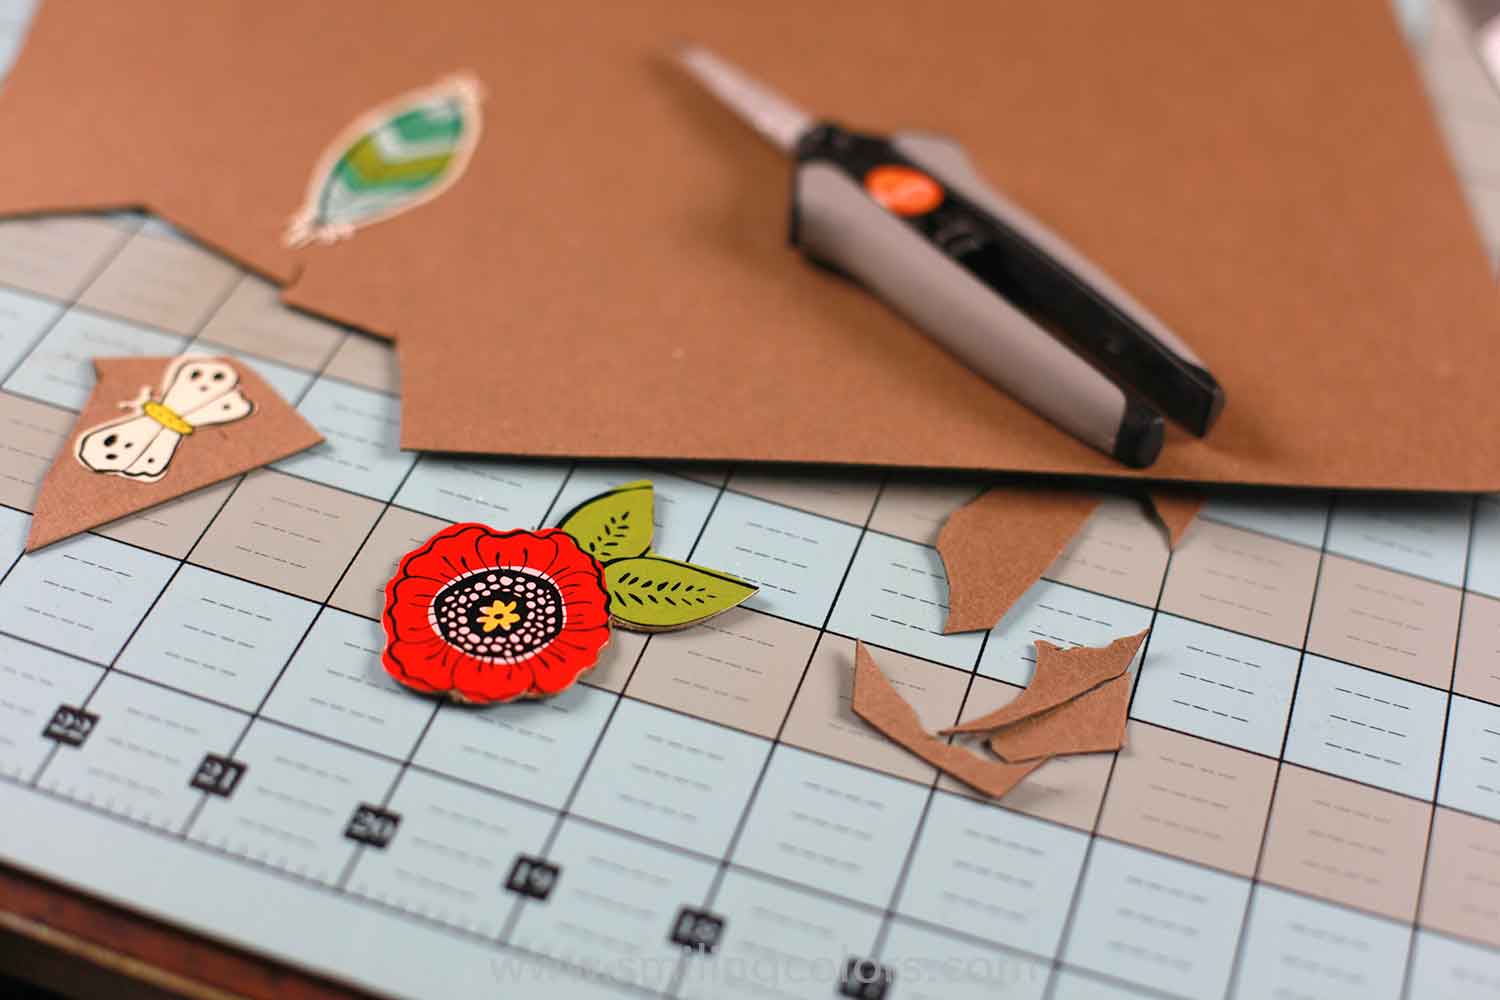
Step 3: I added part of my title with alphabet stickers, but I knew I wanted to handwrite the rest. Figuring out how big or small your lettering needs to be is a little tricky here. You don’t want to write and erase too much because this will dull the paint.
TIP: Cut some plastic packaging using the Amplify Mixed Media scissors and write on it using a Sharpie marker. Then move this plastic around the canvas to figure out where you want the words to be and if I need make the letters to be smaller or bigger in size.
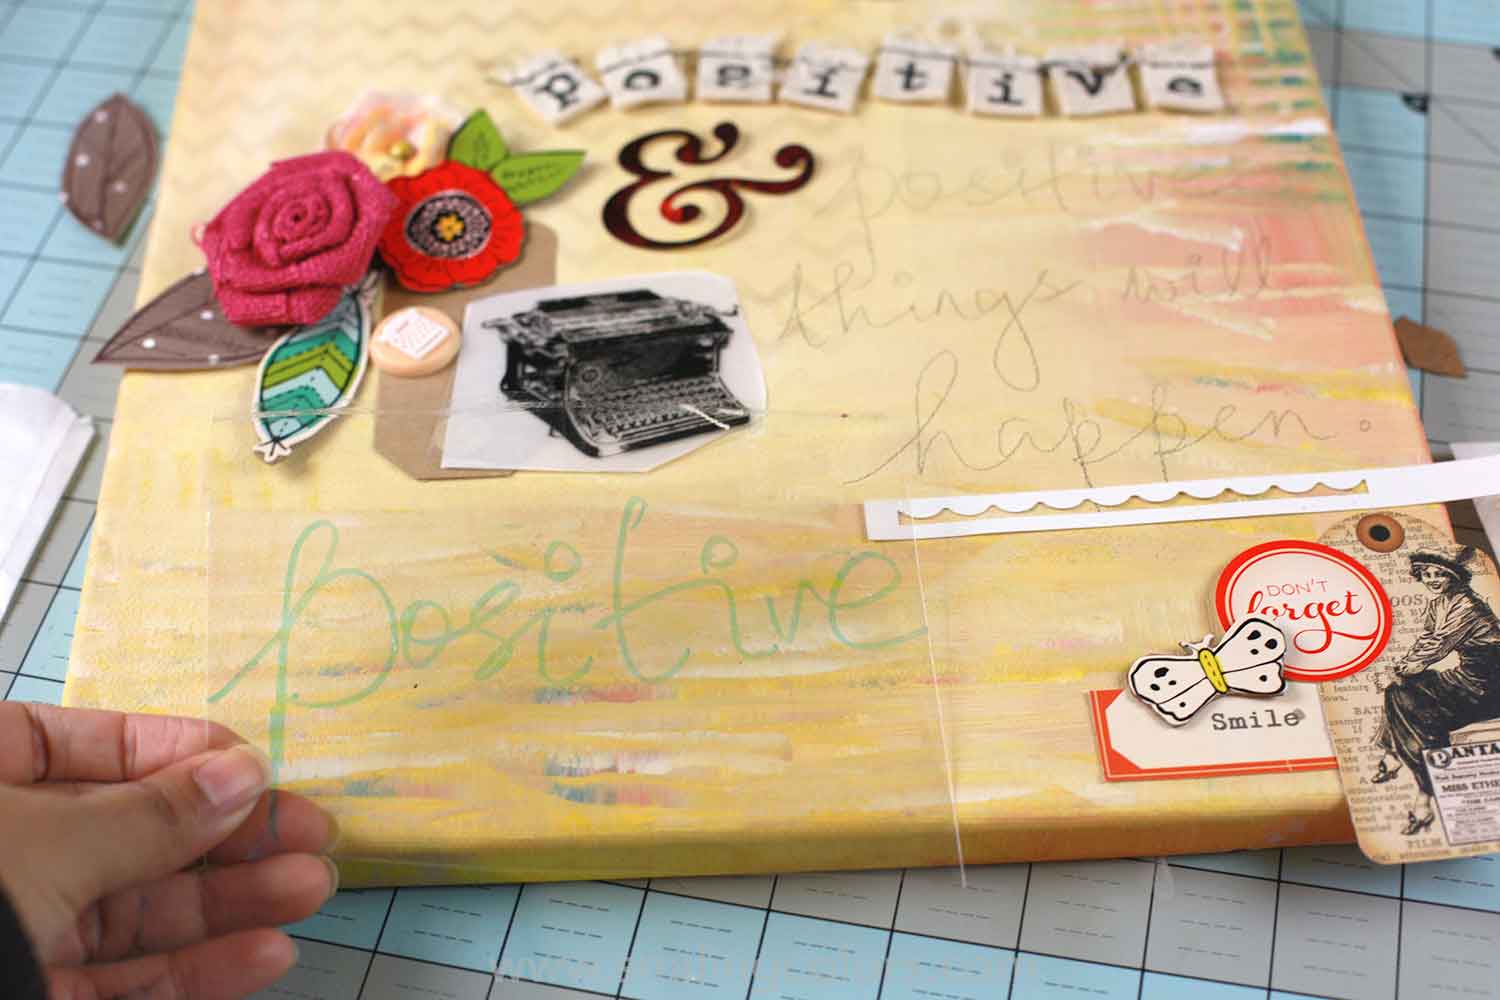
Step 4: Lastly, I wanted to add some texture and dimension to this DIY canvas quote art. For this, I created a stencil by punching cardstock using the AdvantEdge border punch and the Antique Lace cartridge. I then smoothed some embossing paste over the stencil and added a little gold embossing powder. A little hint of shimmery gold is just what was needed to finish off this canvas!
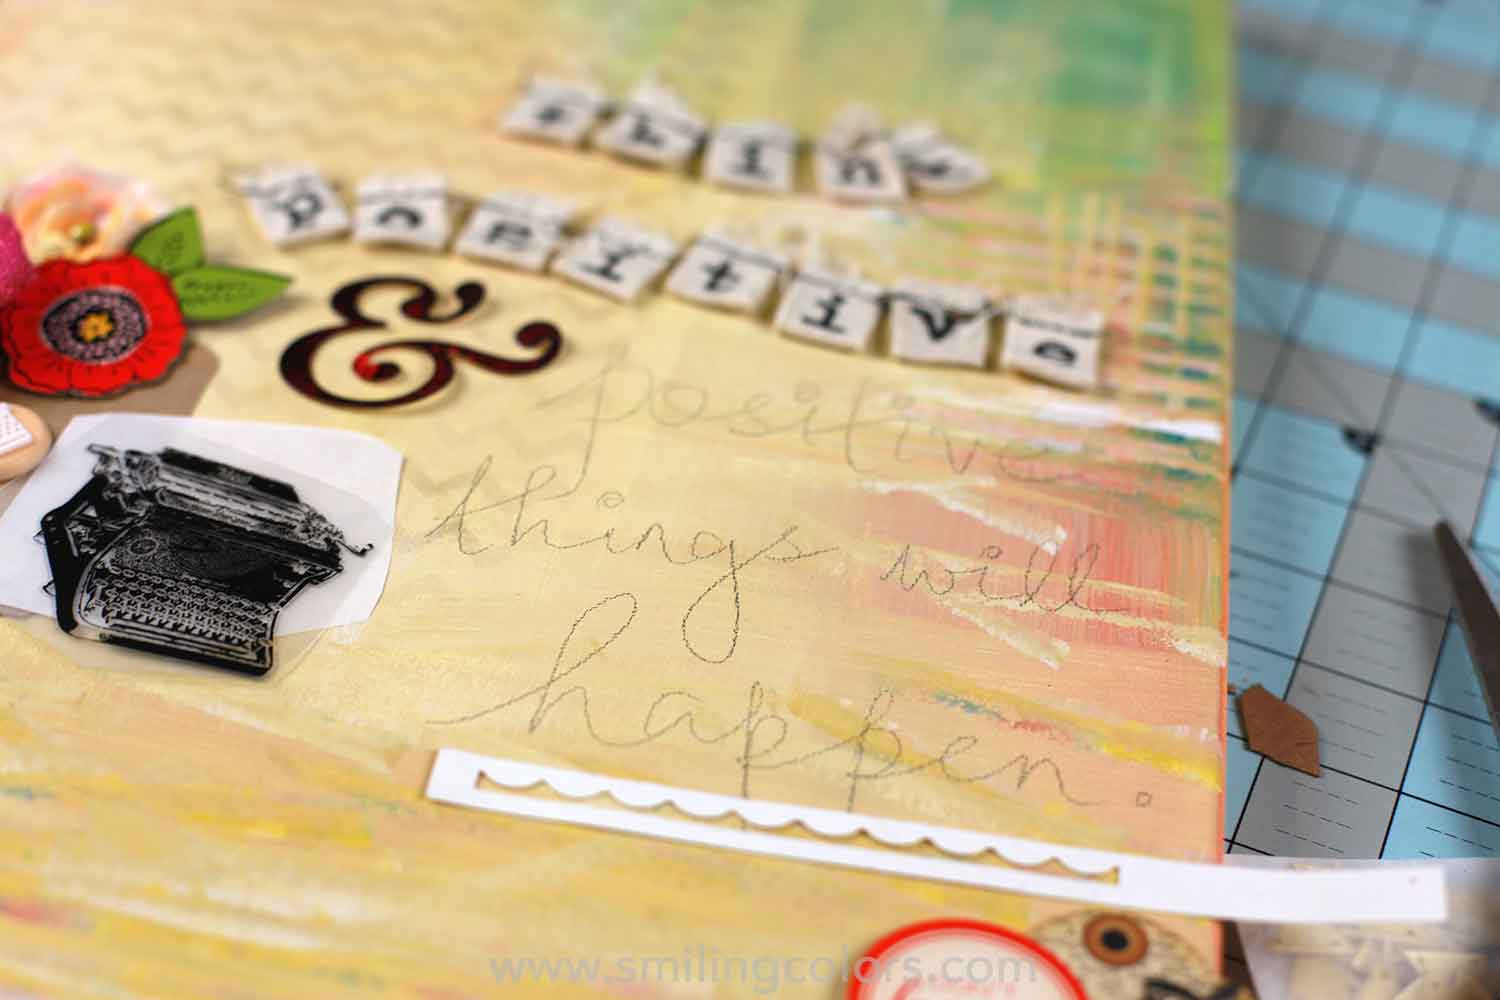
“Think positive and positive things will happen”
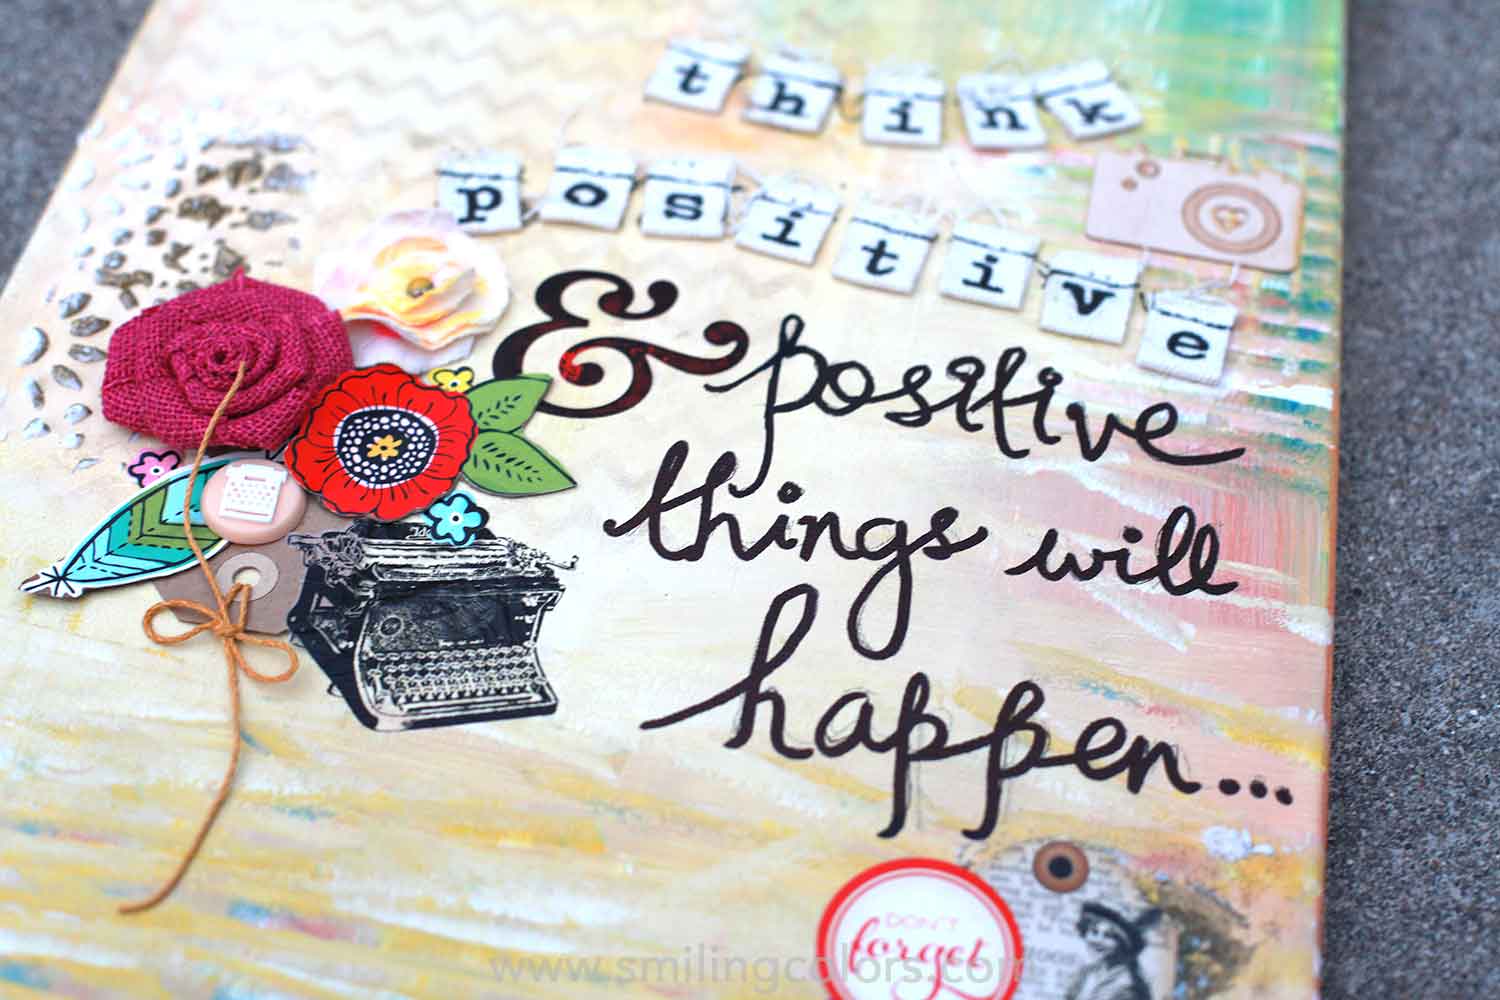
I wanted this DIY canvas quote art to be uplifting and positive, something that makes you smile and feel good about when you walk past it every day.
2. BIG MIXED MEDIA CANVAS PAINTING:
Thinking of painting a big mixed media canvas? This one is a large 20 by 30-inch canvas. Making an art piece that is large in scale can be intimidating at first.
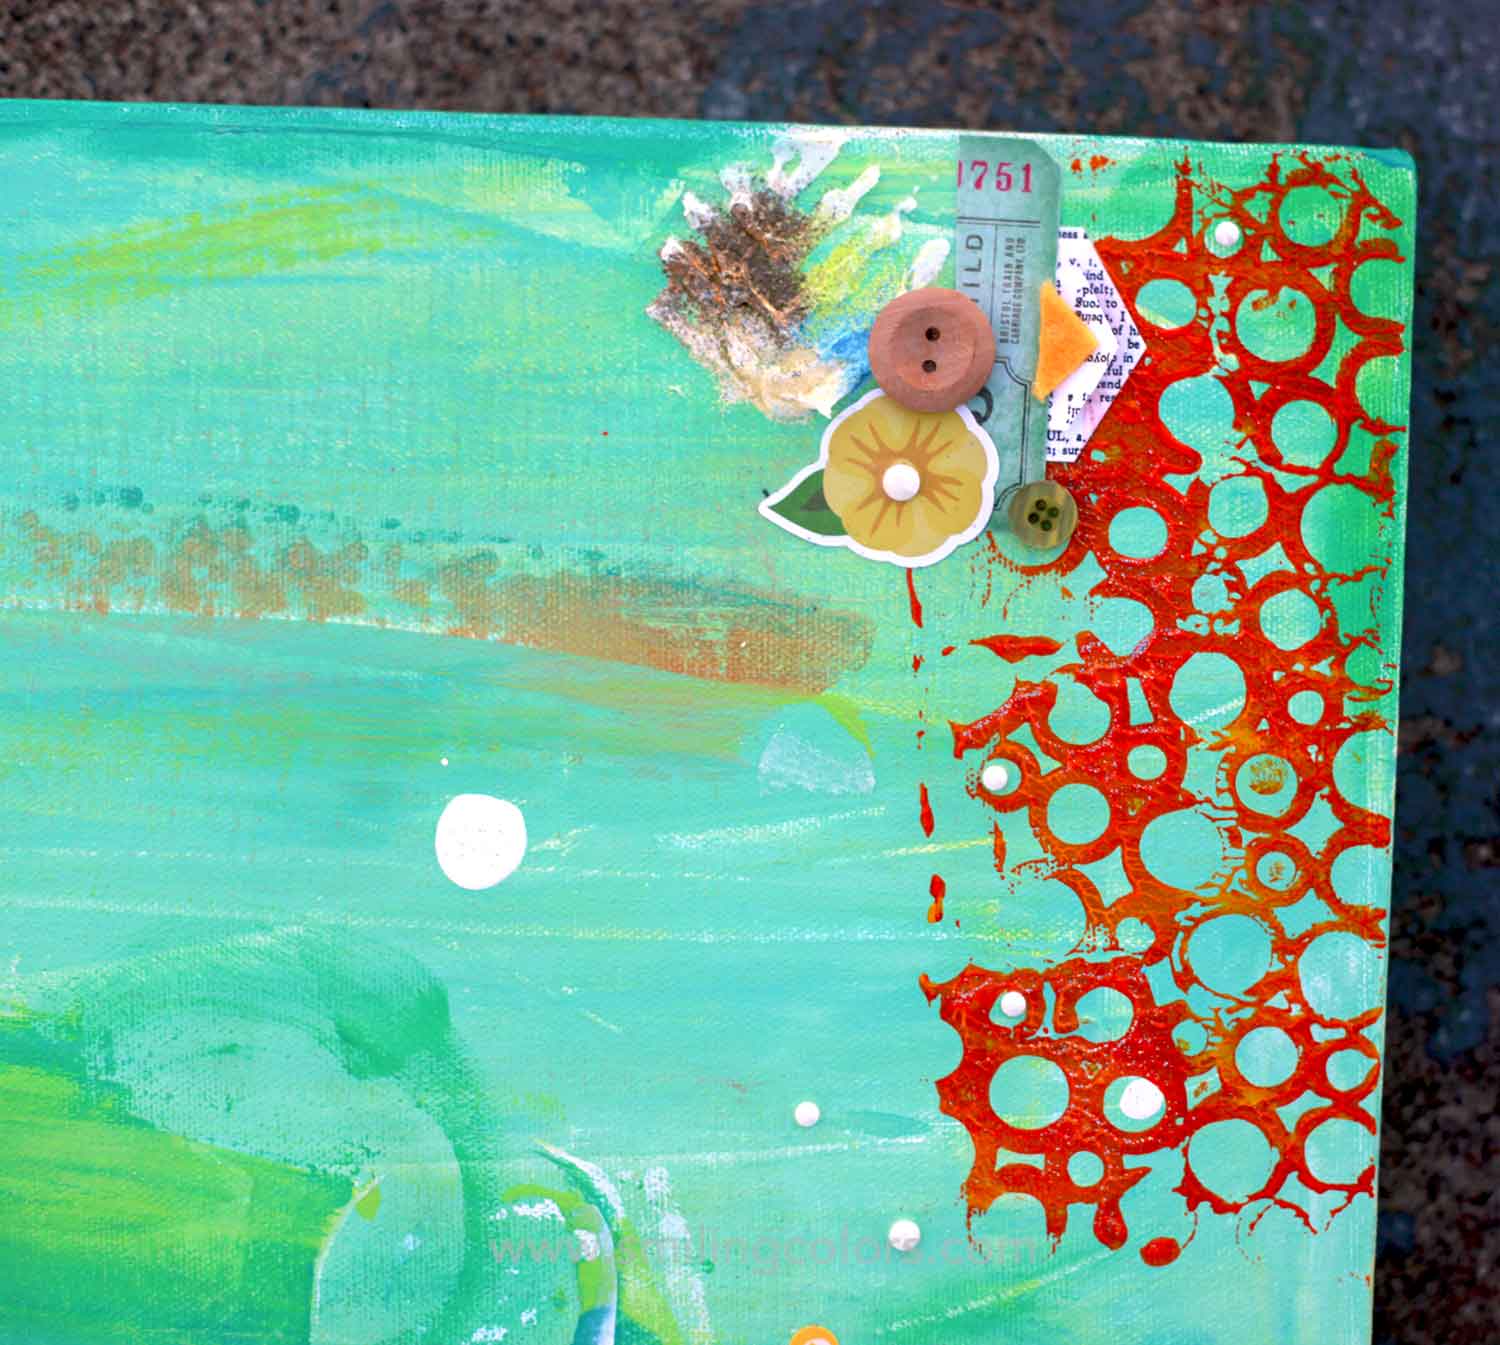
Supplies used: Canvas, acrylic paints, gesso, old credit card, letters, papers, stickers, button, stencil, embossing paste,
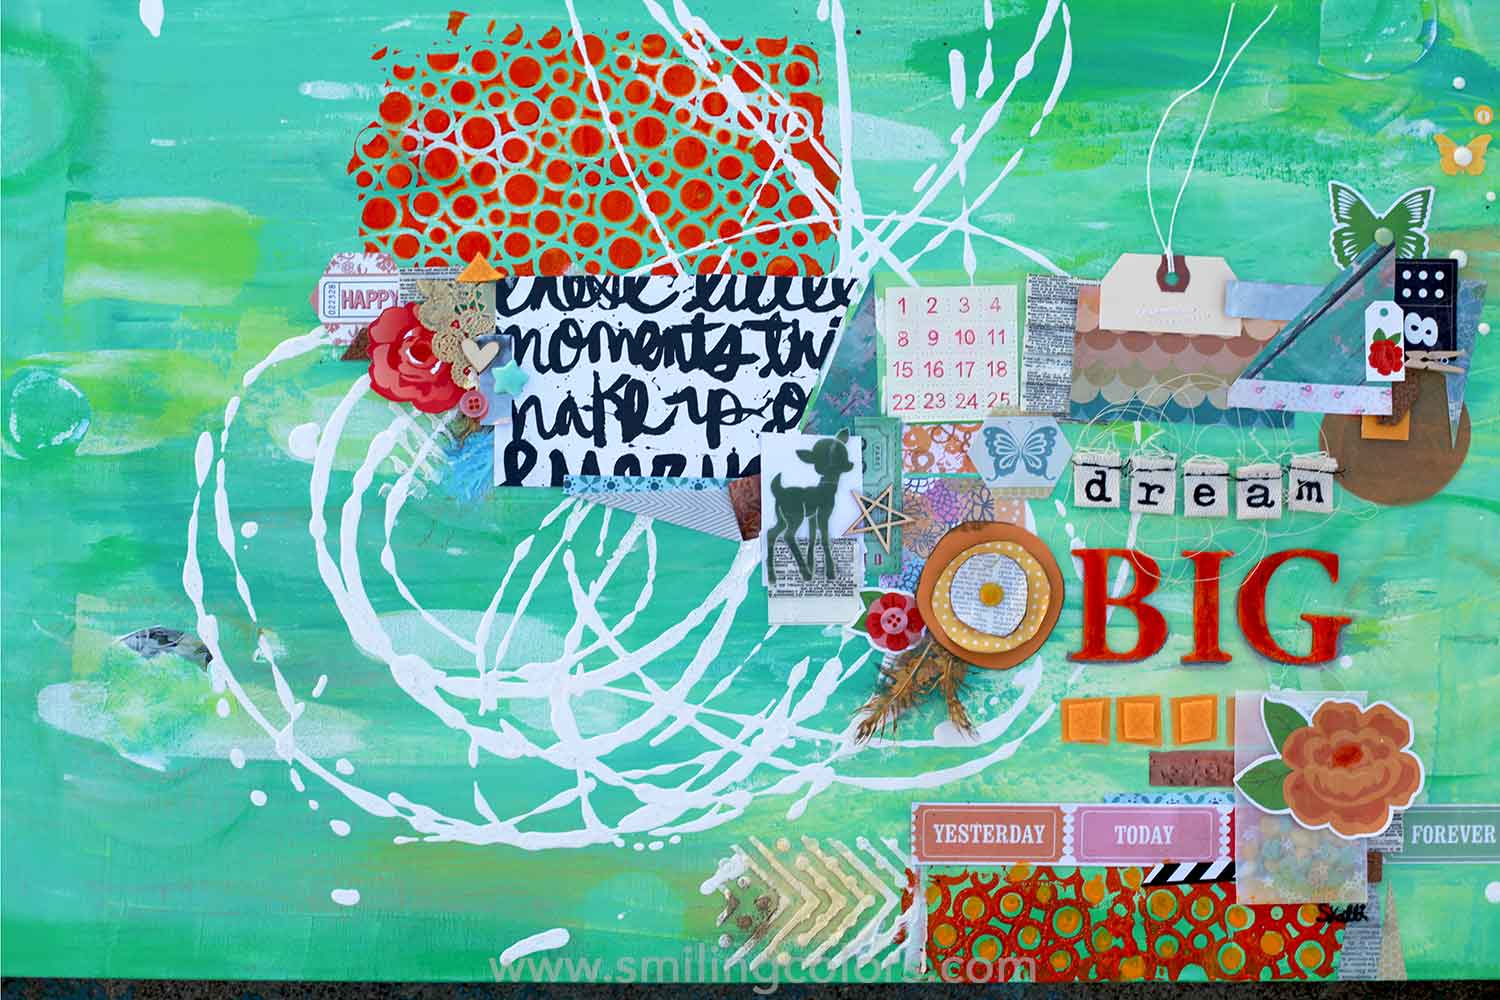
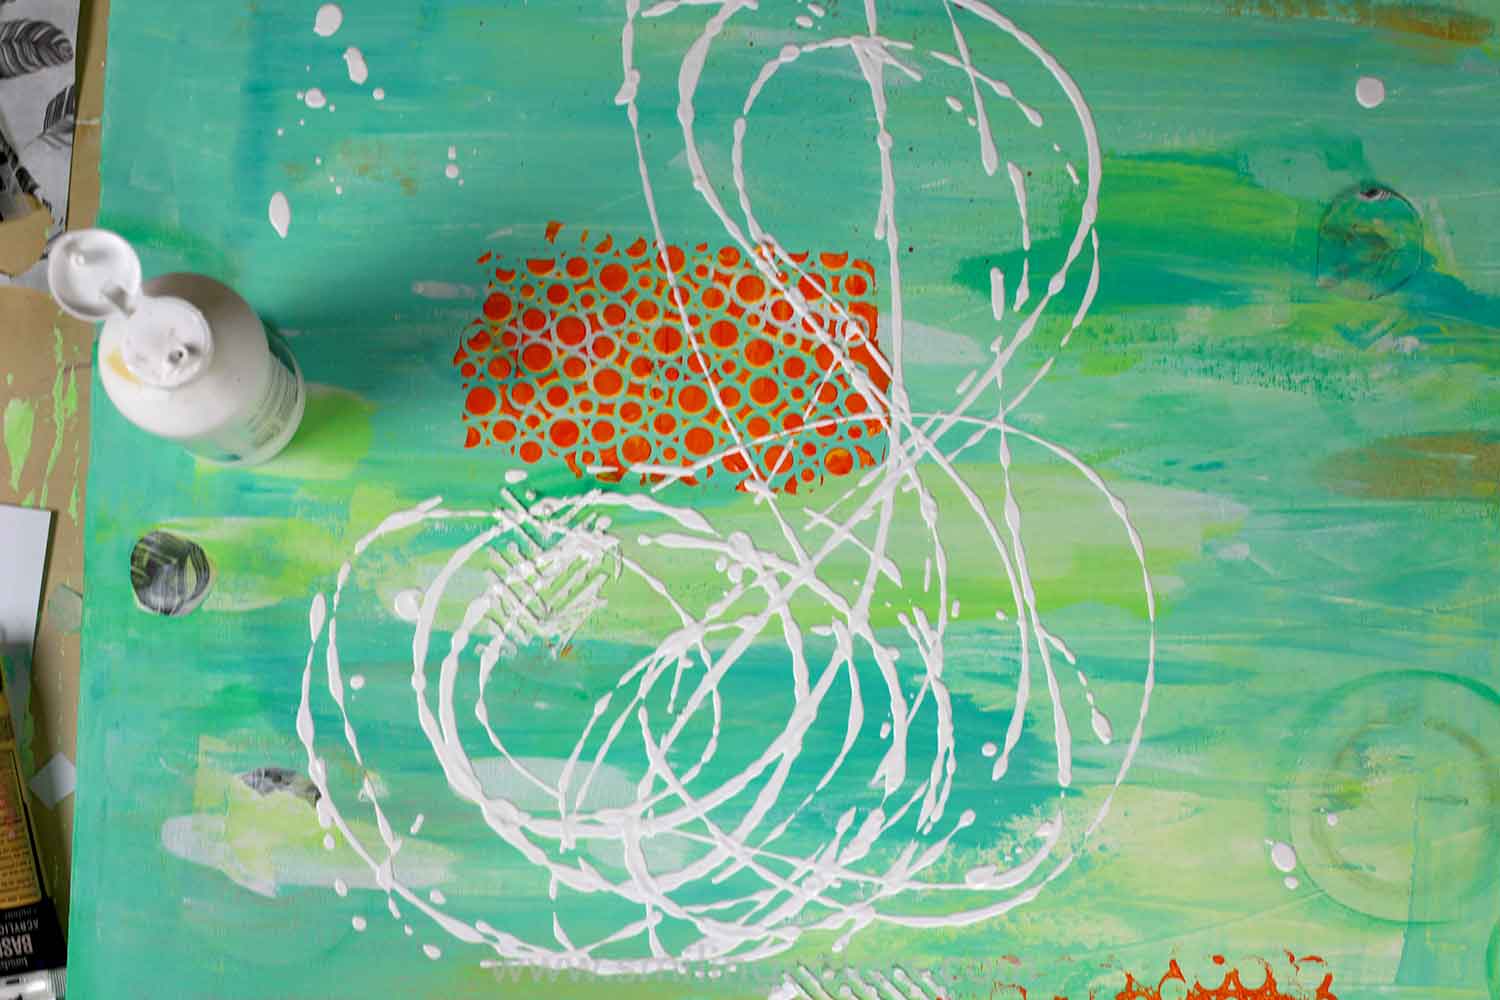
Step 1: Paint the background: Cover the entire canvas with color using an old credit card to smooth the paint all over the canvas. This mixes the paint on the canvas and gives a nice artistic look.
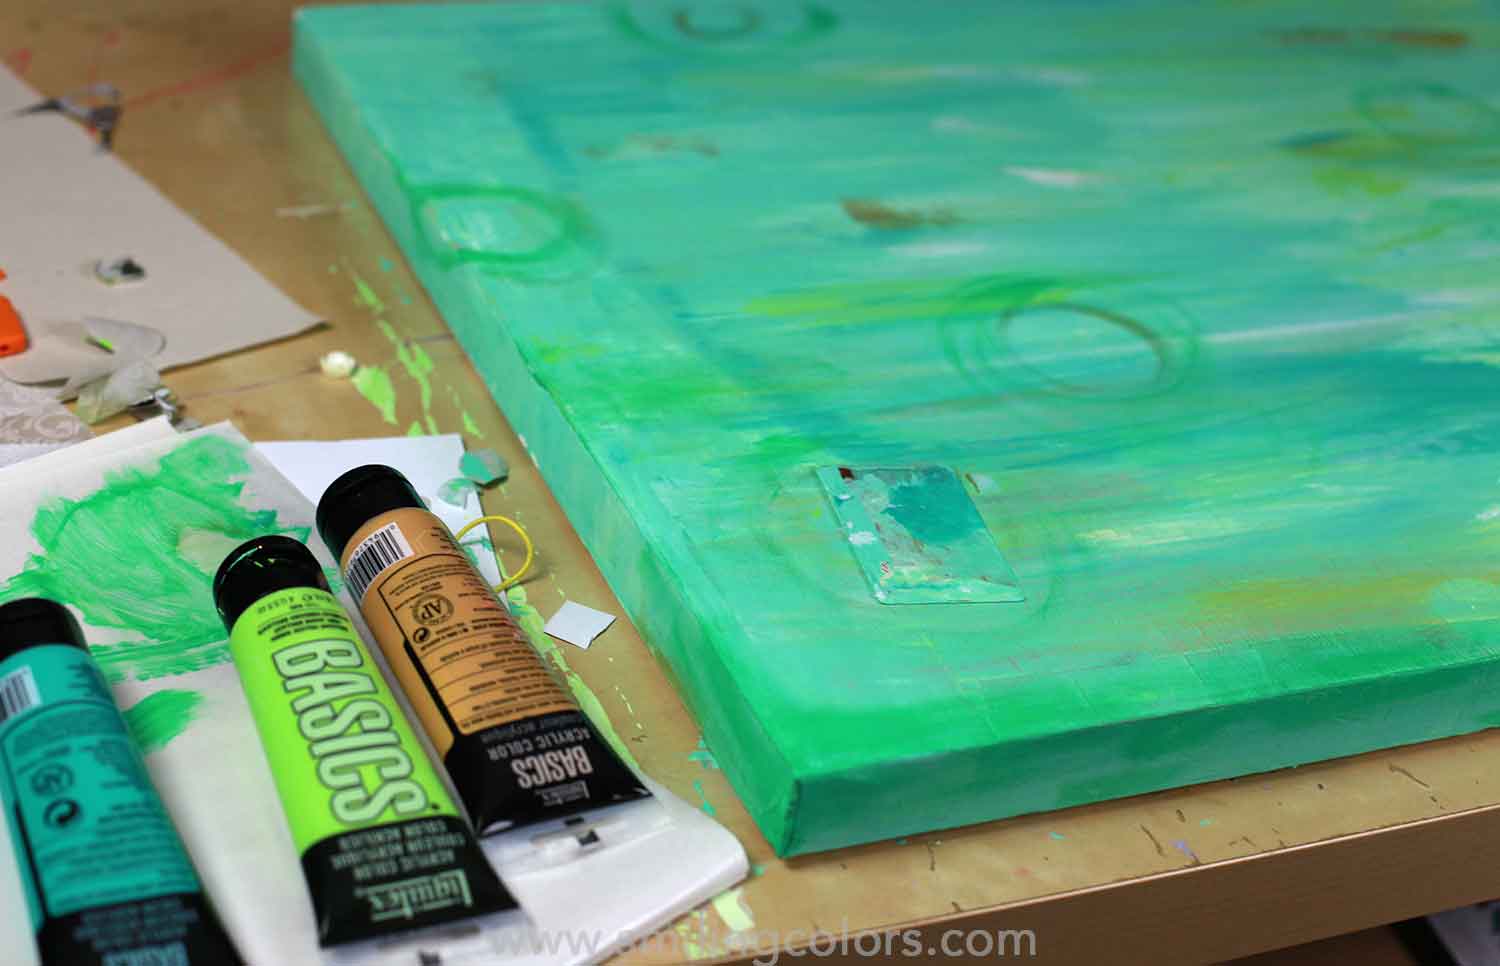
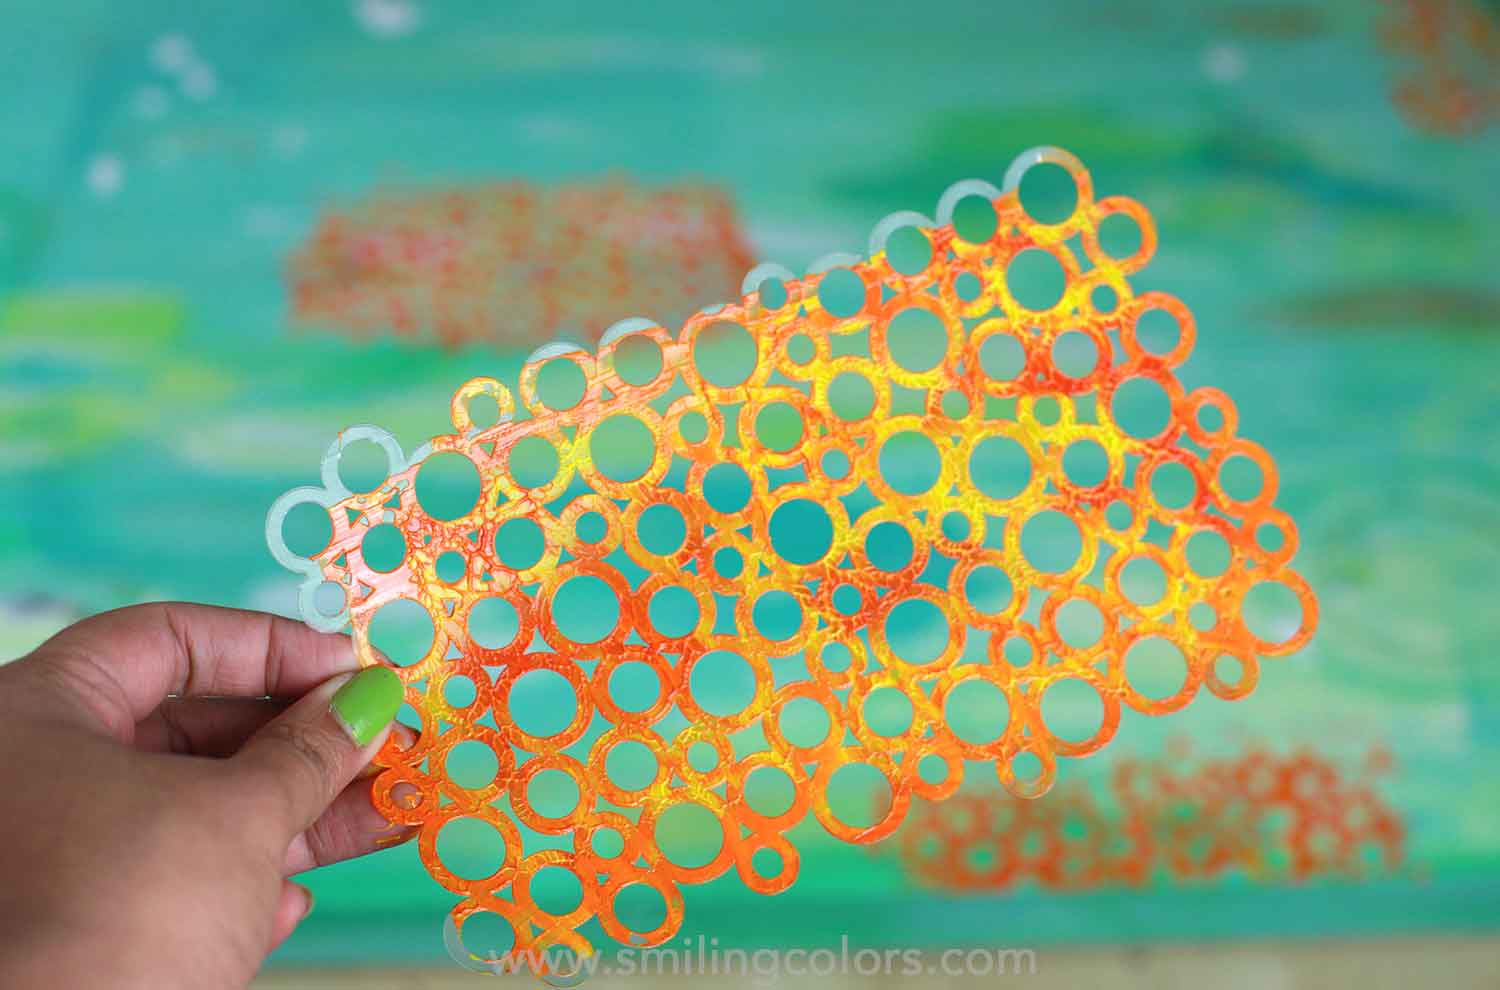
Step 2: Add a pop of color: I used a stencil and some bright orange paint in three different areas of the canvas. You will need to let the canvas dry for a while or use a heat gun to speed the drying process after this.
Step 3: Add dimension to the canvas: I used an border punched paper as a stencil and added a thick layer of embossing paste. I love the texture that embossing paste brings to the canvas!
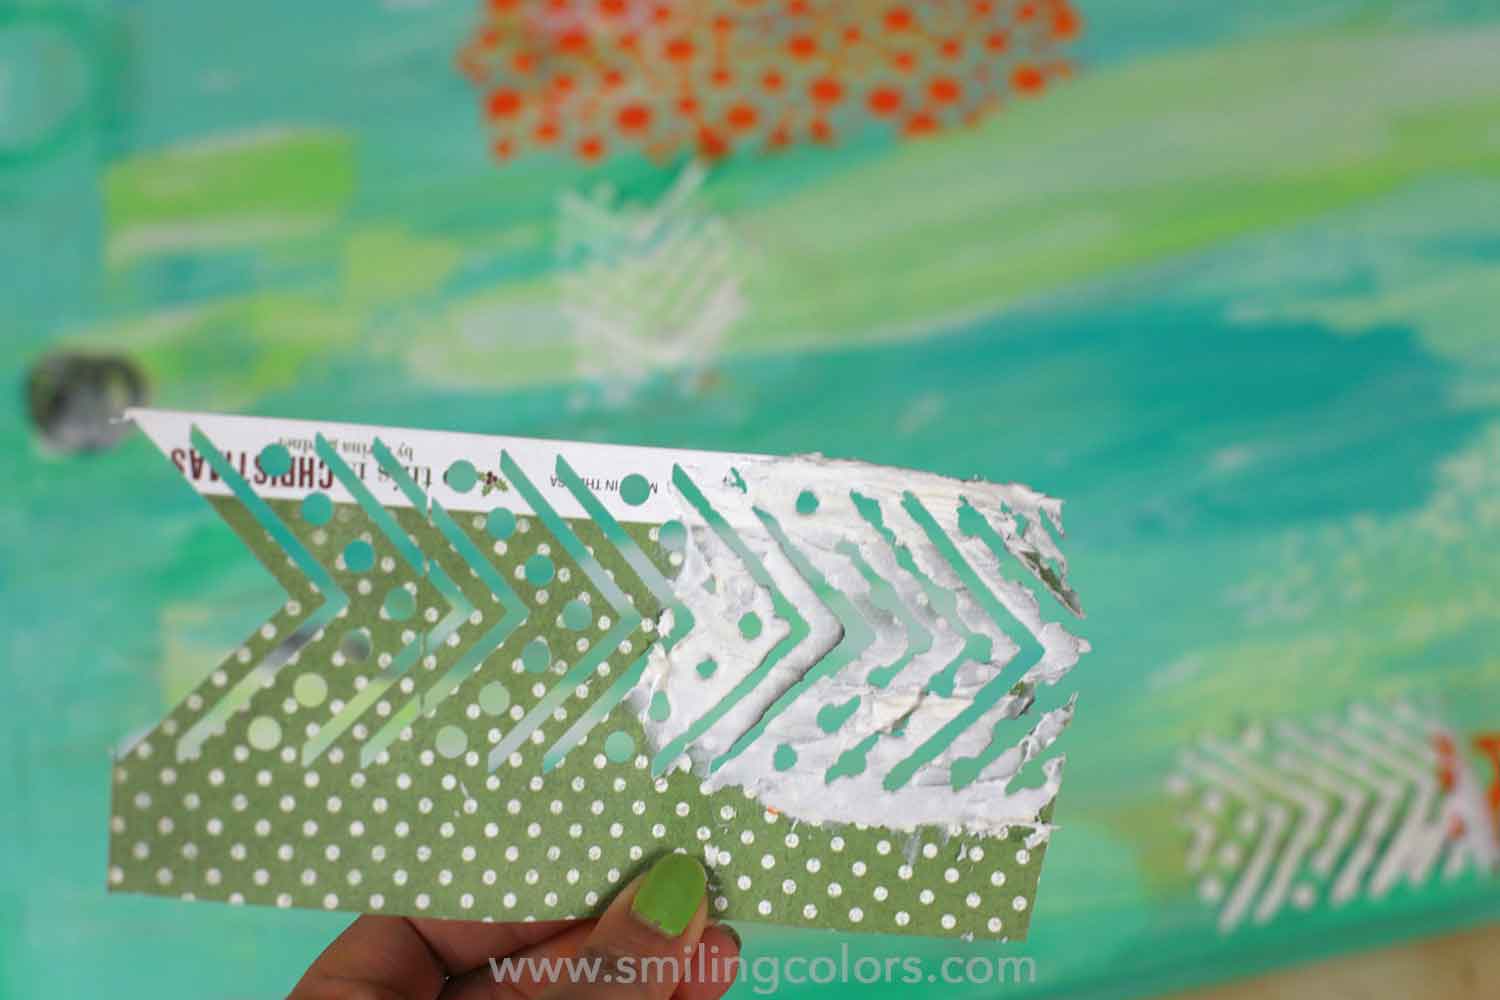
Step 4: Add interest: This step here- this is the one that was really scary for me. I used my gesso bottle as a dispenser and simply squeezed the gesso onto the canvas. It’s kind of like using a mustard bottle. I figured, if I didn’t like how the gesso looked, I could always wipe it all off. But I loved how it created a bold design and left it as is.
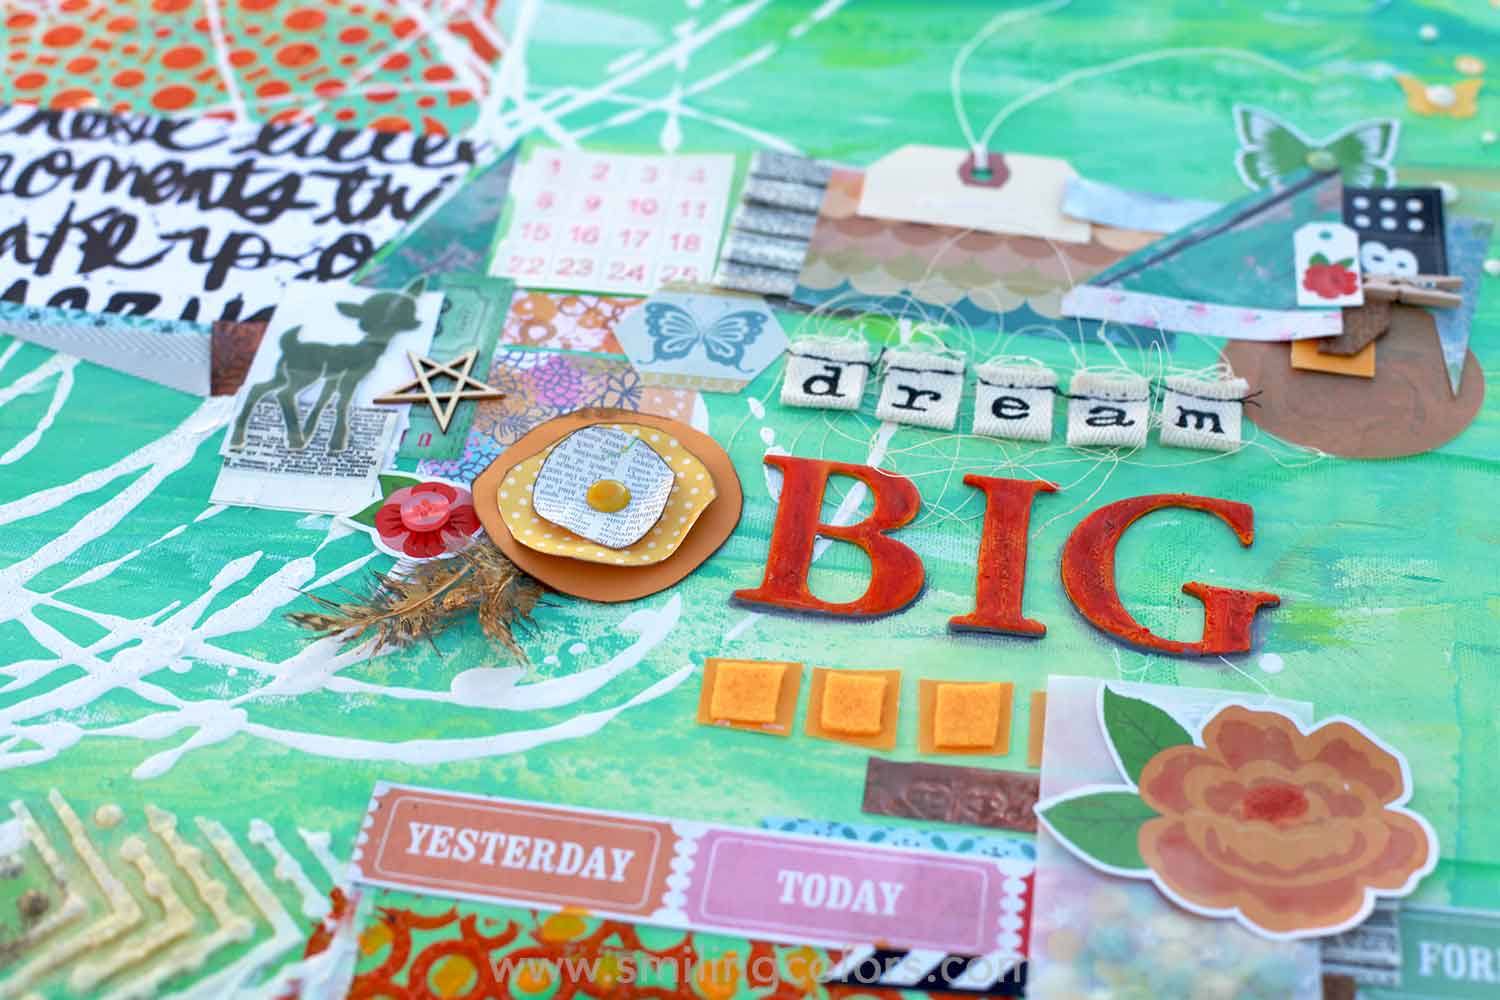
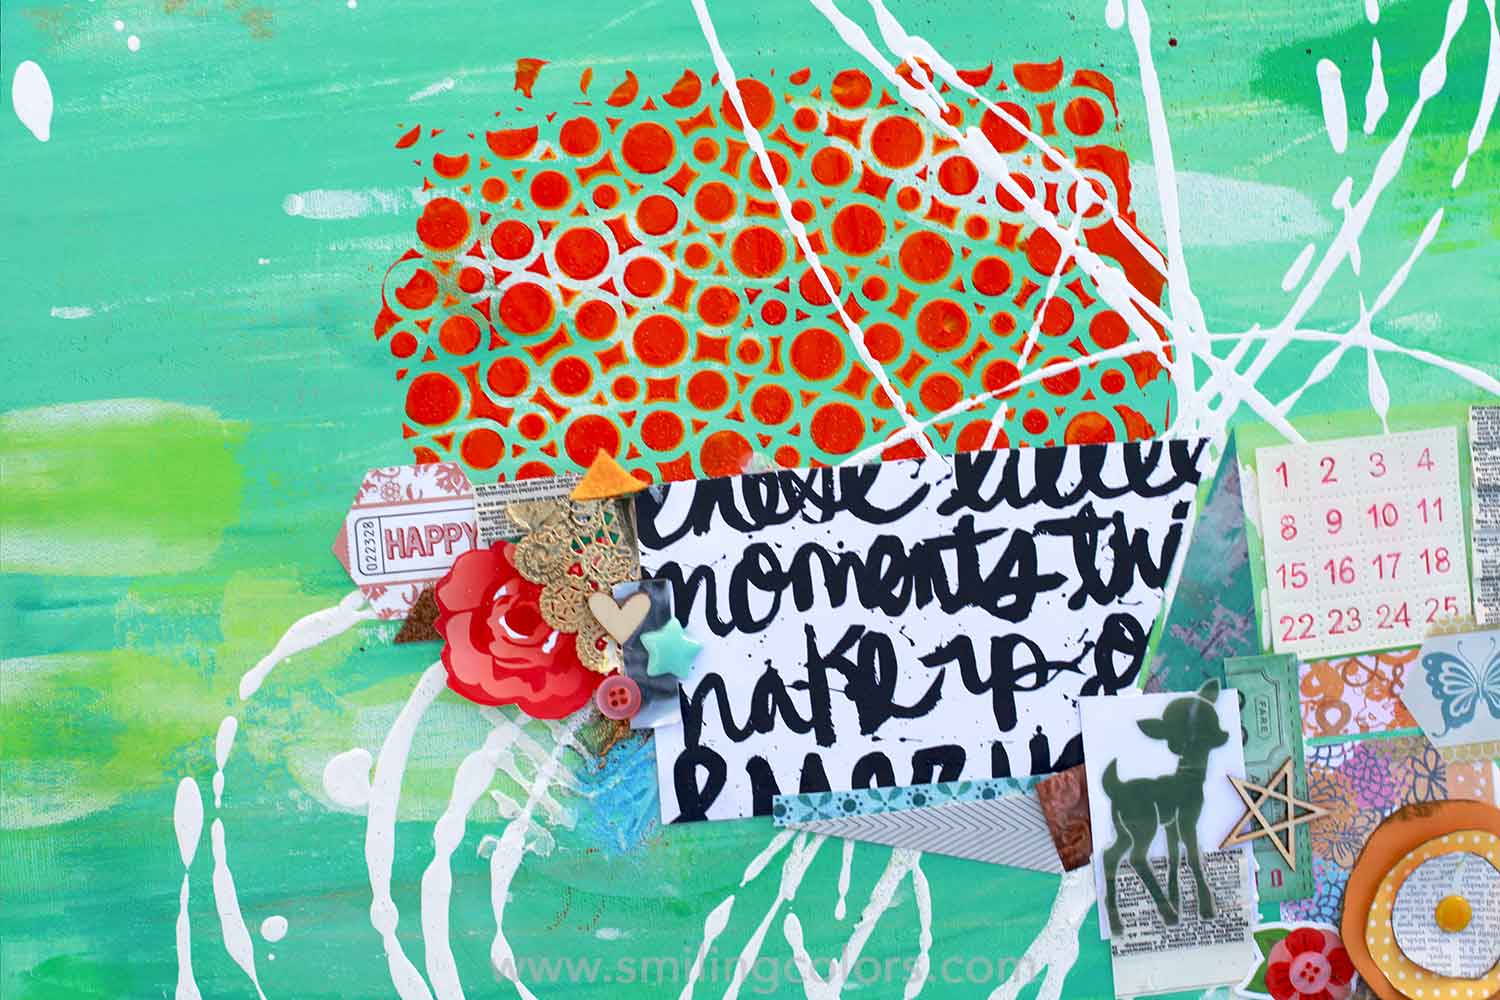
Step 5: Add papers and letters: I created a paper collage of sorts using different bits of patterned papers, stickers, and alphas. I simply trimmed my papers using the Amplify Mixed Media 10” shears and layered these papers onto the canvas. I added a few embellishments here and there.
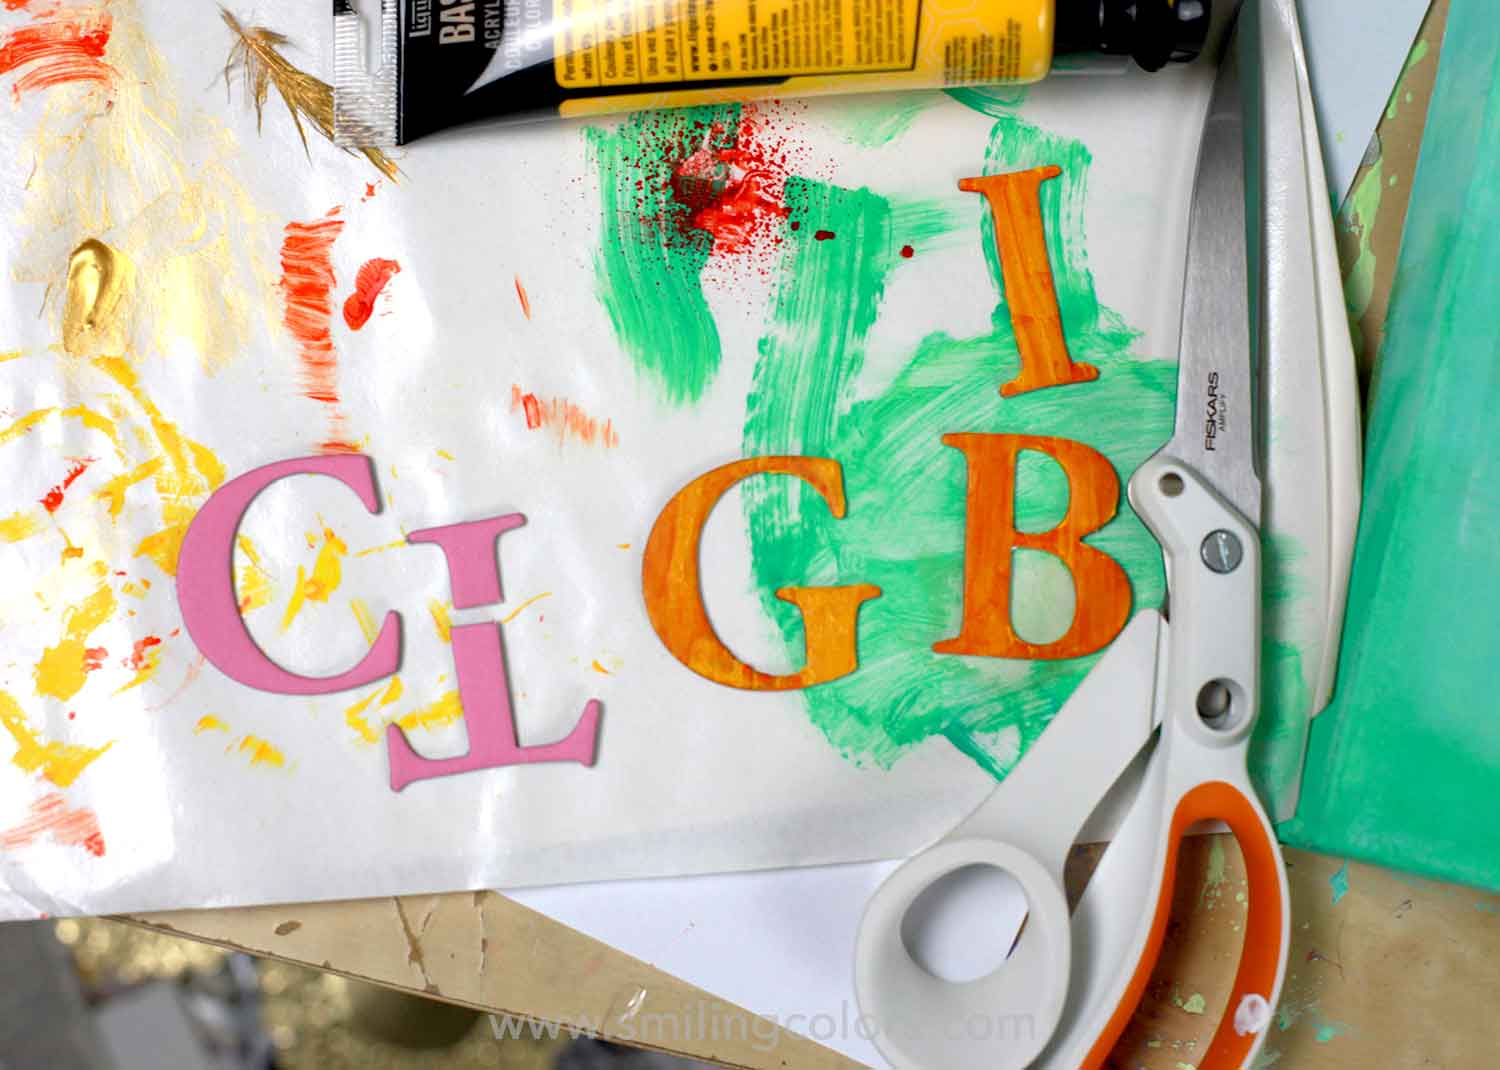
Finally, I added my title. The letters I had were pink in color and missing the letter “G”. I carefully cut a “C” and a “T” to make my G and used my finger to apply paint onto the letters.
And here are some close ups of the finished canvas! I love all the little bits I added and am so glad I saved all of the scrapbooking bits.
3. mixed Media Canvas with fabric Leaves
Try using your sewing skills to bring texture and dimension onto a mixed media canvas. This is a fun way to use up your fabric scraps and create something pretty for your wall!
This is an art piece that is awesome for fall!
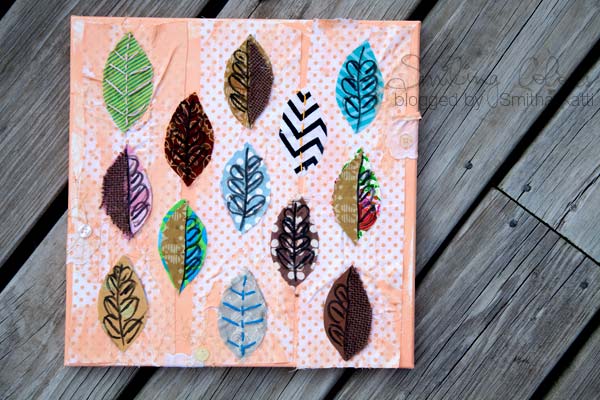
Step 1: Draw a leaf shape onto a piece of cardstock. Using a Detail Scissors, carefully cut out the leaf template.
Step 2: Using the Detail Scissors No 4 and the leaf as a guide, cut out more leaves from various different fabrics. This is a great way to use up all the scrap fabric you might have.


Step 3 (Optional): I added some hand stitching on a few of the leaves, not all of them. To add more interest I made a couple of leaves with two colors of fabric as well.
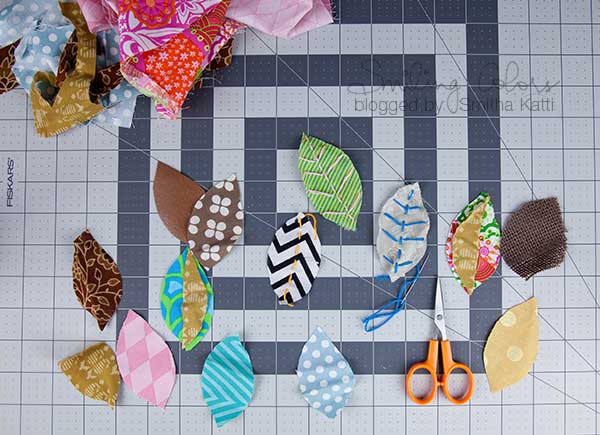
Step 4: Prepare your canvas with a layer of acrylic paint. Spread the paint evenly using a foam brush.
Step 5: While the paint is still a little damp, press down strips of fabric onto the canvas. Apply a layer of the Mod podge on top.


Step 6: Arrange the leaves on top and adhere using the Mod podge. Add a bit of lave to add interest. The mix and match of the various fabrics add a lot of interest and color to the canvas. Using a Big Brush pen add details on top of the fabric leaves.
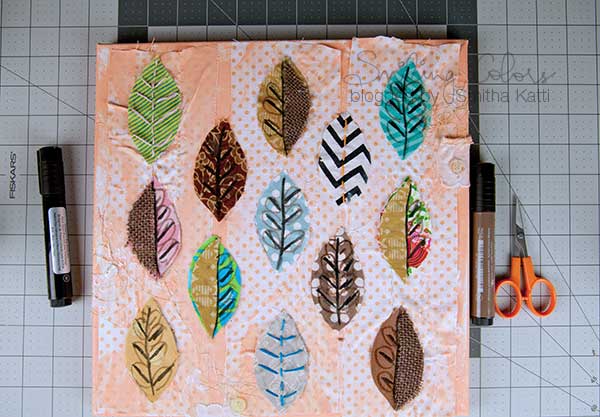
Here is a close-up look at how the leaves look.

The best part of this canvas- there are no rules. Adhere fabric. Paint on top of it. Adhere more fabric as leaves. Doodle on top of it. Easy.
4. Mixed Media Ampersand Sign:
This Ampersand Canvas is super simple and it will add drama to your house! A great modern mixed media canvas that you can make with any textured supplies you might have on hand.
ALSO READ: 8 type inspired Ampersand Art Ideas that are so cute!
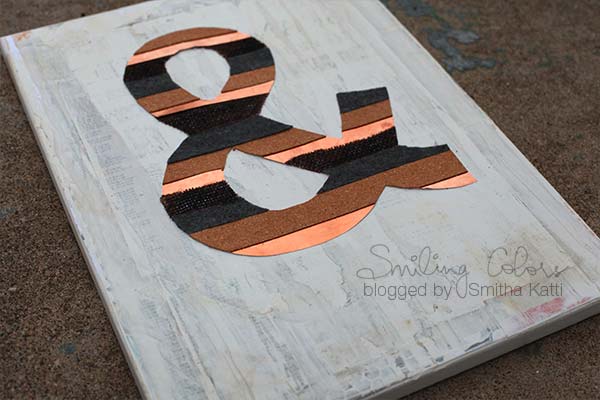
Step 1: I printed an ampersand onto regular paper and carefully cut it out using the Amplify 6 inch scissors. This scissor is really nifty to get all those curves and corners cut out. I then gathered my materials- some felt, cork, metal, and burlap.
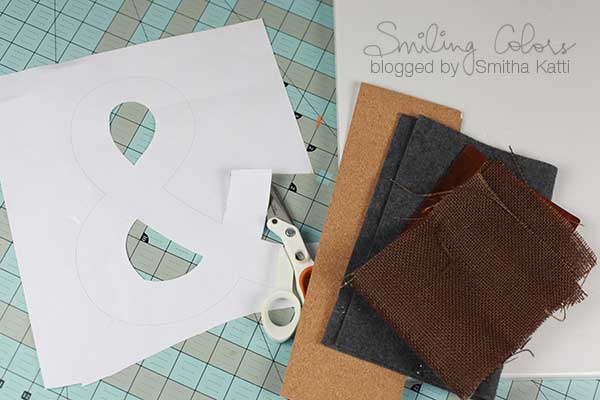
Step 2: Using the 8-inch Amplify scissors carefully cut out strips from the burlap, metal, cork and felt. Adhere these strips onto the ampersand alternating the textures.

Step 3: Once the entire ampersand is covered, flip it over and carefully trim off the excess hanging over. You need to be slow in your cutting as you move from one textured material to another.
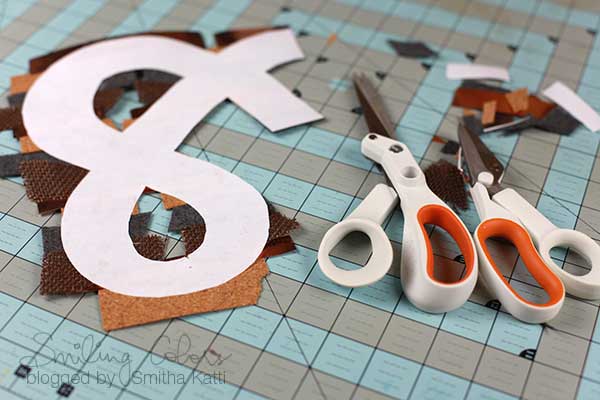
I wanted to ampersand to be the focal point, so I kept the background canvas simple. I tore strips of paper and newspaper and adhered this to random parts of the canvas and then applied two thin coats of gesso all over the canvas base using an old credit card instead of a brush.
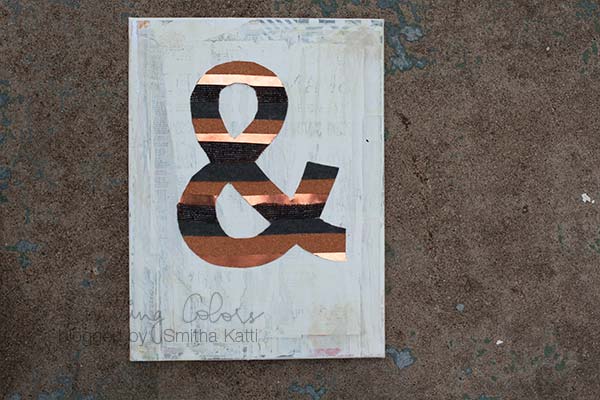
Once the entire ampersand was ready, I added it onto a canvas I had prepared.
The background for this DIY canvas art has random pieces of paper with a thick coat of gesso on top. I completely love the rough industrial look of this one!!
Supplies for mixed media art:
- Canvas: I’ve used this 12 by 16-inch size canvas with a 3/4 inch lip.
- Gesso: I really like the matte white finish of this gesso but really ANY white paint will work for this project.
- Fiskars Amplify Shears: I used the 6-inch and 8-inch sizes. The smaller one is great to cut out the center.
- Paper: Some patterned papers and newspaper scraps
- Adhesive: A strong adhesive like this to stick the metal sheet onto the canvas.
- Mixed Media textures: Scrap Felt, cork, metal, burlap, etc
5. Mixed Media Canvas Painting with words
Making a happy, unique, colorful canvas to brighten up your walls can be easy and simple. This Mixed Media Tutorial will walk you through the steps of this mixed media canvas painting. It’s time to get crafting!
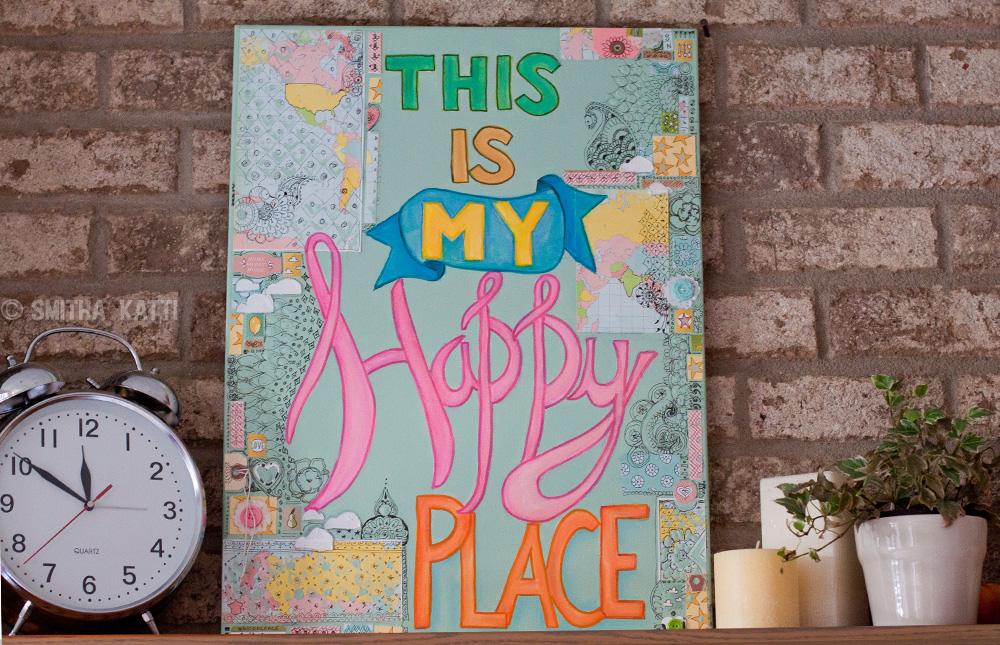
The beauty of this mixed media canvas tutorial is that you can use whatever supplies you have on hand and get creative with them. But for your reference, here is an image of everything I pulled out. These Faber Castell Gelatos are soft and creamy to apply onto the canvas.

Step1: Lightly draw out the words onto a canvas. I don’t prep my canvas in any way and like using a grey colored pencil instead of a regular pencil.
Step 2: Use acrylic/craft paints to fill in the area around the words. I’m using an inexpensive foam brush because it works really well and I don’t have to worry about cleaning up my brush later! This teal color- I’m slightly obsessed with it 🙂


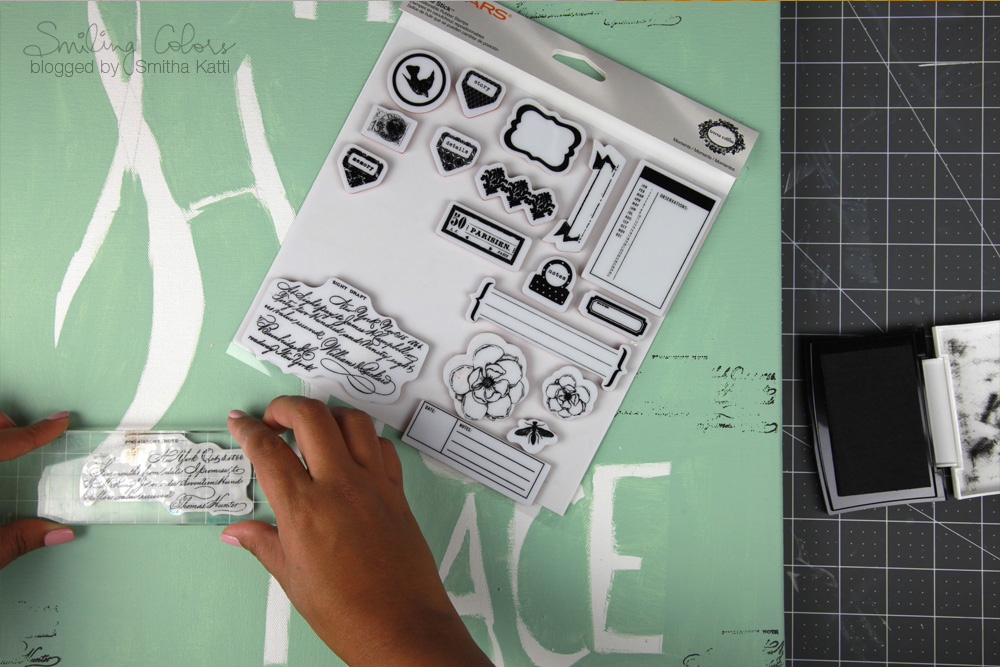
Step 3: Now comes the mixed media part! Add some random points of interest using stamps and inks. This stamp by Fiskars is my go-to texture adding stamp because I love the script
Step 4: Cut into patterned papers to adhere around the canvas. Choose bright fun patterns that will add pops of color to your painting. Add stickers or anything you feel like at this point. Most of the paper supplies I used on this canvas came from a Studio Calico kit called Penny Arcade.
Step 5: Time to color in your lettering. This is my favorite part and boy does this bring the canvas to life! Scribble in color using the Faber Castell Gelatos and then carefully spread the color using some gesso and a brush.


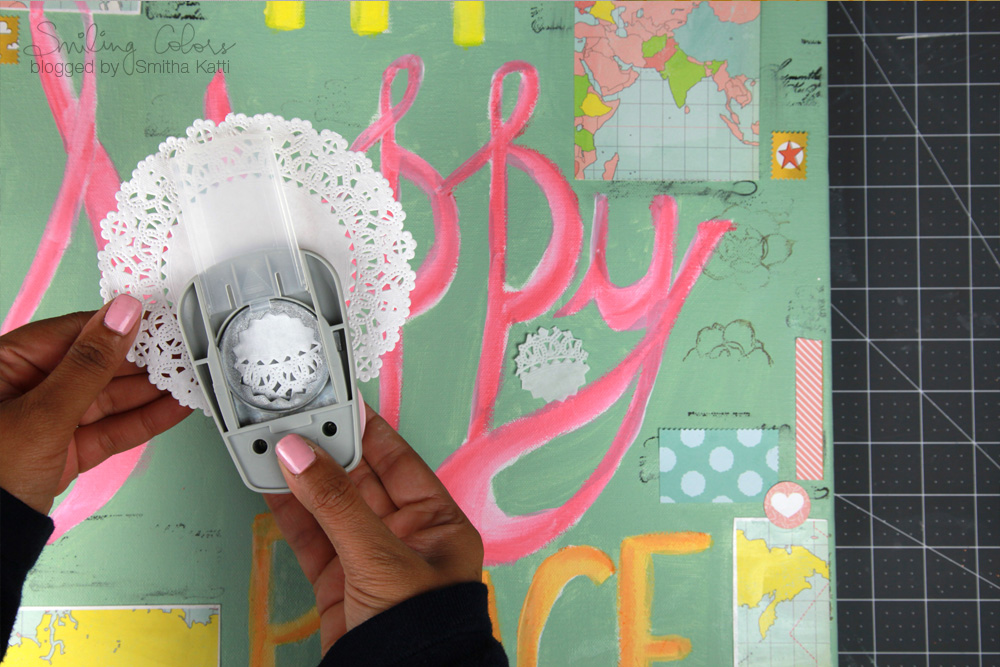
Step 6: Punch scalloped circles from doilies using the Fiskars Teresa Collins Scallop Circled Punch . I love punching shapes from doilies, they always look so pretty! Scatter these punched shapes around the canvas and glue them down with gel medium.
Step 7: Add doodling using a fine tip pen all over the canvas. This is how you add your own unique flair to your painting. My favorite pen for doing this is the Faber Castell Pitt Pens. Finish off your canvas by adding buttons to the painting.
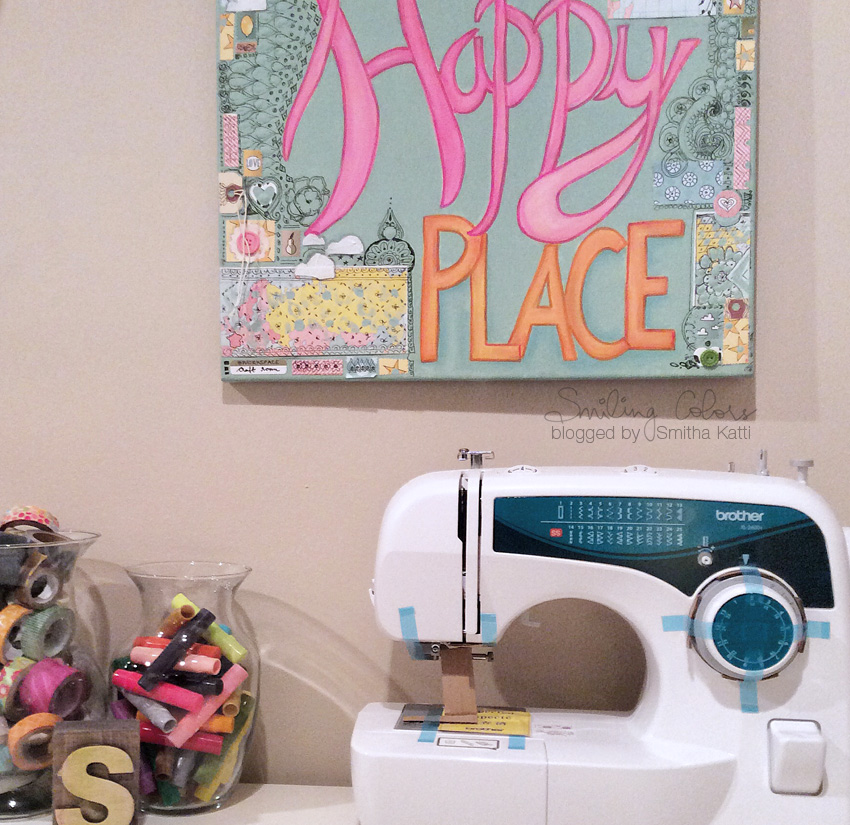
This Mixed Media Canvas Painting is 16 by 20 inches in size and I had to photograph it outside to capture its true colors.
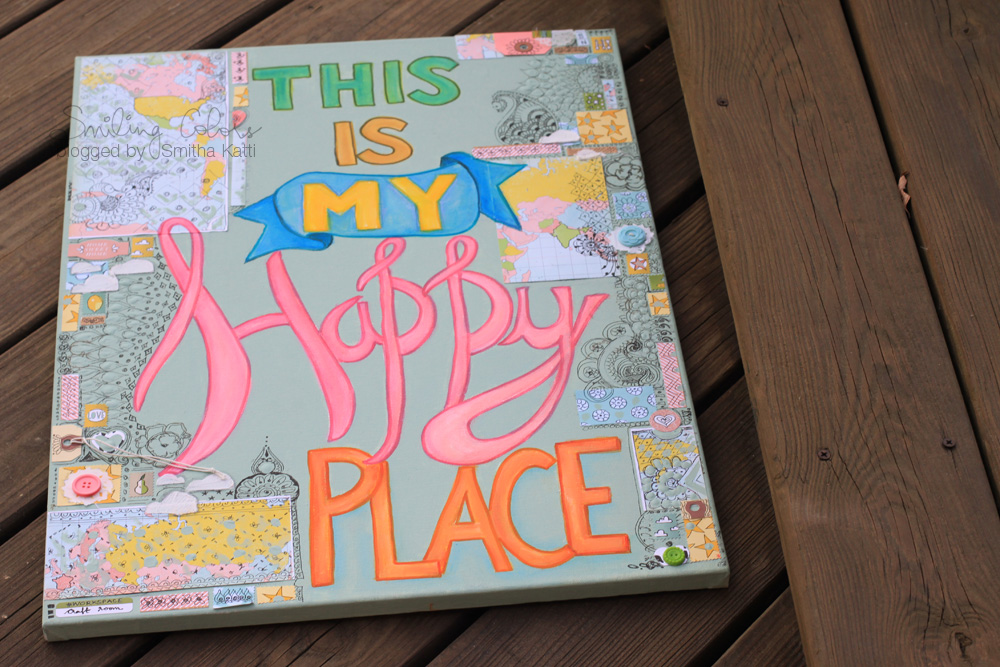
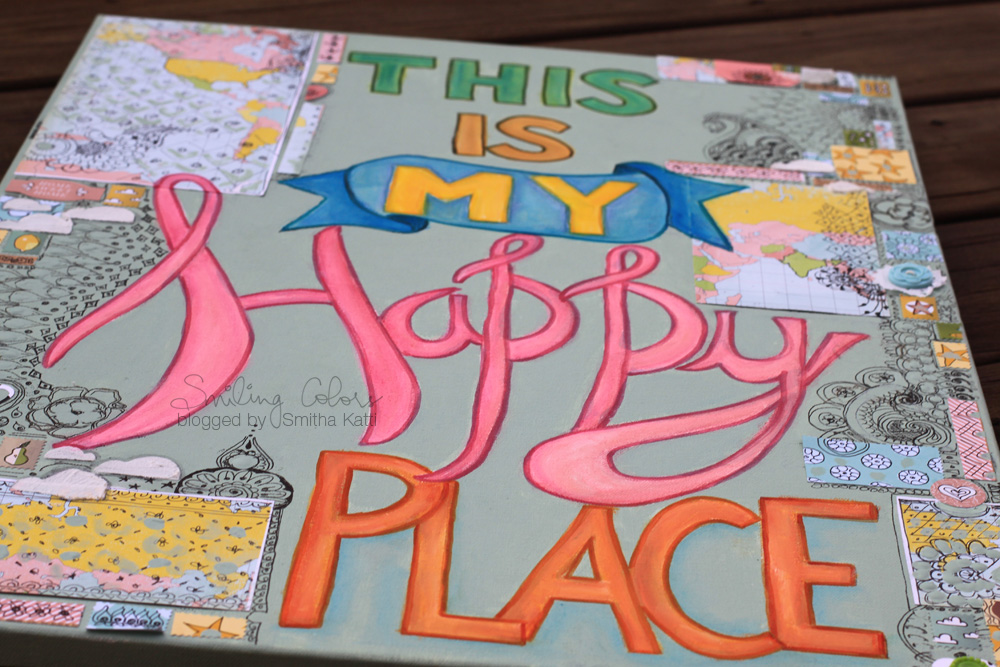
This canvas used to hang above my sewing machine for a while…
6. Felt Mixed Media Canvas:
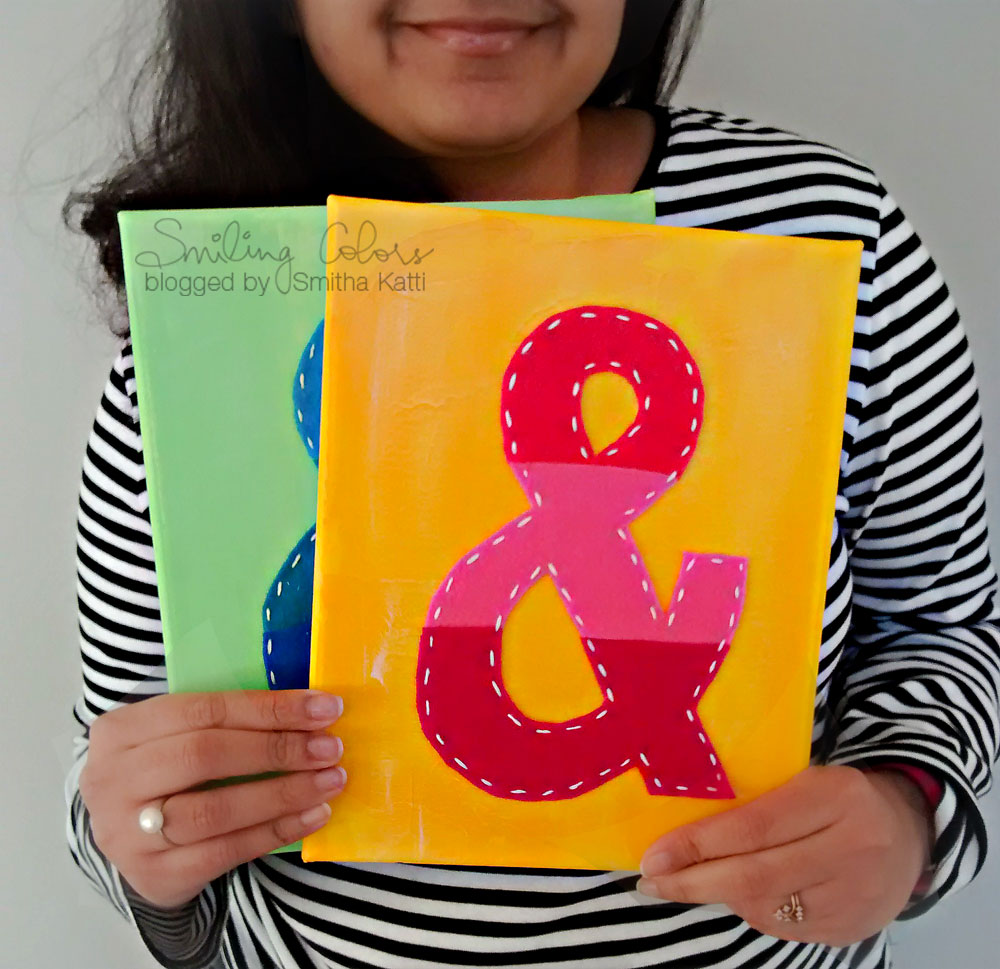
Learn how to make this simple colorful Ampersand Mixed Media canvas art to decorate your room or as a gift to a loved one


Supplies used:
canvas, acrylic paints, brush, palette knife, craft paint, felt, scissors, twine and needle. You will also need to carve out time for yourself to get crafty!
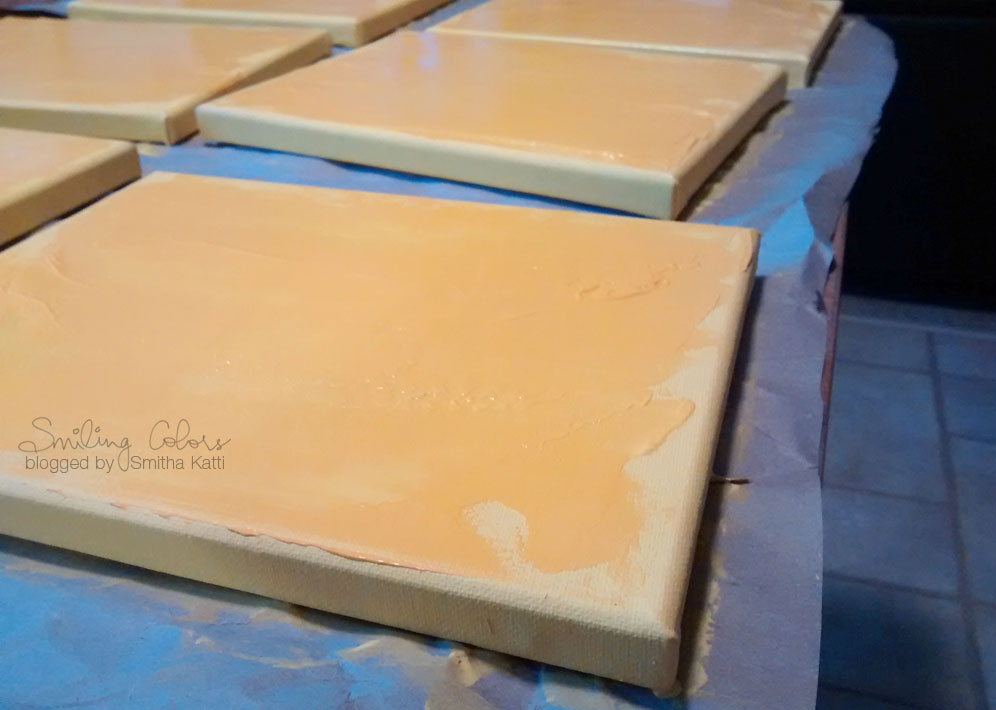
Step 1: Paint the canvases. Add a few different shades of the same color and bring in texture to the paint using a palette knife. Let dry. I mean like let dry thoroughly.
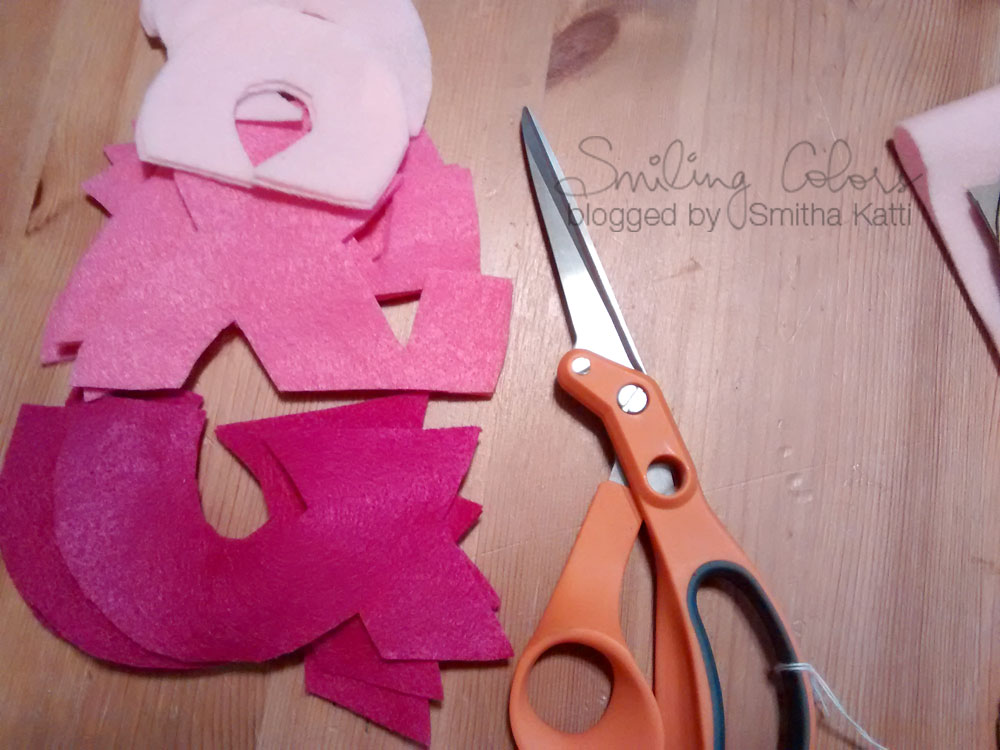
Step 2: Cut out your felt to the alphabet or sign you need. I made ampersands and I used shades of pink felt here. Use a print out as a guide and cut all of your felt. I used a really sharp RazorEdge Amplify scissors which allowed me easily cut 2 to 3 layers of felt at once.
Step 3. Place felt onto the (now dried) canvases. You can simply adhere them to stay there or go a step further and add some hand stitching to finish them off. For me the handsewn touch is what makes them special, but this also is the most time consuming step. Lucky for me, my husband and I love to watch TV shows together, so this step wasn’t painful at all
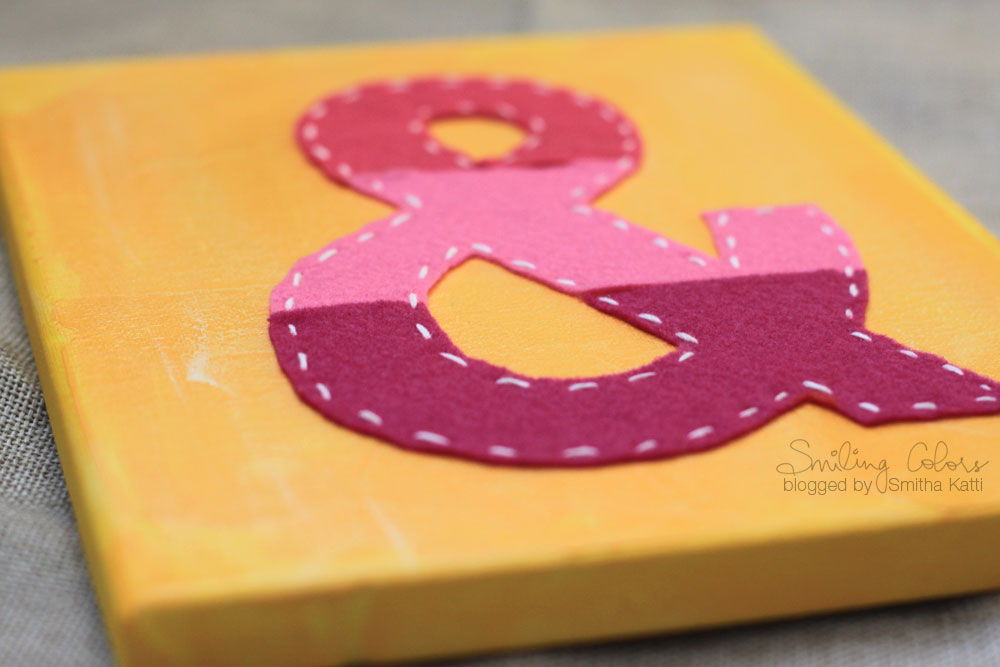
I love how colorful this Mixed Media Canvas is and the textures is so cool! You will definitely want to run your hands over it again and again!
Also Read: 3 Ganesha Paintings that are colorful and easy to create!
Mixed Media Canvas Conclusion:
A Mixed Media Canvas is a great way to get creative- pull out any and all art supplies you have at home and start painting on a canvas. Add things onto it like stickers, lace, twine or anything else you have to make the Mixed Media Canvas Painting uniquely yours.

Hi I’m Smitha! I live in Minnesota with my husband and two daughters. You’ll always find me painting florals in my sketchbook. And I love the sheer joy of making something with just my hands! But my bigger love is capturing it all on camera Read more.
Thanks for stopping by today! If you learnt something from this tutorial, do share this post with a friend or on social media! Tag me @smithakatti #smithakatti I’d love to see what you create!


