Hello friends! In today’s tutorial you will learn How to paint a galaxy for beginners! It is super easy to paint, just follow the steps below.
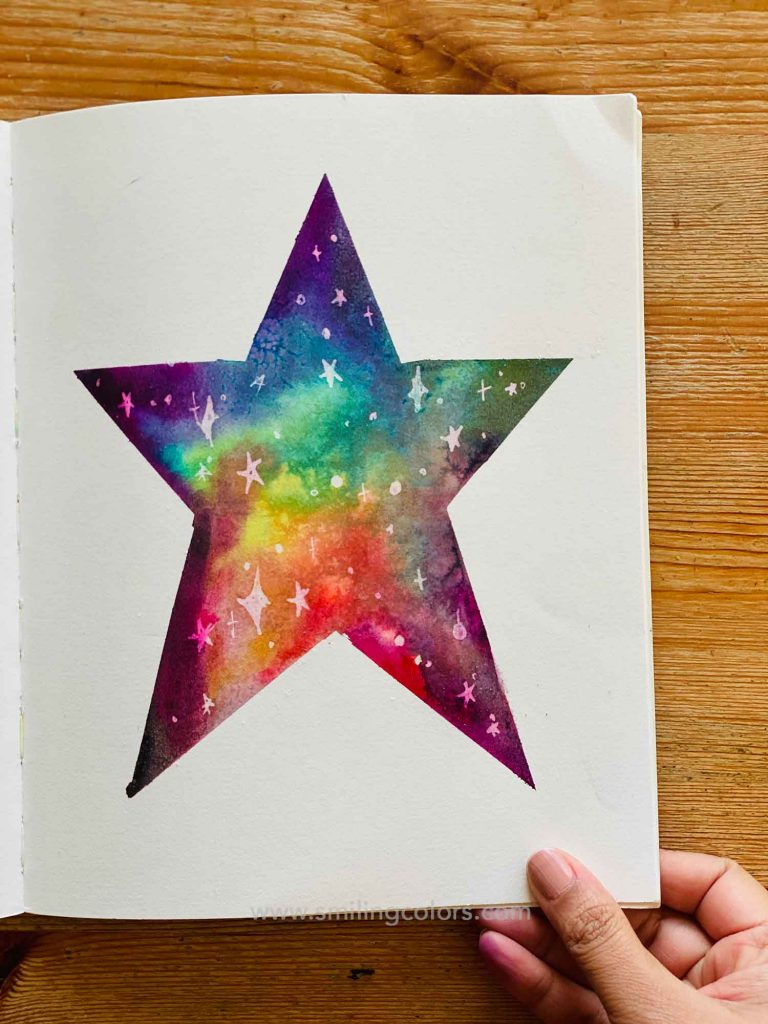
Space art and galaxy paintings are really popular these days and oh so much fun to create. And they are easier than you might think! I’ll be showing you how to paint a galaxy with a rainbow theme! I have 2 ideas to share today- a circular galaxy and a star-shaped one!
You might also enjoy these Neon Rainbow Galaxy Tutorial and How to Paint Galaxy Watercolor Bookmarks.
Let’s start out How to paint a galaxy tutorial with the simpler circular shape.
How to paint a Galaxy step by step

How to paint a Galaxy using brush pens and salt.
Total Time: 34 minutes
1. Trace a shape, here circle
Start by tracing a circle shape with a pencil. I used a glass container from my kitchen here, but you can use any shape for your guide. 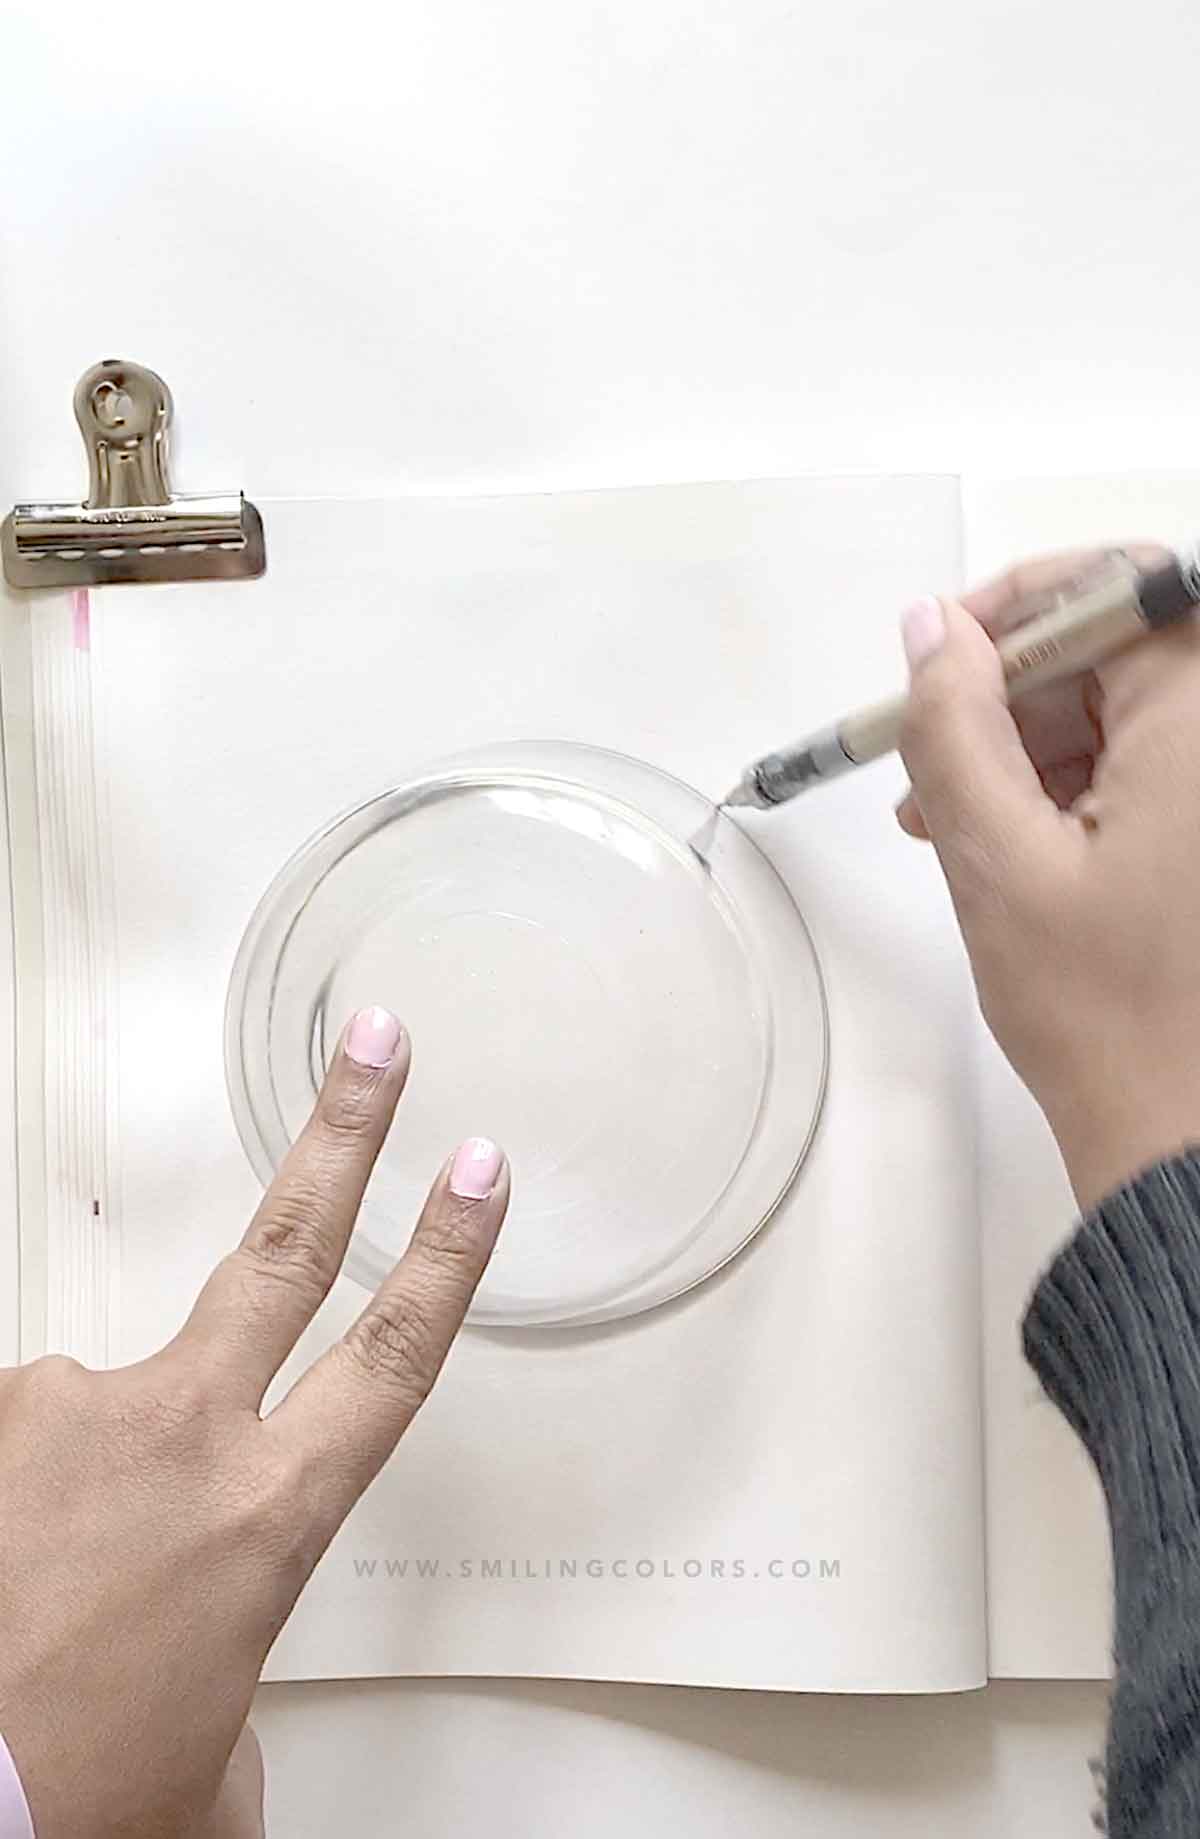
2. Add your watercolors
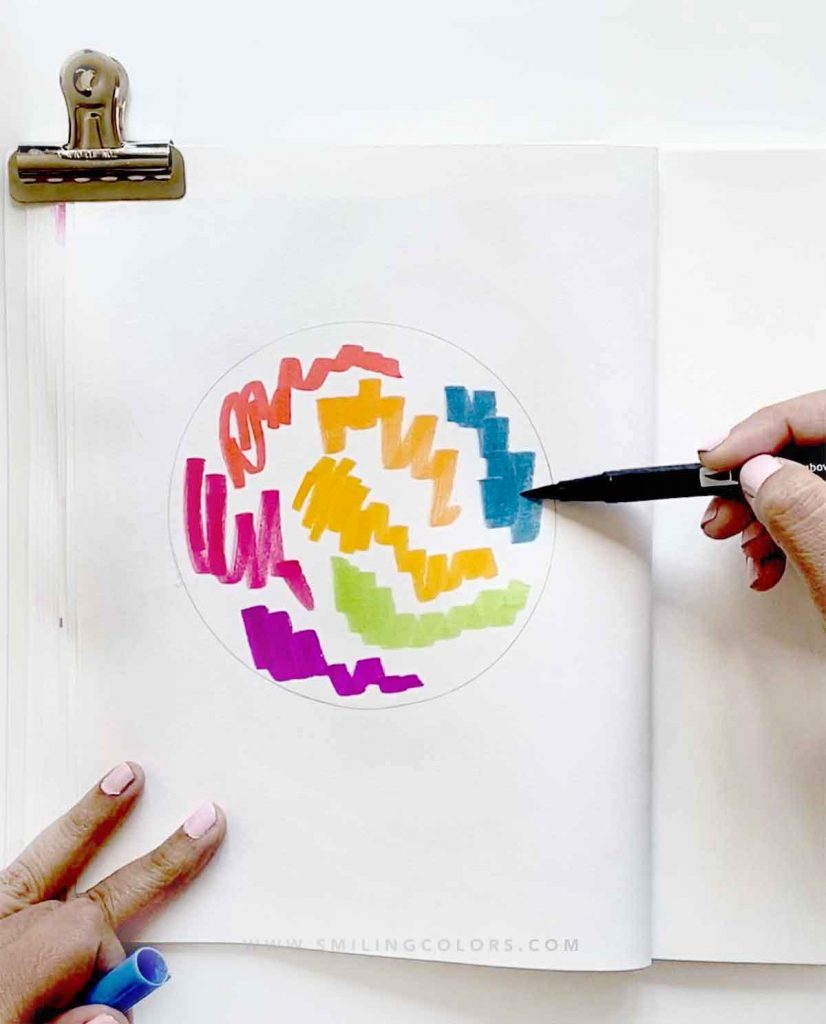
Scribble your rainbow colors into the circle. I’m using water-based markers here that I can watercolor with. While adding your color keep clouds in mind and move your color accordingly. Supplies have been listed at the bottom of this post. 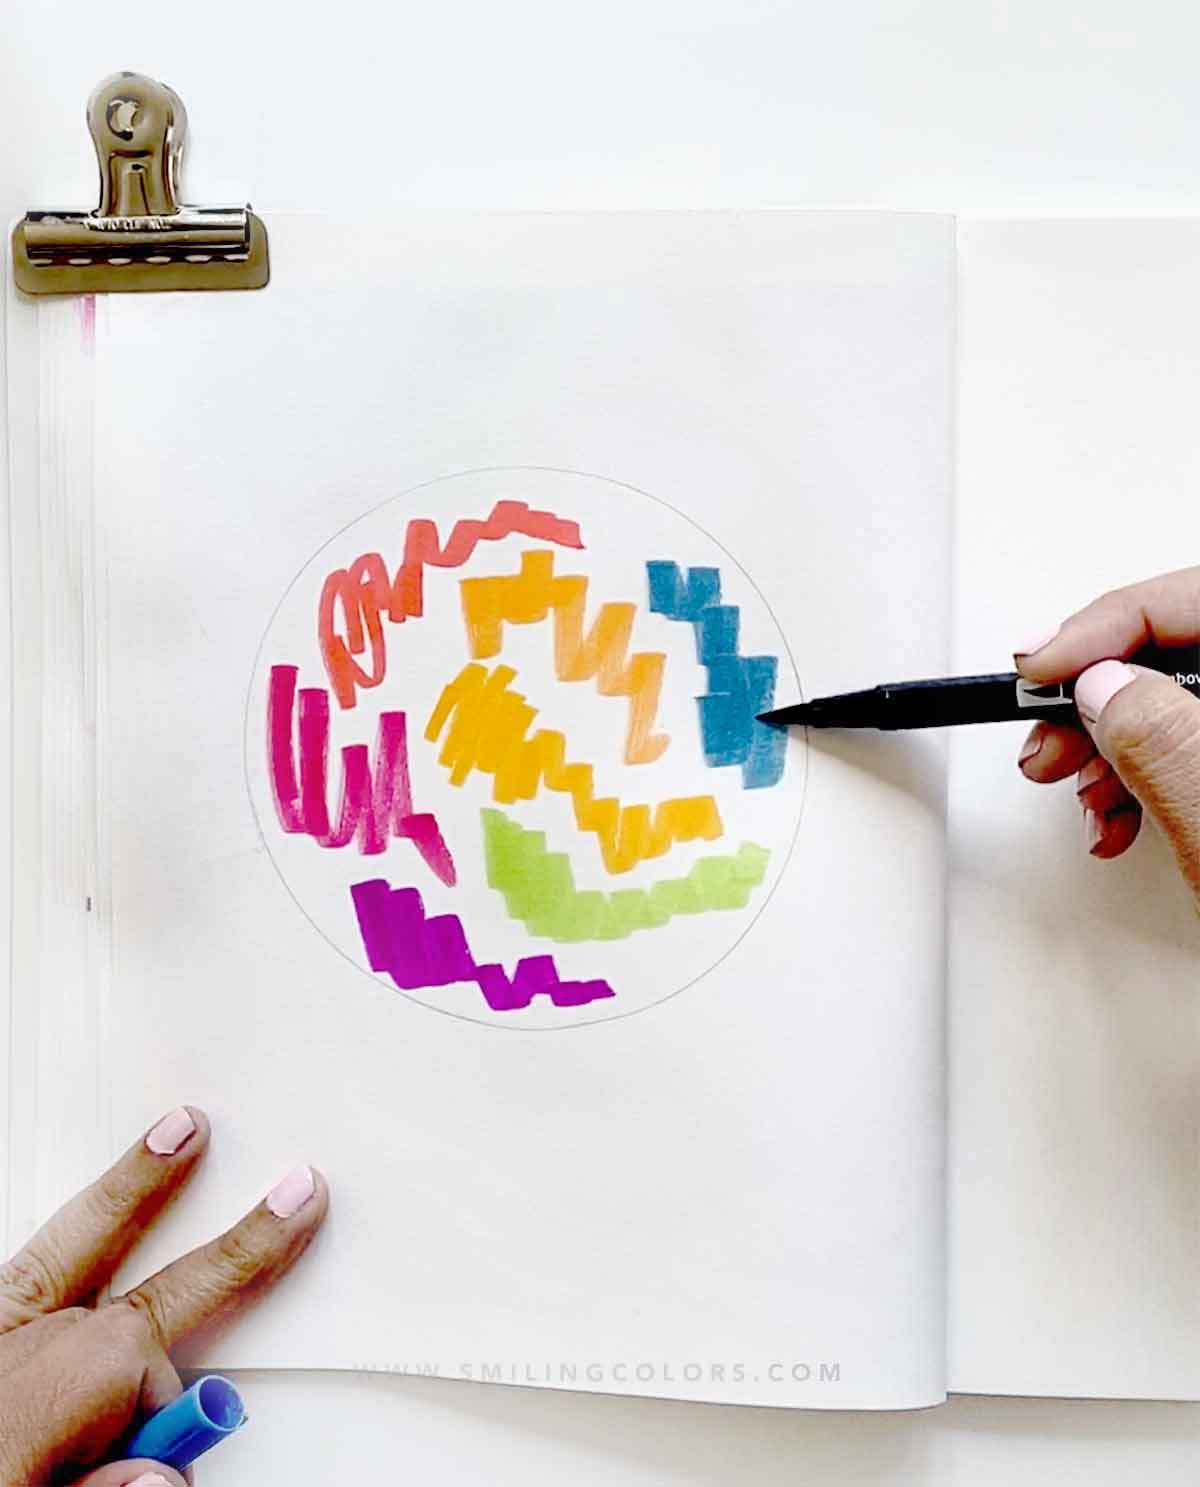
3. Blend colors soflty with water
Quickly paint with water and blend the colors. Let the water do the blending and try not to overwork the colors. 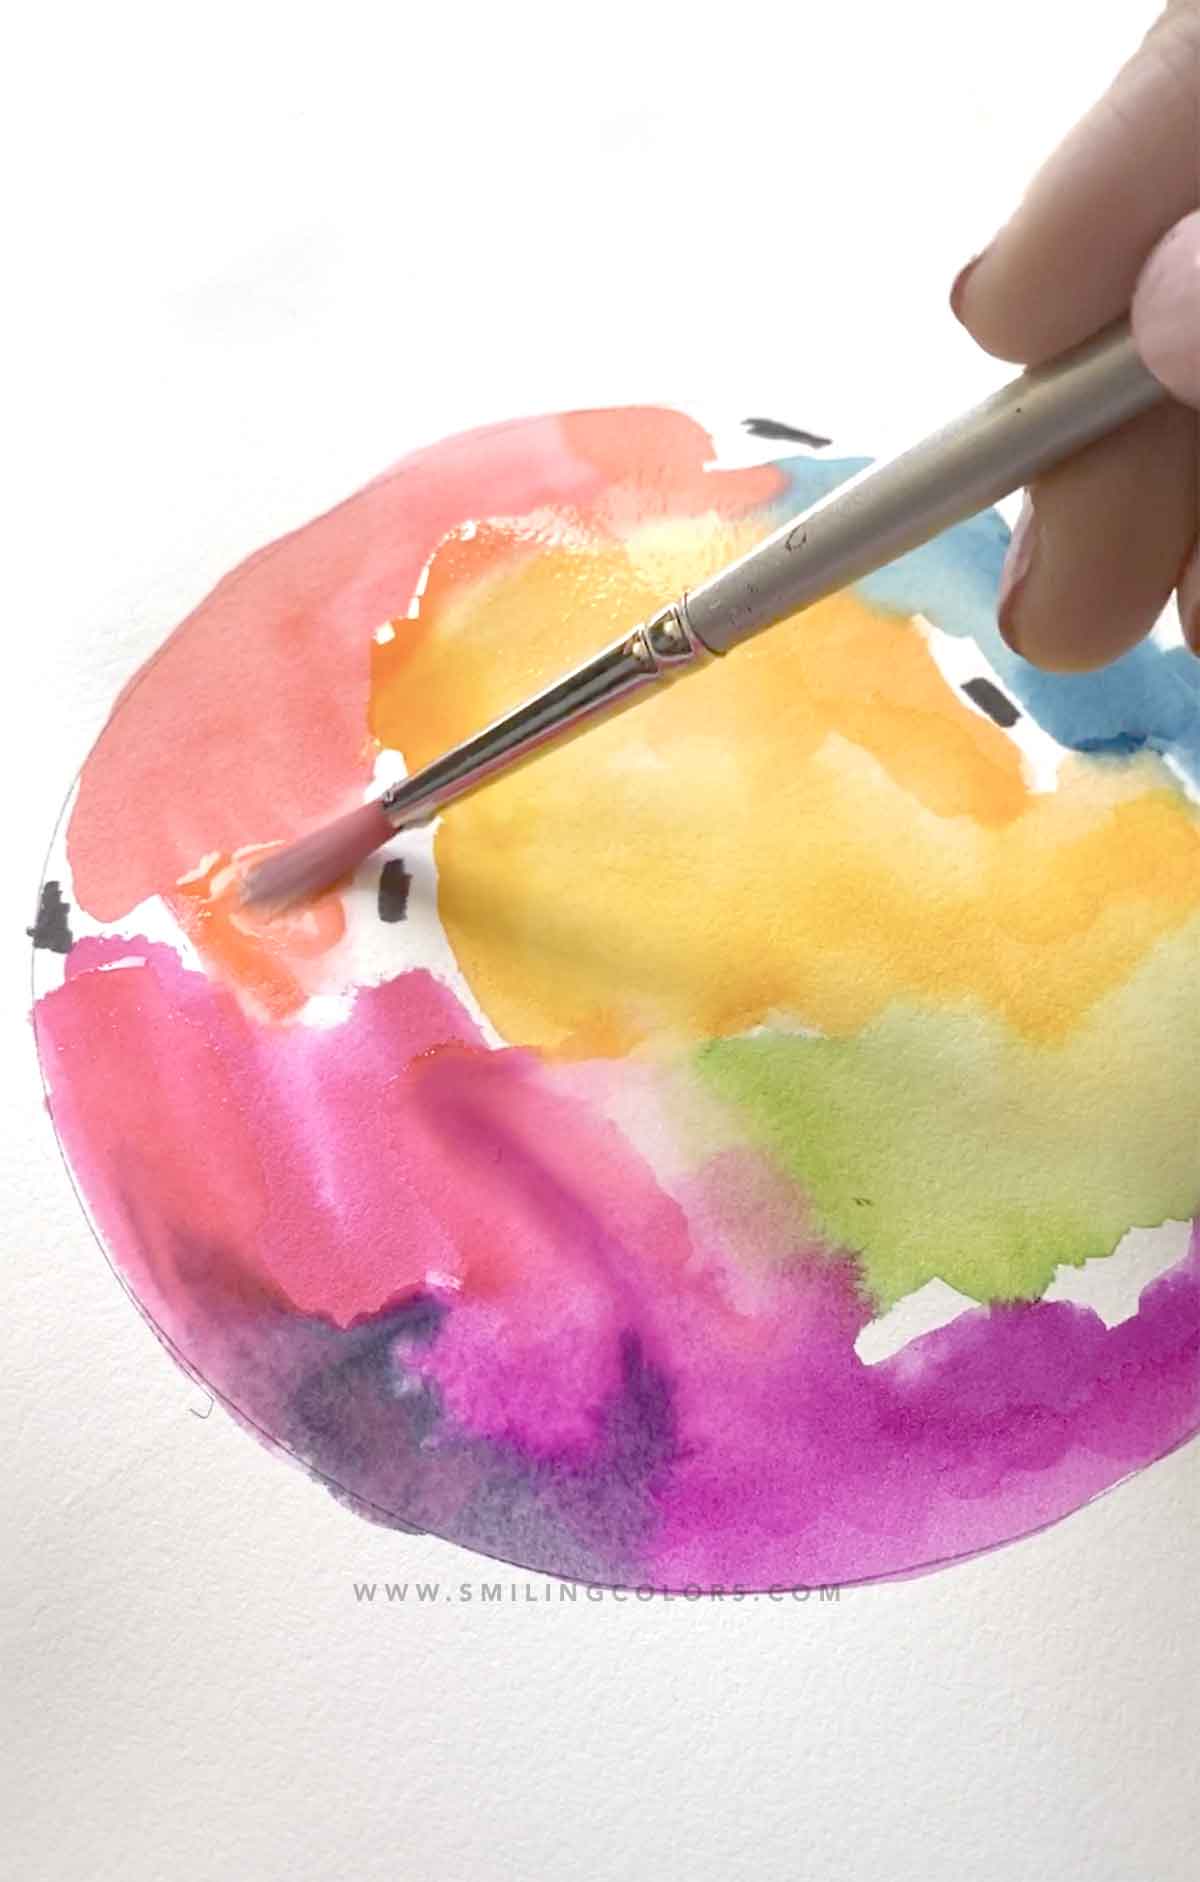
4. Sprinkle the salt
The salt is key here to create that mottled effect that will mimic the airiness of the clouds. Keep in mind, the salt works best when the watercolor is wet. 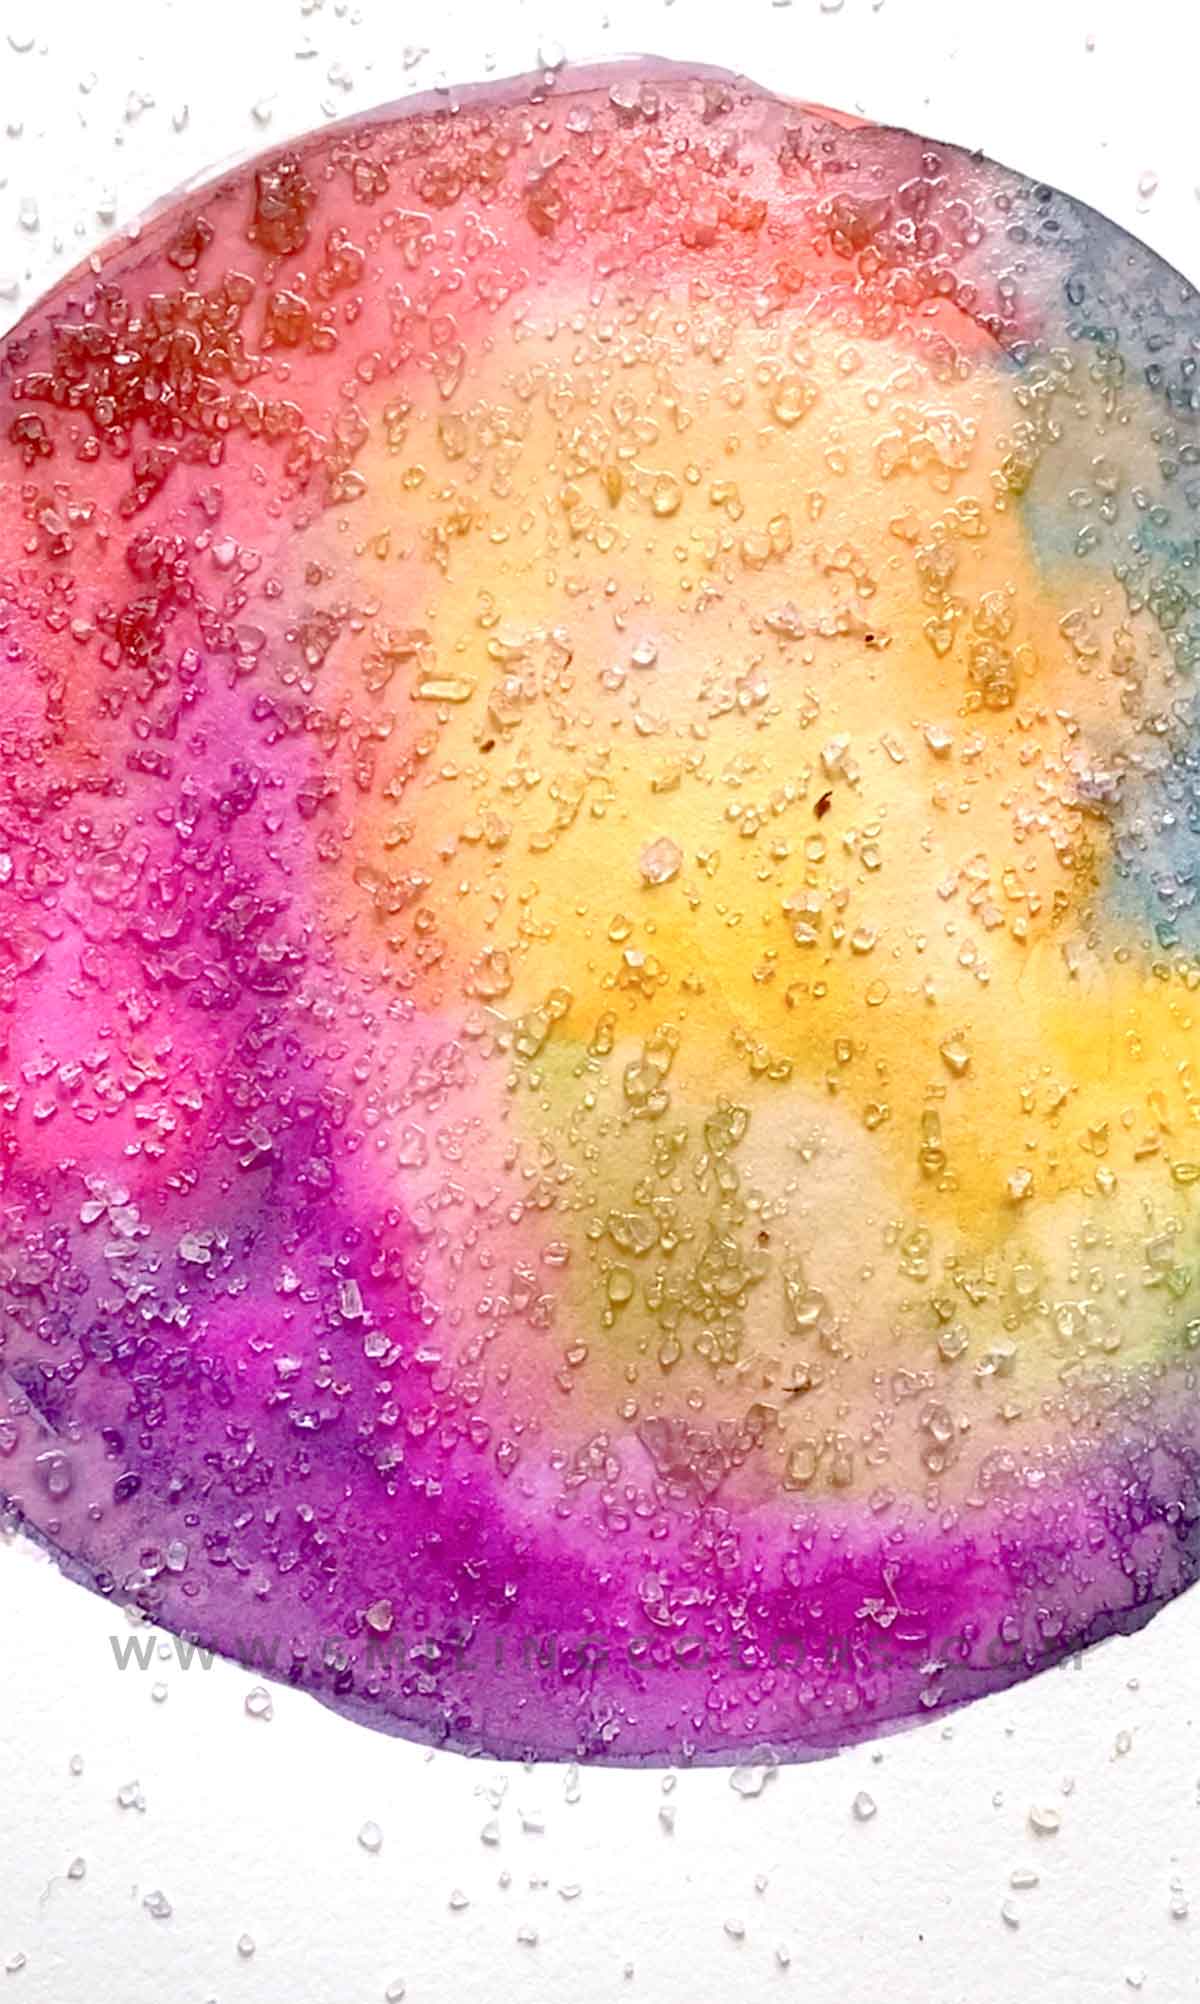
5. Give the salt enough time to dry
Let the salt dry on the paper, it can take a few minutes or a while depending on the amount of water you’ve added to the paper. I left my sketchbook open and took my kids on a walk to give the salt enough time to dry. Then all you need to do is rub the salt off the paper with your fingertips. 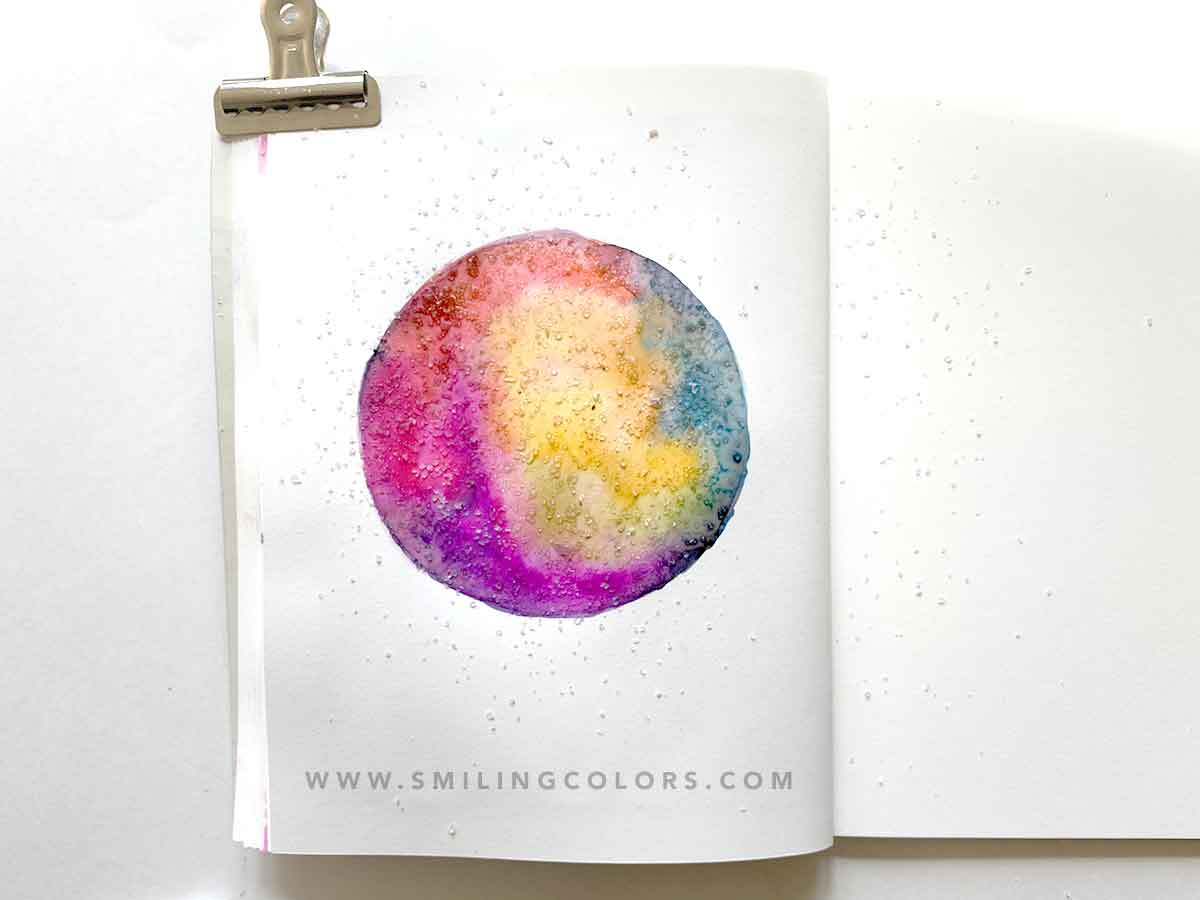
6. Paint in stars
Using some white acrylic paint a thin paintbrush randomly add tiny white dots, stars, etc onto the galaxy. You can use a white pen for this instead as well. 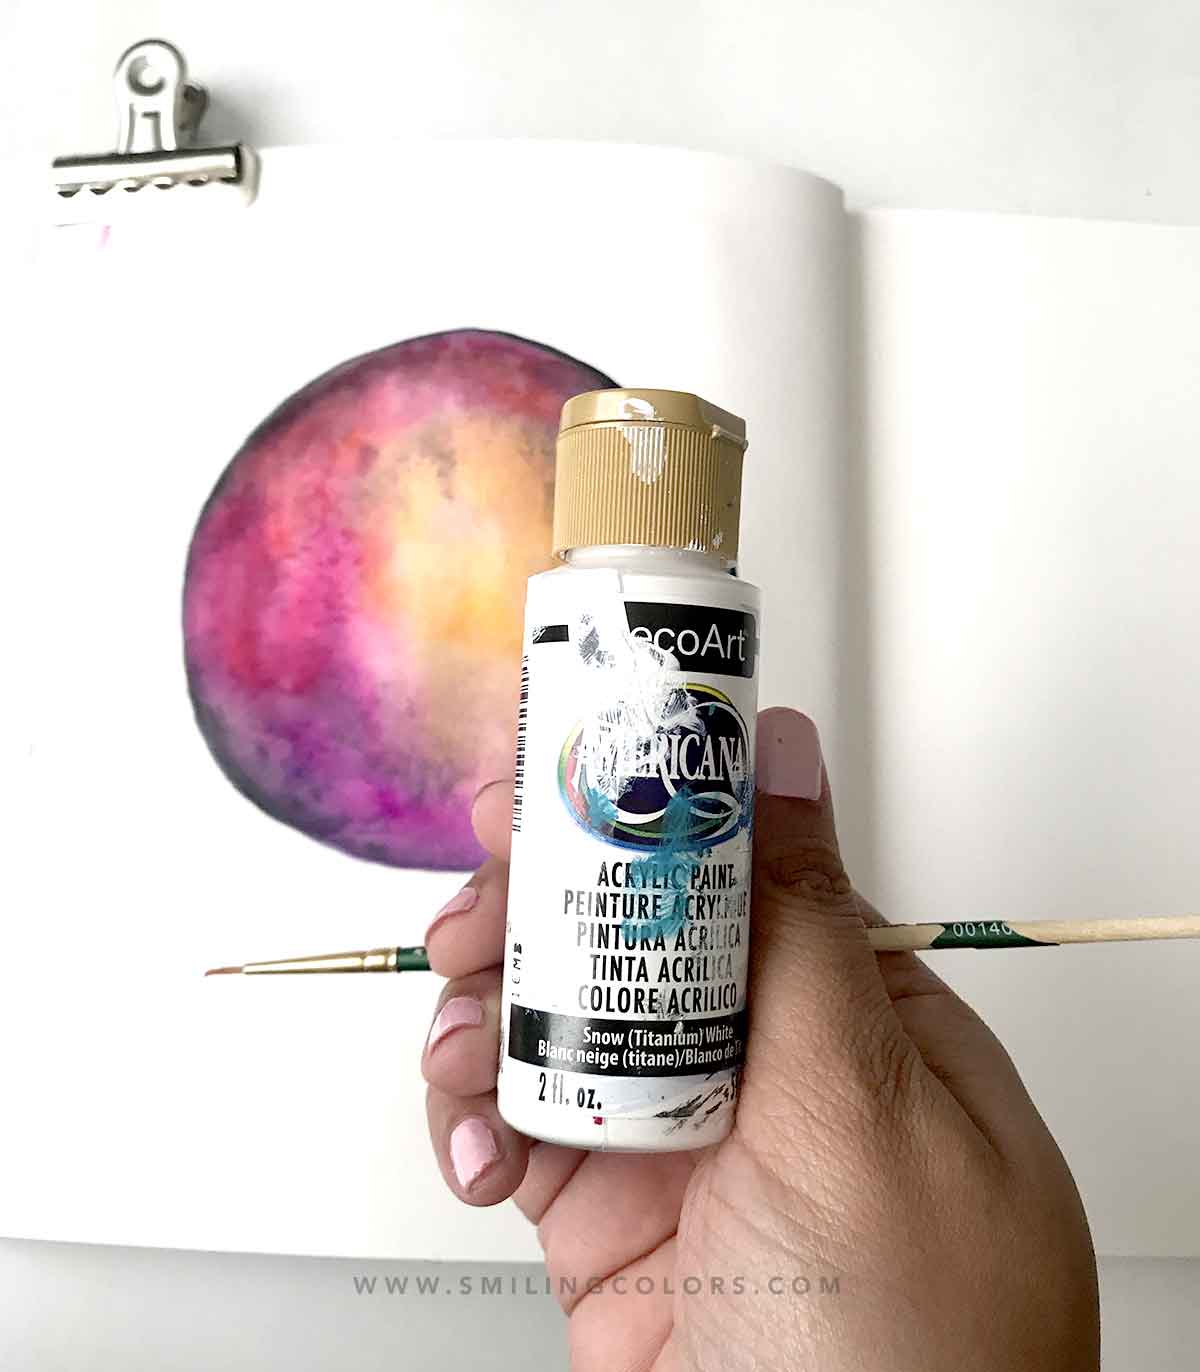
Adding the tiny details is what makes this Rainbow Galaxy stand out! So take your time and add those tiny white dots, stars and enjoy the process. 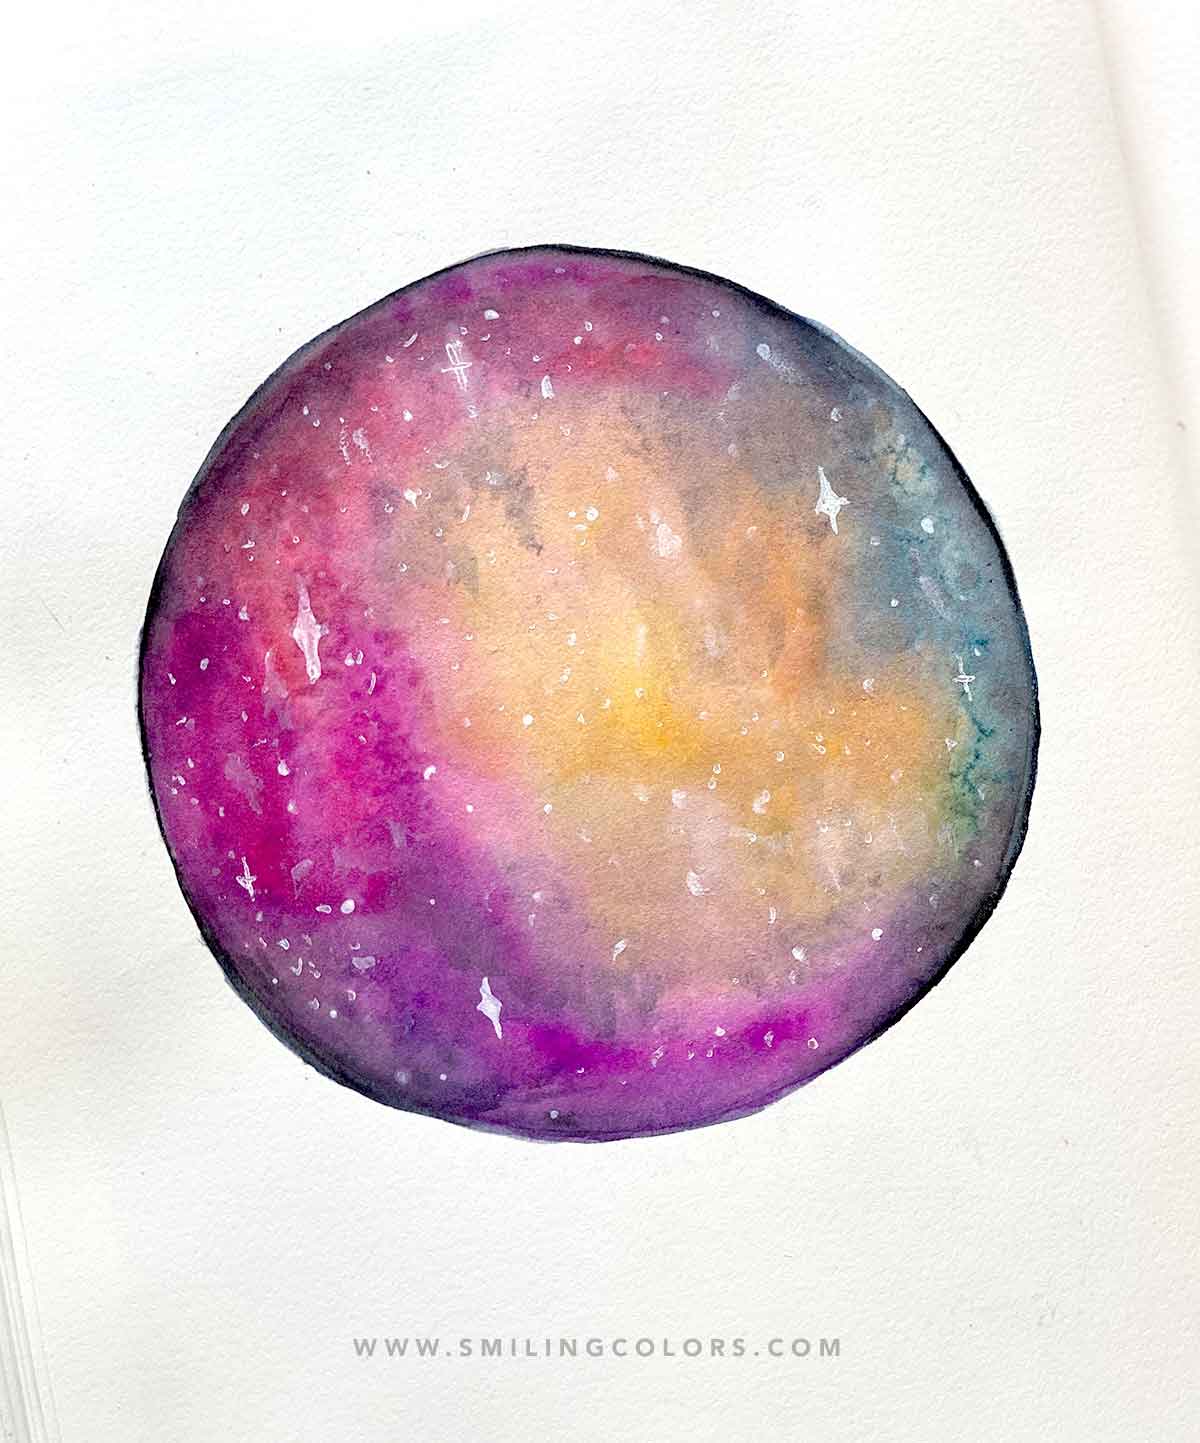
How to Paint a Galaxy, Star Shaped
Video tutorial: Start shaped Galaxy
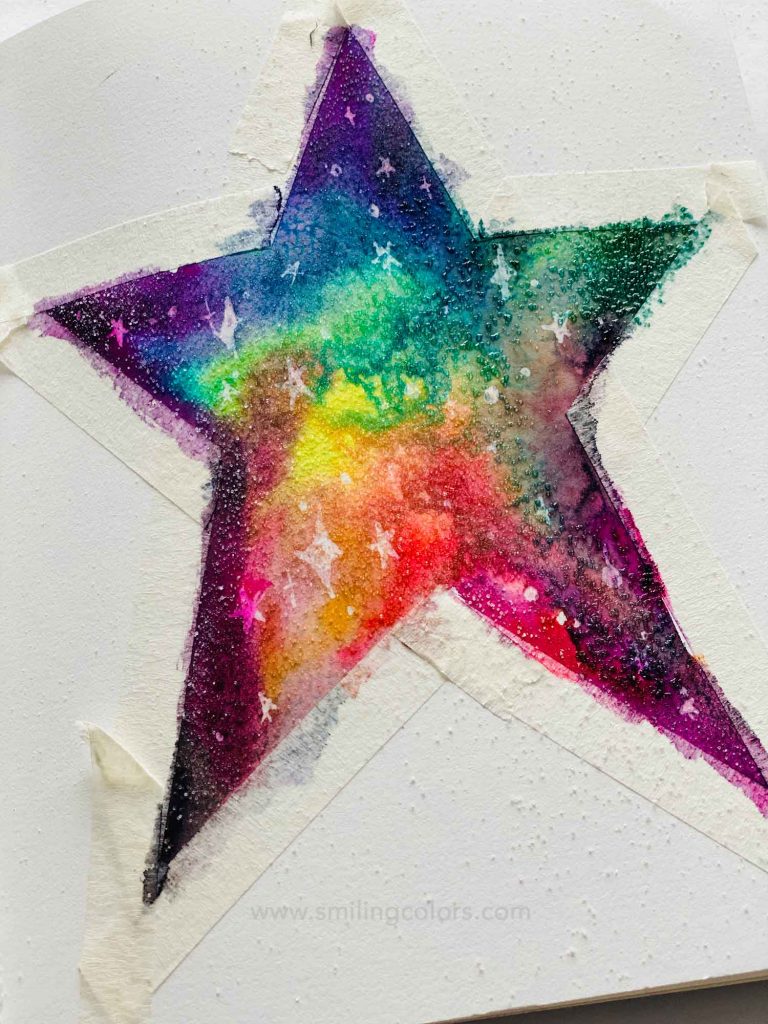
First, sketch and mask your star shape using this masking tape! Along with the salt, use a glue pen to draw stars and dots just like I did in this GLUE PEN RESIST: A QUICK AND EASY WATERCOLOR TECHNIQUE. This resist adds another layer of dimension to the galaxy.
Peeling off the tape once the painting is dry to reveal those crisp clean lines is everything!

Affiliate links have been used at no extra cost to the reader. You can read my full disclosure here.
Supplies used:
- Sketchbook: Using the same Strathmore Mixed Media sketchbook that I used in my previous post- EASY WATERCOLOR PEN FLOWERS: STEP BY STEP TUTORIAL
- Watercolor markers: I’m using my Tombow Dual Brush Pens here because these are my go-to Watercolor Brush pens! You can use ANY watercolor paint you have at home. These 12 colors of Tombow Dual Brush Pen colors – 755, 885, 933, 985, 133, 173, 379, 403, 526, 685, 817, 772
- Paintbrush: I used this Round no 6 paintbrushes here, great quality and hold water well. A thinner Size 0 paintbrush is great for the star details.
- Glue pen: The glue pen looks innocent but is great for techniques! It goes on clear and might be hard to see but creates a beautiful resist effect.
- Masking Tape: Masking tape is great if you want to create a shaped galaxy and my favorite one doesn’t tear up the paper.
- Water Brush: I like using Water Brush often because it saves you time. The water is right there in the barrel to squeeze.
- White paint
NOTES
The galaxy is very forgiving and the water basically does all the work for you here.
The key here is to not over mix the colors especially if you want all the colors of the rainbow to stand out.
All you need are watercolor paints, salt, and thick watercolor paper. If you do not have brush pens, use any watercolors instead! Works just fine.
ALSO READ: WATERCOLOR SALT TECHNIQUE: CREATE INTERESTING TEXTURES WITH JUST A SPRINKLE


